You are using an out of date browser. It may not display this or other websites correctly.
You should upgrade or use an alternative browser.
Grado modders go Magnum
Almost the same
Rhydon
MOT: Symphones
- Joined
- Mar 7, 2005
- Posts
- 791
- Likes
- 73
Beautiful work Riviera72. Can you tell me a bit about those black inserts, are they separate from the cups, wood or plastic? They look interesting...
Rhydon
MOT: Symphones
- Joined
- Mar 7, 2005
- Posts
- 791
- Likes
- 73
I had a pair of RS-2 Grados a few years back that I took out the drivers to repair the cups and refinish them. It was pure hell removing the glue around the drivers.
A tip for those trying to remove drivers from wooden cups. Someone once taught me a simple trick for doing this without damaging anything.
Set the cup on a short hollow cylinder or pipe which has an inner diameter slightly larger then the driver diameter. Find a thin hex key or something thin and stiff enough to insert through the rear metal mesh of the headphone. Gently tap or lightly hammer the back of the driver in different locations. Be careful not to punch through any damping fabric on the driver, aim for solid areas. The drivers will eventually be pushed out from the back, resulting in zero damage to the earcup.
The glue itself is not very strong against plastic, it tends to stay in place as the driver slides through. Be prepared to practice this method a few times before getting the hang of it.
I am told this is how Grado services their RS/GS series.
Last edited:
it's made of wood pla
print with my 3d printer, it's easier to remove the sleeve without putting glue
wormsdriver
Headphoneus Supremus
Thanks for the tip. I had considered that in the past but thought the holes on the grill mesh were too small to put something through it. You're right though, maybe a small Allen wrench might be small and sturdy enough to do it.A tip for those trying to remove drivers from wooden cups. Someone once taught me a simple trick for doing this without damaging anything.
Set the cup on a short hollow cylinder or pipe which has an inner diameter slightly larger then the driver diameter. Find a thin hex key or something thin and stiff enough to insert through the rear metal mesh of the headphone. Gently tap or lightly hammer the back of the driver in different locations. Be careful not to punch through any damping fabric on the driver, aim for solid areas. The drivers will eventually be pushed out from the back, resulting in zero damage to the earcup.
The glue itself is not very strong against plastic, it tends to stay in place as the driver slides through. Be prepared to practice this method a few times before getting the hang of it.
I am told this is how Grado services their RS/GS series.
Deaj
100+ Head-Fier
PSA: Symphones has a 3 day sale going on their drivers...
15% off purchase of a single set of Magnum V8.1 drivers.
25% off purchase of 2 or more sets of Magnum V8.1 drivers.
https://www.symphones.com
15% off purchase of a single set of Magnum V8.1 drivers.
25% off purchase of 2 or more sets of Magnum V8.1 drivers.
https://www.symphones.com
PSA: Symphones has a 3 day sale going on their drivers...
15% off purchase of a single set of Magnum V8.1 drivers.
25% off purchase of 2 or more sets of Magnum V8.1 drivers.
https://www.symphones.com
isn't $100 the regular price ? is there a code for the discount ?
Deaj
100+ Head-Fier
The mailer I received this afternoon says that the discount will be automatically applied at checkout.
Deaj
100+ Head-Fier
A tip for those trying to remove drivers from wooden cups. Someone once taught me a simple trick for doing this without damaging anything.
Set the cup on a short hollow cylinder or pipe which has an inner diameter slightly larger then the driver diameter. Find a thin hex key or something thin and stiff enough to insert through the rear metal mesh of the headphone. Gently tap or lightly hammer the back of the driver in different locations. Be careful not to punch through any damping fabric on the driver, aim for solid areas. The drivers will eventually be pushed out from the back, resulting in zero damage to the earcup.
The glue itself is not very strong against plastic, it tends to stay in place as the driver slides through. Be prepared to practice this method a few times before getting the hang of it.
I am told this is how Grado services their RS/GS series.
This works pretty well.
Do you call the back of the driver the side where the wires connect.
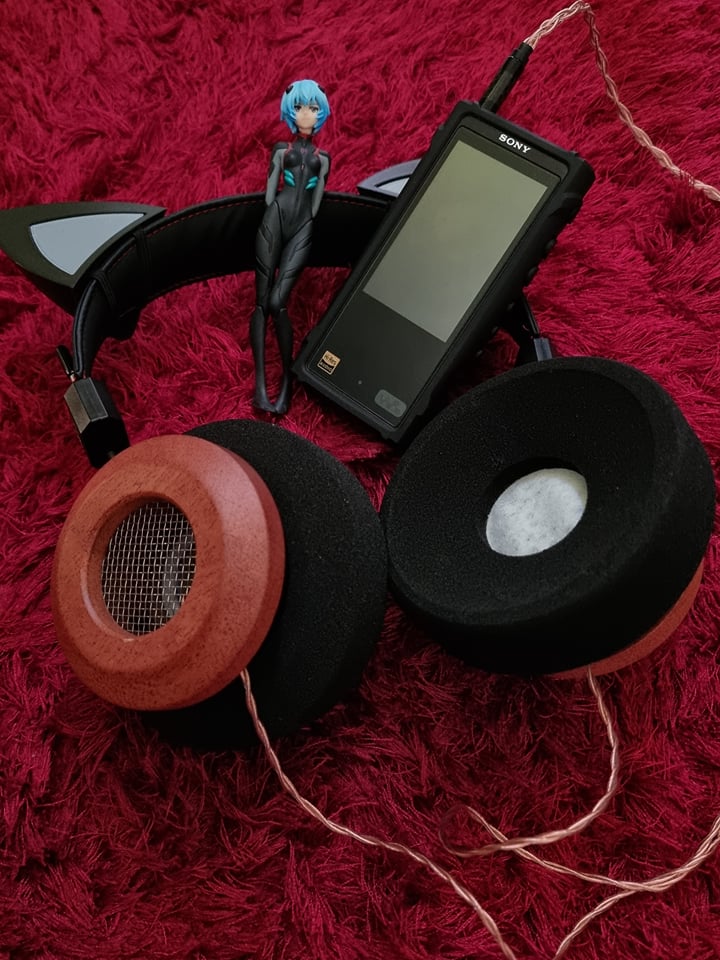
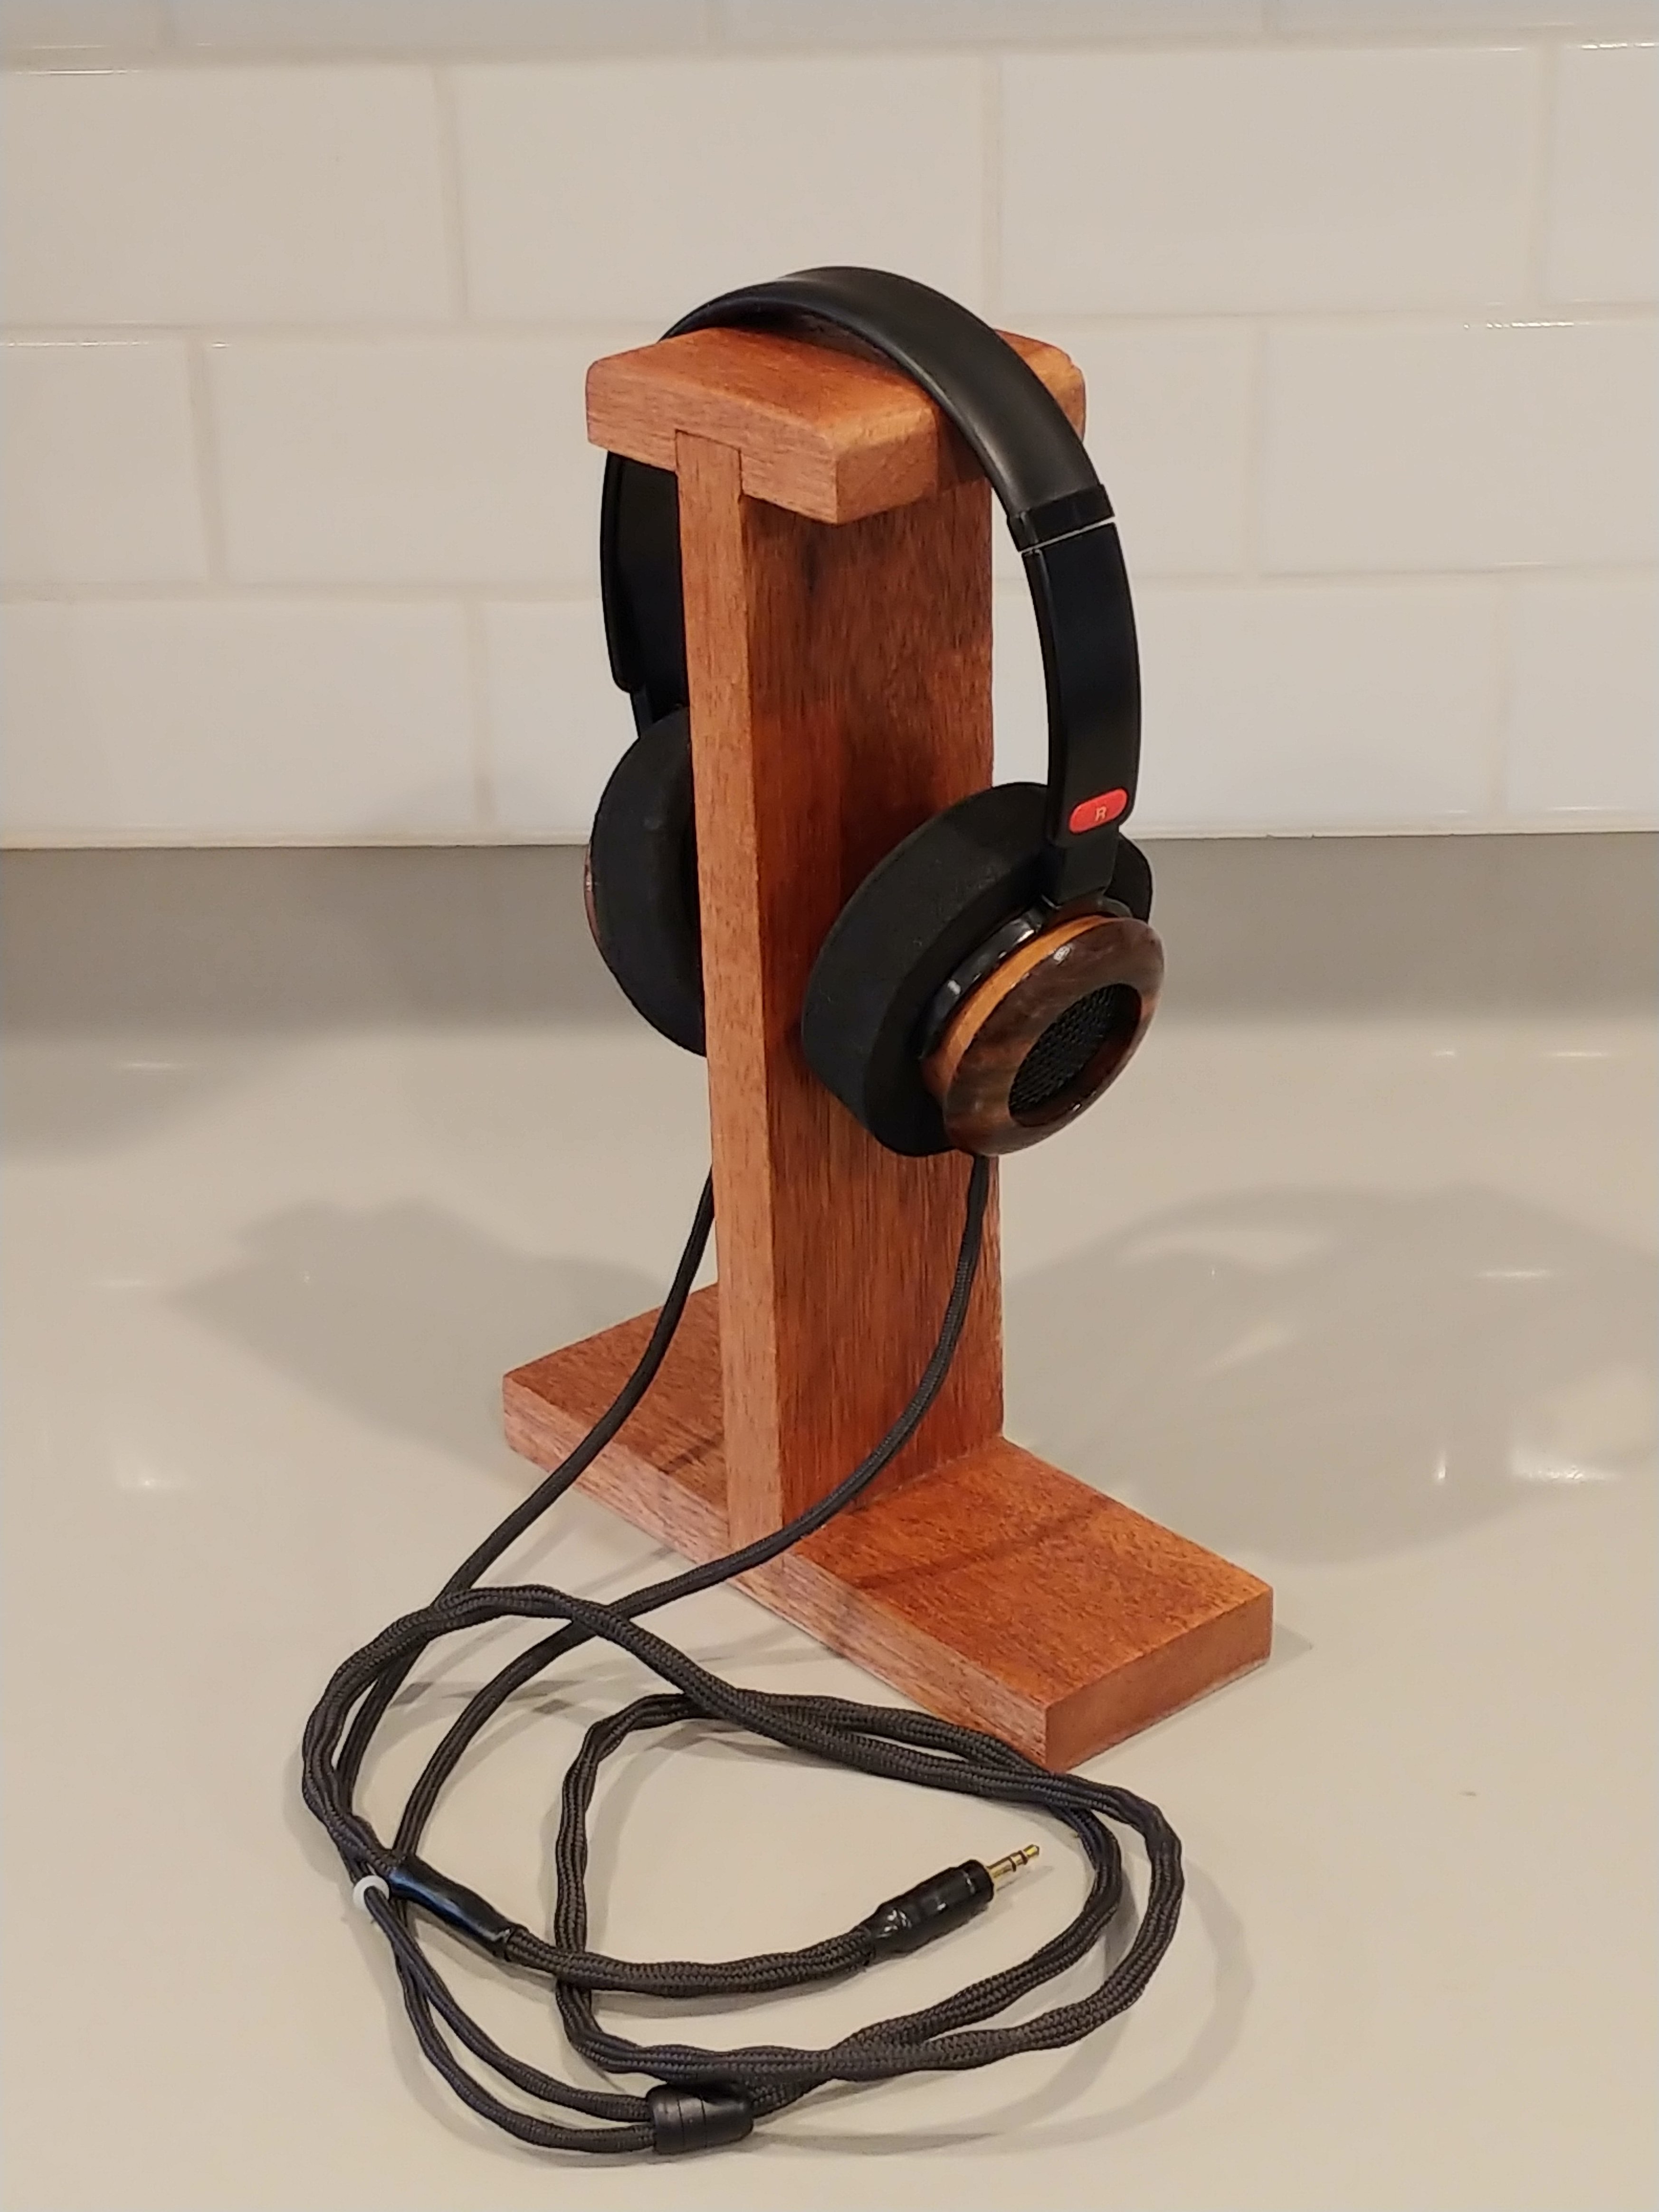
The mounting method of the driver is of a huge importance when trying to evaluate the different sonic character of a wood type, anything less than firmly press fitted the drivers into the wood cups and they will all sound the same.
That being said, the back acoustic chamber dimensions are more important than the wood type used, try to make the diameter of the chamber to be 1.6 times its length, measured from the back of the driver to the grille.
Rhydon
MOT: Symphones
- Joined
- Mar 7, 2005
- Posts
- 791
- Likes
- 73
Do you call the back of the driver the side where the wires connect.
Thats correct. Front is the part that touches your ear, back is inside the earcup.
Thanks RhydonThats correct. Front is the part that touches your ear, back is inside the earcup.
fleasbaby
Member of the Trade: Wabi Sabi Headphones
- Joined
- Jul 8, 2011
- Posts
- 3,266
- Likes
- 2,109
A tip for those trying to remove drivers from wooden cups. Someone once taught me a simple trick for doing this without damaging anything.
Set the cup on a short hollow cylinder or pipe which has an inner diameter slightly larger then the driver diameter. Find a thin hex key or something thin and stiff enough to insert through the rear metal mesh of the headphone. Gently tap or lightly hammer the back of the driver in different locations. Be careful not to punch through any damping fabric on the driver, aim for solid areas. The drivers will eventually be pushed out from the back, resulting in zero damage to the earcup.
The glue itself is not very strong against plastic, it tends to stay in place as the driver slides through. Be prepared to practice this method a few times before getting the hang of it.
I am told this is how Grado services their RS/GS series.
...thanks @Rhydon ! Might just try this next time...
it's made of wood pla print with my 3d printer, it's easier to remove the sleeve without putting glue
The walls on those cups look mighty thing. What wood are you using, and are you turning the cups on a lathe?
Thanks for the tip. I had considered that in the past but thought the holes on the grill mesh were too small to put something through it. You're right though, maybe a small Allen wrench might be small and sturdy enough to do it.
I use a small allen key to push out drivers in wooden builds the same way. Haven't tried it on Grado woodies or the RS series though. Always thought the glue was too tough for that. Now that I've heard others have done it though...
On an unrelated note, spent a little time this weekend making a headphone stand as a gift for someone. Was great fun and a nice change of pace, I might start doing more as the design seems pretty open to tweaking and experimenting with woods.
wormsdriver
Headphoneus Supremus
I did it recently to my pink driver Rs1. It's still pretty nerve racking considering these are my favorite ALL TIME headphone and irreplaceable as far as I'm concerned.
I did remove some of the glue in the front first. It was still a bit tough to get the drivers out but definitely worked.
Users who are viewing this thread
Total: 16 (members: 0, guests: 16)