


thelostMIDrange
1000+ Head-Fier
- Joined
- Nov 1, 2011
- Posts
- 1,281
- Likes
- 120
regarding arty mcgees angled plastic adapter. Keep in mind that is changing two variable in one mod so any sound difference would be hard to decipher in terms of what to attribute it to. either the plastic ring or the angle......because that mounting method is indeed a significant variable. Any change there is very hearable ime.....but at least it allows one to hear part of what an angled driver does to the sound,,,,arty what did you hear after the mod?
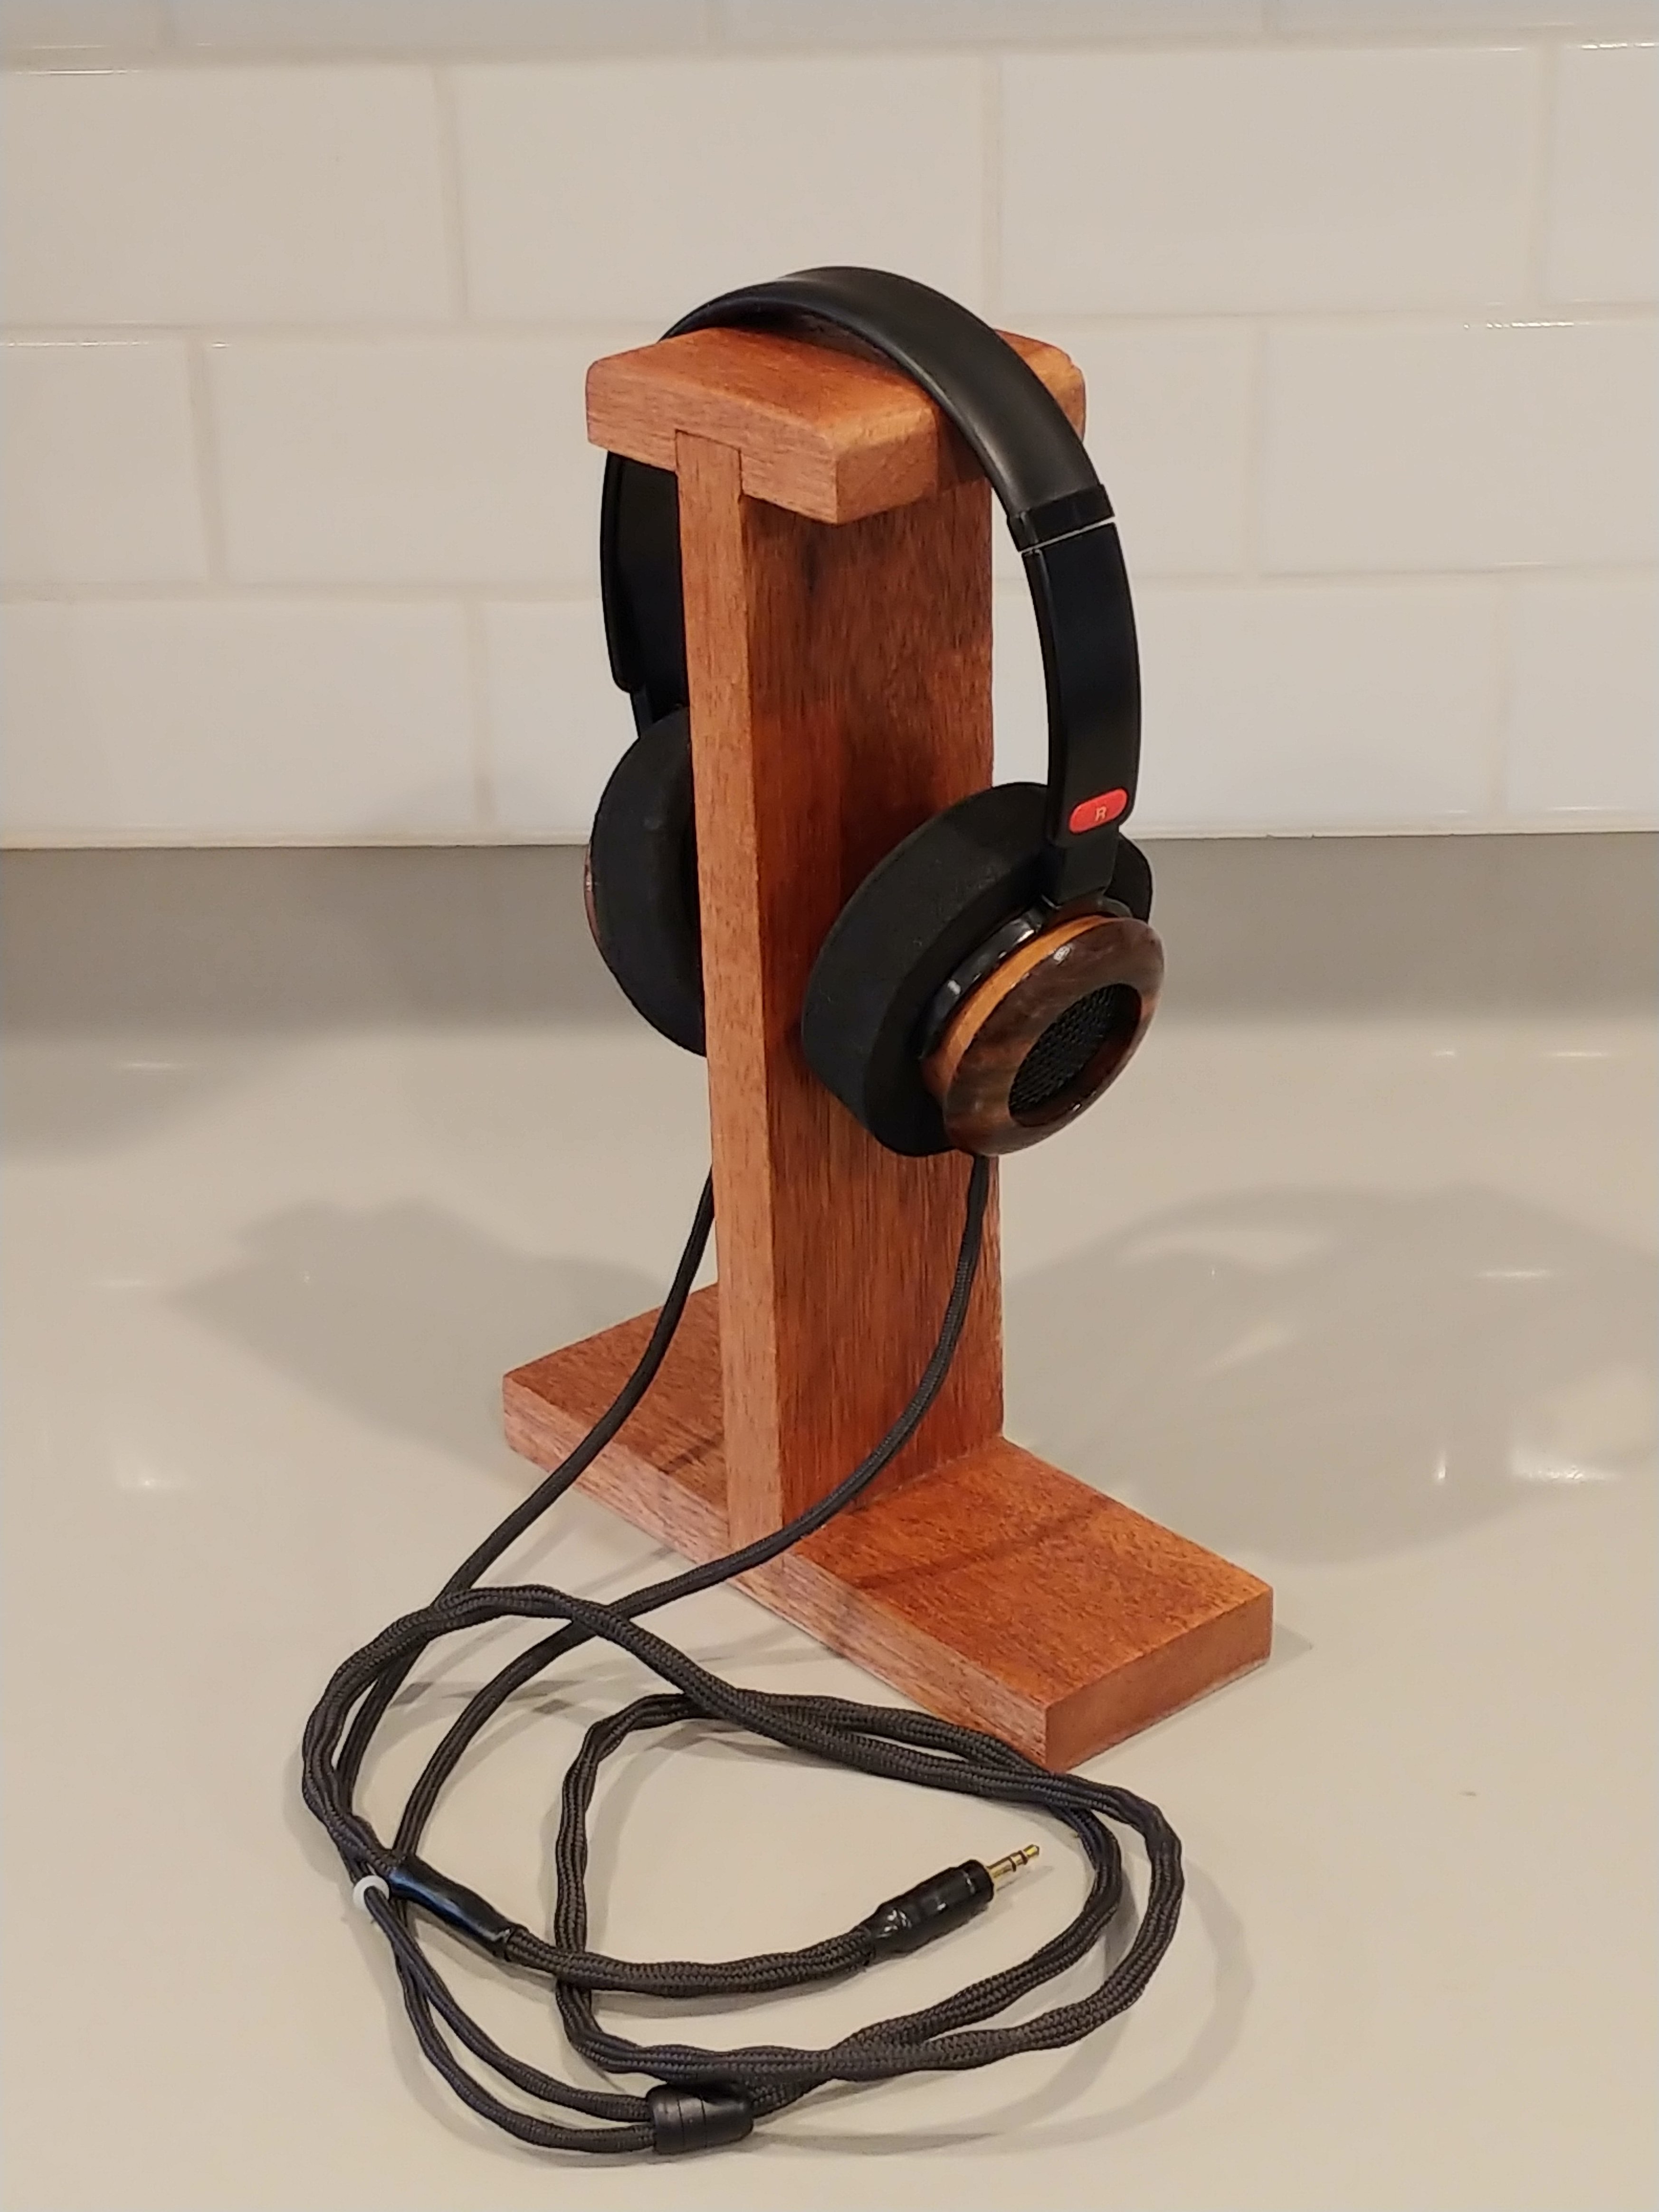
regarding the new printer cups, yes they do appear to be plastic and moderatley 'dead'. they are not thick or massive however so they are not as dead as some heavy wood cups made by the famous turner. But the printer cups do seem to be using the inert material philosophy. But I just cant see the cup mattering nearly as much once the driver is mounted in foam. Doing so would seem to pretty much isolate the driver from all else and hence, removing what its attached to as a adjacent and interacting variable
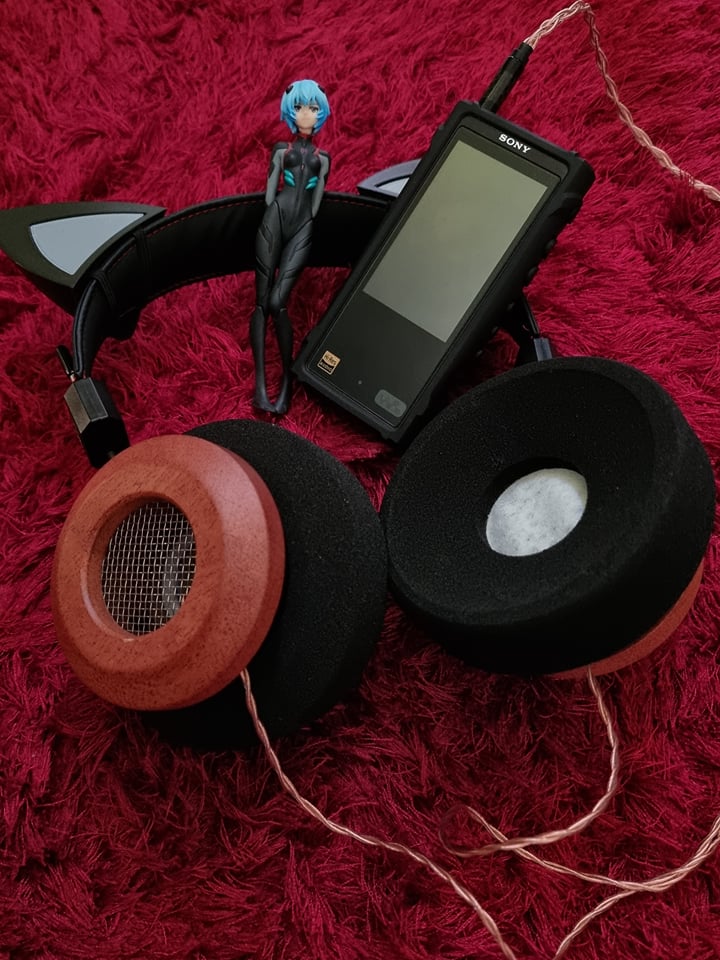
here's what I've got so far towards implementing the 'cracked bell' idea. The explicit design idea is working under the assumption that the small vibrations of the driver need a light delicate resonant cup to move the vibrations away from the driver, but that the cup should not resonate in any particular way or node/frequency. Hence the idea to put a piece of rubber/foam in the cup to break up any tendency for this. Obviously this is different than a non resonant cup. Grado RS works on the resonant principle and relies on the finish treatment to do the work of altering the resonance of the cup. The cracked bell idea just adds a third variable to allow control over this. The other two being the finish as mentioned and the third being the choice of wood, it's shape and overall mass, which I am combining into one variable. But the resonant approach generally, is using the cup for an essential part of the design and making it work for the driver instead of trying to take it out of the equation entirely and making it inert/ non resonant


regarding the new printer cups, yes they do appear to be plastic and moderatley 'dead'. they are not thick or massive however so they are not as dead as some heavy wood cups made by the famous turner. But the printer cups do seem to be using the inert material philosophy. But I just cant see the cup mattering nearly as much once the driver is mounted in foam. Doing so would seem to pretty much isolate the driver from all else and hence, removing what its attached to as a adjacent and interacting variable
here's what I've got so far towards implementing the 'cracked bell' idea. The explicit design idea is working under the assumption that the small vibrations of the driver need a light delicate resonant cup to move the vibrations away from the driver, but that the cup should not resonate in any particular way or node/frequency. Hence the idea to put a piece of rubber/foam in the cup to break up any tendency for this. Obviously this is different than a non resonant cup. Grado RS works on the resonant principle and relies on the finish treatment to do the work of altering the resonance of the cup. The cracked bell idea just adds a third variable to allow control over this. The other two being the finish as mentioned and the third being the choice of wood, it's shape and overall mass, which I am combining into one variable. But the resonant approach generally, is using the cup for an essential part of the design and making it work for the driver instead of trying to take it out of the equation entirely and making it inert/ non resonant


