


fleasbaby
Member of the Trade: Wabi Sabi Headphones
- Joined
- Jul 8, 2011
- Posts
- 3,266
- Likes
- 2,121
I had a pair of v. 3.5 drivers, but the dimensions should be the same. They are as follows:
* Diameter: 1 13/16"
* Depth: 5/32"
Thank you kindly sir.
I had a pair of v. 3.5 drivers, but the dimensions should be the same. They are as follows:
* Diameter: 1 13/16"
* Depth: 5/32"
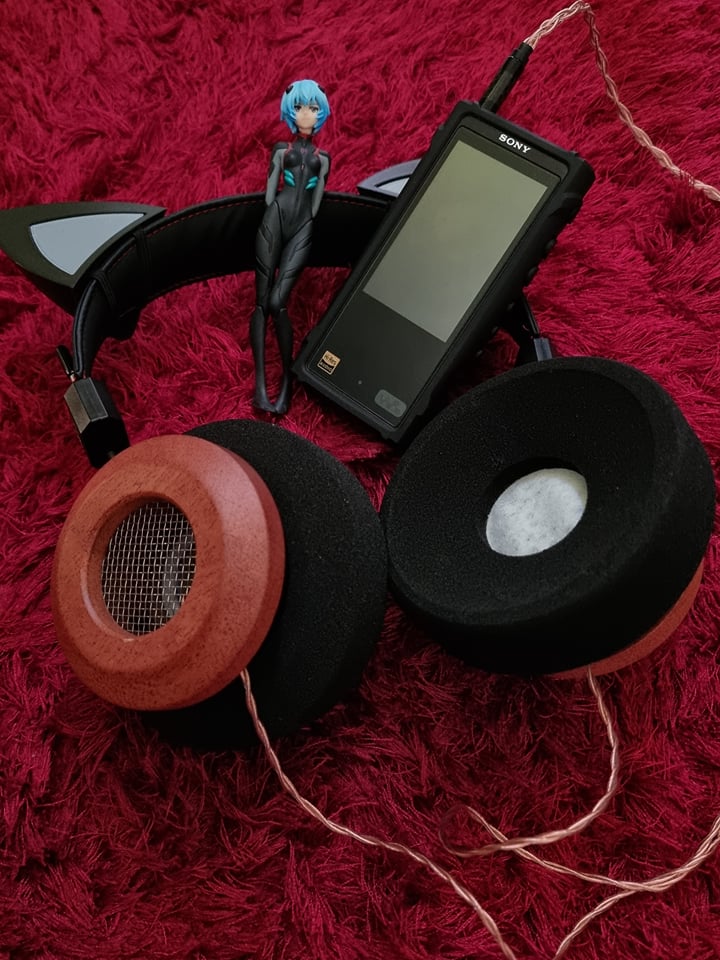
") ...there's nothing like the anticipation while you wait for parts for a build, and the feeling once its done and successful.
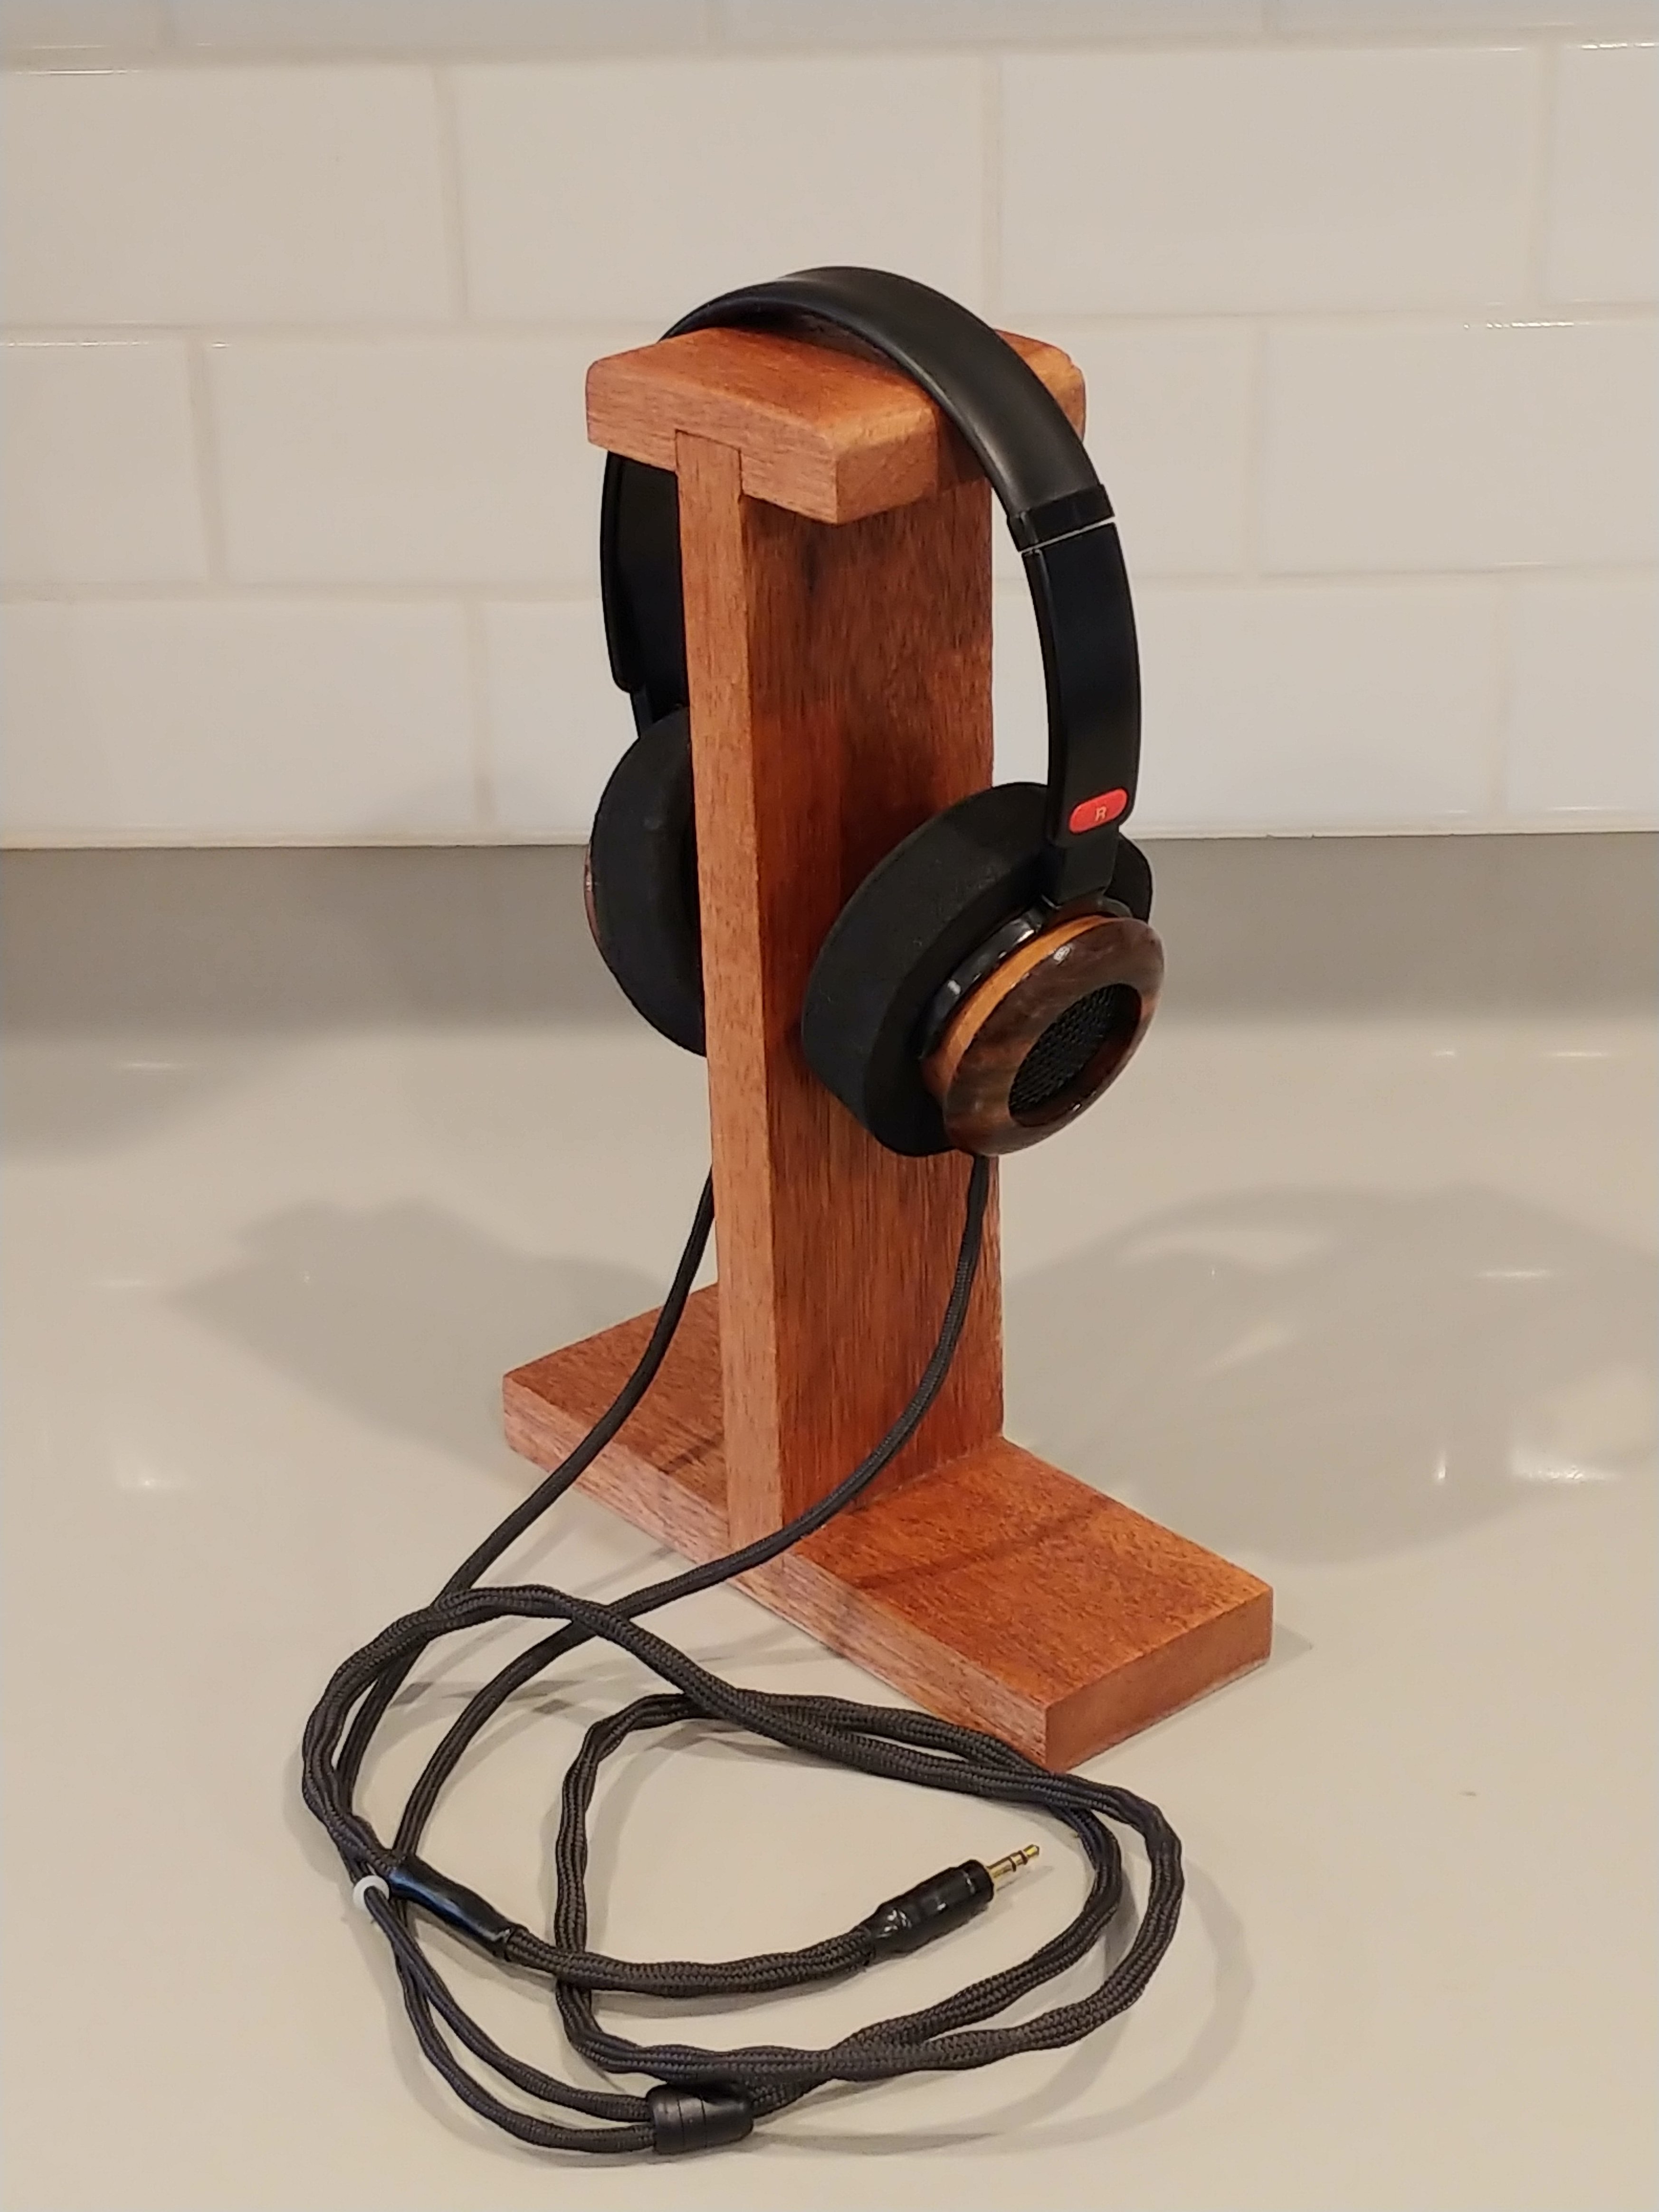
...there's nothing like the anticipation while you wait for parts for a build, and the feeling once its done and successful.The final assembly of the Magnum X headphones have been completed.
Specifics:
- Magnum X Drivers (Latest Version)
- Mogami Neglex Cable, 8 Foot
- Amphenol 1/4" TRS Connector
- 550 Paracord Sheathing on Complete Cable.
- Techflex / PET (Black with Small Blue Stripe) on Cable Up to the "Y" or Yoke.
- From the "Y" or the yoke to the ear cups - Paracord sheathing (to prevent / minimize micrphonics)
- Cups: Black Walnut - Sanded, Finished with a Medium Brown / Golden Stain.
- Final Finish on Wooden Cups: 4 Coats of Satin Poly.
Sound and Fit Impressions:
After acclimating to a pair of RS1i and PS-500 Grados over the past few weeks while this build process was underway, I was able to capture a good glimpse into the sound signatures. The Magnum X build has only been used about 6 hours (for those who believe / or, do not believe in burn-in). The Magnum X signature in this scenario is very pleasant to listen to. I think it clearly exceeds what is available in the Grado line from the SR-325is and up towards the RS1i. The RS1i, with the mahogany cups has a slightly different signature. Though, the Magnum X still presents male vocals, female vocals, percussion and strings in a very pleasant manner, the RS1i has a slightly different tone to the sound. The difference can be attributed to the differences between the RS1i drivers from Grado and the Magnum X drivers from Turbulent Labs. The RS1i has bit of an "earthy" tone as defined by some. How much of this could be attributed to the mahogany cups vs. the black walnut cups? It's quite hard to tell as I'd love to hear the RS1i drivers when mounted in a pair of the black walnut cups. The black walnut wood does have a great tone to it, though. The sound is not strident, nor boomy. The Sony headband provides at least as much comfort as the leather covered RS1i Grado band, if not slightly more comfort. The Sony band moves via two axis points, so the cups / pads contour well on the sides of one's head and ears. The clamping strength can be adjusted in a similar manner to the Grado head band via taking one's hands and slightly opening up the band with a slight amount of force. The adjustments are slowly made - a small adjustment, then a test fit. Then, the process is repeated as needed to get an ultimate fit.
The cable was not completely covered in Techflex / PET as to have covered the nylon paracord above the "Y" or the yoke may have resulted in a fair bit of microphonics that would take away from the listener's enjoyment.
Wayne, is that a different leather headband on those final pics or is it just the lighting/angle?
Can you elaborate a bit on your impressions on the Grado stock headband with a j$/turbulent labs leather upgrade vs. the Sony one if you can?
Very nicely done
When they first came out people seemed to either love or hate the new Magnum drivers. I personally loved my first build with them, and can't wait to finish my second. To my ears, after being exposed to the SR line from the SR60i up to the SR325is (with the exception of the SR125i...need to have a go at them too), they felt superior to anything I had experienced before.
that's a nice deal for somebody. looks like just the components cost over $200 and then all the time it takes to put it together.
that's a nice deal for somebody. looks like just the components cost over $200 and then all the time it takes to put it together.
i'd be tempted myself but prefer shorter cable with mini jack for use with portables.
hey one question - do the "bloom" style cups add anything to the sound/tone..? i've had RS1 model and others but all were the "pipe" style cups.
300 is quite a deal. Factor the cost of the drivers, cups, headband and cable is close to 300 in parts alone. A headphone that performs in the same league as the rs1 and ps500 at a fraction of the cost?
If I wasn't building mine now, I'd jump on that in a heartbeat.
