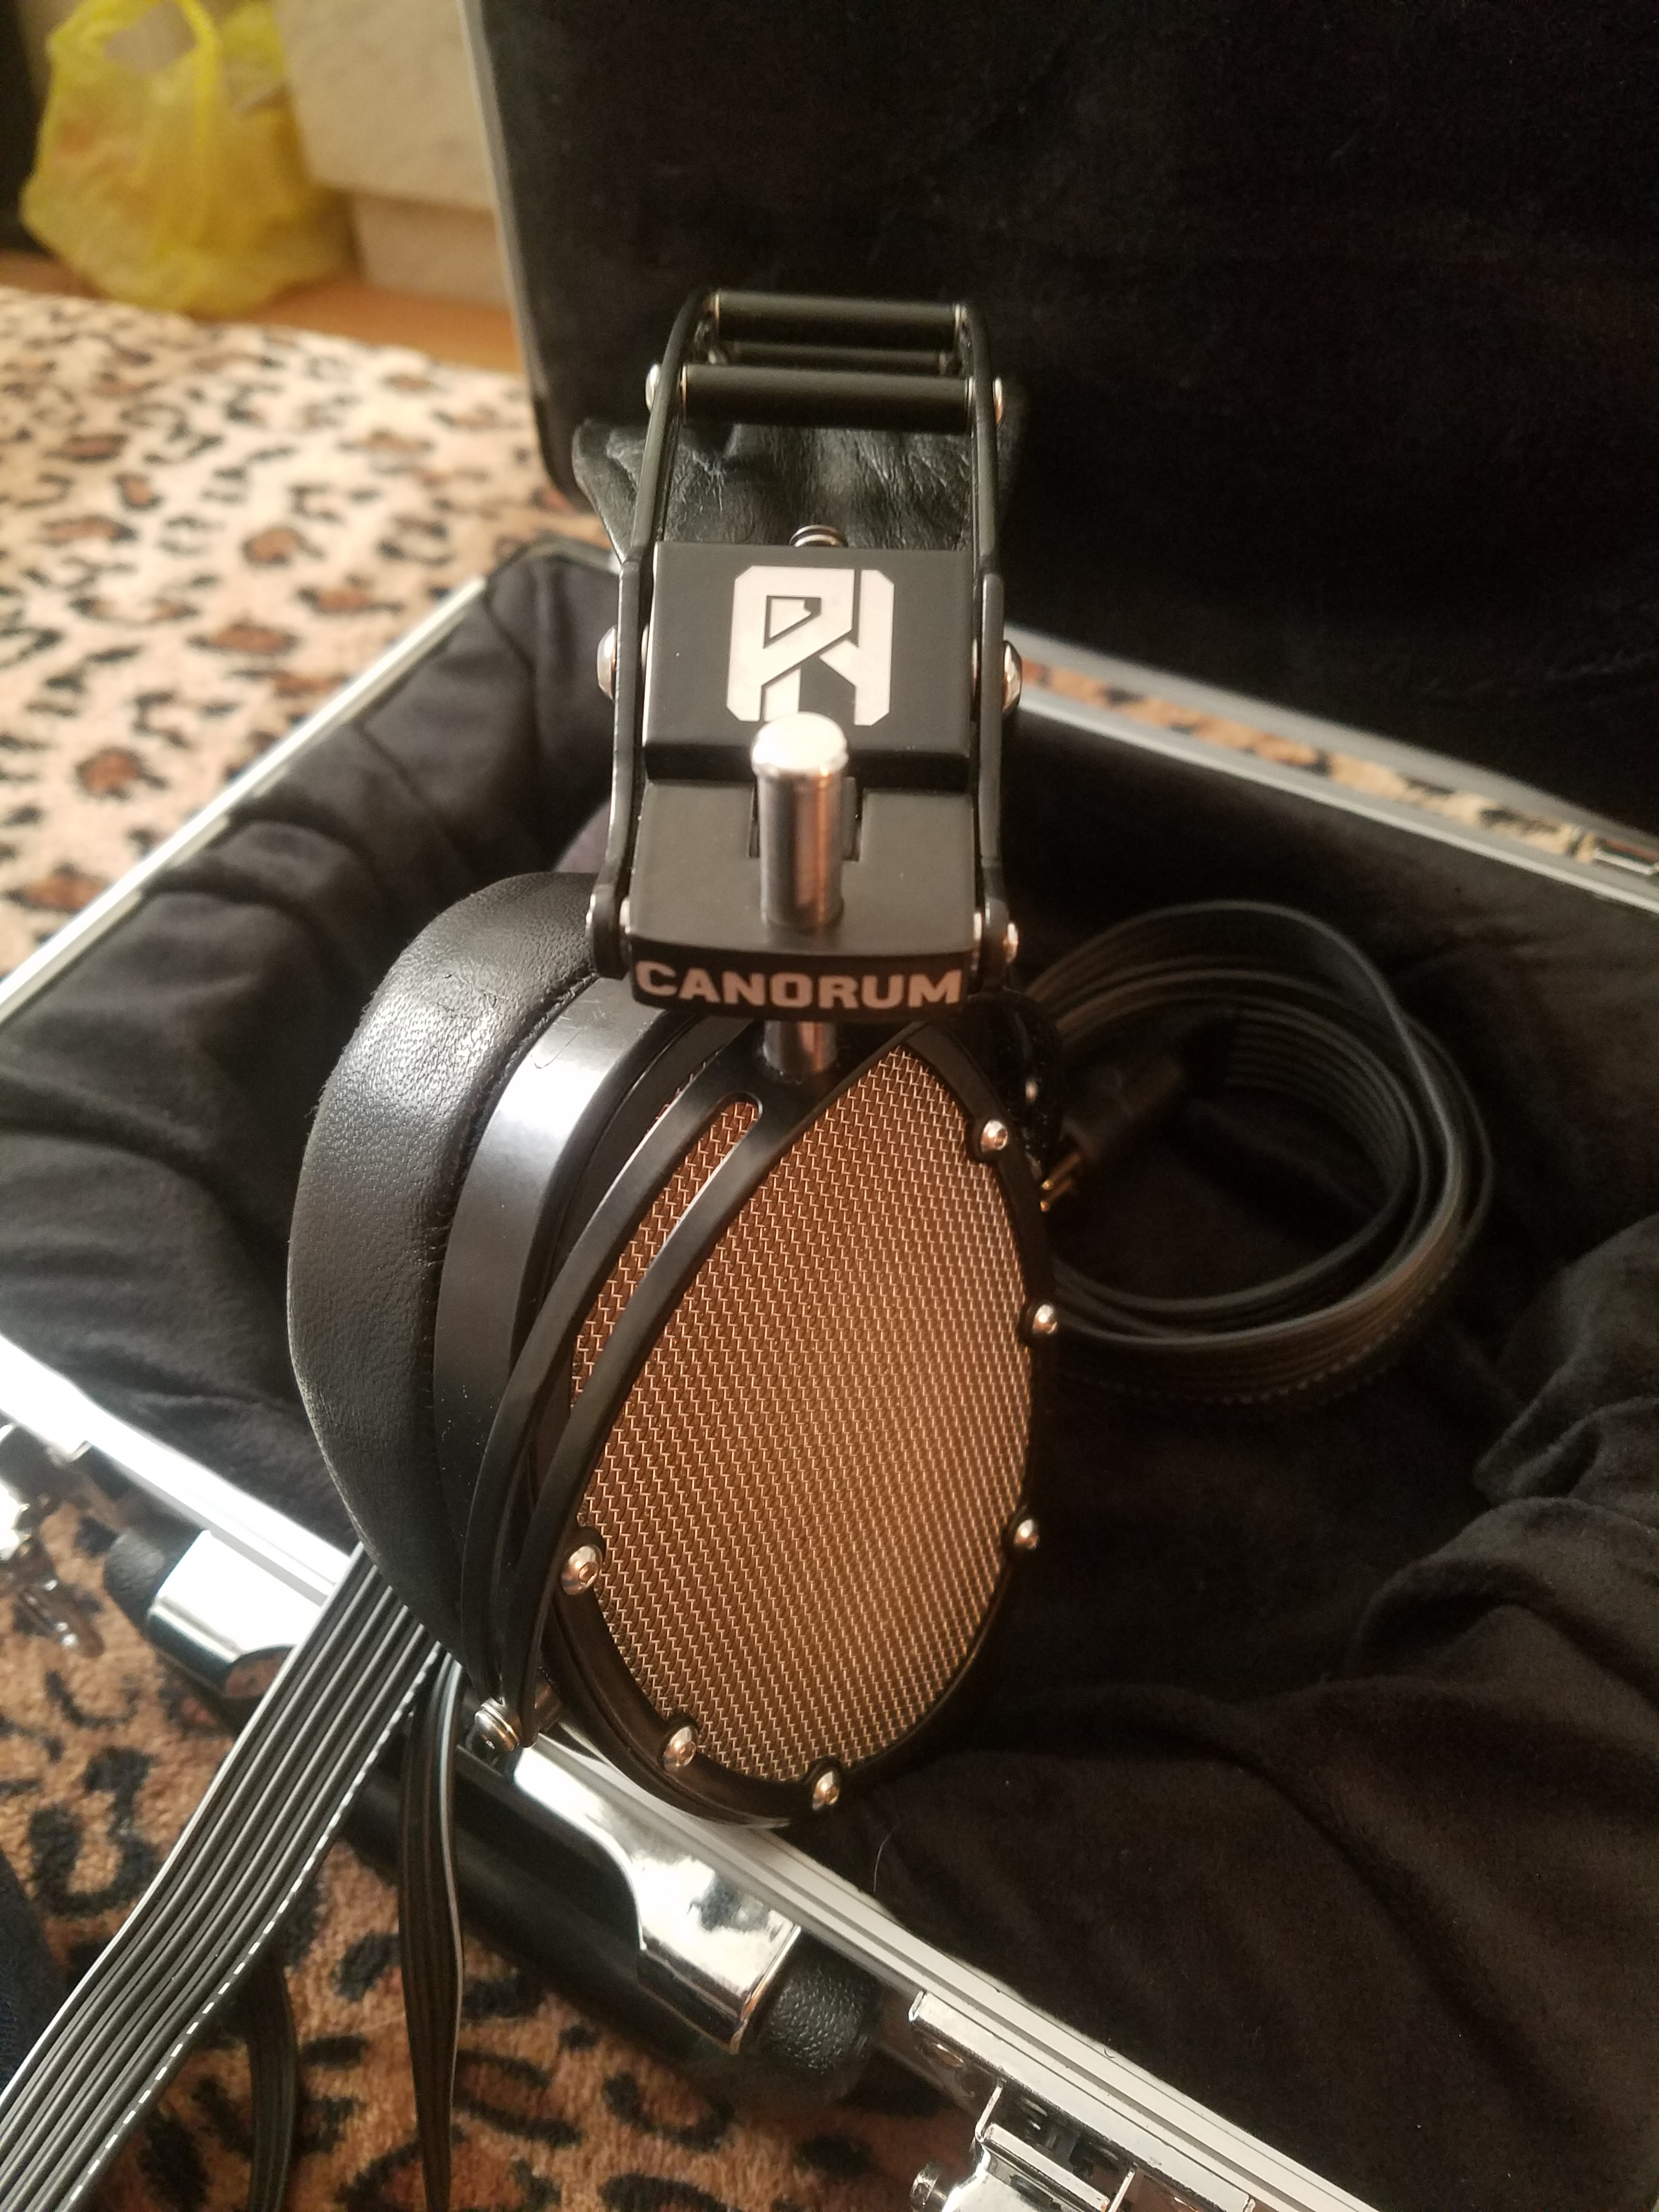
I just completed an ESP950-to-Stax cable for Faust2D, thought I'd share some of what i learned about using the WPI 'microphone' plug to make DIY stax cables.
I've noticed that most DIY stax cables lack any kind of handle or real strain relief. I've solved those issues.
It turns out that if you shave off the lip on the WPI plug, you can friction-fit the plug into a 1/2" to 1/4" copper reduction fitting. It fits tightly, and is hard to remove without the highly technical removal tool I developed, which is detailed below.
The 1/4" end of the reduction fitting in this case is covered with a 3/8" plug. This is epoxied on - the gap is too huge to solder it. Believe me i tried. Blowtorch and everything.
An o-ring provides an accent and something to grab onto that isn't polished copper and fills the gap.
An oval is drilled out of the cap to feed the cable through.
The outer diameter of the copper fitting is indeed small enough to fit in the recess of some stax amp sockets.
If you wanted to go balls-to-the-wall, you could use a 1/2" copper plug and use a dremel or something to carve a slot in the back of the plug for the cable to feed through, which might look slick, but the strain relief would have to come in the form of some silicone adhesive or something injected into the body after assembly - the caps aren't deep enough to fit anything but maybe 1 layer of insulated wire between plug body and the back of the cap. And it would be a pretty short handle.
You could get creative with the copper, too. I have a friend who used to work at a bronze foundry, and says it's relatively easy to apply just about any color patina to bare copper.
Since the center pin is not needed for pro bias, It's been removed. The hole has been drilled out a little and tapped with threads to accept a standard 6-32 screw. This gives you a nice sturdy disposable handle to thread into the plug in case you ever need to remove it from the handle to rewire the cable. There's only about 3/16" of threads in the plastic, but it seems quite sturdy this way.
Sticklers for military-grade sturdiness in this feature could drill the pin opening all the way out to the same diameter as it is on the back of the plug and tap the whole shaft for a #8 screw. But that would be massive overkill.
A zip-tie covered with heatshrink provides strain relief. There's about 1/2" of slack inside the body of the plug handle.
Soldering the plug is easy if you approach it in a methodical fashion.
I stripped about 1 inch of the outer jacket (which is hard to do without also stripping the inner insulation) and then stripped the last 1/4 inch of the insulation. The wire is then twisted, folded in half, and tinned.
The idea here is that the lump of wire and solder at the end should be almost too big to fit through the hole at the business end of the pin. This provides a relatively tight gap into which you can get a good solder joint.
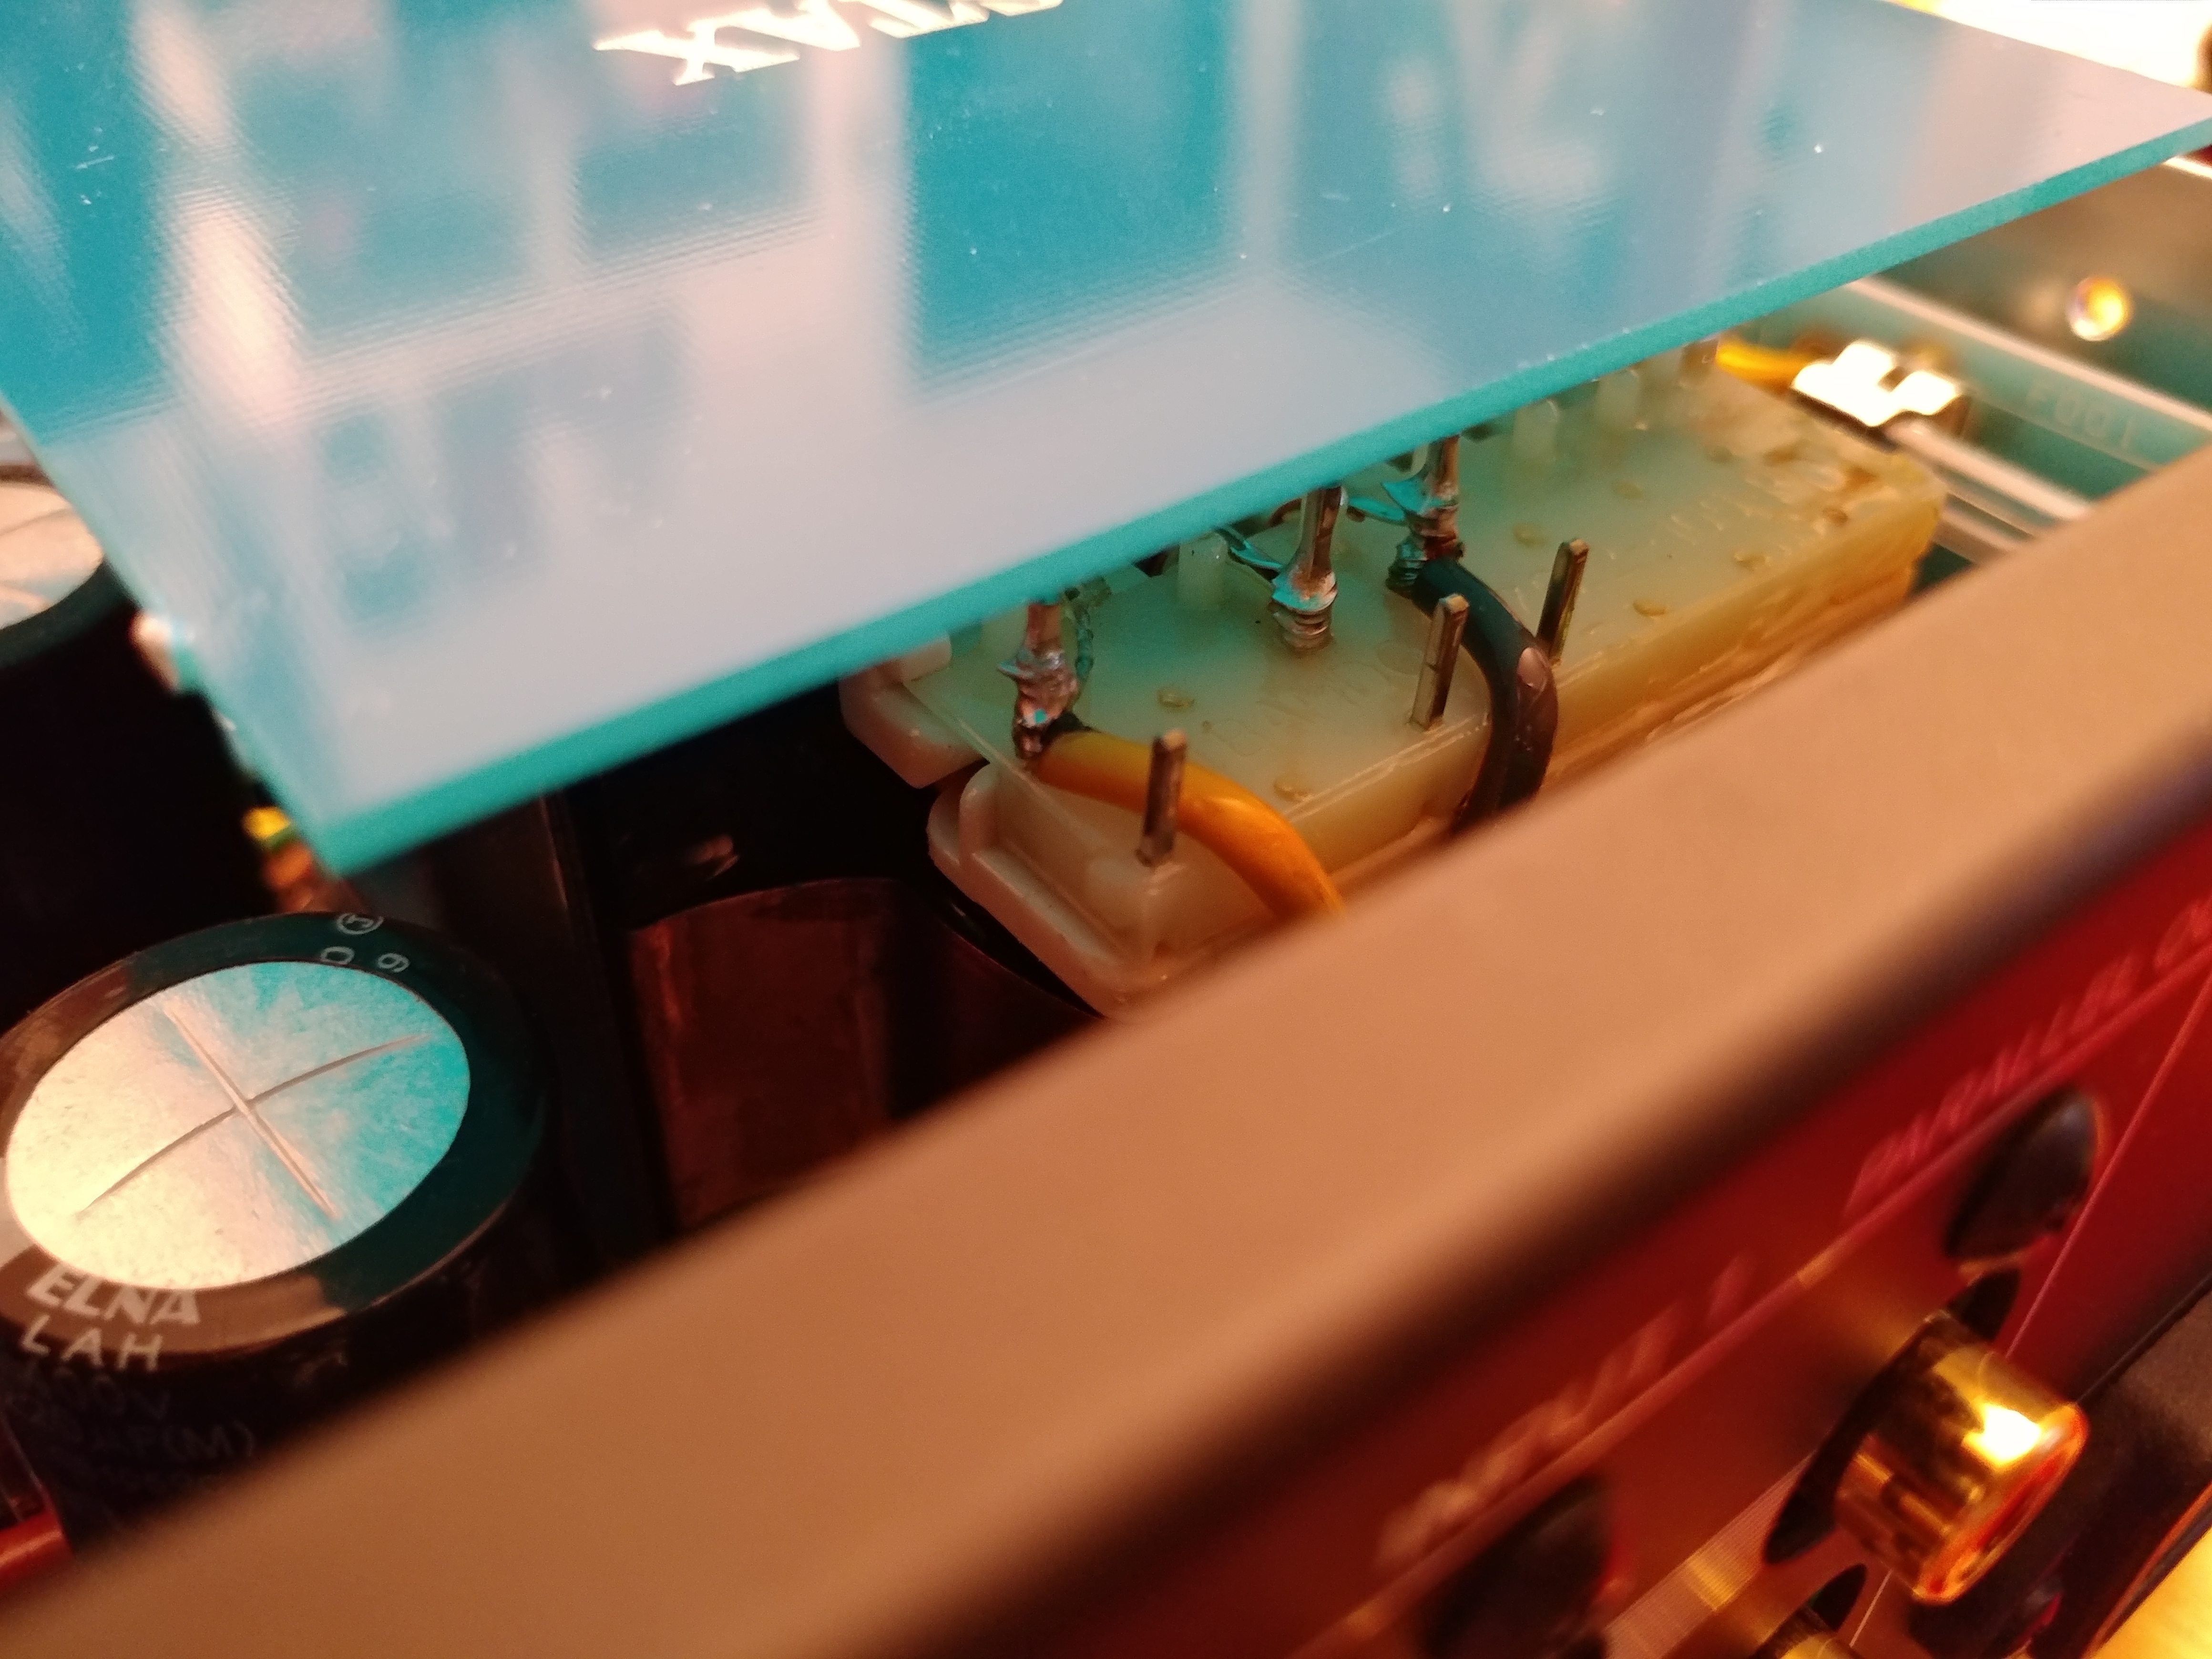
So, you take the folded-and-tinned end and shove it into the pin until it just barely pokes out the end, arrange this vertically with the business-end pointing straight up, use your needle-applicator to drip some good flux into the barrel of the pin, heat with the iron, and apply solder until the end seals up. This will leave a fair amount of flux residue, but it's nothing you can't clean up with some alcohol.
A few comments about the Koss ESP-950 extension cord. Everybody says this is a crappy cord with crappy enamel coated wire in it.
The cable F2D sent me is in no way enameled. Anywhere. In any way shape or form.
There's an outer jacket in black that covers the (insulated) inner wire, which admittedly is about 28awg or maybe a little smaller considering it has a fiber reinforcement strand.
But it's all very reasonable copper, and no worse than I've seen in Stax electret ribbon cables. And there is certainly no enamel.