Quote:
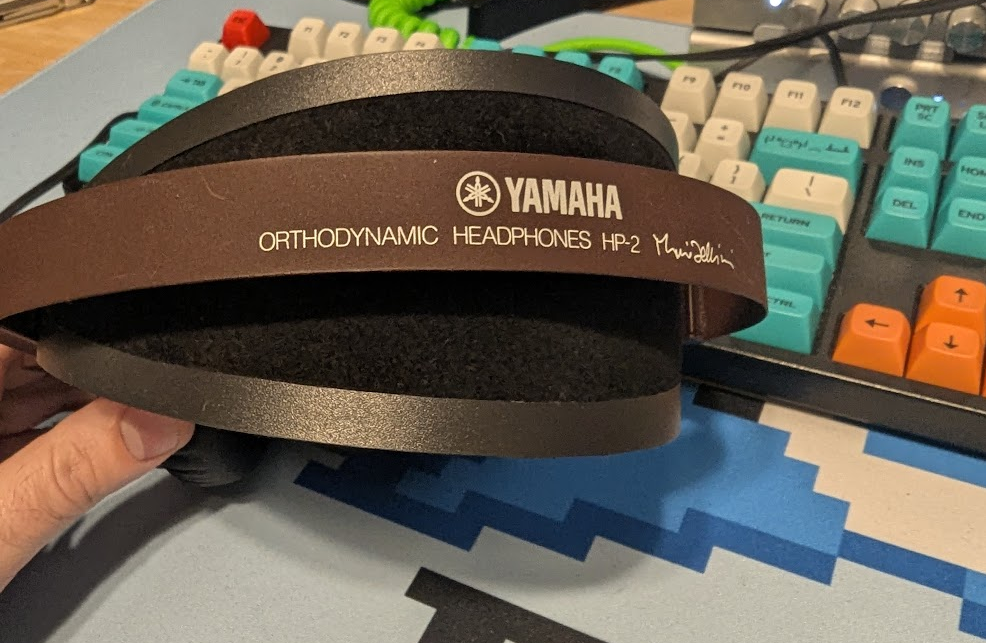
Makes me really want to try them out...! How does the smaller cups/enclosure sound compared to before? The inside shape at least is not as irregular.
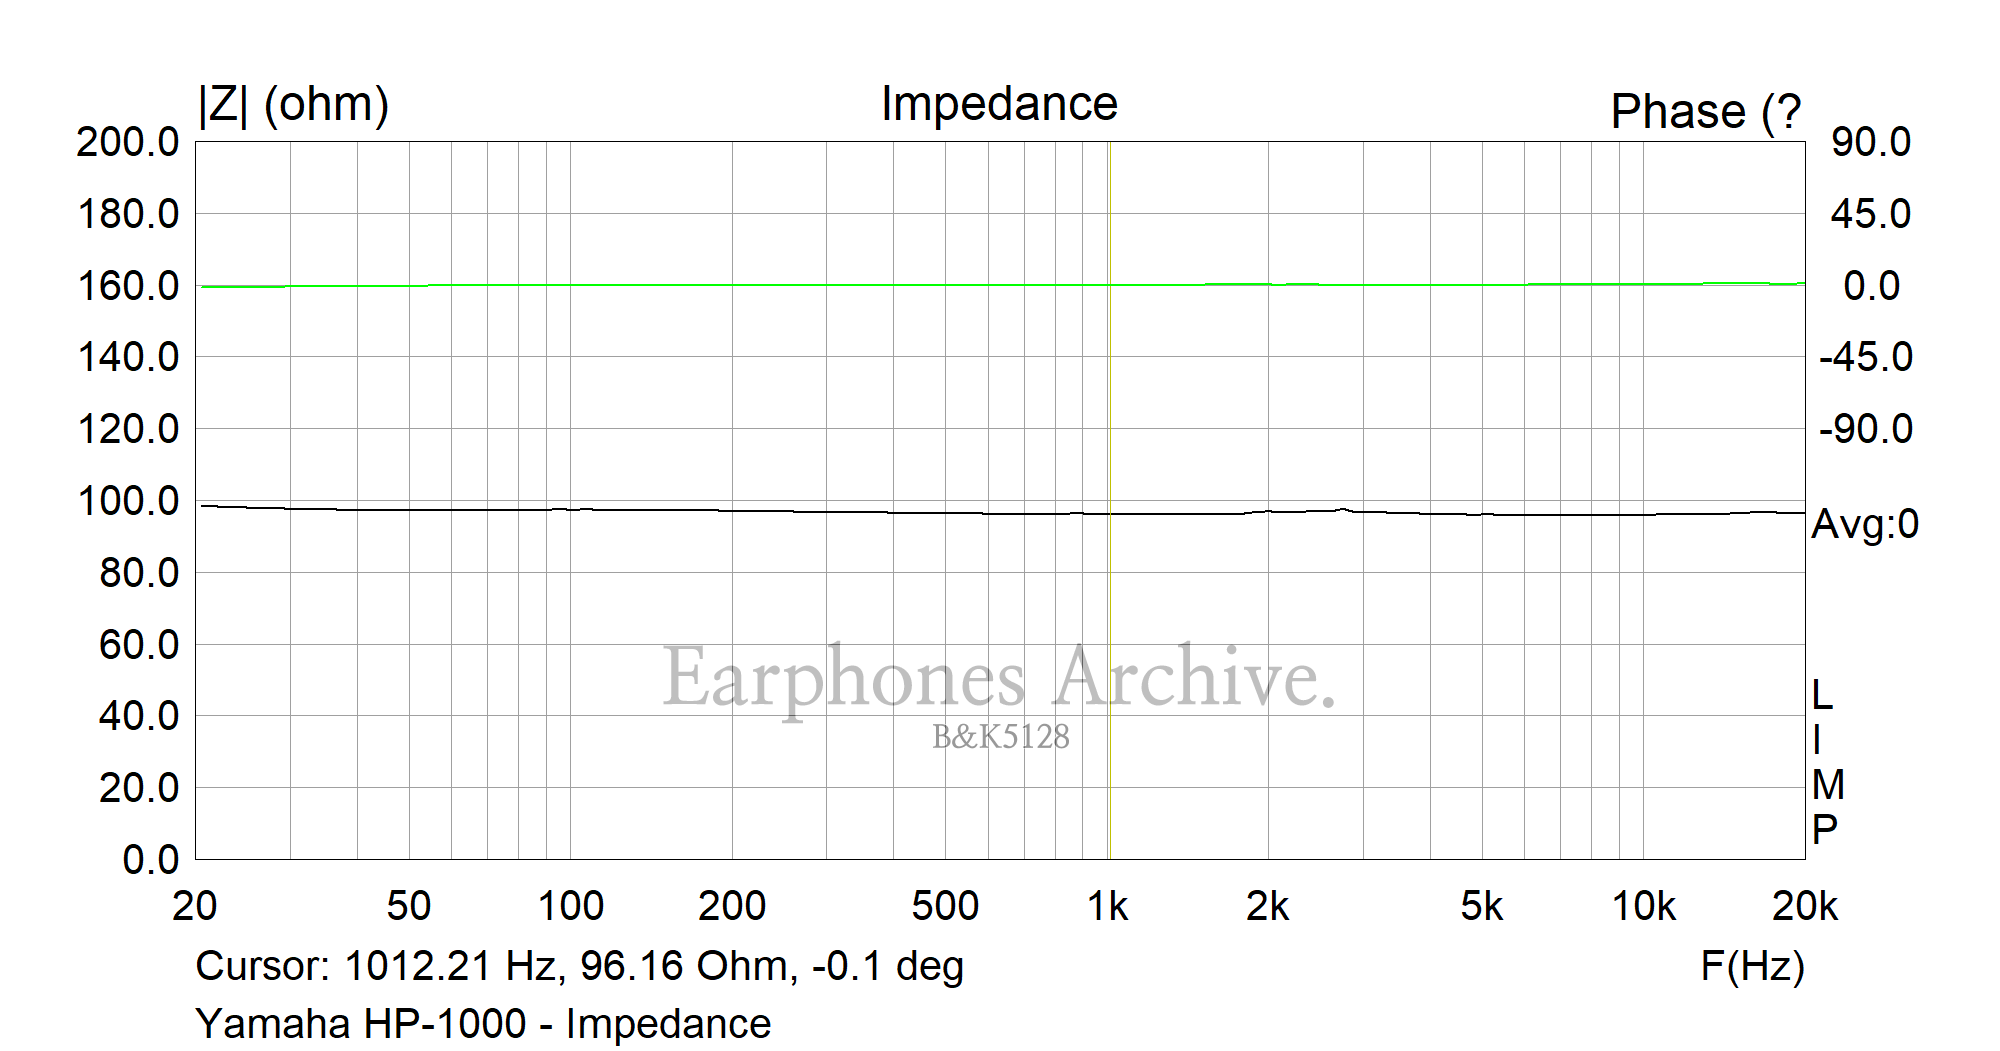
Just finished my own custom earpads for my HP-1 today as well! Easily said, as long as I don't know how to sow inwards like the way the stock pads are done (has to be machine done) and until I can learn how to cut foam, I'm not gonna get far. Looks funky, sounds terrible! Those are not treble peaks I got, that's a plateau!
Terribly overstuffed these things, and had to do a design change midway. Turns out way too thick and not soft enough compared to stock pads. Comfort is okay but the ear drums would say otherwise. Cannibalized a pillow for stuffing.
Well, soon for a mkII pad.
Oh and I might have understood why there's an extra flap on the underside of the stock HP/YH-1 earpads... its to keep a flatter and more regular shape so that the part stuck by double sided tape would not be disturbed when on the ears. And as safety blanket to get better seal.
**EDIT** seems by rolling tissue papers and stuffing them under the raised part of the earpads a good part of that treble plateau was tamed... got myself a somewhat smooth hill with max at 500Hz too. Any other ideas I can try before going to mk2?
oh awesome! Yeppers the overstuffing is easy to do, keep it minimal and hold em to a flat surface then press your heap to them also to check.
Stitchin inwards is really easy for the inner part. :
* Place the two halves together like they would normally be ( both good sides facing out )
* Grab the two "tops" and then fold them over so you get a scrunched part of what you would see if you were living cozily inside your new pads
* Make the typical knot at the end of the thread and after lining up the edges of the inside holes run the first stitch through them
* repeat again after lining up a little bit more of the inside inner seams. Just gradually work your way around that way, keeping the stitching as even and not too far into the edges, because after you get all the way around you will adjust them and see that WOW it's sewn up on the insides!
* All I do after that is cut a ring of not too thick foam and slide in around so it's sitting between the pieces and sew around the outer edges from the outside evenly.
Remember that depending on how thick the foam will be, with the two halves you cut, one ( the bottom side ) will be the exact dimensions roughly of the mounting diameter, say in that case 70mm , and because you want to have the top arching a bit higher on the earside part, that circle should be a bit bigger ( not too much ) to allow it to expand over the foam, That will allow the top earside to bulge over the stuffing of your choice, just don't use too many cranberries or poultry seasoning.... Have a look as you stitch around the outer edges you will have to slightly bunch up a bit of the top larger side other wise it will at the end be a huge warped mess ( compensating for the larger outer diameter of the top leather ring.
Both center holes can be the same size, but also because you will lose a bit to the folded back stitching from the inside( however far in from the edge you stitch the interior hole ), cut those holes a hair smaller than what you want to end up with.
Does that help? It's what I have found easiest. This avoids stitching a thing that you have to cram foam into after. I'll post pics. have to do another one now.
AND cutting foam is easy too. All you need is one of those smaller exacto knives with a sharp/brand new blade on it. Just work your way slowly around the outside of it to cut the height in half, after you slice out the basic dimensions. I find it easiest to press it down with a tin lid or something that's actually the same diameter of what you want then trace around it.
Sharp thin bladed exacto is the way to go there.
I honestly think the reason there is an extra flap there on the bottom is that they sourced the original pads from something that would otherwise have used that flap to go around something originally. It's whatever the oem pad manufacturer had. I found that on a couple things. If you use decent thin double sided tape it won't matter, so don't worry about incorporating that into a hand sewn pad setup. Too confusing at this point.