My TRRS mod for the T50RP
[Updated Feb 2015]
I've been watching from the sidelines for a while, and finally got some T50RPs to do some modding, inspired by all those who blazed the trail.
While doing the BMF mod, I thought, why not make it balanced? So I dug around.
I looked at robrob's excellent
site on rewiring and he mentioned that he had thought to wire the mini-XLR4 to the 3.5mm socket to have both options available; however, he went on to say that it's not feasible because the 3.5mm is single-ended and might cause some nasty effects:
"Originally I was planning to leave the headphone's standard 1/8 inch (3.5mm) connector in place for flexibility and solder the 4 new balanced wires to the 3.5mm jack inside the ear cup but when I opened the headphones I realized the 3.5mm jack combines the two negative signal lines (both headphone white wires are connected together at the jack) which would cause a problem for the balanced line."
So I thought, what if the 3.5mm socket is changed to a TRRS one?
Making it a TRRS socket would give you the option to have both single-ended using an ordinary 3-pole male-male extension cable for non-balanced amps, or have it balanced using a TRRS-TRRS cable (or custom TRRS-XLR4). Also, it may be redundant but you can connect a mini XLR4 socket to it as well without fear of shorting your headphones (or amp).
And so I proceeded to do the following:
1) Remove the original 3.5 TRS socket.

I used a sharp pair of metal tweezers to unscrew the ring that holds the socket in place. I tried a pair of mini screw drivers (the kind you use to repair glasses) to rotate the ring off, and that seems to work too. (If it still doesn't budge, you can try Step #2 below to just snip the whole frame + socket off with some cutters...but you have to be careful because there's not a lot of room to work with.)
It looks like this when completed:

and the inside, with the plastic frame that steadies the original socket:

Then I tried to use one of the "4-pole 3.5mm TRRS panel mount" (which you can search in Google). I got mine off ebay, but I believe Digi-Key.com has the same (Part #CP5-43502PM-ND).
When I put it through the 3.5mm hole in the frame, it didn't exactly fit. The nut was too big, and I wasn't able to re-use the original ring from the 3-pole socket that came with the Fostex.
But, the TRRS socket was an OK fit around the exterior hole of the cup, so I did what most (hardly) sensible DIYer would do and remove the inner socket frame of the cup.
2) With a pair of angled cutters, I began to work on the socket frame from the inside of the cup. WARNING: this takes a bit of gentle strength to slowly cut/gnaw away with the cutters.
I don't have any pictures of this process, but I can report that I got most of the plastic socket frame off.
With a pair of cuticle cutters (cheaper than proper tools) I was able to trim the remaining bits of plastic and have the inside cup floor flushed.
Tools pictured:
cutter $5-$10
cuticle cutter $3-5

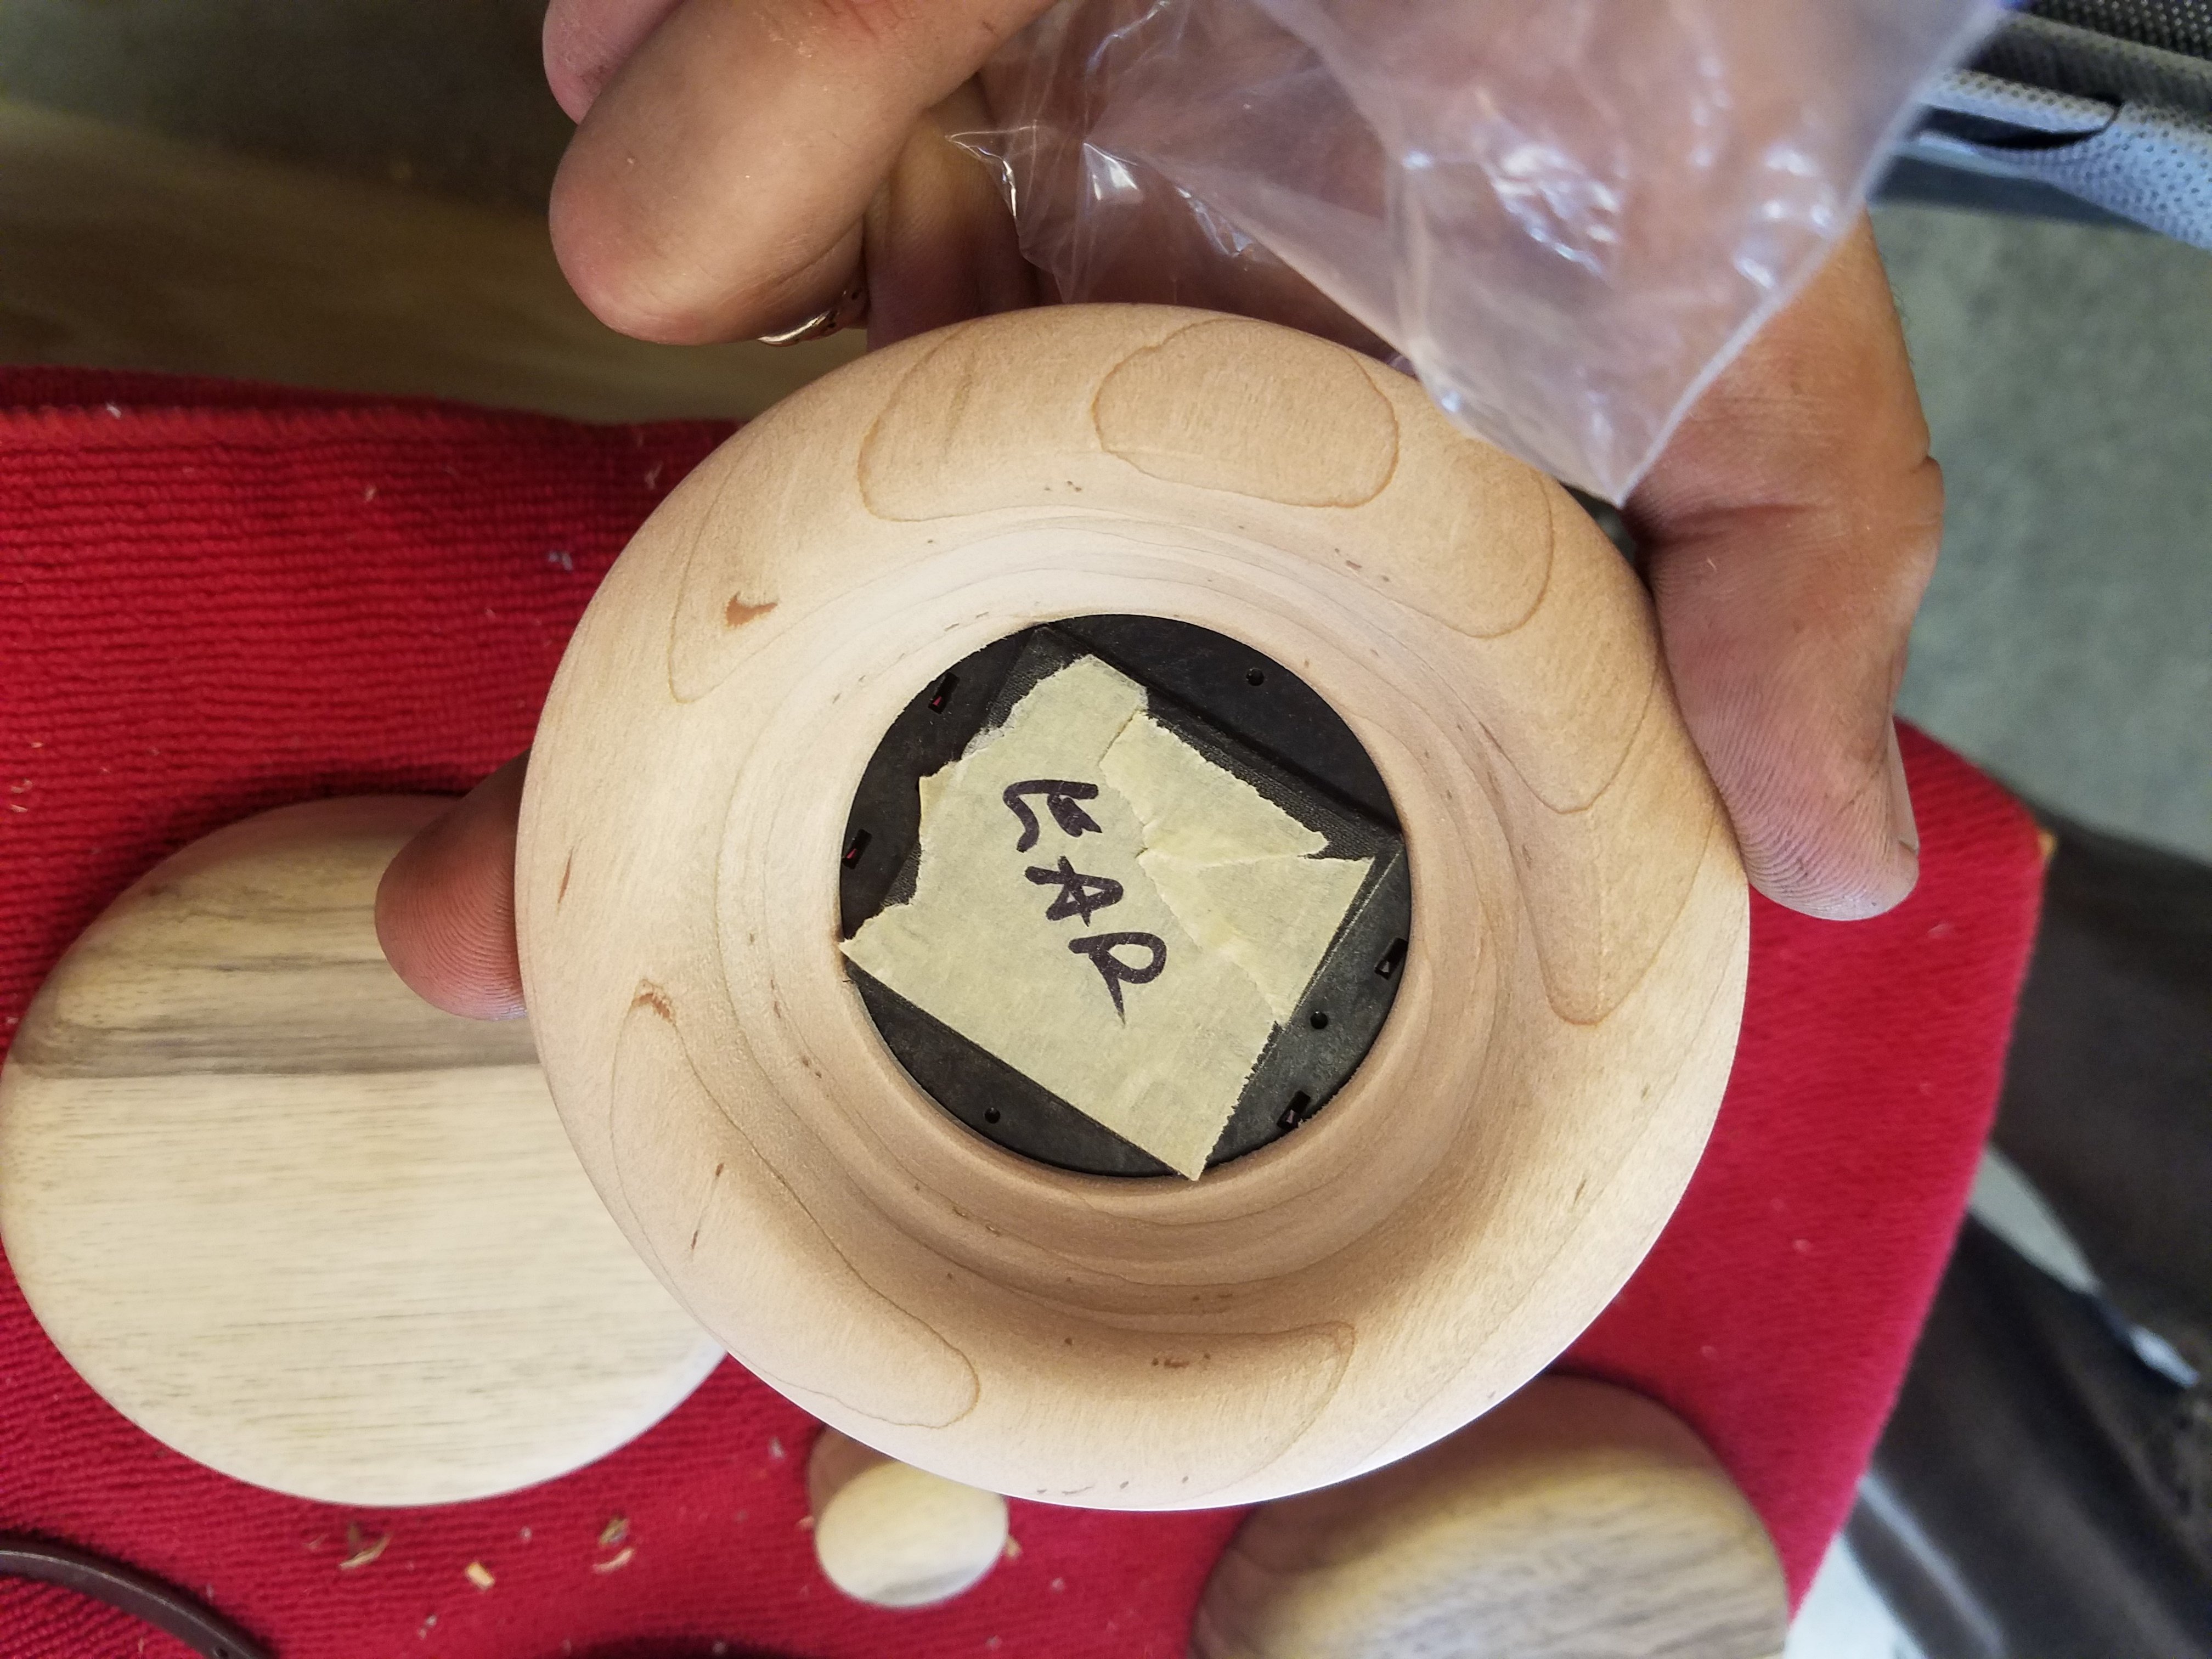
3) Then I installed the TRRS panel mount socket into the cup:

A decent fit!
The notches that are supposed to "lock" in the Fostex supplied cables show a bit, but the hex nut that came with the TRRS socket would cover those fairly well with some careful aligning.
With the hex nut screwed on to the socket, the socket opening with the nut just sit flush to the top of the threads.
What I did was then use some hot glue (or epoxy, or whatever you like) to keep the panel mount socket steady.
The wiring (based on Hifiman's TRRS jack):
[EDITED below for the numbering to correspond with mini-XLR4]
top left is Left - (#2 in centre diagram)
top right is Right - (#4)
upper middle is Right + (#3)
bottom middle (jutting out of metal barrel) is Left + (#1)
See quick diagram on my numbering referencing the XLR4 (the numbering on the TRRS socket is mine--it's not standardized):

I did the mapping to later install a mini-XLR4 socket as well.
WARNING: be careful and double check with a multimeter! The socket has a very tiny mark on the plastic part that shows #1 and #2. Of course, these are not corresponding to the numbering of XLR4's...so if you go strictly by the numbers on XLRs, you might have potential problems when you plug in your headphones to the amp. Also, the above info was based on my notes, so TEST YOURSELF to make sure that the wiring is right in case I transcribed the information incorrectly! Check
here for the TRRS jack for reference.
You can now add an mini-XLR4 socket to wire as a bridge to the TRRS socket if you like, giving you the flexibility of either using a XLR4, TRRS male jack, or just a 3.5mm TRS (make sure both end of your cable is 3-pole).
4) Balancing things out (for TRRS or mini-XLR4)
So, now you have one ear cup ready for taking in balanced wiring. But for balanced cables, you need 4 wires of equal lengths for both the right and left drivers, each side covering for both positive and negative flow. You need wires for R+, R-, L+, L-.
What Fostex did was have a wire run through the band to feed signals from the original left cup socket to the right cup. I suppose this is fine for TRS, and given that the supplied cable is long. However, the length of wire that runs through the headband is over 65cm/2ft! If the length of your cable is 10 feet, theres a discrepancy between right and left of ~8%, but if you plan to use a shorter cable (especially to a portable amp) of 4ft, the discrepancy is 33%! (I know, energy travels fast and the latency between right and left is probably indiscernible, but this is hifi we're talking, so I'm just going to do what any (hardly) sensible DIYer will do...)
To run a balanced set of headphones (or even single-ended), you should minimize the length discrepancy between left and right drivers.
Having measured the length (approximate) of wire between the left and right (about 65cm/2ft), I took some wires (roughly 30AWG) and extended the right ear cup wires. The left ear cups already have the wires going on top of the band.

To make them prettier (and less susceptible to interference inside) I braided them. Then I wound them around the cup, filled in with cotton/FG, etc.
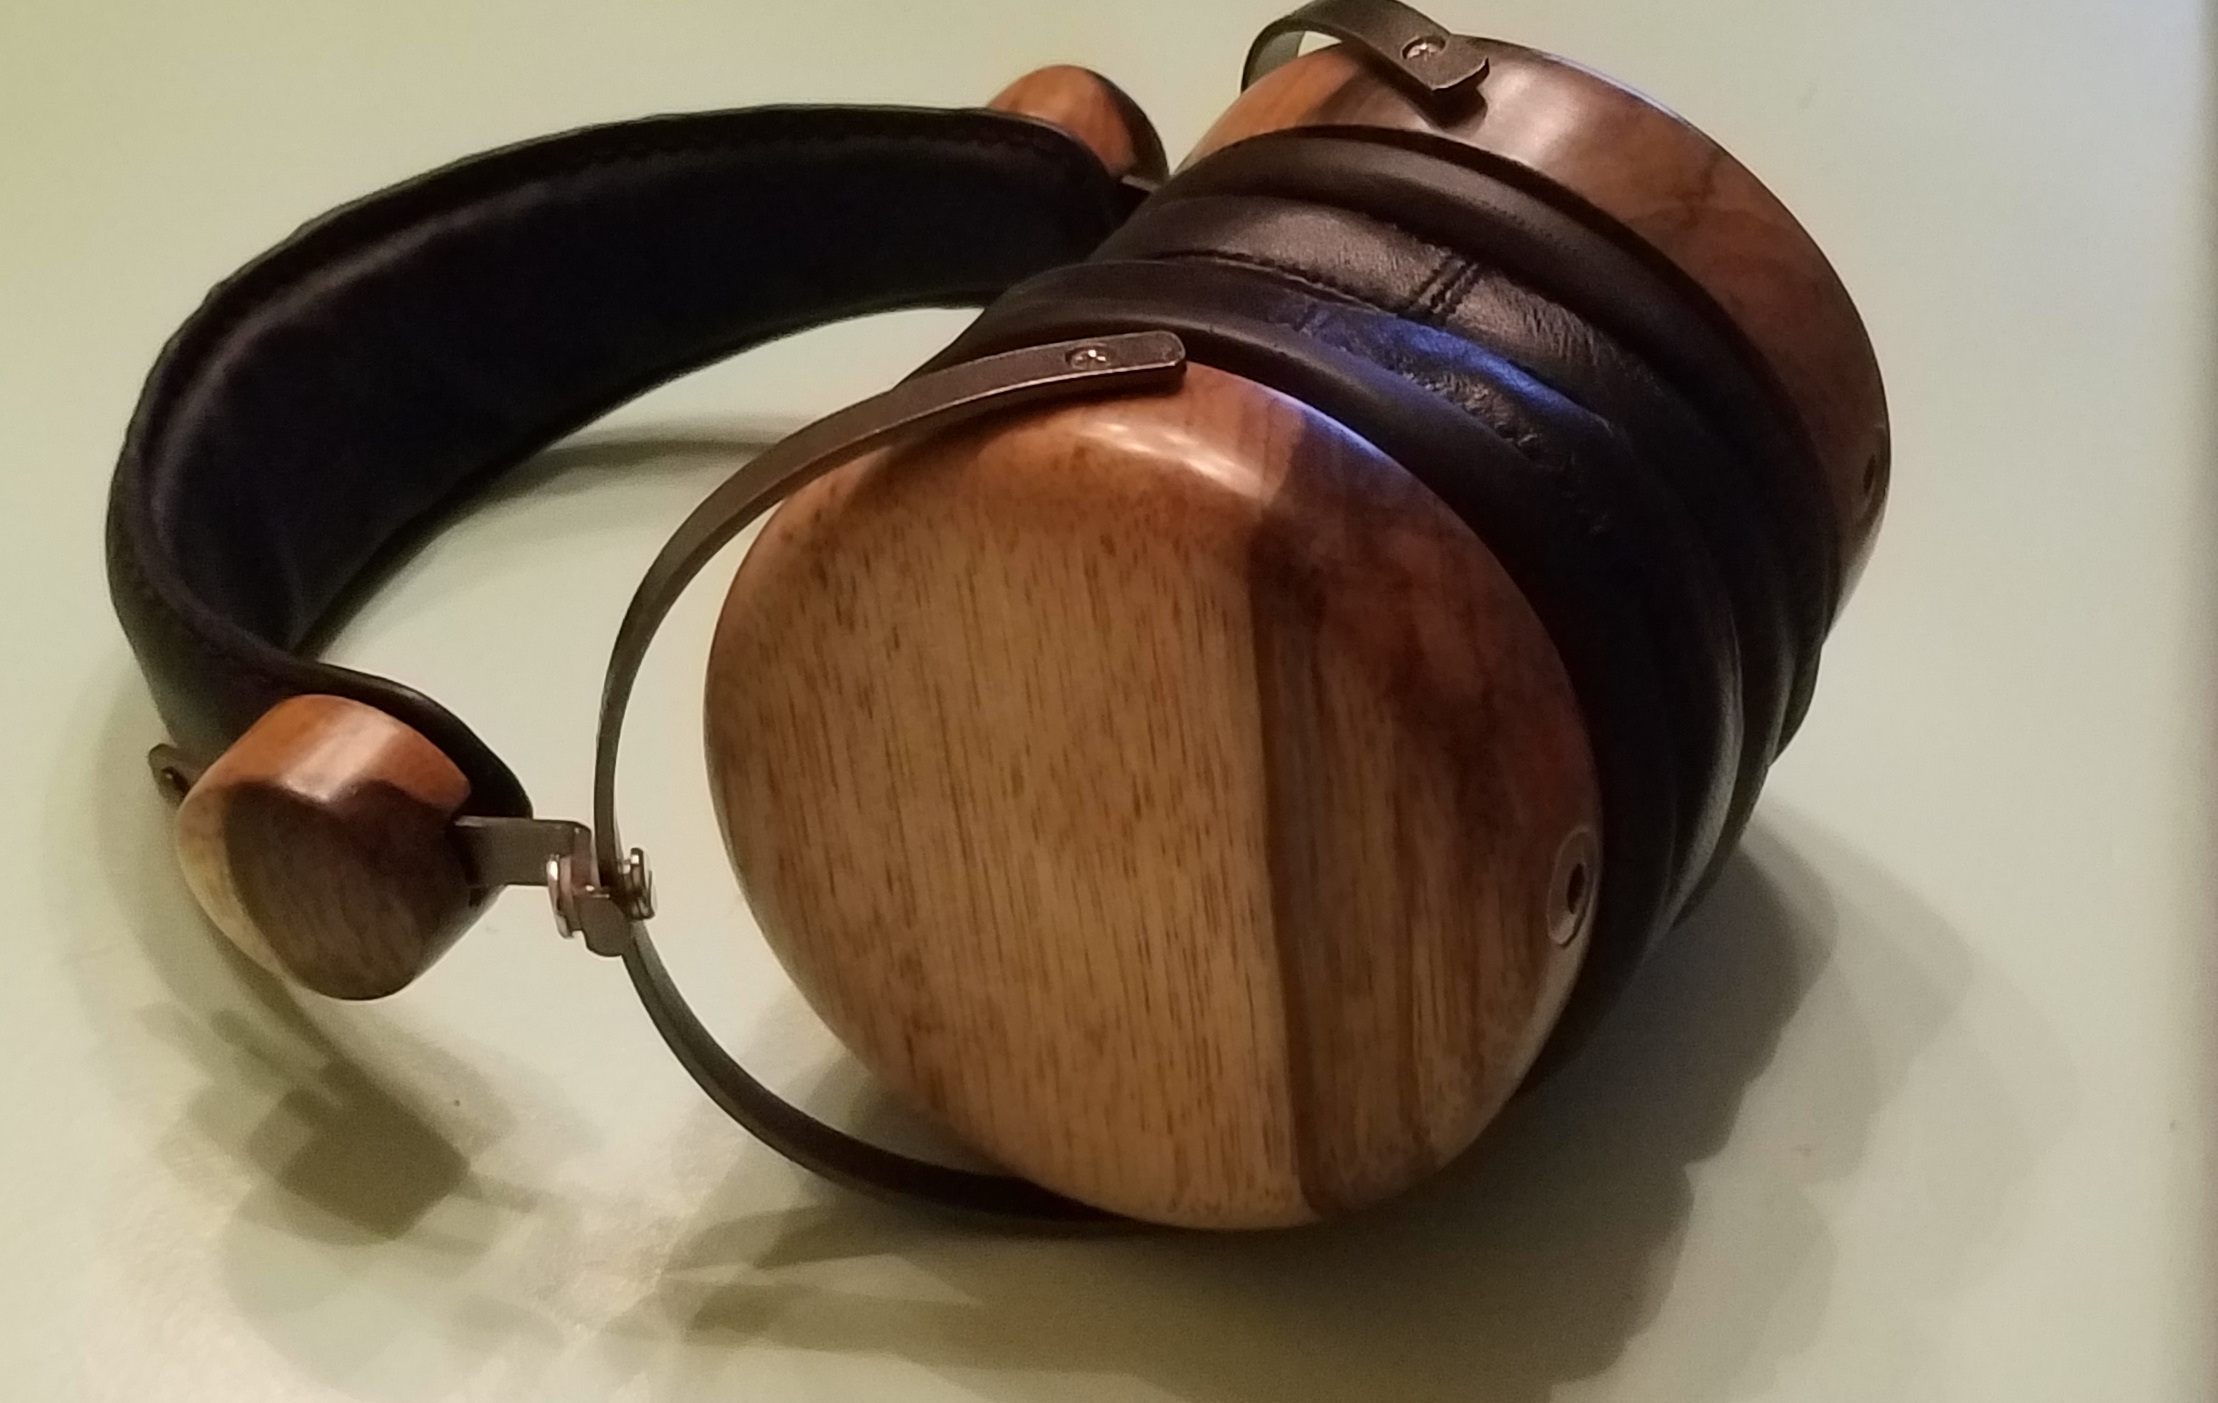
FINALLY:
So, the final product works with the original Fostex cable (as single ended) because the 3rd and 4th pole are combined in the regular TRS (single R):

You can also use a regular 3-pole 3.5mm male to male cable (like the popular V Moda audio cable) for plugging into a single-ended amp with a 3.5mm socket.
And for balance, I have a TRRS jack ready to be fitted:

...but now I have to wire the TRRS jack to an male XLR4.
WARNING: if creating a TRRS male to TRRS male cable, you might find problems using it on your iPhone which thinks the 4th pole is for the mic. TRRS-TRRS cable is only for amps that support the balanced configuration.
Hope somebody out there found this useful
")
Acknowledgments: to BMF for the helpful wiki, to robrob and his website for the wiring tips for this and other mods, and pwnm30rdi3 for the inspiration of updating a 70's design...imitation is the sincerest form of flattery.
[EDIT: updated sections 3 and 4]