


parbaked
Headphoneus Supremus
- Joined
- Apr 12, 2012
- Posts
- 2,119
- Likes
- 216
Quote:
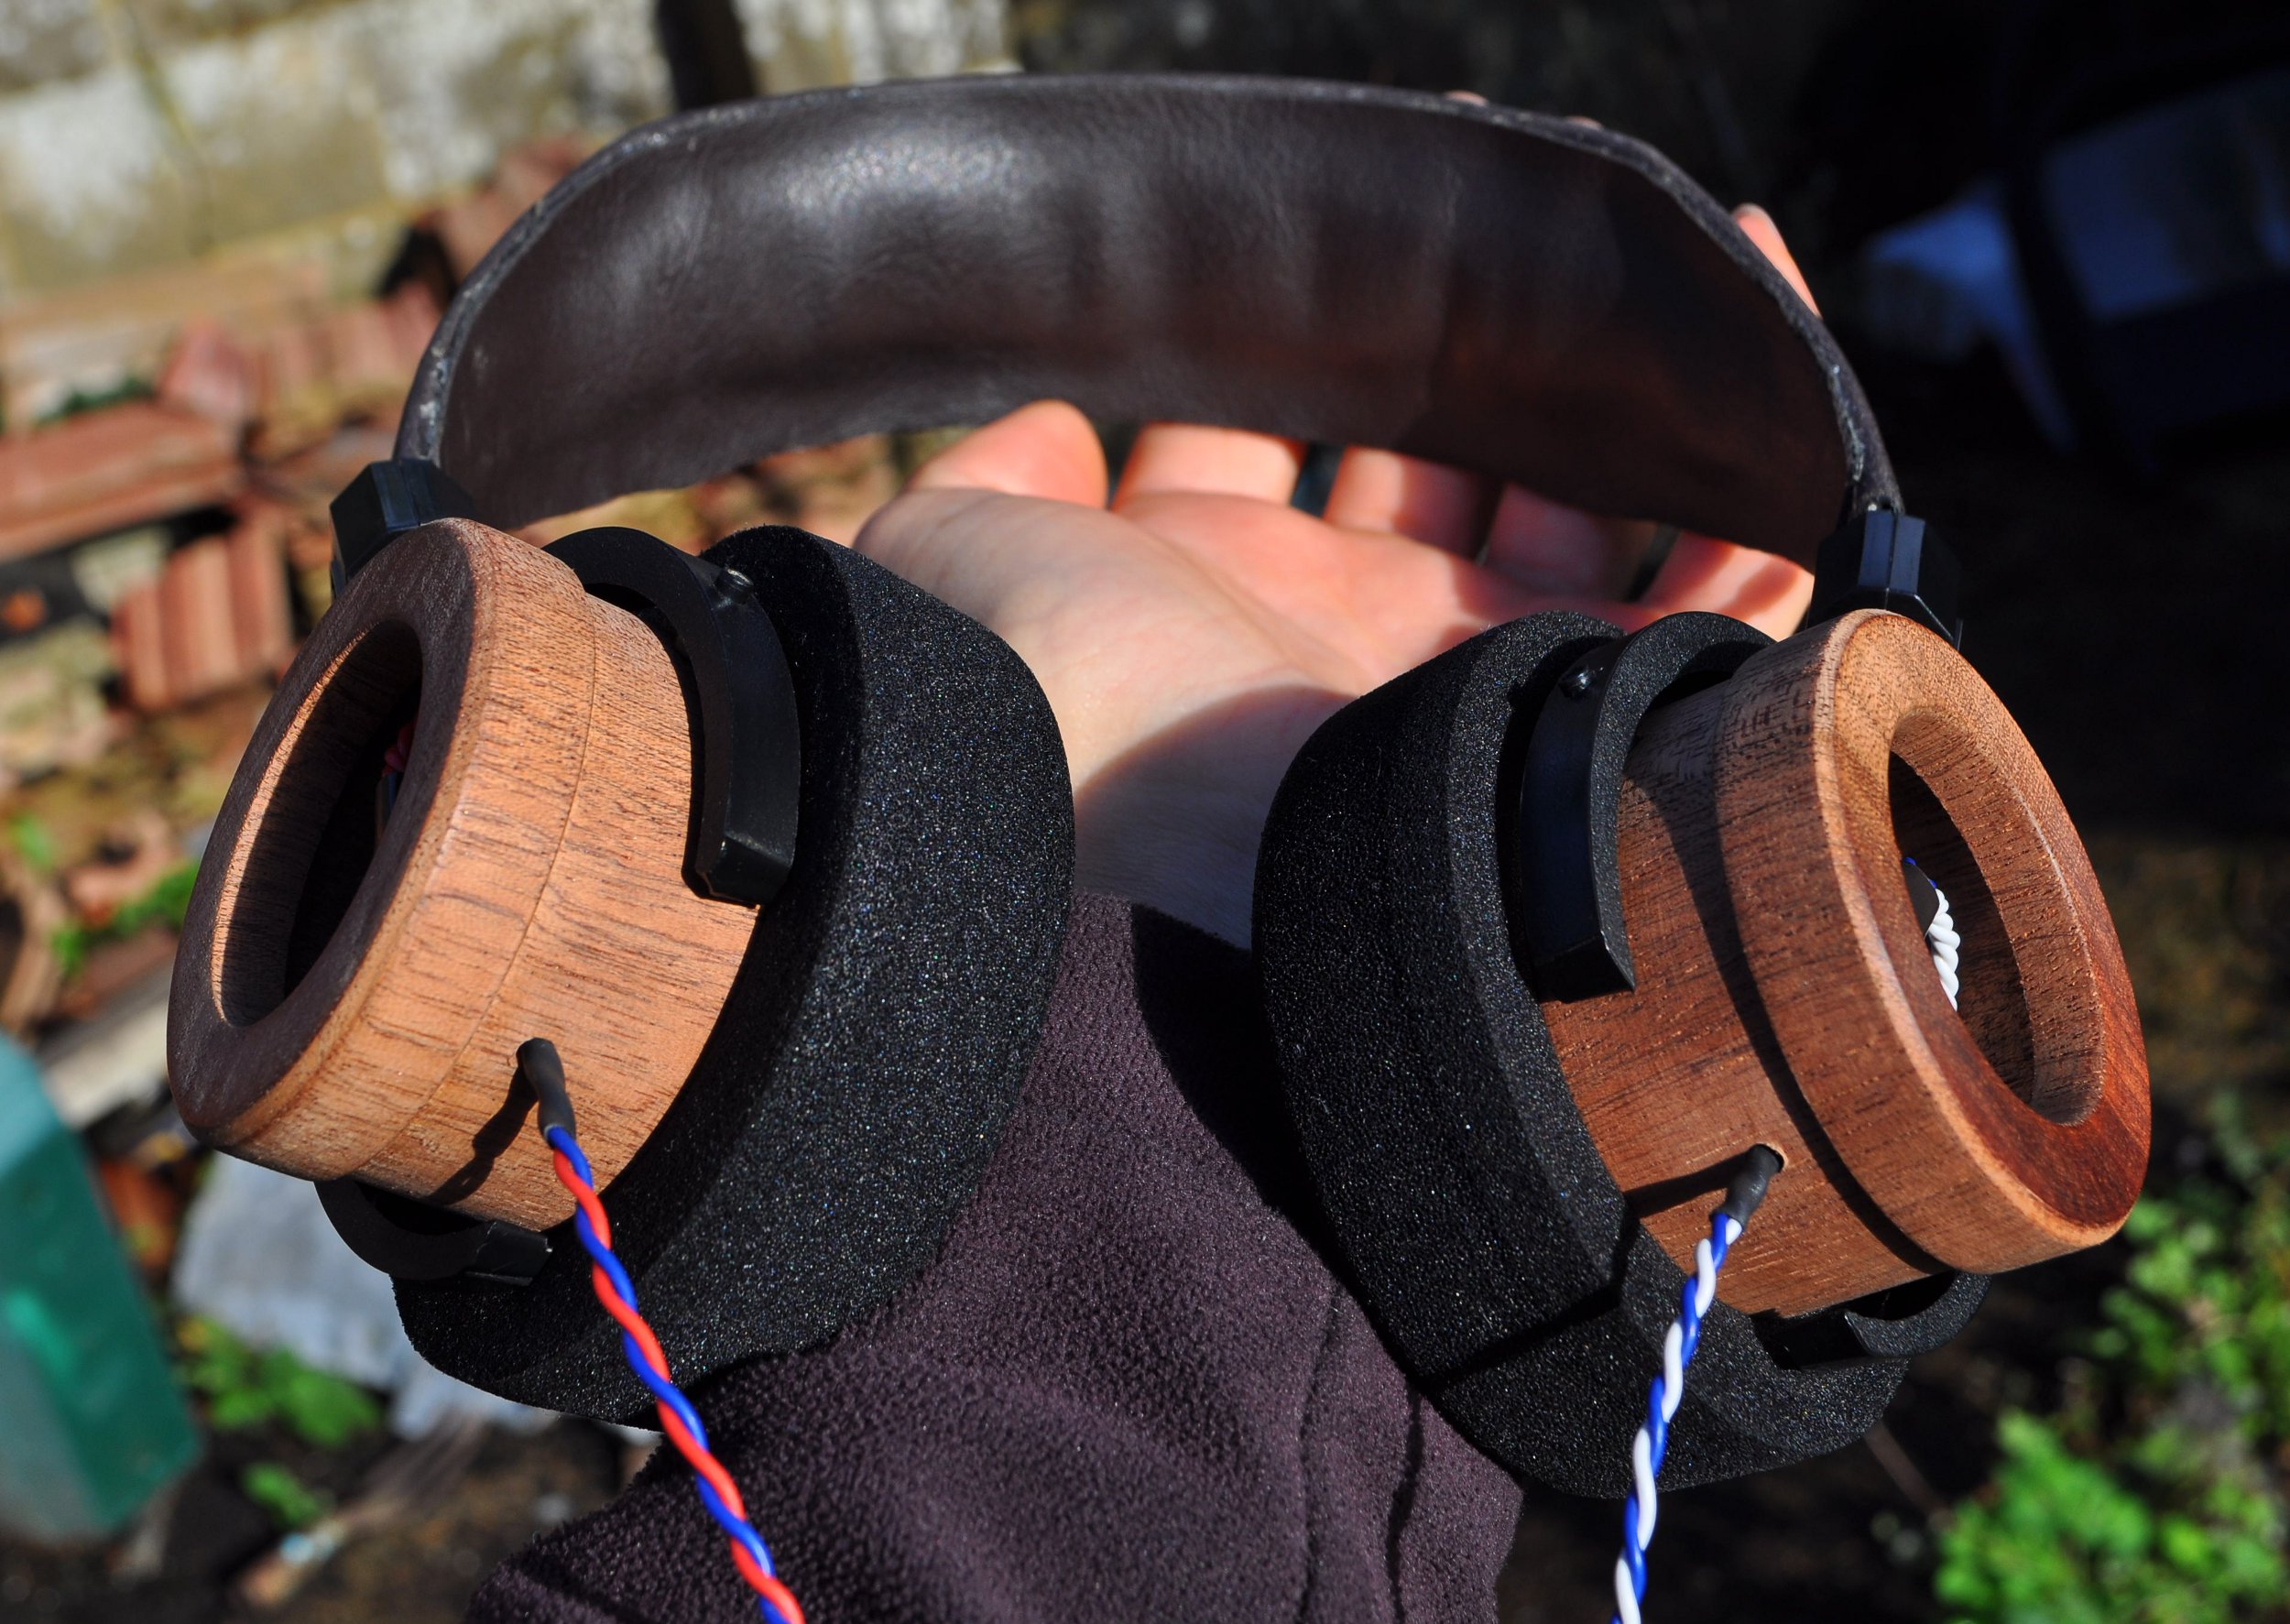
Have you considered using foam insulation tape to make the drivers fit snug? Thats what I have in my Martin Custom Audio woodies and the drivers are very snug yet can be removed to be re-wired or modded etc.
This video shows using for installation (go to 1:40 to see taping/installing drivers): http://www.youtube.com/watch?v=9A6UwkQFTdg
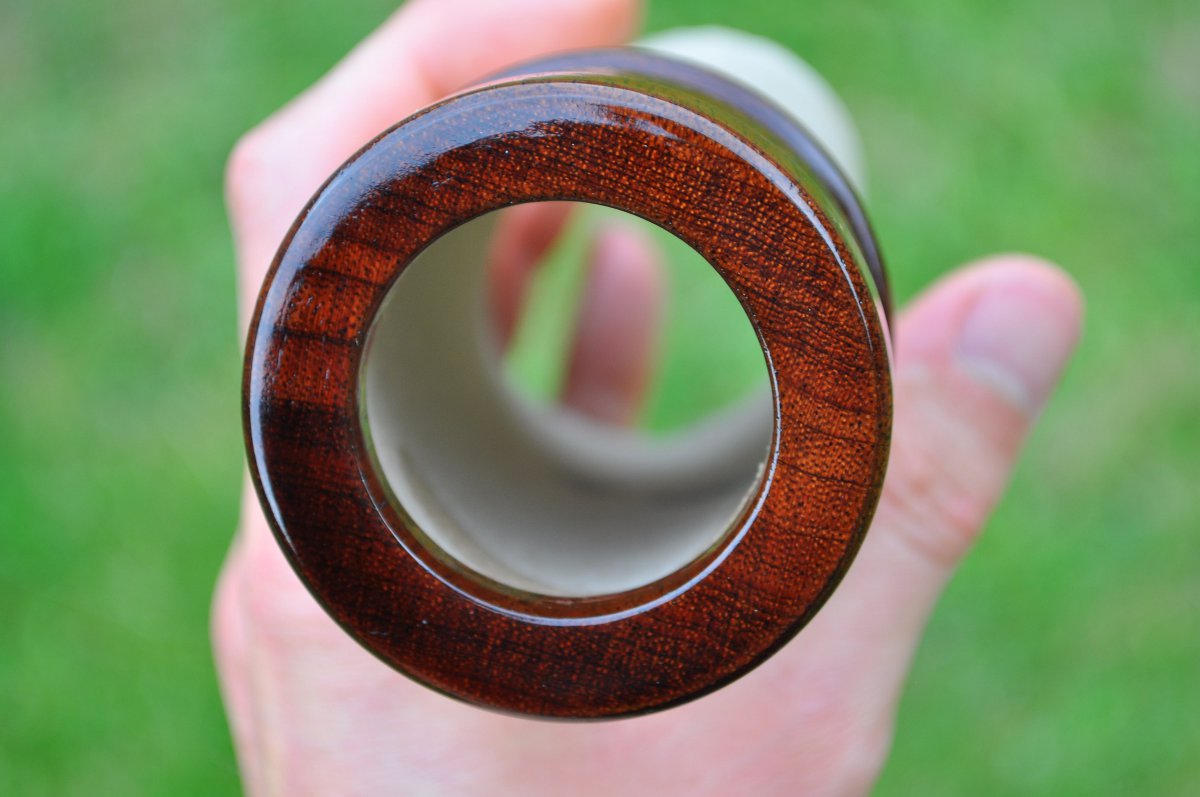
It's not apparent from the photo, but the drivers are a bit more loose in these new ones than the purple set, but that's also because the purple warped a little after i drilled out the inside. They are, however, both much better centralised.
Have you considered using foam insulation tape to make the drivers fit snug? Thats what I have in my Martin Custom Audio woodies and the drivers are very snug yet can be removed to be re-wired or modded etc.
This video shows using for installation (go to 1:40 to see taping/installing drivers): http://www.youtube.com/watch?v=9A6UwkQFTdg


