


Tangster
Headphoneus Supremus
- Joined
- Mar 28, 2012
- Posts
- 4,157
- Likes
- 161
Quote:
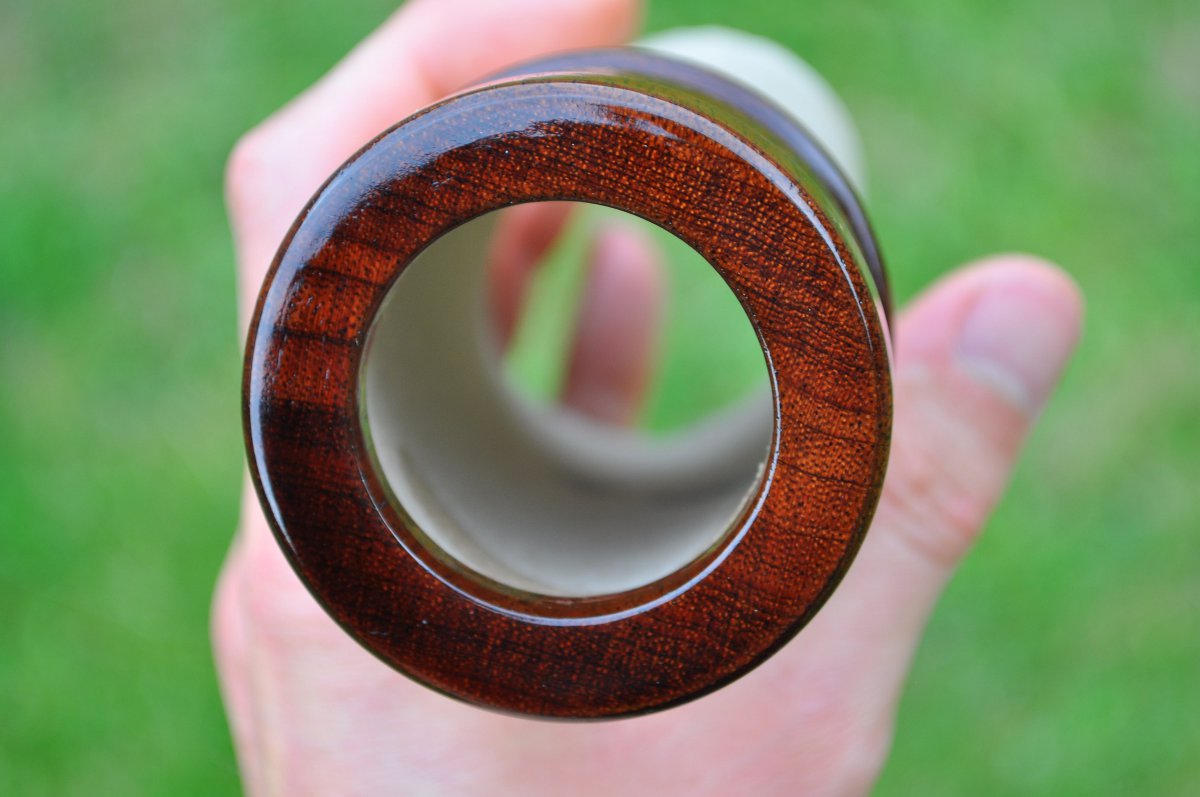
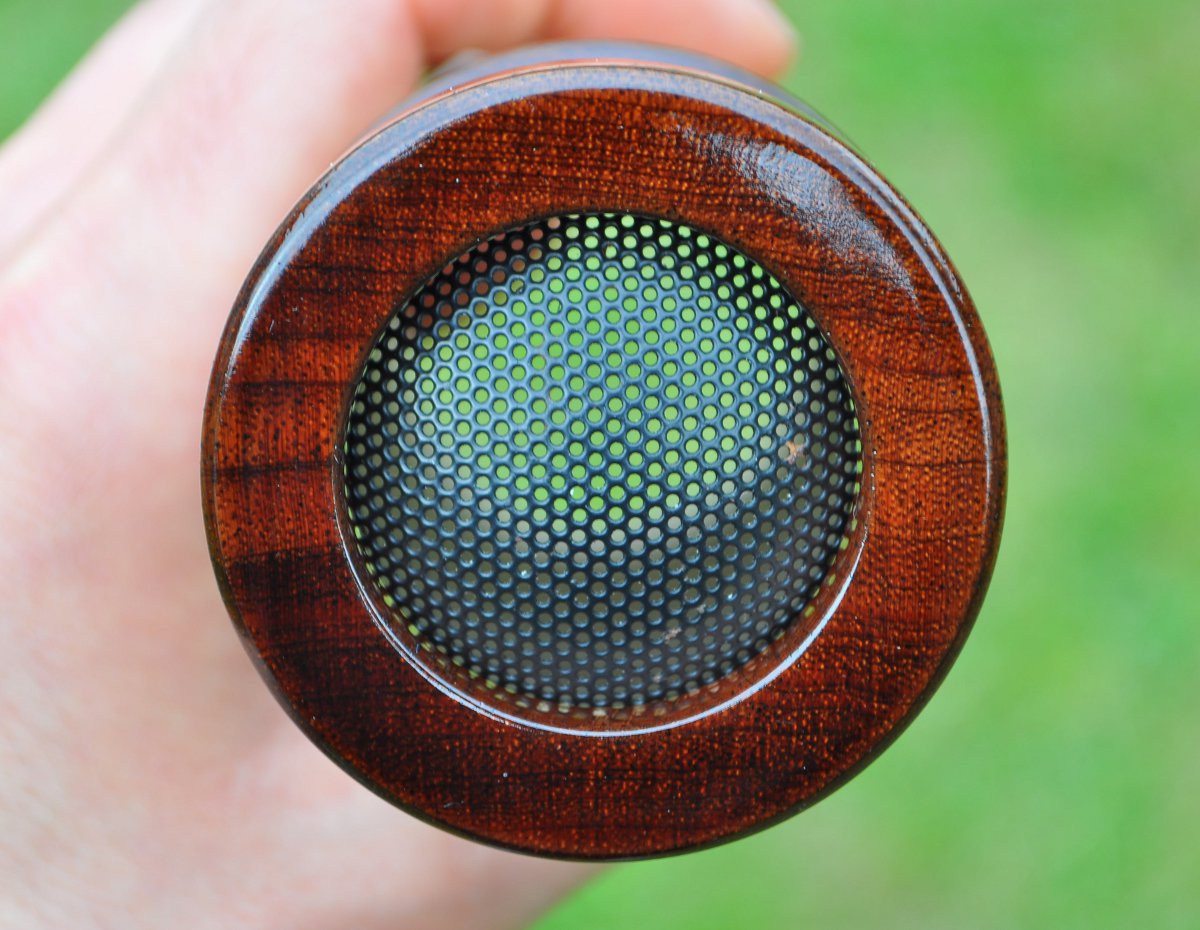
Looks like he's got plenty of that plank left.") Looks great, going to wax/varnish it or wait until the next version?
Looks great, going to wax/varnish it or wait until the next version?
seems like it was a great learning experience. Maybe you should have saved that wood, but live and learn man.
Looks like he's got plenty of that plank left.
Looks great, going to wax/varnish it or wait until the next version?

