Yeah, nice job, Brunk! I am amazed at how few through-hole components it seems you had to solder, just going by the photos you've provided. It suddenly doesn't look all that intimidating to me. (Last words...)
I've got about half as much soldering to do with this toy robot I've ordered as my first PCB soldering effort...
Yeah there is only 23 resistors per board. That little robot looks like an excellent first project because some of the holes are close together, and it has alot of different types of parts to help learn schematics. Good choice!
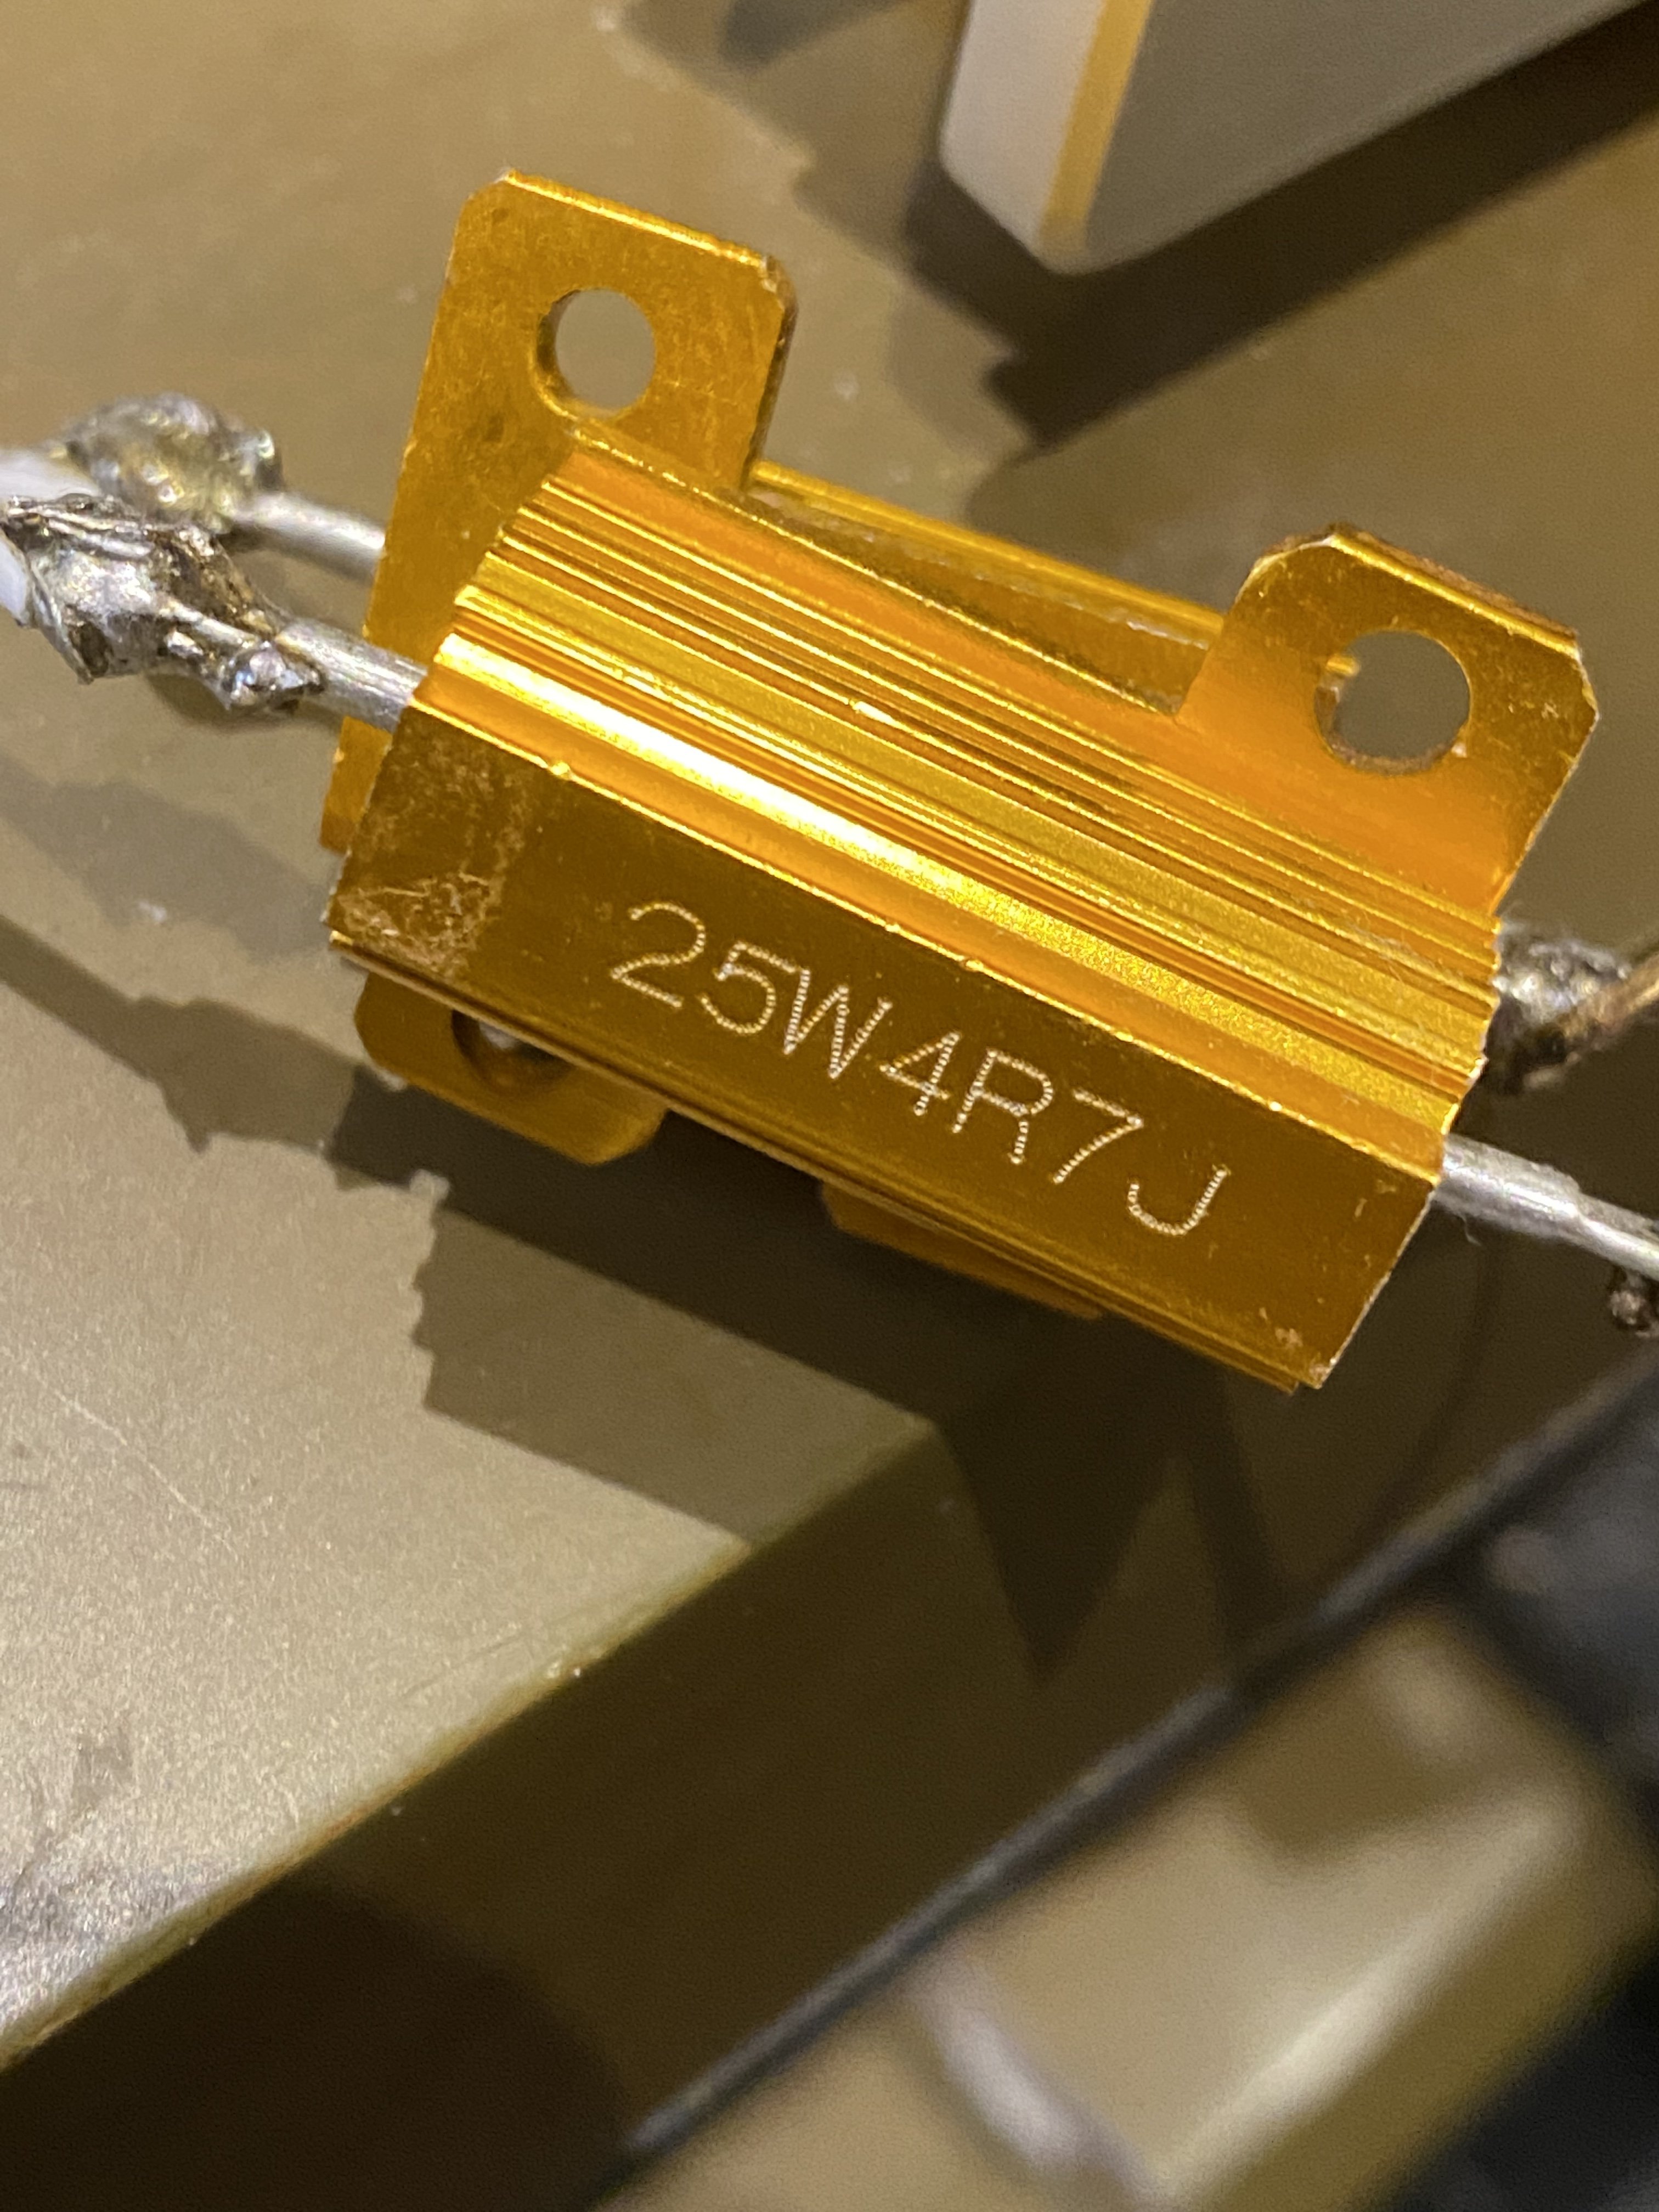
Burn marks? I didnt burn anything. Maybe you're seeing some residual flux residue somewhere? Or maybe you're seeing the shadows of the FETs from the back-lighting?Thanks Chris.
New foam for the case arrived yesterday. I've managed to get it all into case in a way that leaves all of the banana plugs connected and ready for use. I didn't think the case could be closed with the MG3 and the 25.2V LiPo battery upright, but it does. Yay!
1) Open the case
2) Connect headphone cable to LCD-2's mini-XLRs
3) Connect the LiPo battery and attach alarm/monitor
4) Connect interconnect cable to PCM-M10
5) Turn on the MG3 and listen to music!
Burn marks? I didnt burn anything. Maybe you're seeing some residual flux residue somewhere? Or maybe you're seeing the shadows of the FETs from the back-lighting?Thanks Chris.
Very nice! Though I must admit that i lol'd when i imagined you taking this through airport security with all those little wires, black boxes and small devices hehe.
Quote:
New foam for the case arrived yesterday. I've managed to get it all into case in a way that leaves all of the banana plugs connected and ready for use. I didn't think the case could be closed with the MG3 and the 25.2V LiPo battery upright, but it does. Yay!
1) Open the case
2) Connect headphone cable to LCD-2's mini-XLRs
3) Connect the LiPo battery and attach alarm/monitor
4) Connect interconnect cable to PCM-M10
5) Turn on the MG3 and listen to music!
I'll be using this lovely case from the DiyAudio store, I snatched the last one in stock Just like the rest of the build, it's slightly overkill too hehe, less heat for the components the better though. The extra price premium is much worth it IMO, because I certainly can't compete with a CNC machine, not to mention that future First Watt boards are ridiculously easy to swap thanks to the mounting specs.
Burn marks? I didnt burn anything. Maybe you're seeing some residual flux residue somewhere? Or maybe you're seeing the shadows of the FETs from the back-lighting?Thanks Chris.
This site uses cookies to help personalise content, tailor your experience and to keep you logged in if you register.
By continuing to use this site, you are consenting to our use of cookies.


")


