Jun 6, 2025 at 1:25 AM Post #27,316 of 27,319
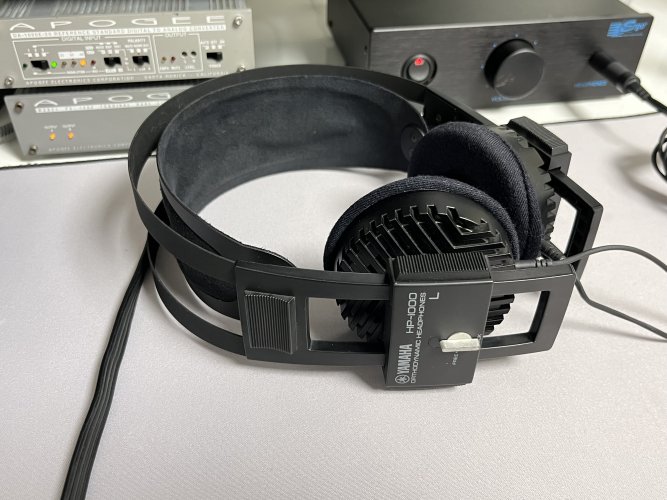
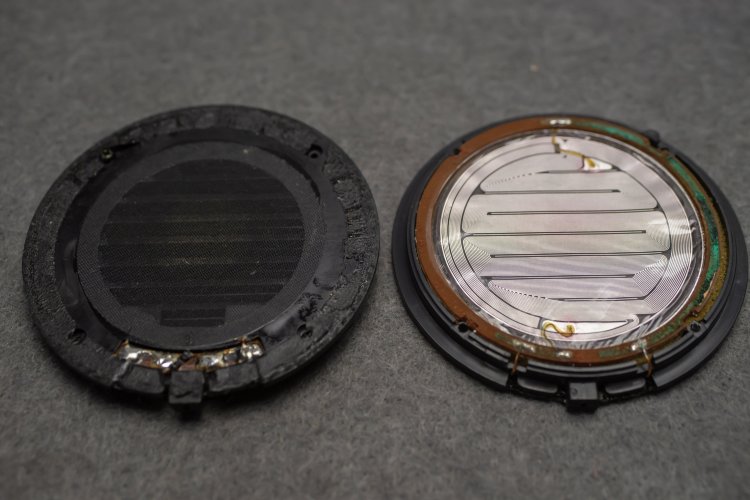
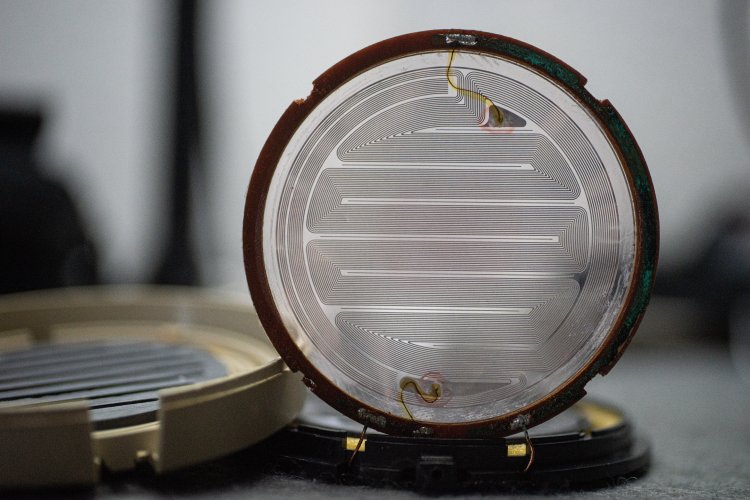
Was doing some maintenance over the past few days.
I really believe Yamaha had some of the best engineers working on their 70s headphones.
The mechanical clutch system for adjusting the cup sliders is just beautiful.

20250604_093534.jpg
20250604_095338.jpg

How did you disassemble the ball joint?
Unfortunately mine was broken 😞

I need to repair them but I have a problem in disassemble this part
 
Jun 6, 2025 at 1:47 AM Post #27,317 of 27,319
How did you disassemble the ball joint?
Unfortunately mine was broken 😞

I need to repair them but I have a problem in disassemble this part
1 - Set the slide-adjuster switch to the LOCK position
2 - Use a sewing needle to pry up the tiny screw-hole cover (top left red circle), using the switch as a lever point (glue is rubbery, may need a drop of alcohol, or some heat to soften up)
3 - Unscrew and remove the crosshead screw in the hole (right red circle)
4 - Poke a very thin hex-screw-driver or pin-punch tool to carefully PUSH out the ball joint from the other side through this hole - it just needs a little force
 
Last edited:
Jun 6, 2025 at 4:25 AM Post #27,318 of 27,319
1 - Set the slide-adjuster switch to the LOCK position
2 - Use a sewing needle to pry up the tiny screw-hole cover (top left red circle), using the switch as a lever point (glue is rubbery, may need a drop of alcohol, or some heat to soften up)
3 - Unscrew and remove the crosshead screw in the hole (right red circle)
4 - Poke a very thin hex-screw-driver or pin-punch tool to carefully PUSH out the ball joint from the other side through this hole - it just needs a little force
@rx170ec If you want to remove the other end stuck in the cup, unfortunately you need to also open up the cup, and remove the central part of the damping under there and unscrew the dish. IF you want/need to do this, be very careful not to compress or reform the egg coloured yellow and white damping materials, it requires utmost care or itll deform.


How many joints do you have broken? give me a DM
 
Jun 6, 2025 at 2:34 PM Post #27,319 of 27,319
1 - Set the slide-adjuster switch to the LOCK position
2 - Use a sewing needle to pry up the tiny screw-hole cover (top left red circle), using the switch as a lever point (glue is rubbery, may need a drop of alcohol, or some heat to soften up)
3 - Unscrew and remove the crosshead screw in the hole (right red circle)
4 - Poke a very thin hex-screw-driver or pin-punch tool to carefully PUSH out the ball joint from the other side through this hole - it just needs a little force

Thanks I removed it successfully!!
 

Users who are viewing this thread

Back
Top