Quote:
Originally Posted by Lazarus Short
What would anyone suggest that I do to mod it, specifically?? Thanks in advance.
|
Surprisingly little, actually. (All photos by
Joop Nijenhuis.)
1) Cut out two discs of cheap acrylic (aka "craft") felt, one 55mm, the other 52mm. This is the stuff that's less than a dollar from the fabric store.
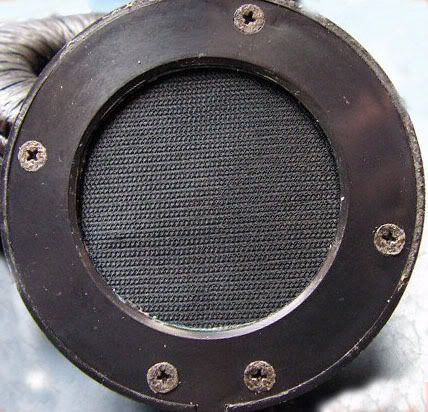
Scroll down to the bottom of the page and refer to the last row of photos on
Refurbish Yamaha HP-1 headphone to get an idea of what you'll see when you lift the
baffle off. The
driver is the ferrite magnet sandwich, the big discy thing with the holes. The
baffle is the lid of the
cup, with a big hole in it to let the sound from the
driver come out. Take a deep breath, here we go:
2) Lay the
cup you're going to work on on its back. If you don't have it in this position, the driver will fall right out when you unscrew the
baffle.
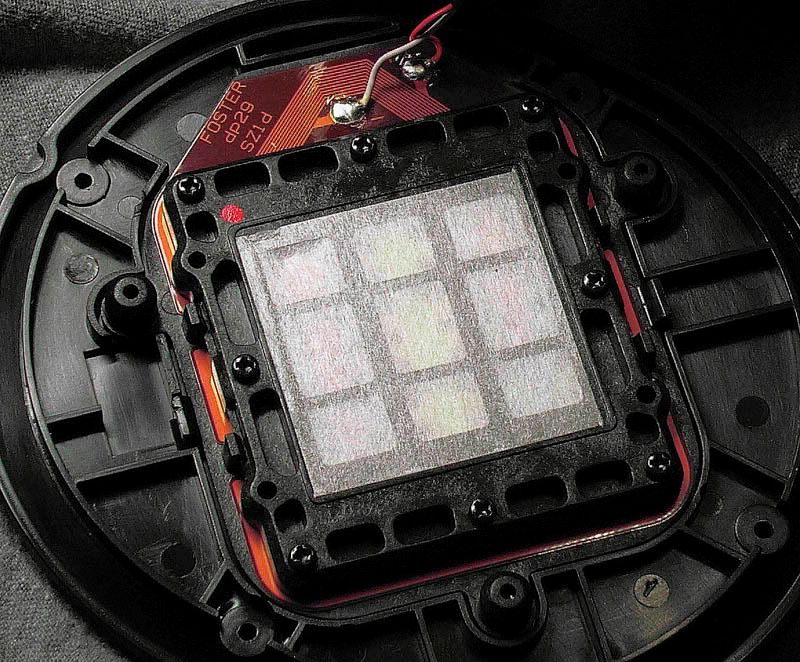
As you can see in the photo below, holding the
baffle to the
cup there are five little selftapping screws under each earpad. Don't peel off the whole earpad, just refer to the photo below and peel back the earpad just enough to get to the screws. You may find the screws covered by a thin black layer of double-sided sticky tape. Don't let this stop you.
You'll notice that Yamaha didn't put the screws where you'd expect to find them. The two that are close together are at the exact bottom, where the cable goes in. Straight up from there is "north". Yes, Yamaha was being perverse-- all the other screws are rotated about 15 degrees clockwise for no good reason.
2) Loosen the screws in a star pattern, as if you were removing a wheel from your car. The screws are very short, no pun intended, so watch out. A magnetized screwdriver helps here. Carefully lift the
baffle off. Brush off or wash the nylon mesh. Resist the urge to bleach it.
You'll notice that the
driver is surrounded by several black
felt strips. We don't want to disturb them, so don't pull or lift the driver out of the cup; rather...
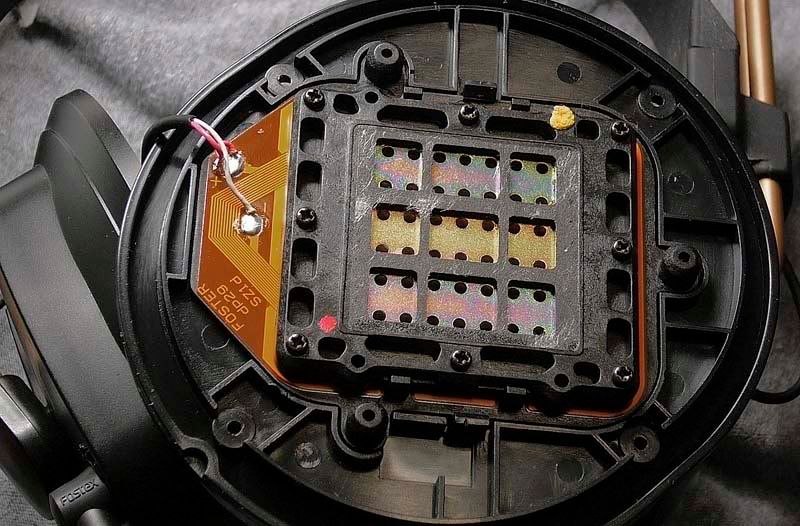
3) gently
tilt the driver and the orange
foam disc behind it just enough to slip the
52mm felt disc onto the bottom of the
cup. This is tricky, since the black
felt strips are not held in place in any way except by the
driver and the
foam. Let the
foam disc drop back; it will help hold the
felt strips in place.
Then, behind the driver, above the foam, slip in the
55mm felt disc. Align it with the driver, then let the felt drop back onto the foam. If you want electrostatic-like highs, stick a square of sticky tape to the back of the driver itself. Position it between the center and the top. Make sure the 55mm felt disc and the foam disc are lined up directly behind the driver when you...
4) ...let the
driver fall gently back down. Make sure this didn't disturb the
felt strips. They should surround the driver evenly. Tamp them down so that they rest on the bottom of the
cup.
5) Grab the
baffle, and, noting that it only goes back on one way, skootch it around on the face of the
driver to make sure the driver is centered. Then, while squeezing the
baffle and the
cup tightly together, close up the
cup, again using a star pattern.
That's it. With the YH-1, I find bass boost is often necessary, but when it comes up, it's of extraordinary quality.
Once again, thanks to Joop for taking a very useful and clear set of photos.
Keep in mind that this is just a demo, a proof-of-concept, not intended to represent the state of the modding art. It will sound good, maybe good enough to keep, but there are other things that can be done. Good luck and above all, have fun.
.