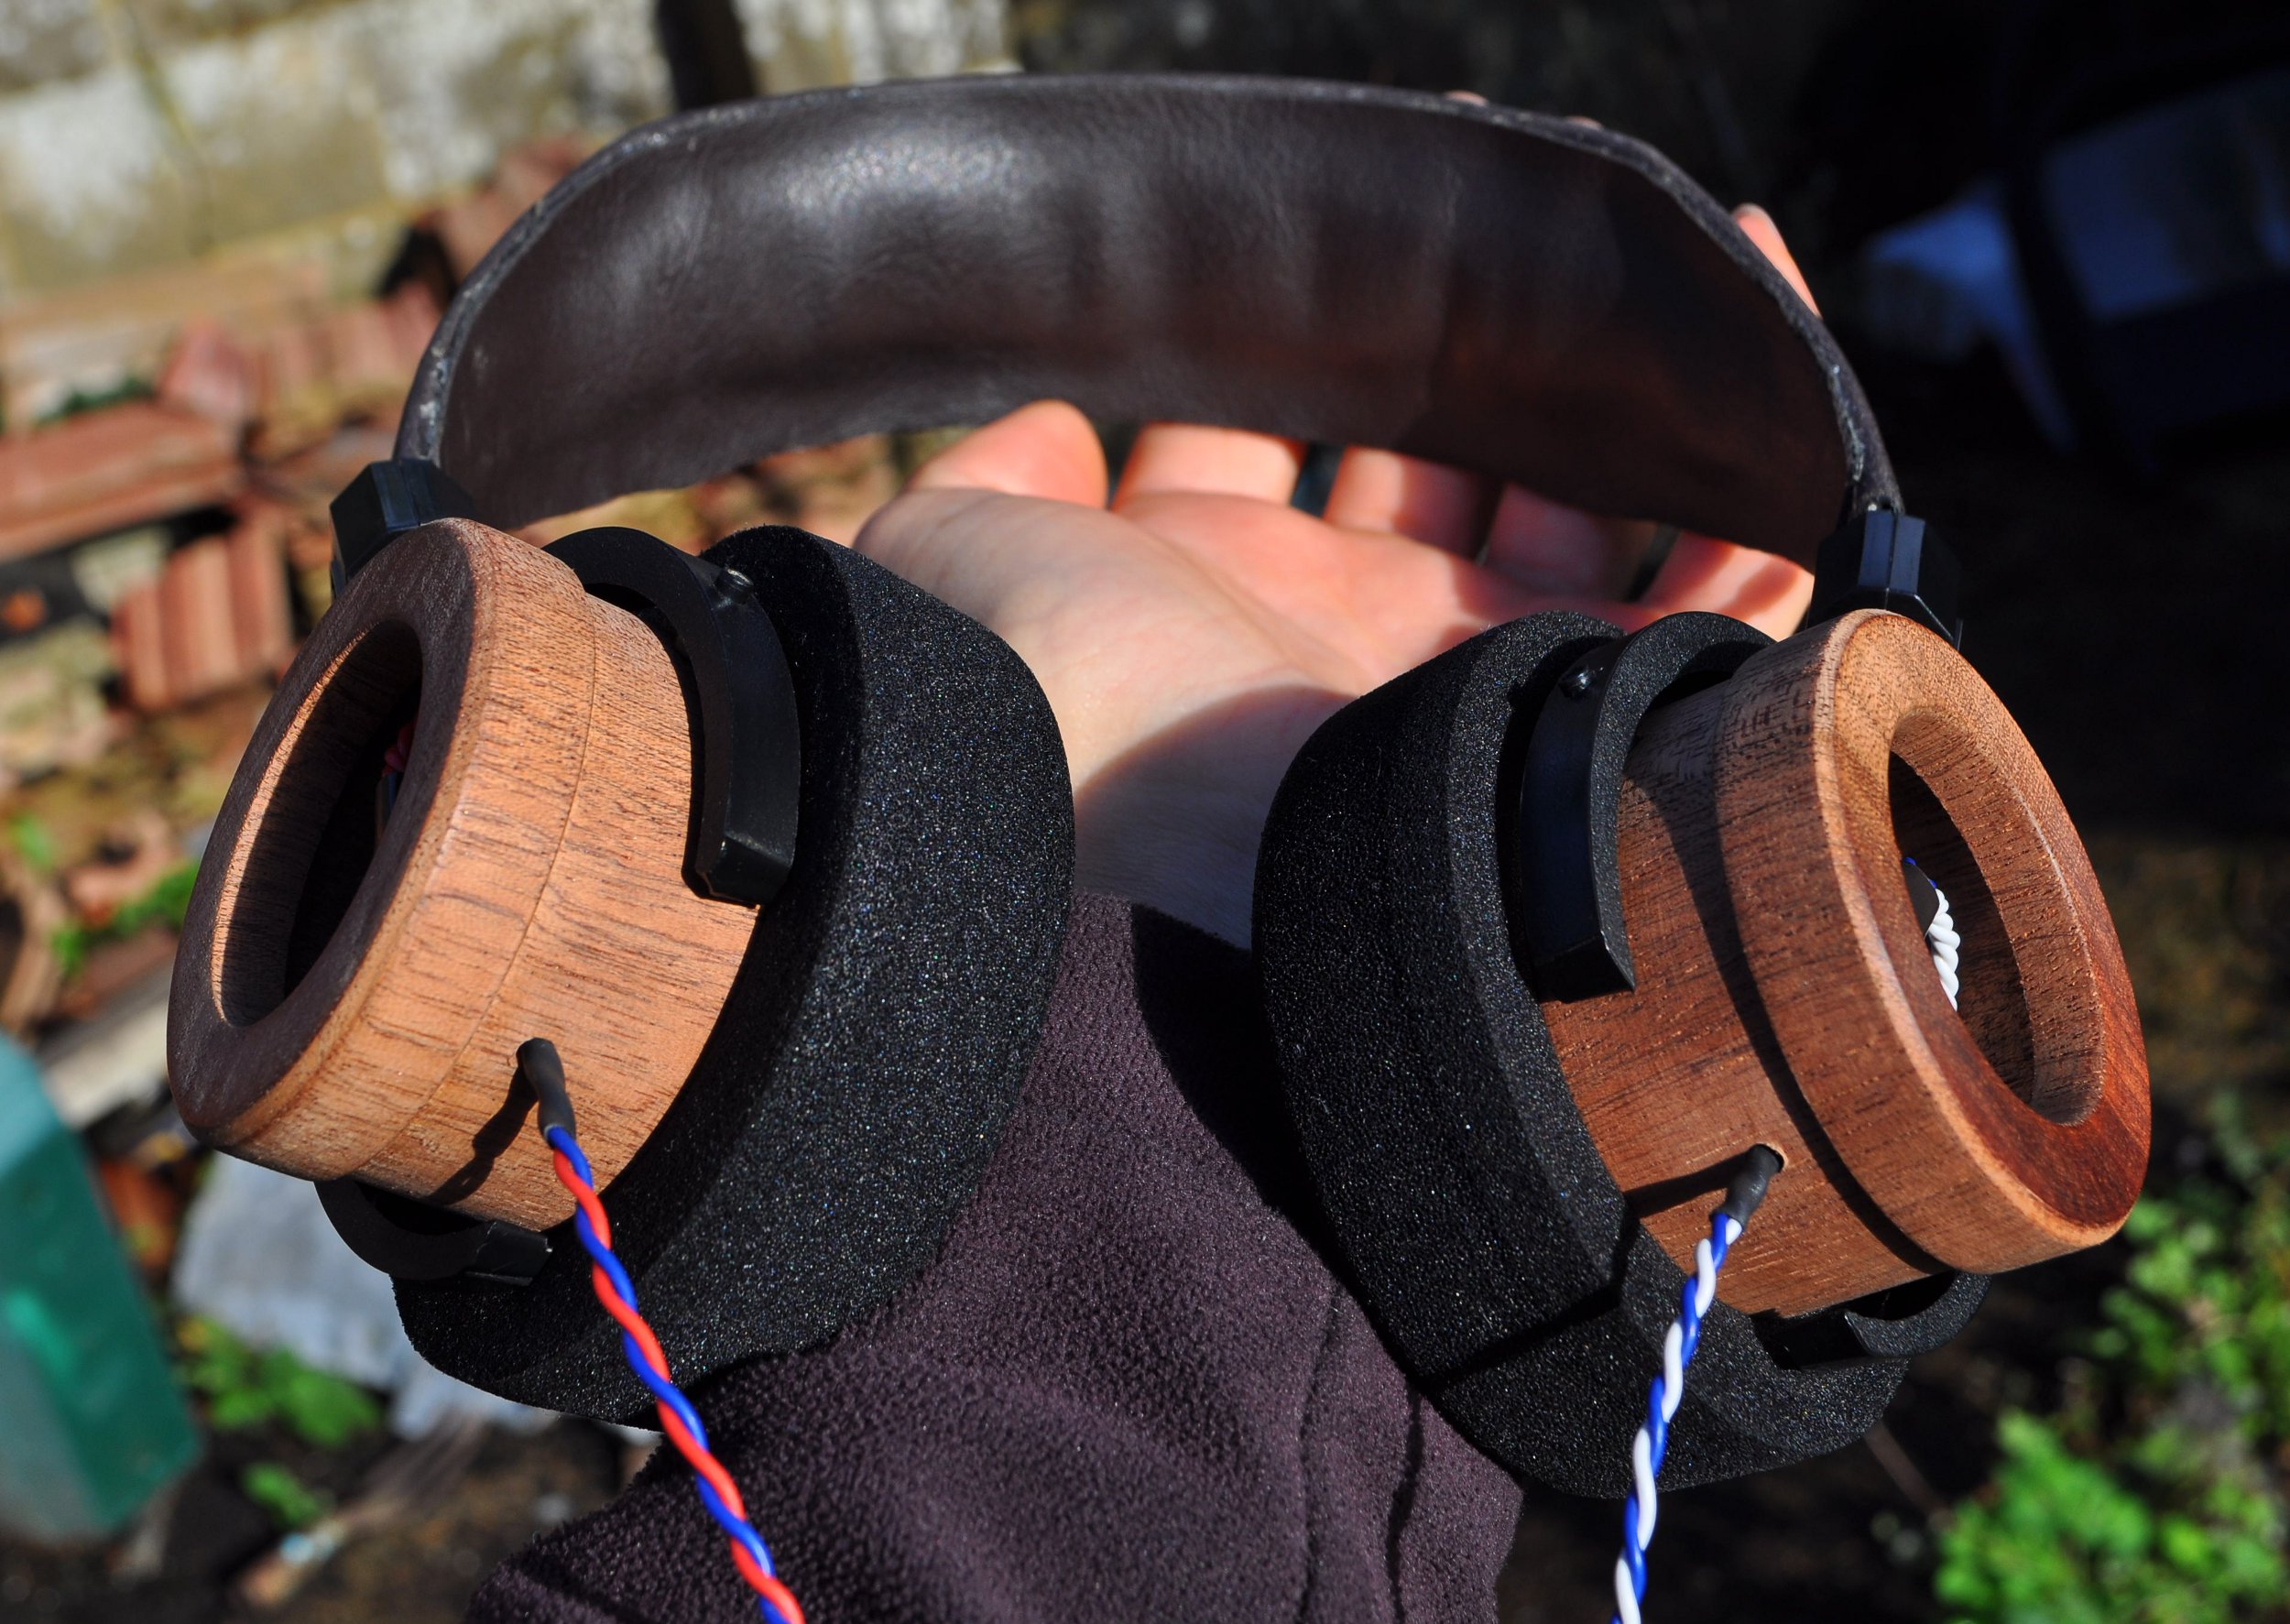
I'm using the headband assembly from a pair of SR80s that don't get much use.
----
It begins again...

This time i'm using a different piece of wood (which i am 99% certain is mahogany this time). It will be end grain instead of cross grain, and it's not as hard as the mystery purple wood. It's still plenty hard though, and the hole saw did protest at being asked to cut it, although i think some of that was because the drill wouldn't go slow enough).
The result:

This time i decided it would be better to drill out the inside first, so that i can mount direct to the lathe chuck, and turn both ends so that they're aligned to each other much better.
The forstner bit still struggled to go through in one hit, so i drilled out the centre first with a a 32mm large wood drill...

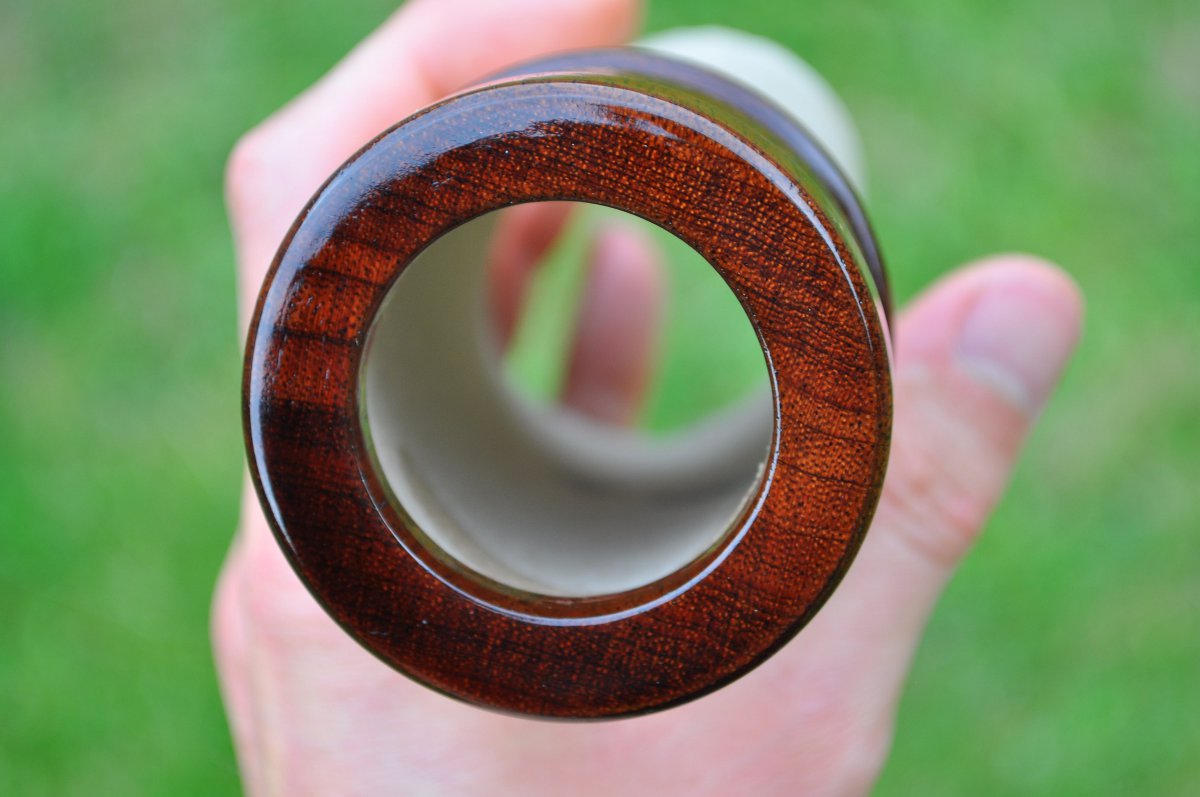
I drilled that hole all the way through, then used the forstner bit to open out the inside to the lip where the grilles will sit...


Then, mounting on the inside end (larger opening) i used the lathe to widen the outer hole and make the face flush so that i could turn it around to do the same on the inside hole.

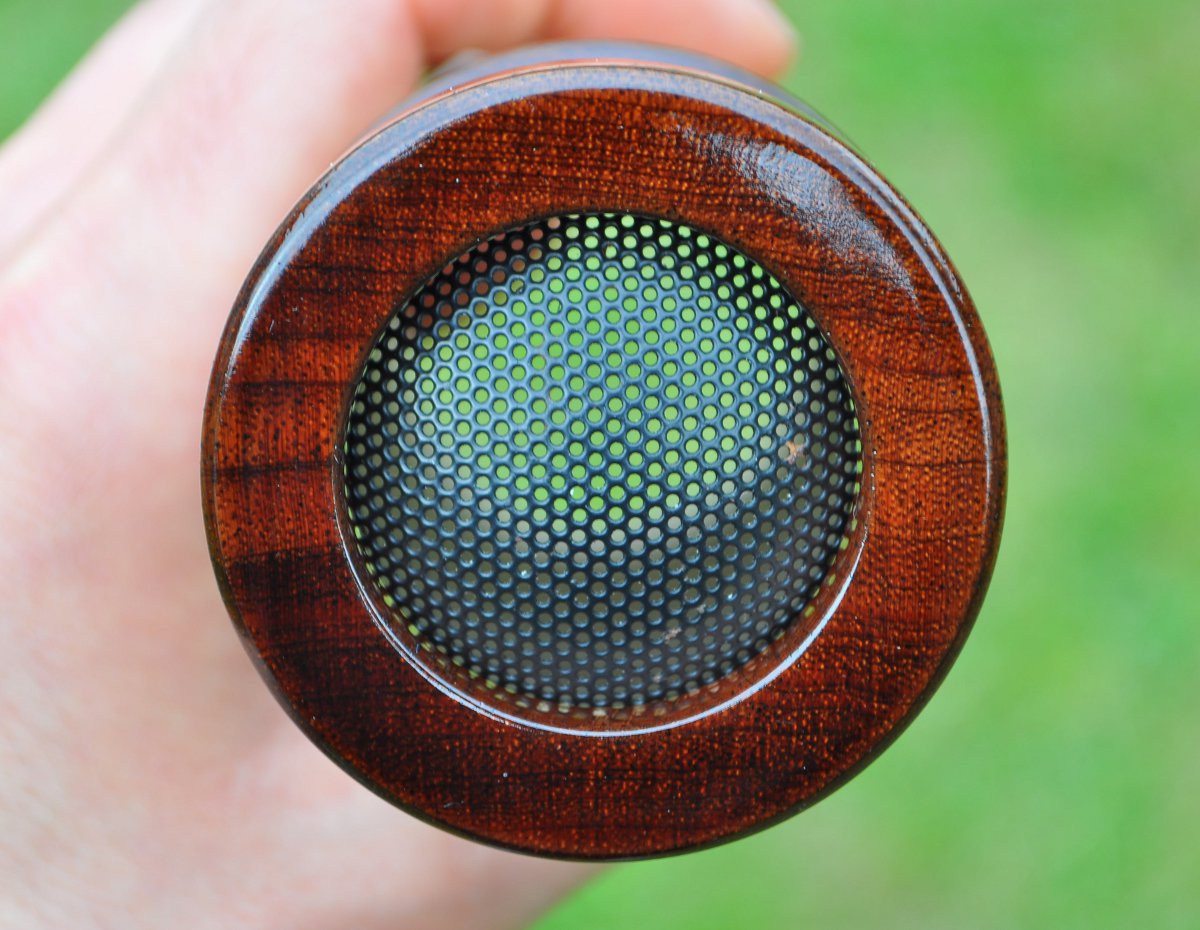
It's not going purple, but it's still a nice looking piece of wood.

With a little time spent on the outside it's coming along, and the best part is that it's perfectly round and parallel, not egg shaped as my first ones were.

I need to get the second one to this point before i start to do any complex shaping, otherwise i might get one perfect only for the second one to be too small to copy...