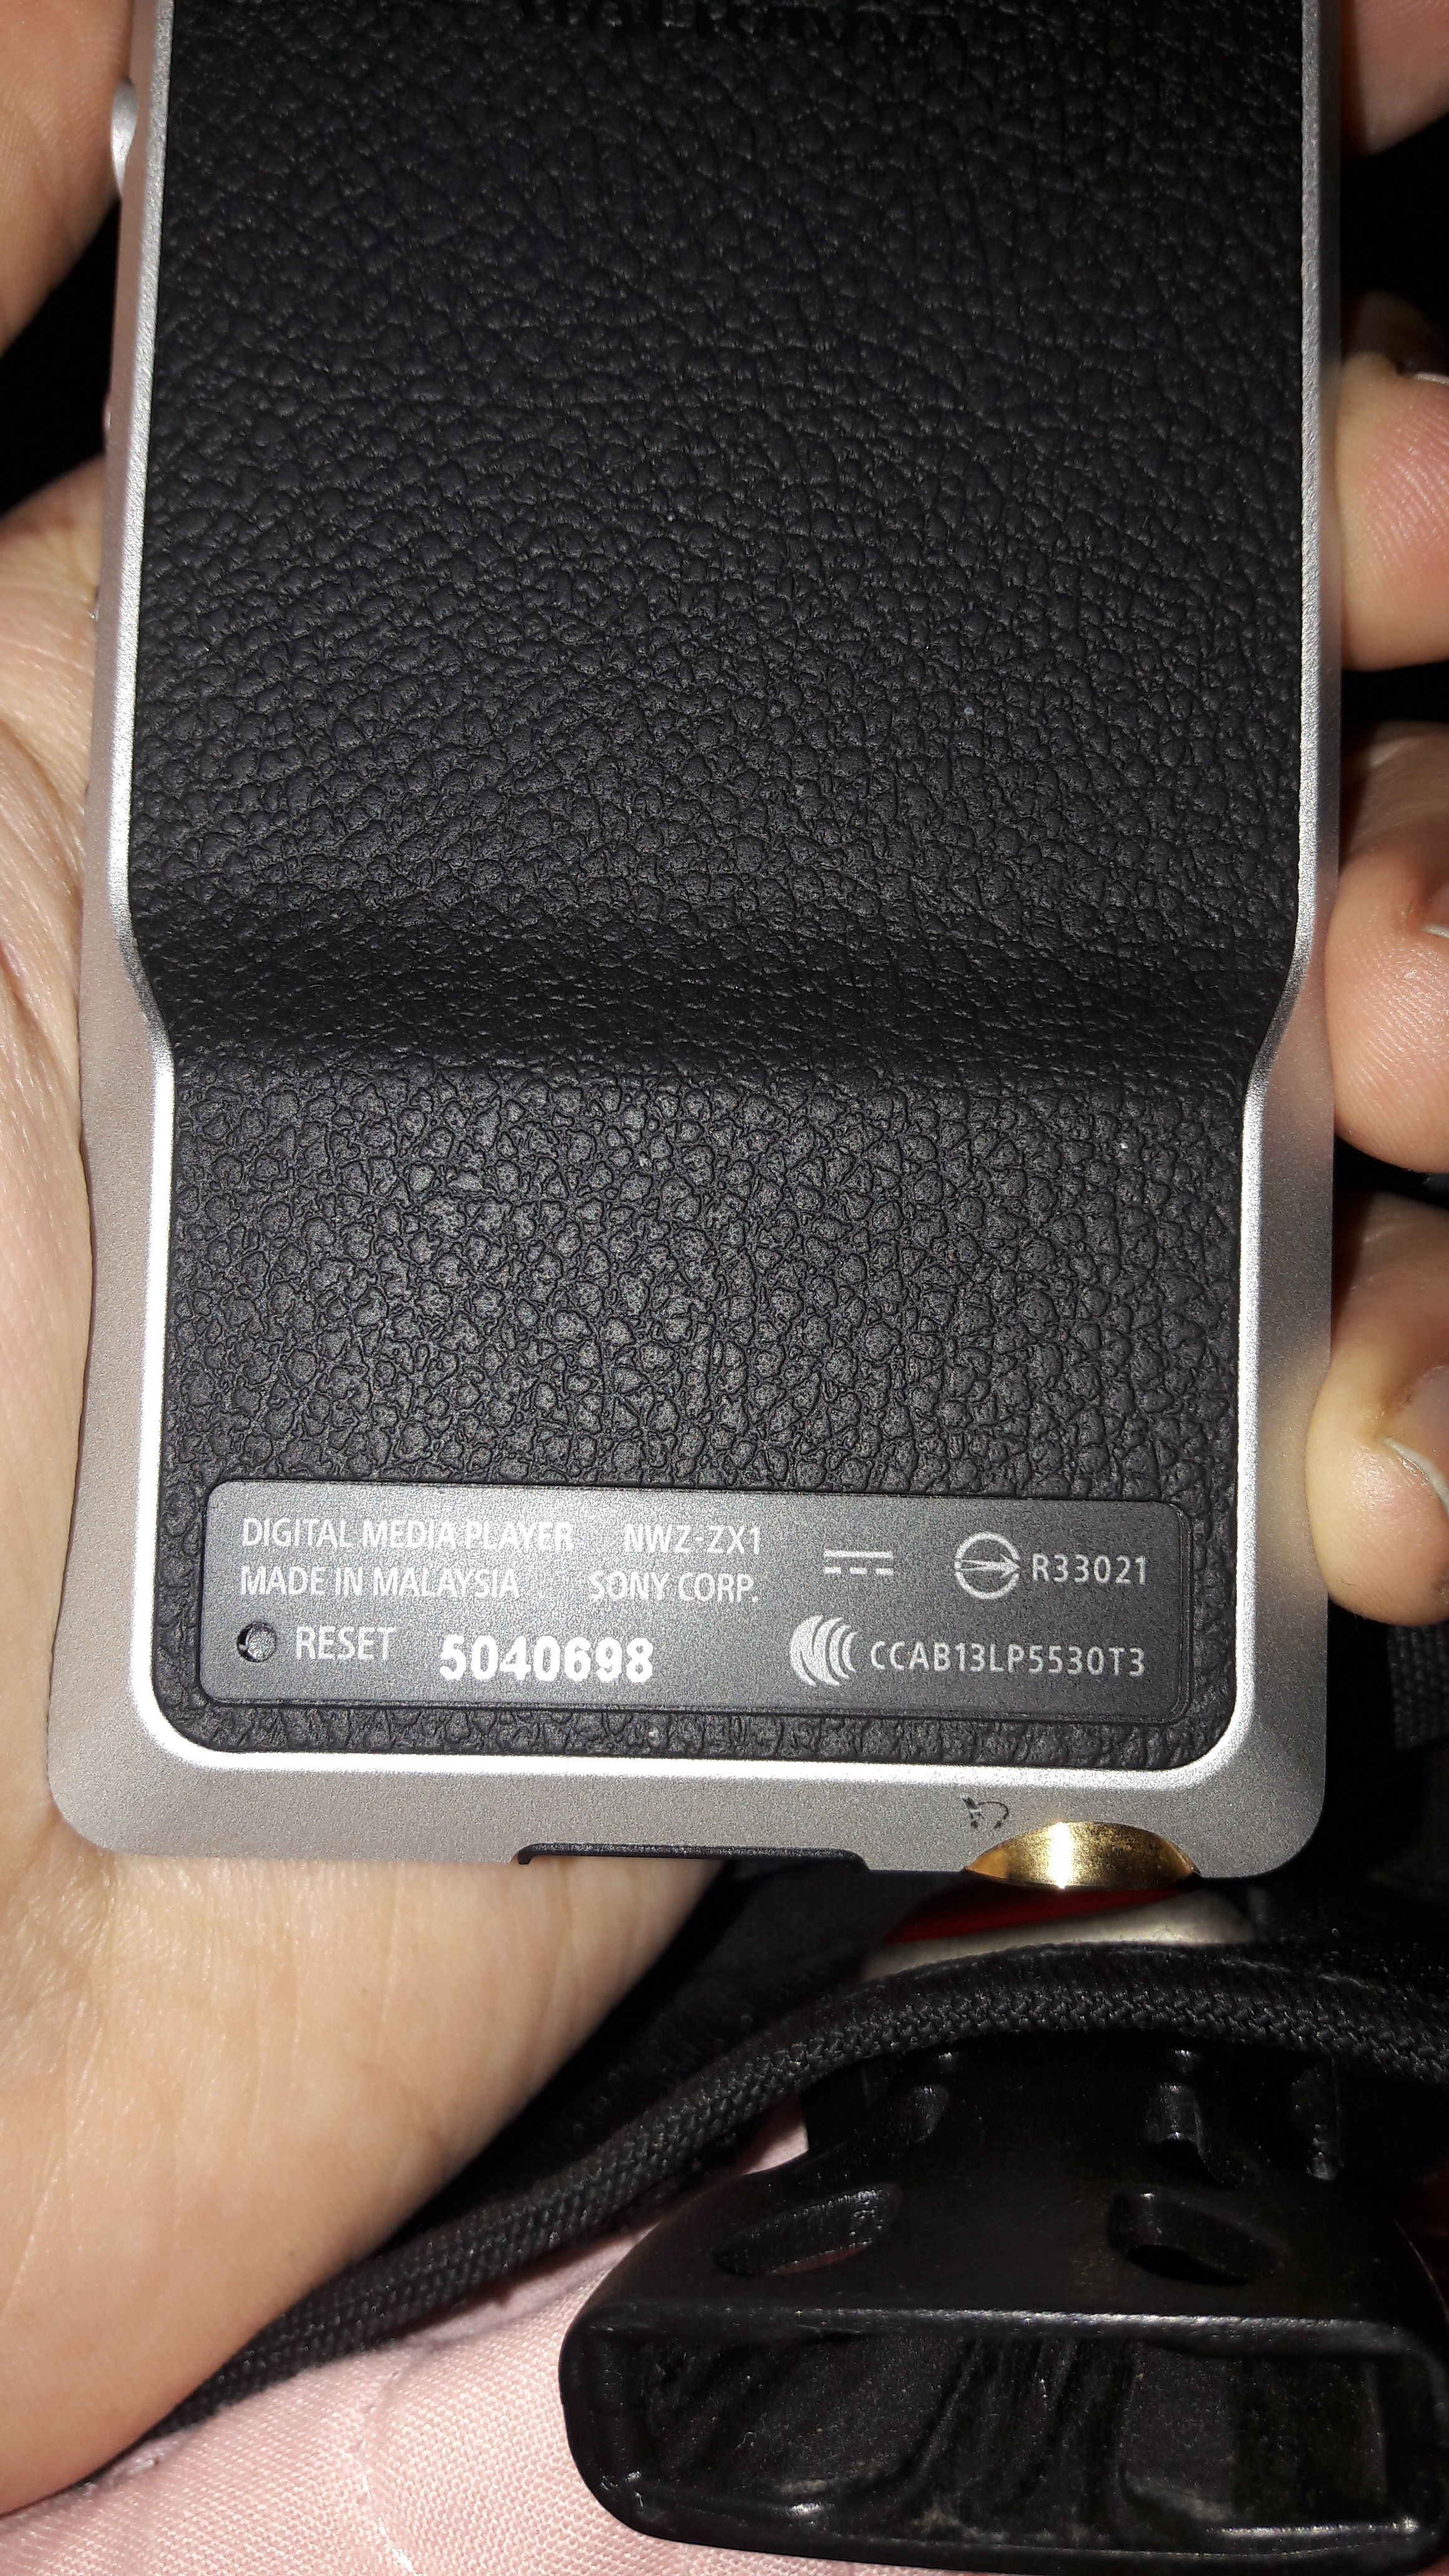
I recently bought a second hand ZX1 on eBay UK, and shortly thereafter I noticed that a fully charged battery suddenly could result in low battery warning and shutoff.
So, finding the video above I was aware of the difference in the battery for Japan vs other editions, so I made sure that I bought a battery here in Europe (where I live), mostly because my ZX1 packaging really looked like a EU version.
Got the battery yesterday. I was assuming that the reference "US453759" would be the battery for me. It wasn't! The unit worked but it didn't charge.
I removed the blue label on my OEM battery (the blue label/sticker seen in the video) and found the number "US383759". Quick search on the interweb revealed that no one has it on stock (and price was horribly high had they had on stock).
So, I was gutted...until I got an idea. What if I swap the protection/controller board from the OEM battery to the new one?
The OEM battery is li-ion, the new one was lipo. Protection boards works for both types (at least it seems like it when reading the subject on the interweb)...so I made the swap and it works!!
So, if you are planning on fixin' yourself a new battery in your ZX1 and have some kind of soldering skills, this is one way of doing it!
If you go this path and swap the protection board in the battery cell, make sure that you observe the B+ and B- soldering points, my OEM vs the new had reversed direction, meaning that after I was done the 3 wires came out the other way, and that means that the battery is then mounted upside down compared to what it would have been with the other protection board...but that isn't an issue at all.
If you carefully open up the black and orange plastic on the top of the new battery (where the protection board is located) you will be able to close it properly too, so that you will not end up with a shortcut.
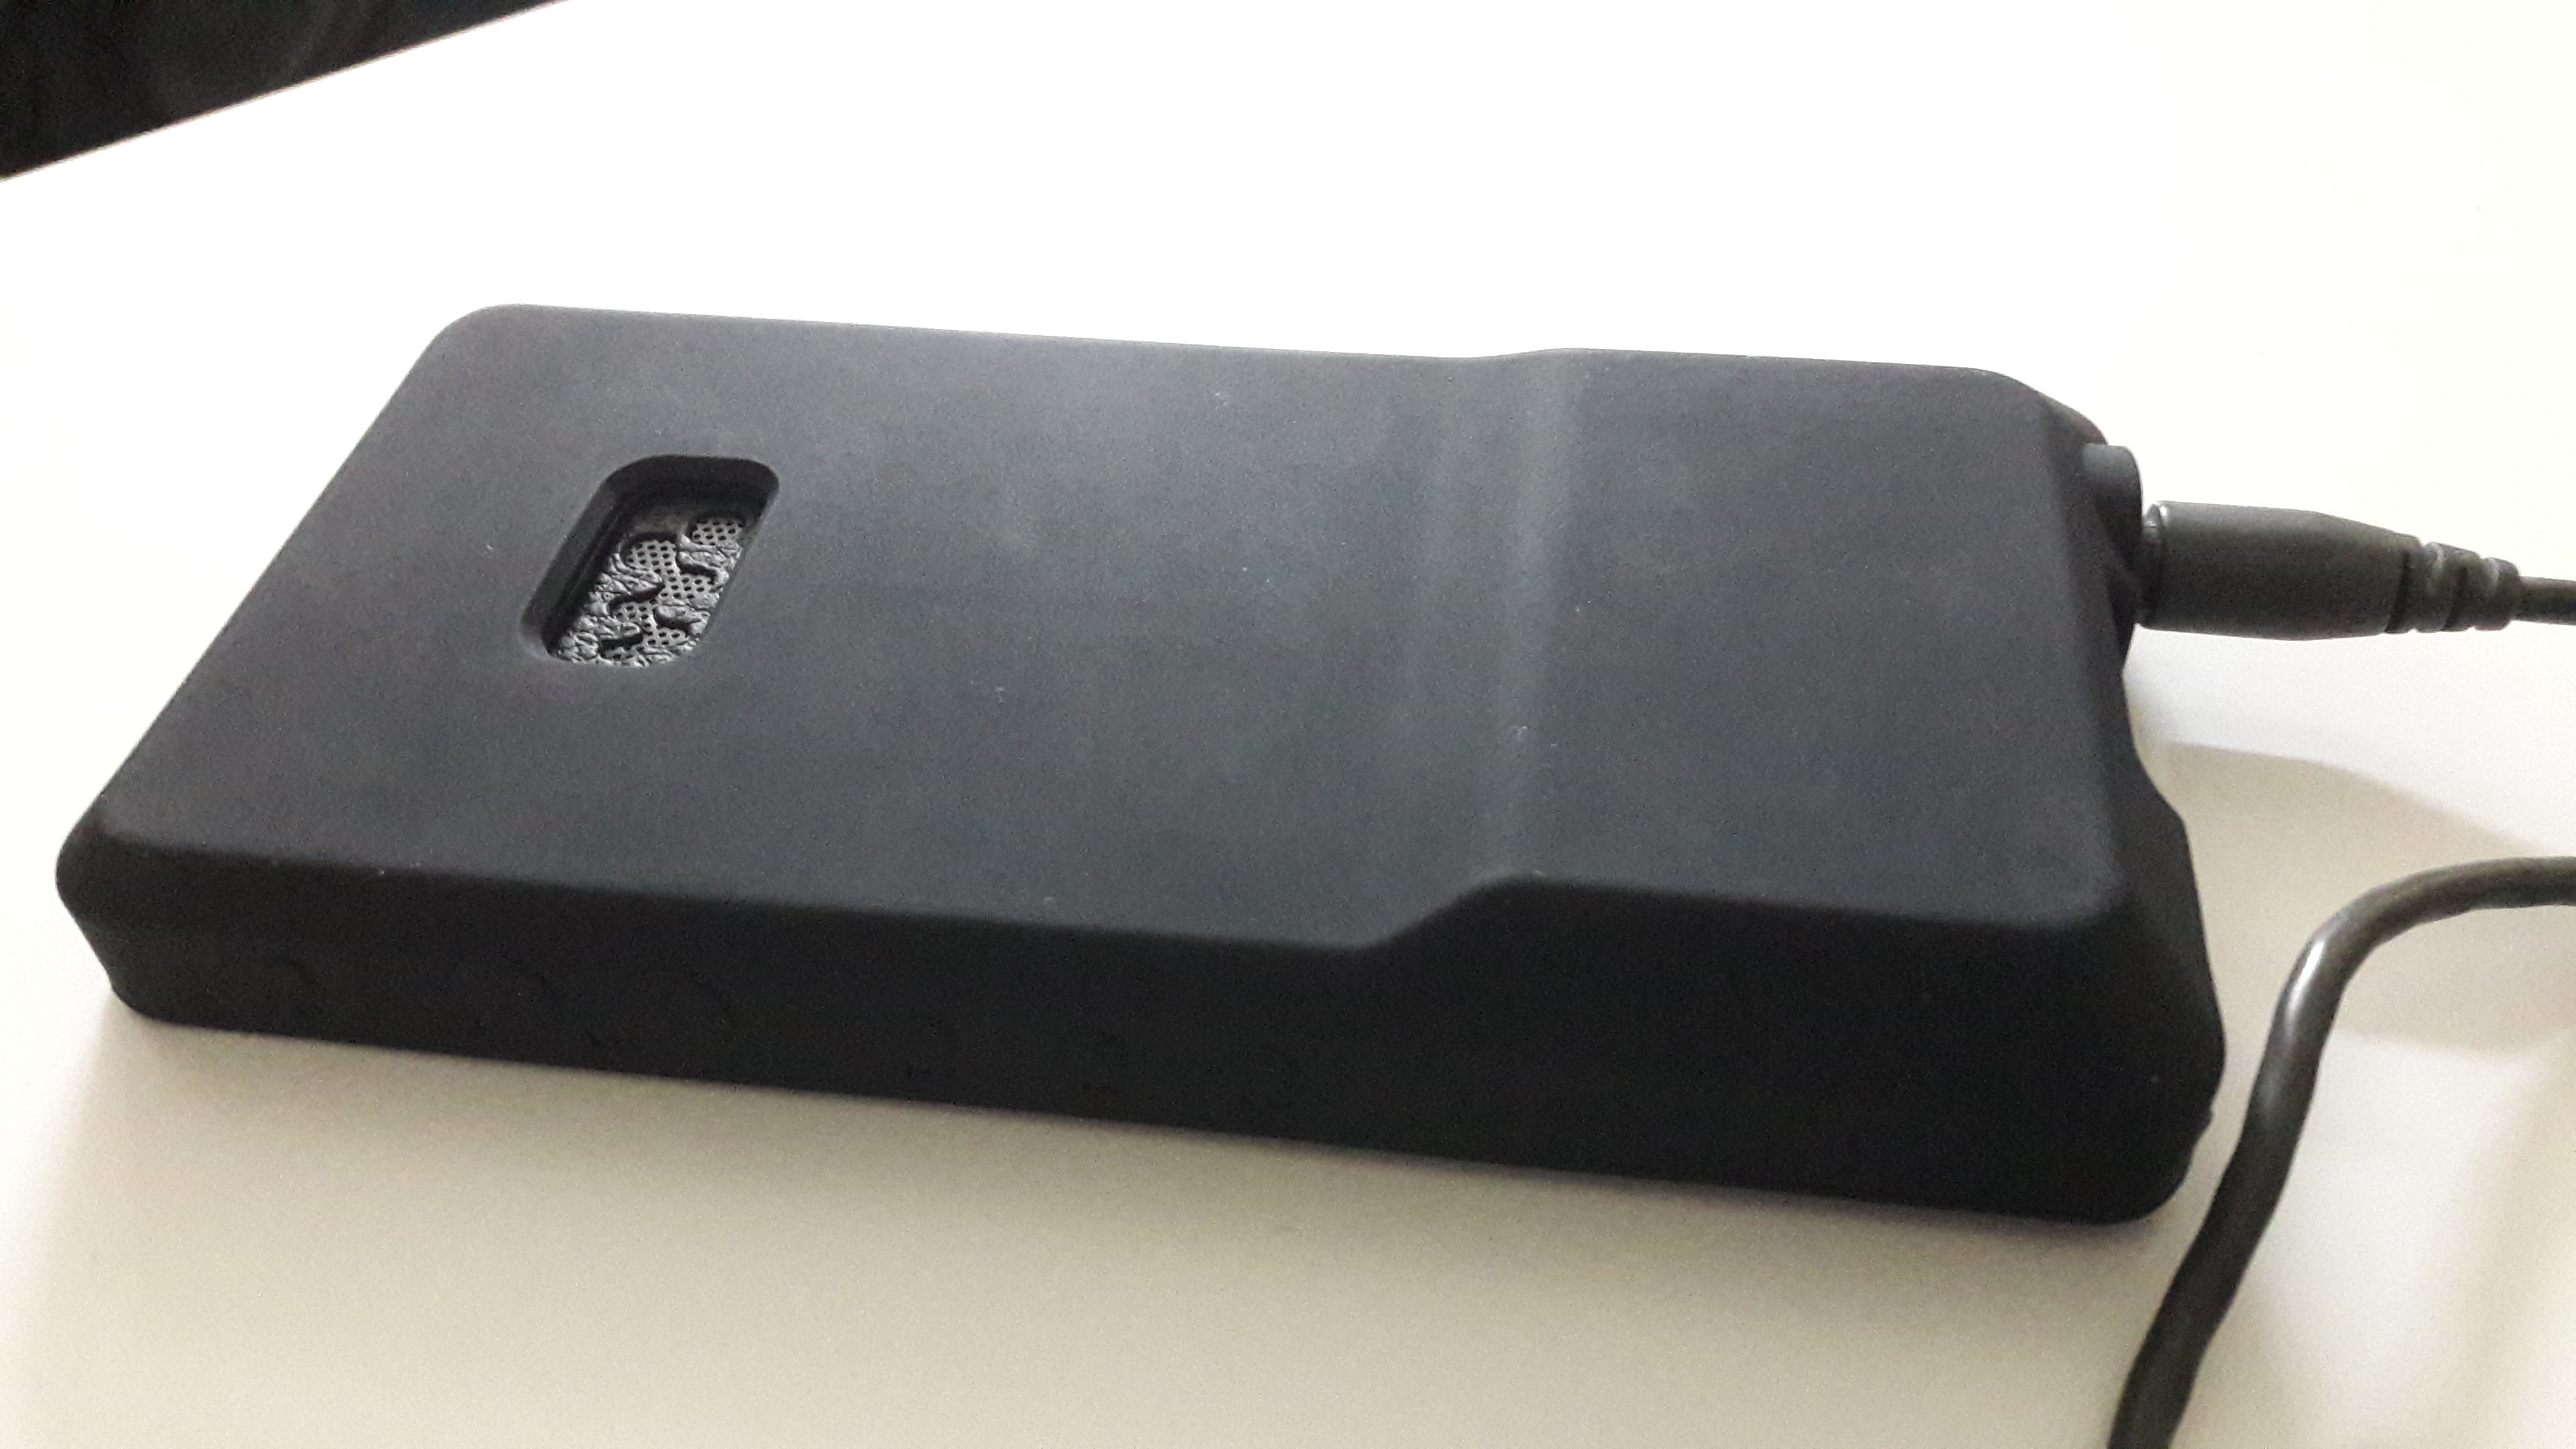
This was the battery I bought:
https://www.ebay.co.uk/itm/Battery-...541809?hash=item41daab6cb1:g:FW0AAOSw2tFaVf1L
Here's another one in the US:
https://www.ebay.co.uk/itm/US453759...739475?hash=item544dd02513:g:V7IAAOSwWM9Zotv8
Note: there are two metal distance "shims" inside the unit that will be visible once you remove the 6+2 screws and lift the metal sheet, I dropped mine because I didn't hold the unit horizontally, but using logic I found out where they should be located.
Also: when prying open the ZX1 rear rubber, make sure that you do not touch the double sided tape with your fingers, because you want it to stick when you are done, and gently clean the metal sheet (rubber attaches to it) with alcohol before you remount the rubber.
Any questions? Don't hesitate to ask.