Quote:
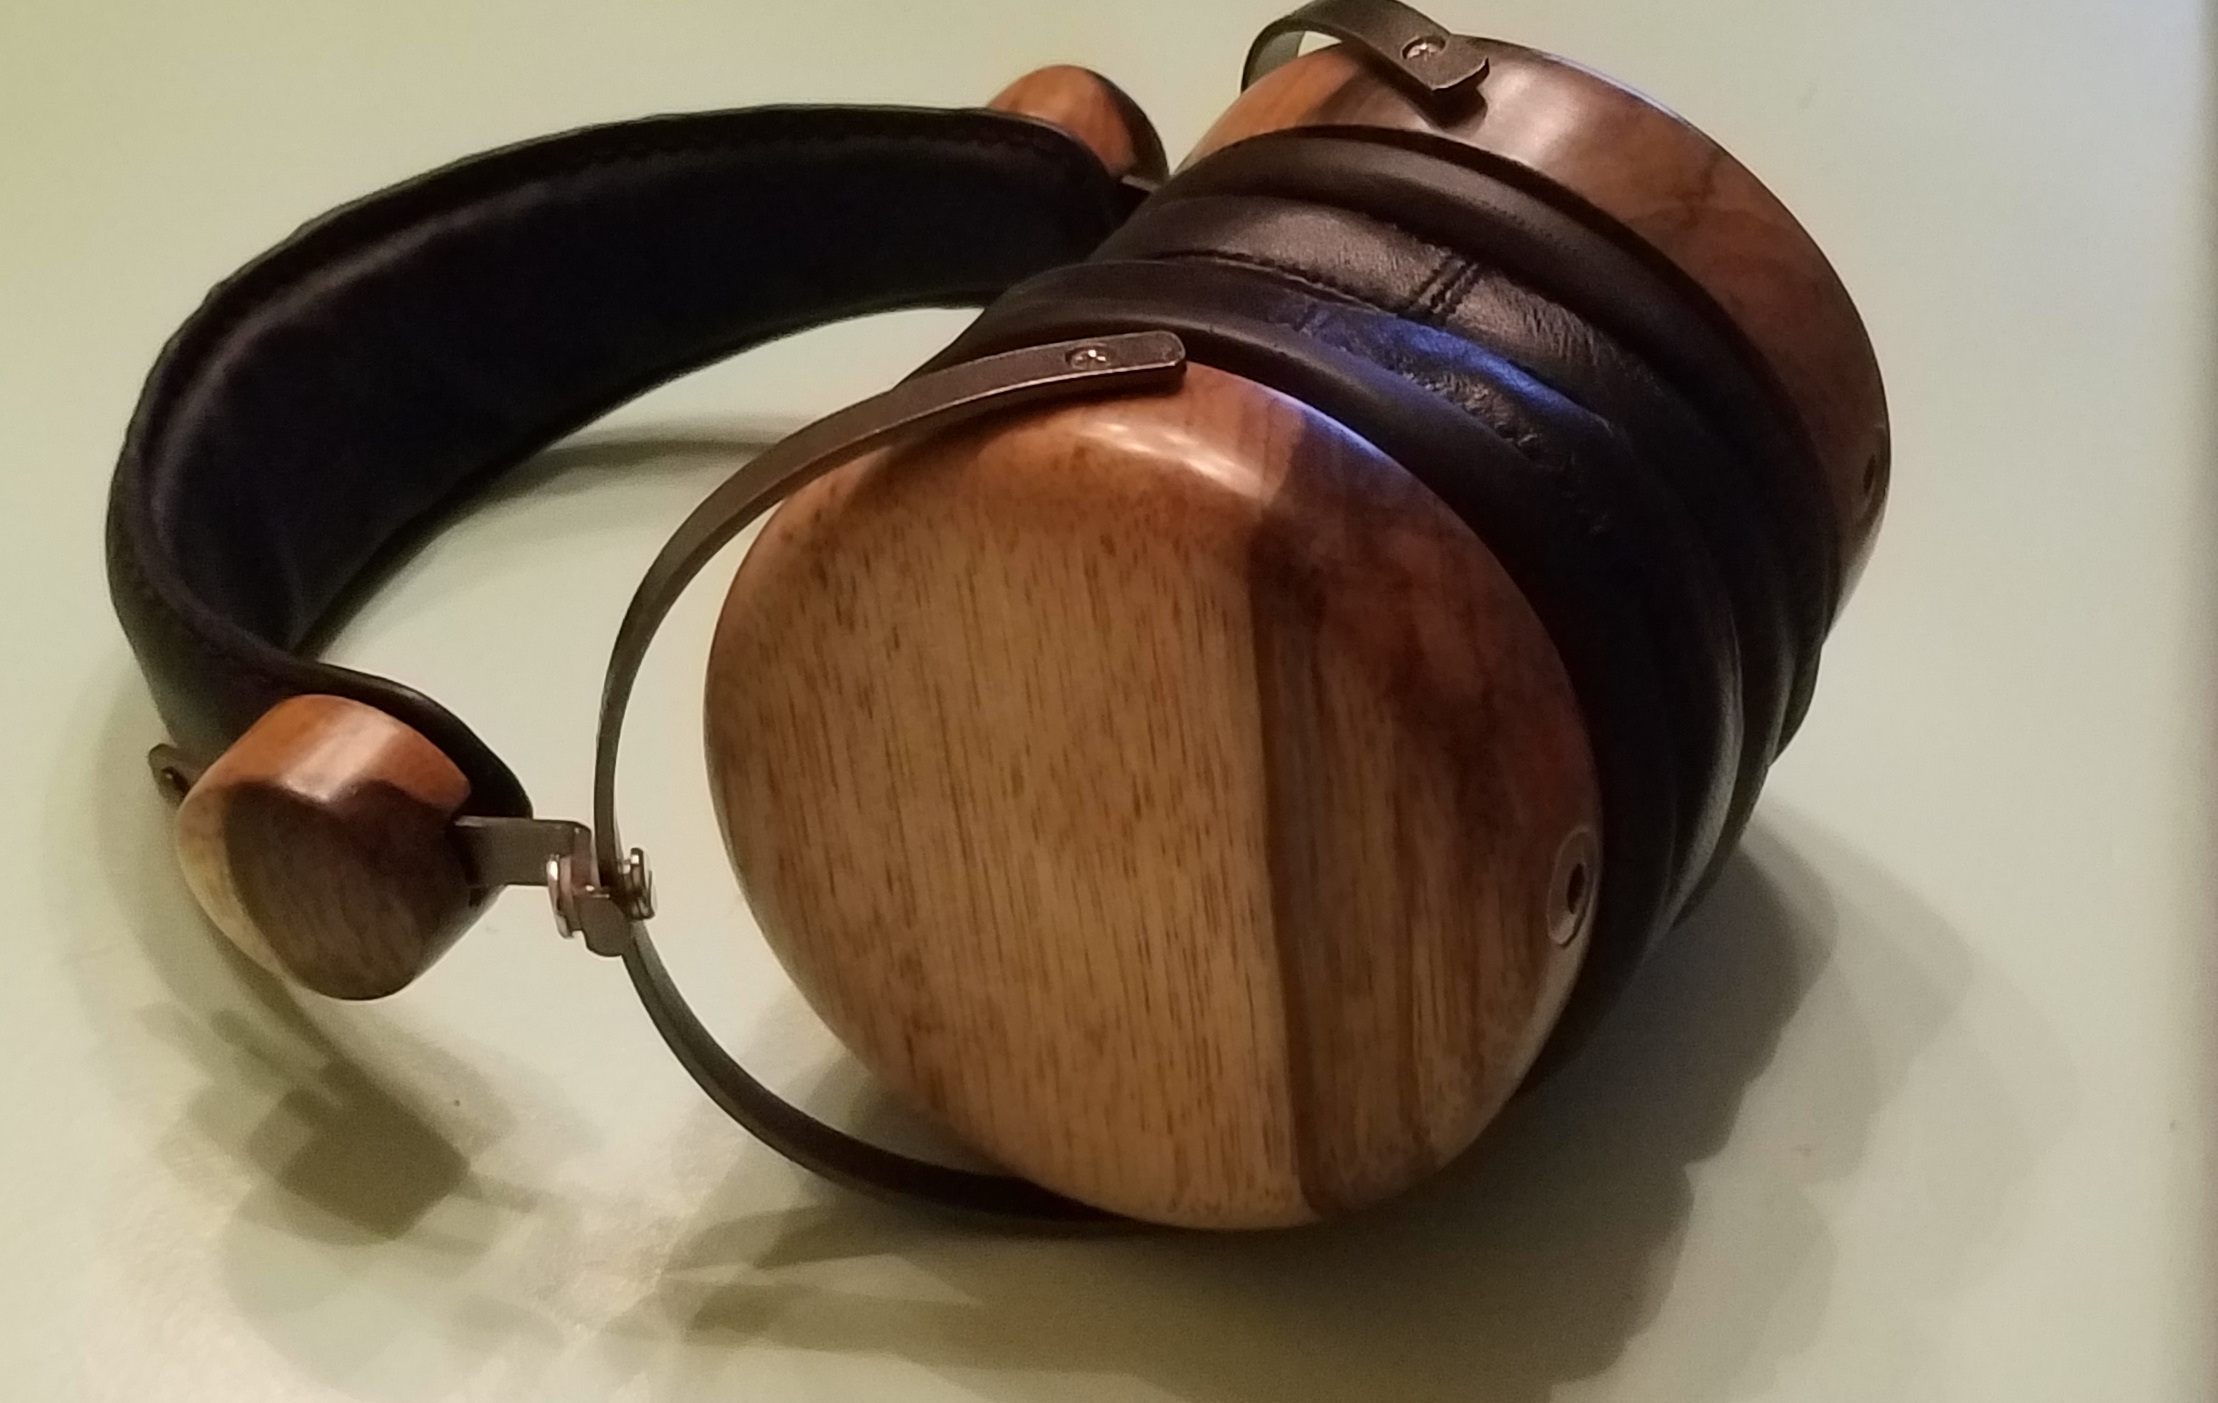
Wow! The paint looks really great! How did you go about painting it?
Lots of patients! Ha, no but really...

First I took a torch and heated up a screwdriver. With the screwdriver I cut/ melted a hole around the old 3.5mm jack on the Left Cup.
I then took a file to the excess plastic around the newly made hole.
After I cleaned up the hole I put a piece of masking tape over it (Exterior of the Cup).
I pressed in on the masking tape so that the tape was recessed into the hole 2mm or so.
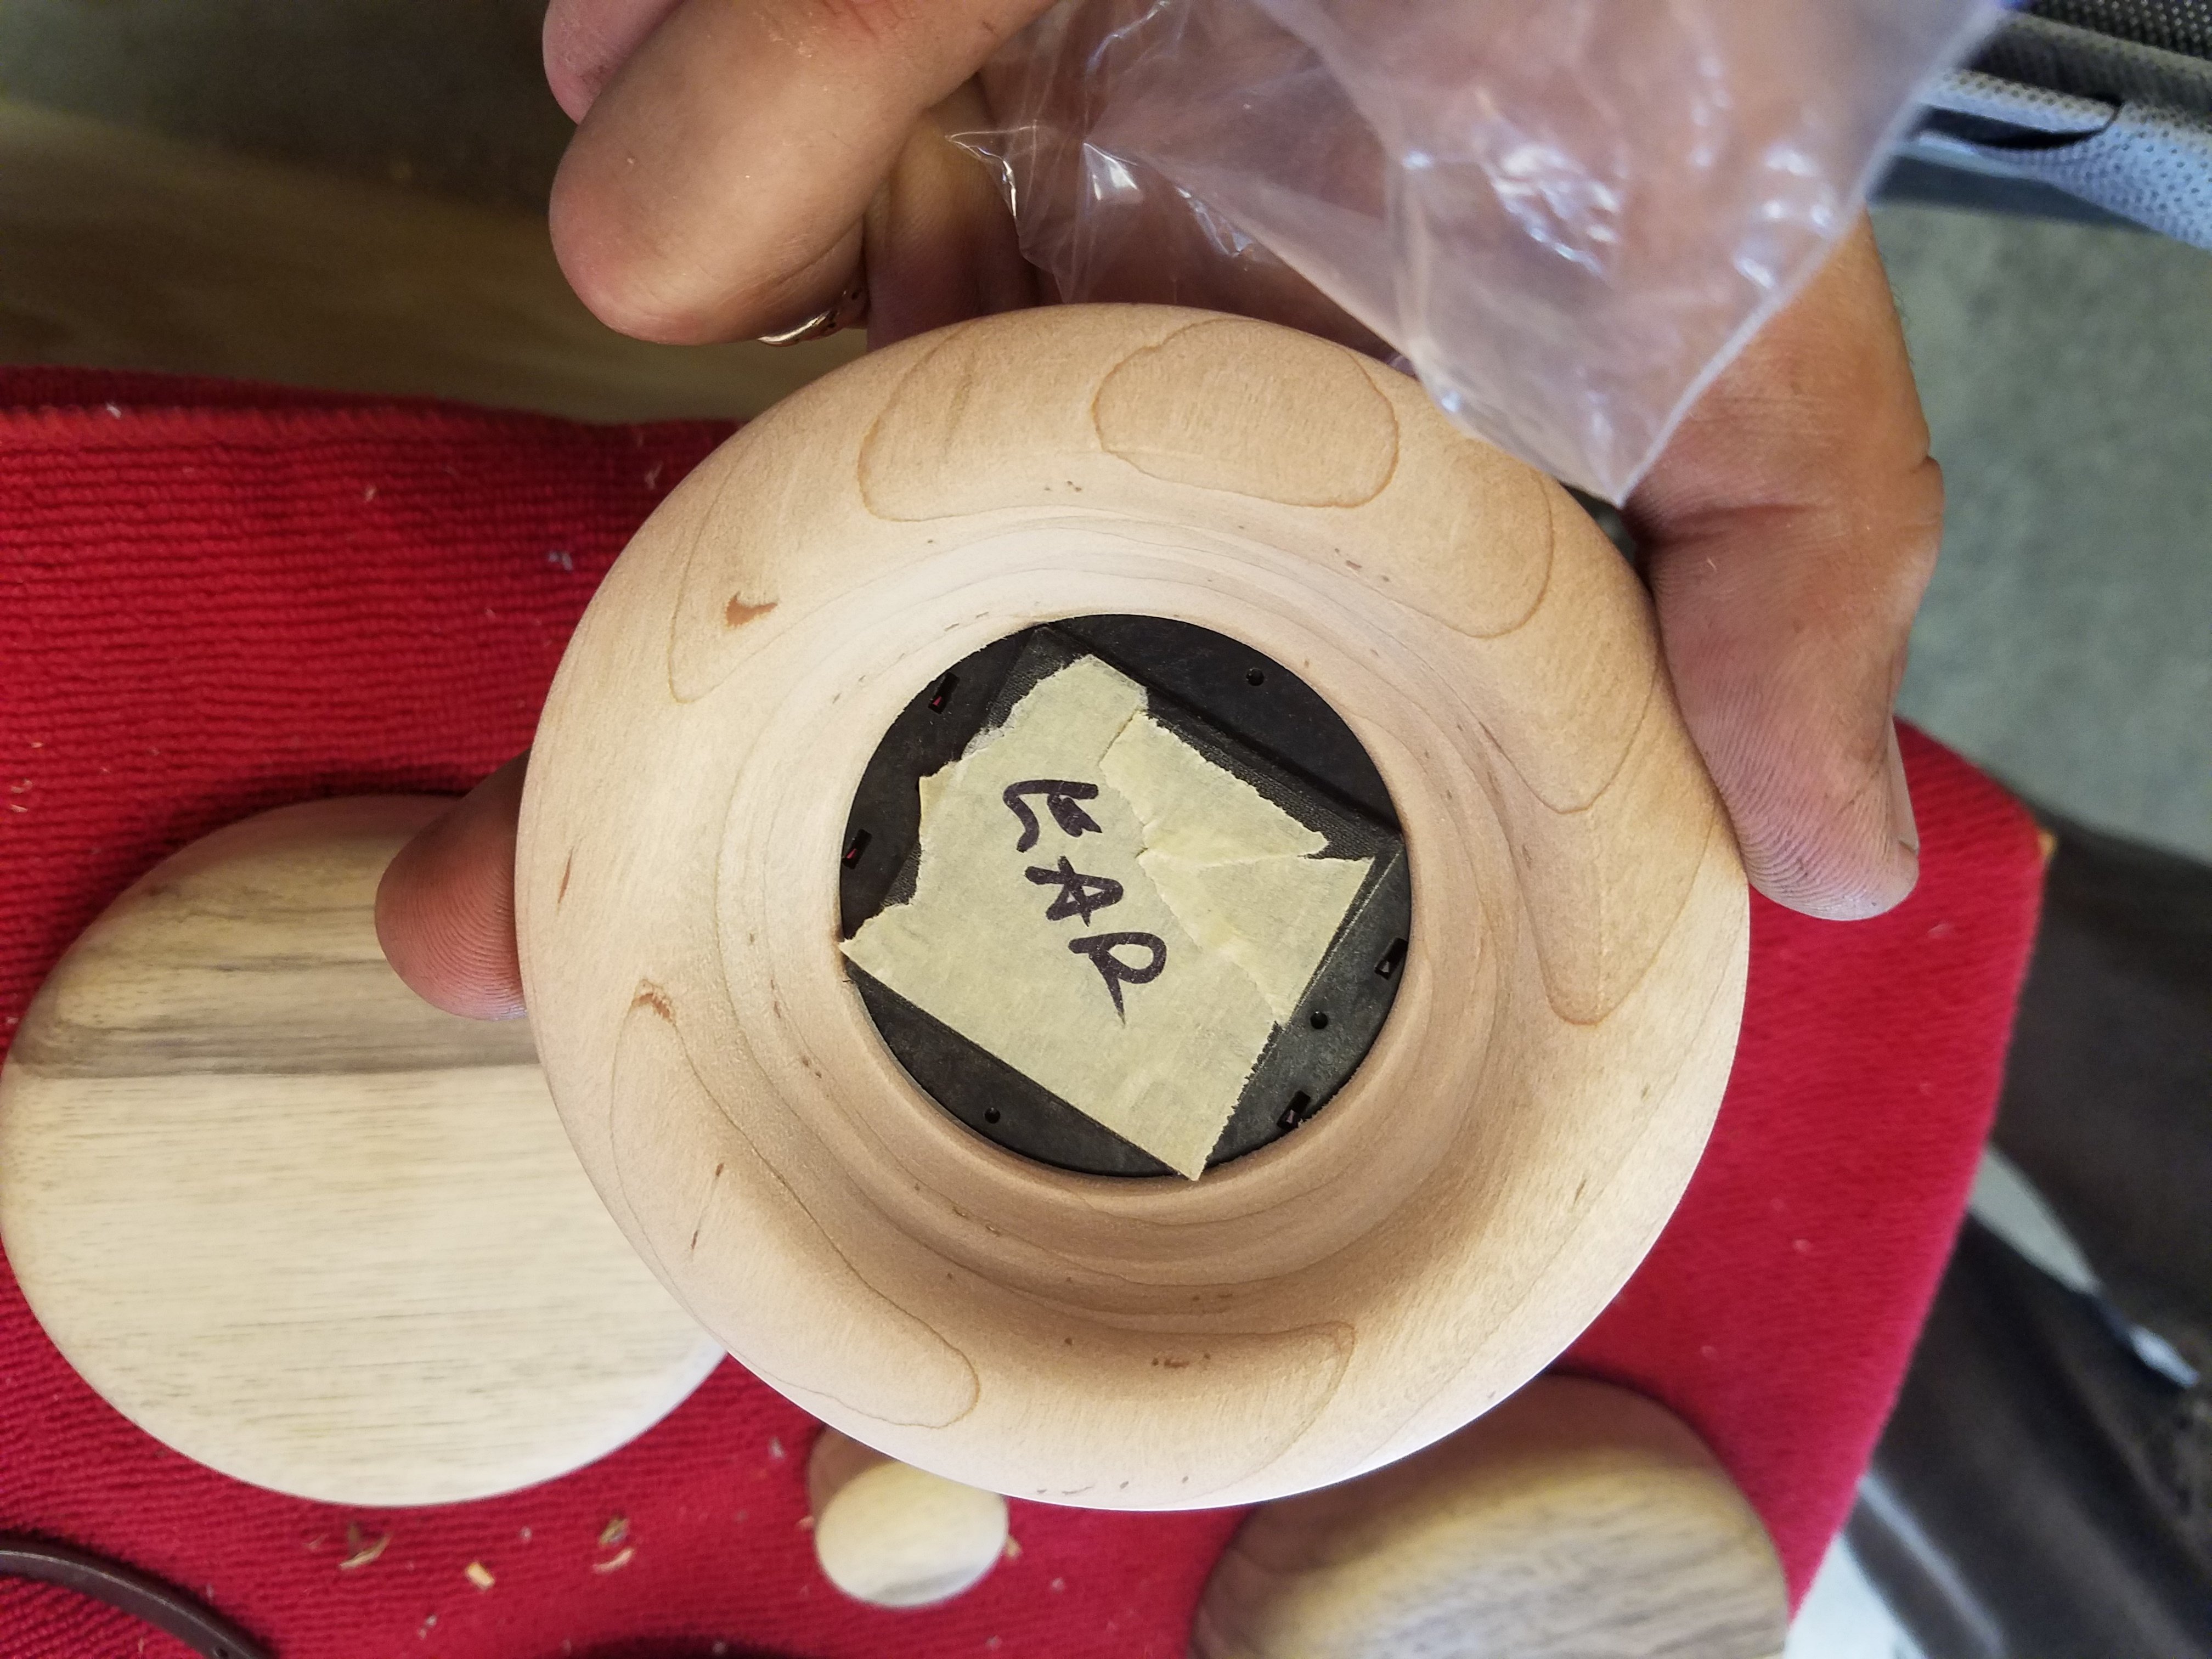
On the inside of the cup I filled the hole with 2 part JB Weld.
I let it set for an hour and removed the masking tape.
Picture of inside the cup (Hole Filled):

I then applied a layer of automotive bondo on top of the now 2mm recessed "hole".
Picture Below:

(Key to smooth finish): When sanding the bondo'ed hole, cut a small piece of wood 1" wide and 1" long and attach the sandpaper to the block of wood. Then cross sand the bondo with the block. This will remove and high spots in the bondo.
I used Lacquer Thinner and a Rag to remove the Fostex stickers.
I then sanded both cups with 150 grit sand paper.
Then I re-sanded them with 320 grit sand paper.
I then coated them both with Etchable Primer.
Picture Below:

I let the primer cure for 4 hours and then dry sanded them with 400 grit sand paper.
Then came the fun part, the base coat!
I bought a can of White Valspar Lacquer Paint and a can of Clear Coat Valspar Lacquer.
With the primered cups all sanded and ready to paint I applied 3 coats of white paint.
Allowing 30-45 minutes set time between coats.
Picture Below:

Last but not least I applied the clear coat.
I applied 2 coats of clear coat, allowing 30 minutes of set time between coats.
The can says "30 minutes dry to touch" but I let the paint cure for 24 hours before re-assembling.