Just listened to some Fostex T50RPs today... WOW!
Jul 4, 2016 at 6:28 AM Post #11,281 of 11,345
   
I was curious about those, so I got the T40RP MK3 (the closed version) to give them a try.
I am using the FIIO E12 to power them, and I never have to turn the volume knob further than 1100.
The Schiit Modi+Magni will be plentiful.

Thanks for getting back to me so soon, glad to hear my amp should be sufficient! I was just wondering about it since I had heard from other reviews online that they were insanely hard to drive and that they were very picky when it came to which amps would work, I was worried that this investment would easily become double the price because of having to find an amp that could sufficiently drive them.
 
 
Quote:
Take a look at garage1217 amps. Great sound at any price and great price:performance. I have Project Sunrise II and Project Ember. Both are terrific. Ember is my preference.

Thanks, I'll check those out =)
 
Jul 4, 2016 at 11:16 AM Post #11,282 of 11,345
I run those headphones with a Schiit Valhalla 2, a Teac UD-301, and an OPPO HA-2 and am pleased with the sound. I have heard other headphones of similar make on a Pono player and that can do a good job as well but I have yet to lay my hands on one but hope to soon.
 
Jul 18, 2016 at 1:19 AM Post #11,283 of 11,345
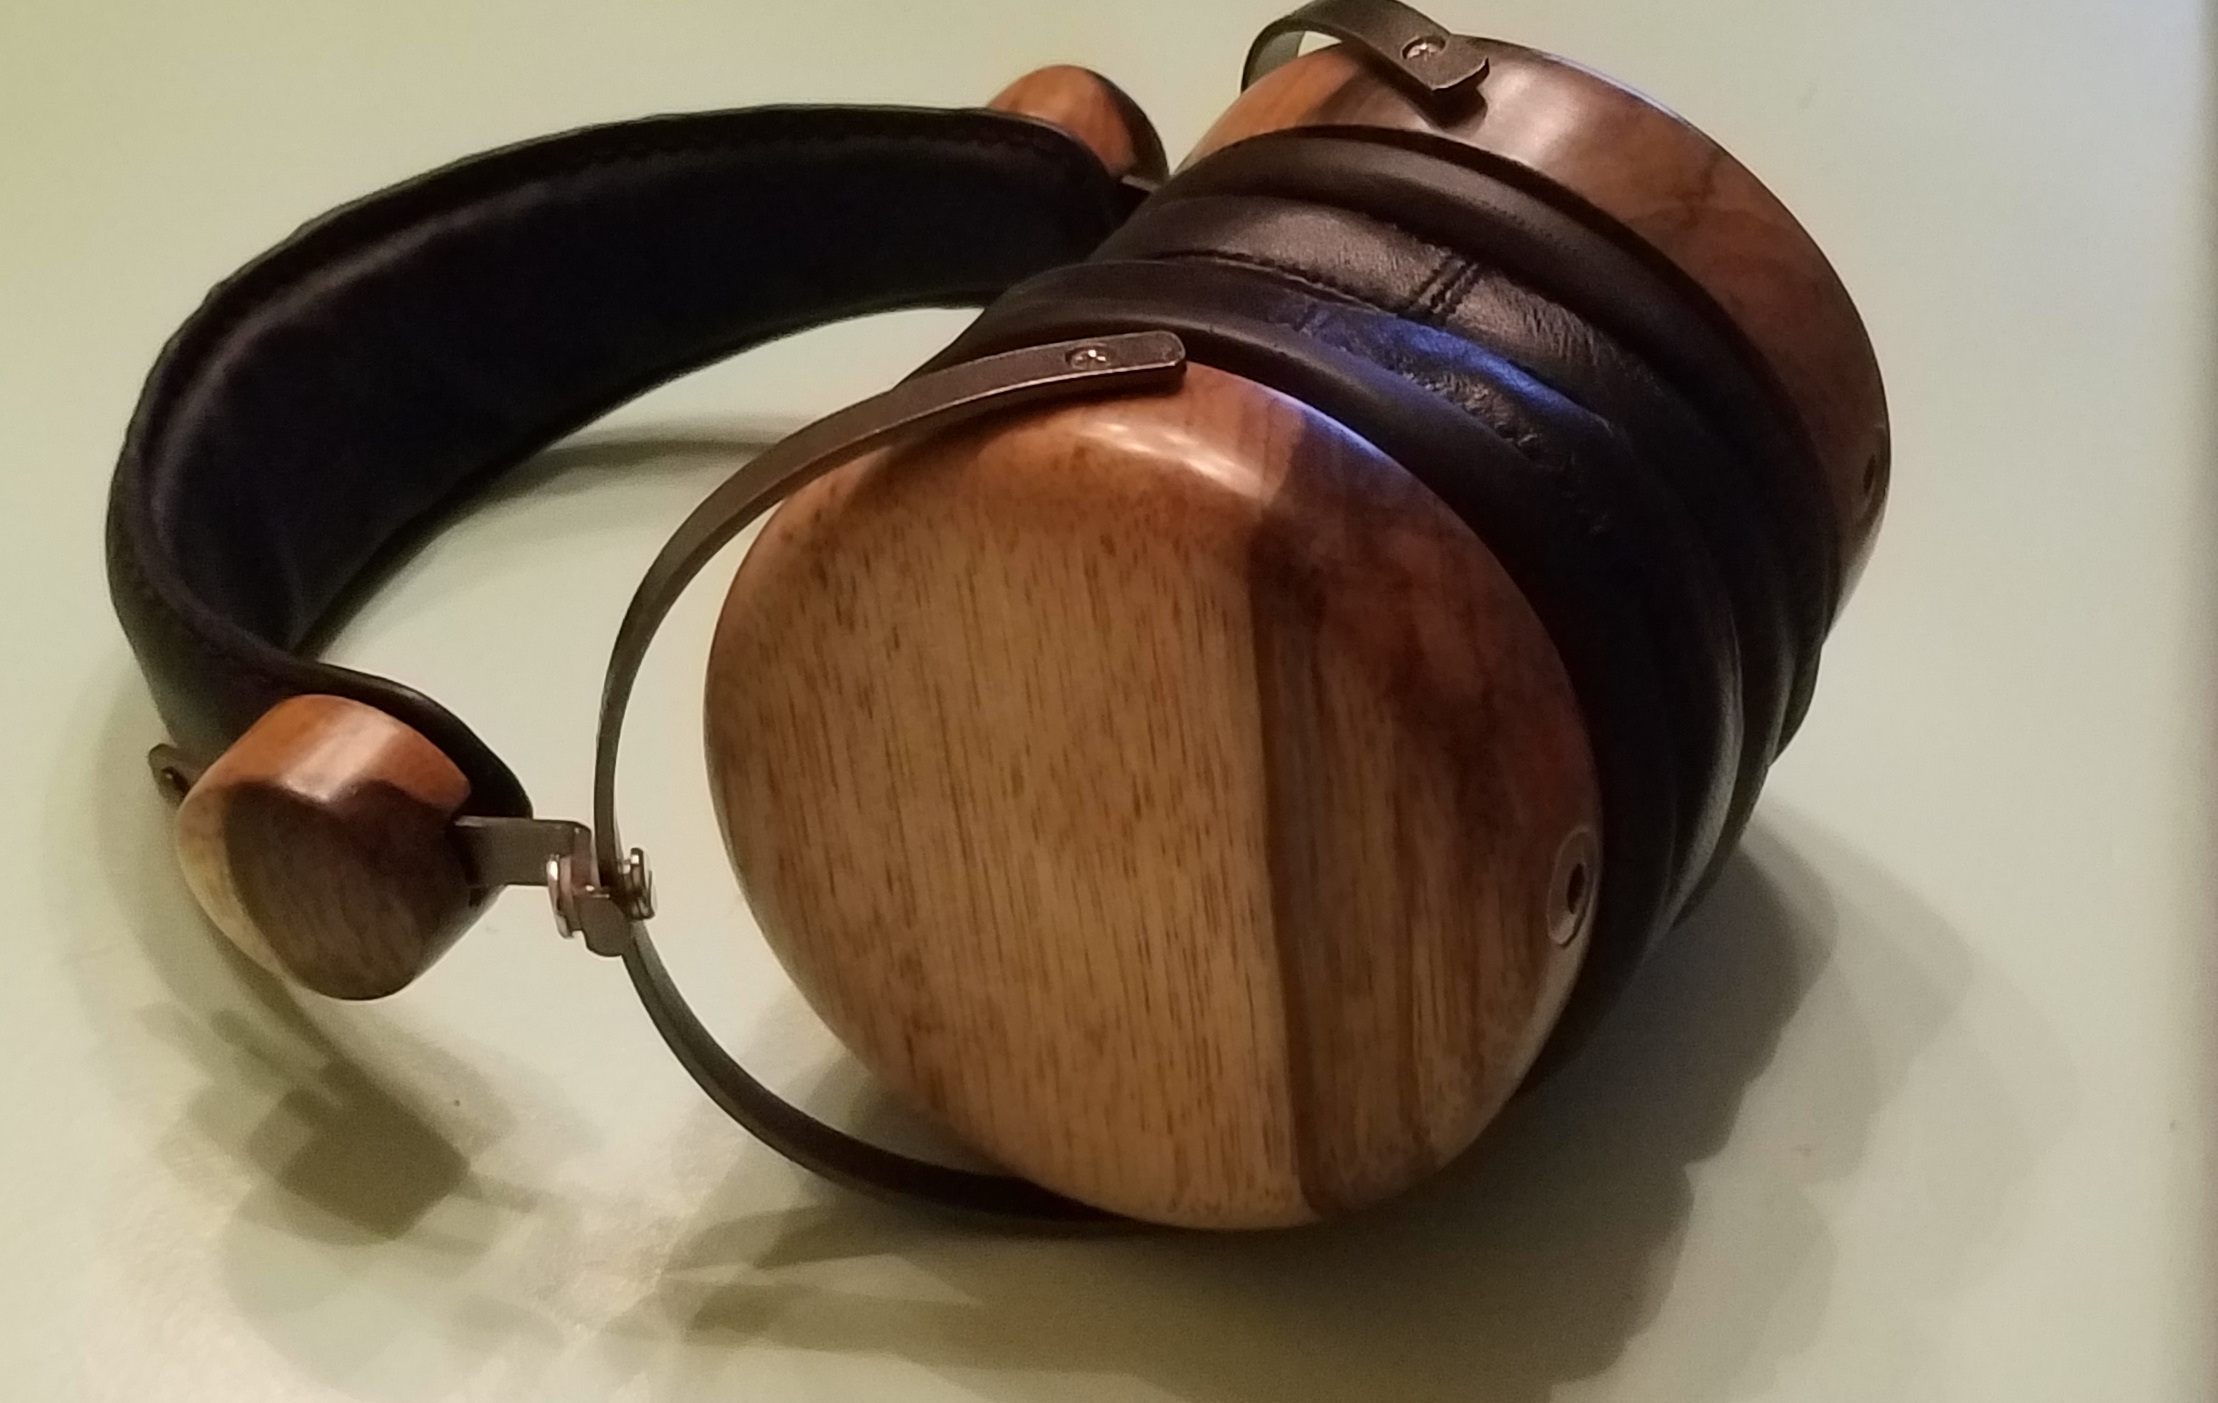
After having BMF's V3 mods for a year, I got the itch and decided to dive into mine again; get rid of the jack and do a dual entry cable, fix the stripped cup threads and a few other changes I've been wanting to do.  While doing this I noticed how easy it is to lift up the driver from the baffle near the cable terminals and I think I realized the purpose of the four pillars and shock absorbers in the cups, which seem to be to provide pressure on the driver to prevent it from lifting. 
 
But now I'm thinking you could glue the driver housing to the baffle and remove the pillars in the cups.  The baffle and cup are pretty sturdy and rigid and don't twist or flex much on their own so I don't think they provide any significant structural support and I can't imagine any adverse effects. 
 
I did notice there was a felt seal between the driver housing and baffle in Tyll's pictures so maybe their intention was to provide some mechanical separation between the driver and the cup and baffle with this design.
 
I'm tempted to do this as it would provide a consistent seal between the driver and baffle, make working with materials for internal dampening easier, and maybe slightly increase the cup volume?  But maybe it's not worth the trouble.
 
Any thoughts on this?  I searched around and haven't seen it mentioned much. 
 
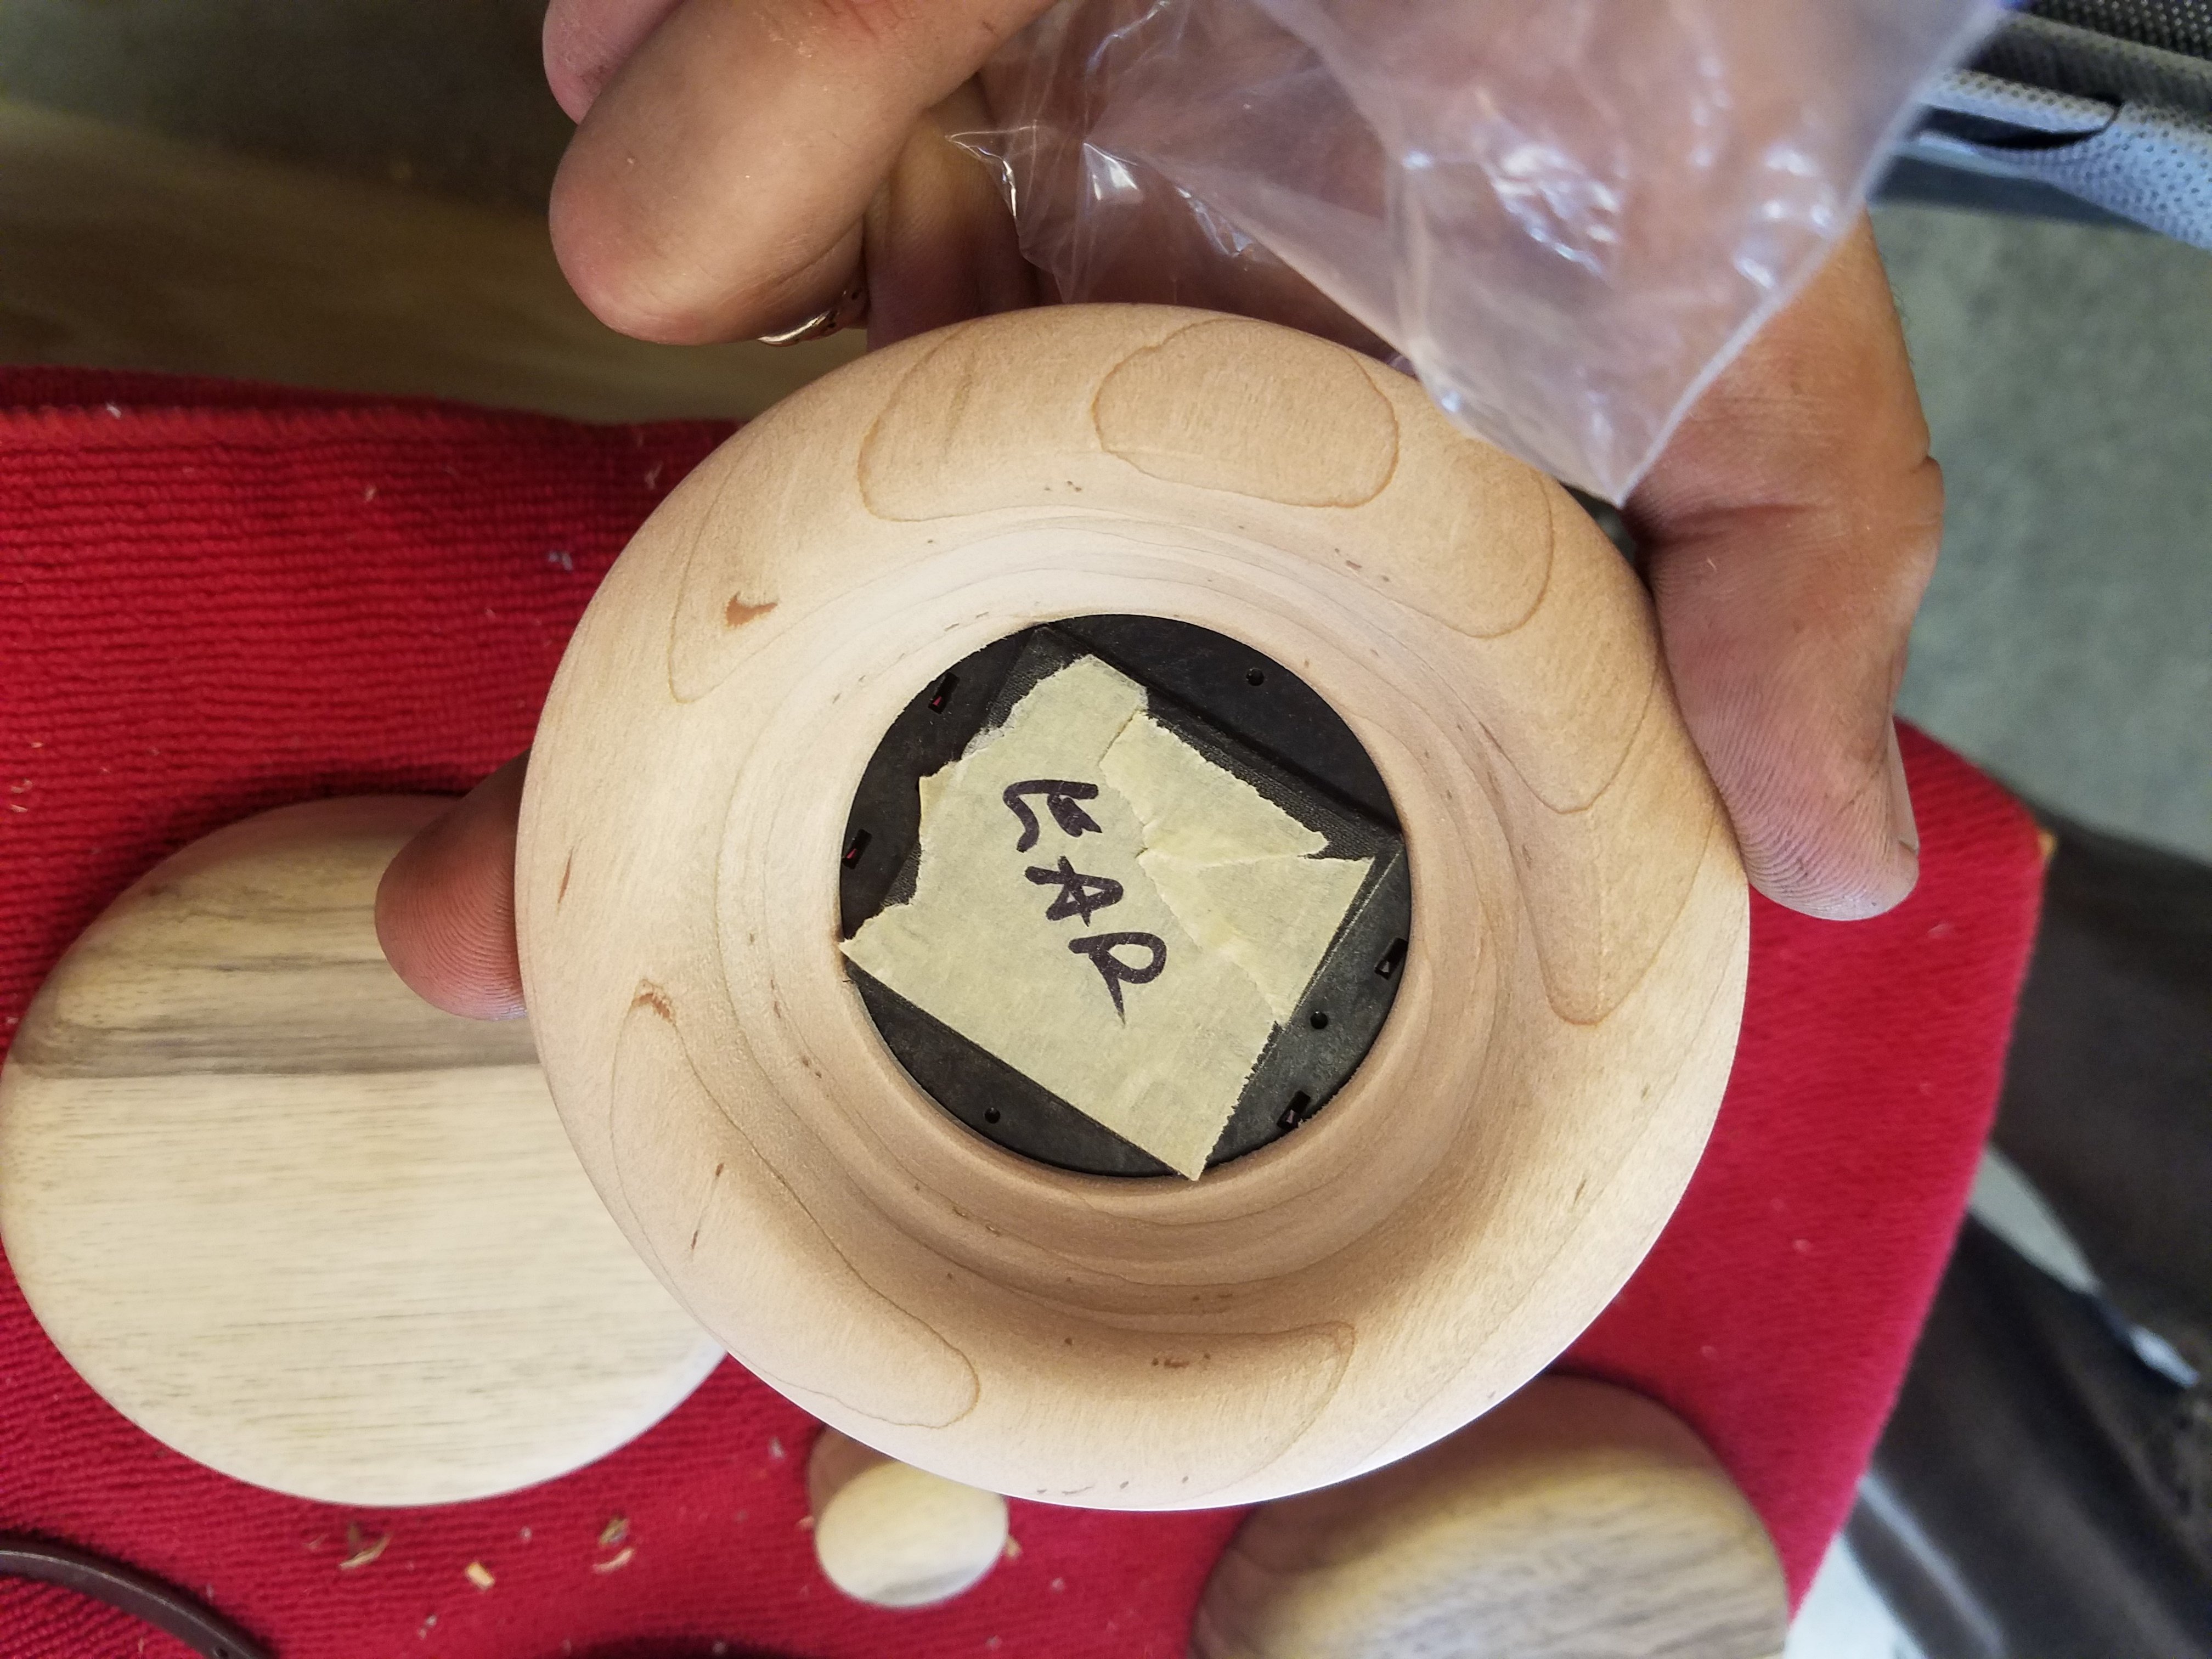
Here are my cups so far, by the way: 
 
Jack and cable entries sealed with plastic epoxy, thin plastic super glued over the cup vents, super glue over hanger mount seams, and all of those small standing posts removed.

 
I have an HD600 cable that I'm going to solder to the stock internal wires of the driver and I ordered a few different foams from Foam Factory to play around with and some 1" thick polyester fiber fill that's quite loose and easily separates into nice and even thin layers if needed.  I did remove the thick paper treble reflector but I'm going to stick with stiff craft felt over the rear of the driver and 840 pads.  I was pretty happy with BMF's mods so I don't plan on deviating too much from them for now.
 
Jul 18, 2016 at 10:23 AM Post #11,284 of 11,345
I would be interested to see the photo of the dual entry cable connectors when you get that done. I am planning to do that mod to some Fostex I have.
 
 
If ever any of you take off too much material and want to add something back, even a screw mount I know of a product that is pretty amazing, lightweight and stronger than the original plastic.
 
Jul 18, 2016 at 11:42 AM Post #11,285 of 11,345
Will do.
 
I'd be interested in that.  I used Permatex Plastic Weld and while it seems strong enough it was very difficult to work with.  It dries very quick and gets sticky and stringy making it hard to manipulate.  I'll take some pictures of the outside of the cup and the filled jack entry.
 
I did use this guide which was helpful: https://www.youtube.com/watch?v=0KwD0vS_RSE
 
Jul 18, 2016 at 12:05 PM Post #11,286 of 11,345
The product I use requires good ventilation but once it sets you can grind it, sand it, and paint it if you wish. Under heat and pressure you can do some amazing things with it but it is not necessary just to mend plastic. It is only available from dental supply houses but if you are on good terms with a dentist he might order some of it for you. I have heard it called dental acrylic or tray acrylic or methyl-methacrylate. As an insulator I believe it will withstand 100,000 volts. With it you could make a mold and create your own headphone cups, but you would have to practice with it some first. Read the precautions and be safe if you do try to use it.
 
Jul 20, 2016 at 2:04 PM Post #11,287 of 11,345
  The product I use requires good ventilation but once it sets you can grind it, sand it, and paint it if you wish. Under heat and pressure you can do some amazing things with it but it is not necessary just to mend plastic. It is only available from dental supply houses but if you are on good terms with a dentist he might order some of it for you. I have heard it called dental acrylic or tray acrylic or methyl-methacrylate. As an insulator I believe it will withstand 100,000 volts. With it you could make a mold and create your own headphone cups, but you would have to practice with it some first. Read the precautions and be safe if you do try to use it.


Oh haha - that sounds pretty hardcore.  I think I'll stick to epoxy and superglue for now but thanks for the suggestion!
 
I decided to play it safe and keep the pillars/shock absorbers for now as I feel like I'm making enough changes as it is.  Should have them back together in a few days and I'll have some more pictures.
 
Jul 20, 2016 at 7:59 PM Post #11,289 of 11,345
Jul 20, 2016 at 8:31 PM Post #11,290 of 11,345
The pillars and shock absorbers decouple the baffle from the cup to reduce vibration--induced distortion.


Okay, I think I get it now.  So do the cups and baffles not make solid contact around the outside perimeter and the screw mounting holes?  That would make sense.
 
Do you think they would they still be necessary if you mass load the baffle? 
 
Jul 20, 2016 at 10:29 PM Post #11,291 of 11,345
That would also explain why the cup threads strip so easily as the shock absorbers create pressure but also have some leeway that probably causes people to overtighten them.  I have noticed on the felt on the rear of my driver that there are 4 pin marks from the pillar so I've probably been tightening them too much.
 
Jul 21, 2016 at 12:31 AM Post #11,292 of 11,345
I just tested this since my cups are empty and drivers separated so it was easy to see how they do decouple the baffle - there's about 3mm of travel/compression.  I've always thought that resistance was from the cotton stuffing so I never realized this.  But the pads/shock absorbers are fairly pliable and you can easily push the baffle all the way down so it's contacting the cup. 
 
There is a line on the outside of the baffle, which I've noticed before but didn't think anything of it, and I wonder if it's suppose to be a reference for how much the baffle should be tightened.  With the line visible but just above the cup edge it doesn't make contact with the cup.  But if you tighten it more the line disappears and the baffle makes contact with the cup.
 
Doesn't seem like that great of a design though.  I would imagine most people tighten the baffle all the way, making contact with the cup, and negating their purpose of decoupling the baffle from the cup.  I'd think a gasket around the perimeter of the cup and baffle or even just some o-rings on the screws would be more effective.
 
Sorry if this is redundant!  It's interesting to me as I never realized this though.


Jul 24, 2016 at 7:16 PM Post #11,293 of 11,345
I just tested this since my cups are empty and drivers separated so it was easy to see how they do decouple the baffle - there's about 3mm of travel/compression.  I've always thought that resistance was from the cotton stuffing so I never realized this.  But the pads/shock absorbers are fairly pliable and you can easily push the baffle all the way down so it's contacting the cup. 

There is a line on the outside of the baffle, which I've noticed before but didn't think anything of it, and I wonder if it's suppose to be a reference for how much the baffle should be tightened.  With the line visible but just above the cup edge it doesn't make contact with the cup.  But if you tighten it more the line disappears and the baffle makes contact with the cup.

Doesn't seem like that great of a design though.  I would imagine most people tighten the baffle all the way, making contact with the cup, and negating their purpose of decoupling the baffle from the cup.  I'd think a gasket around the perimeter of the cup and baffle or even just some o-rings on the screws would be more effective.

Sorry if this is redundant!  It's interesting to me as I never realized this though.


Hmm, I was think about it, what would be the point of decoupling? In theory you want the baffle to be as stable as possible, which is why the theory of new plant exists. Unless they are isolating cable noise as much as they can, or just space for venting
 
Aug 3, 2016 at 3:24 AM Post #11,295 of 11,345
Hmm, I was think about it, what would be the point of decoupling? In theory you want the baffle to be as stable as possible, which is why the theory of new plant exists. Unless they are isolating cable noise as much as they can, or just space for venting


No idea and I've also read some comments here about keeping the driver as stable as possible - something about bolting it to your skull, lol.  And again, if you tighten the baffle all the way it makes direct contact with the cup at the screw holes and around the perimeter.  BMF may be right but that just seems odd to me or maybe he meant something else.
 
The best explanation I can imagine is they're there to stabilize the baffle and driver and reduce any possible vibrations or movement of them.  But I don't really know; I'm far from an expert.
 
On another note, my T50RPs are not going well.  The HD600 cable is a pain to work because they use a paint to insulate the wires which is difficult to remove and I don't have any heatshrink that small so I have to re-insulate them with electrical tape and hot glue which is messy, they or the t50rp wires don't soak up solder easily, I cracked one of the screw holes, and one of the cables broke off from the driver terminal. 
 
I'm kinda burn't out on them right now and it's really hot here but I'll update more on them when I can.
 

Users who are viewing this thread

Back
Top