Step One:
FWIW, here's what I did based on koiloco's idea.
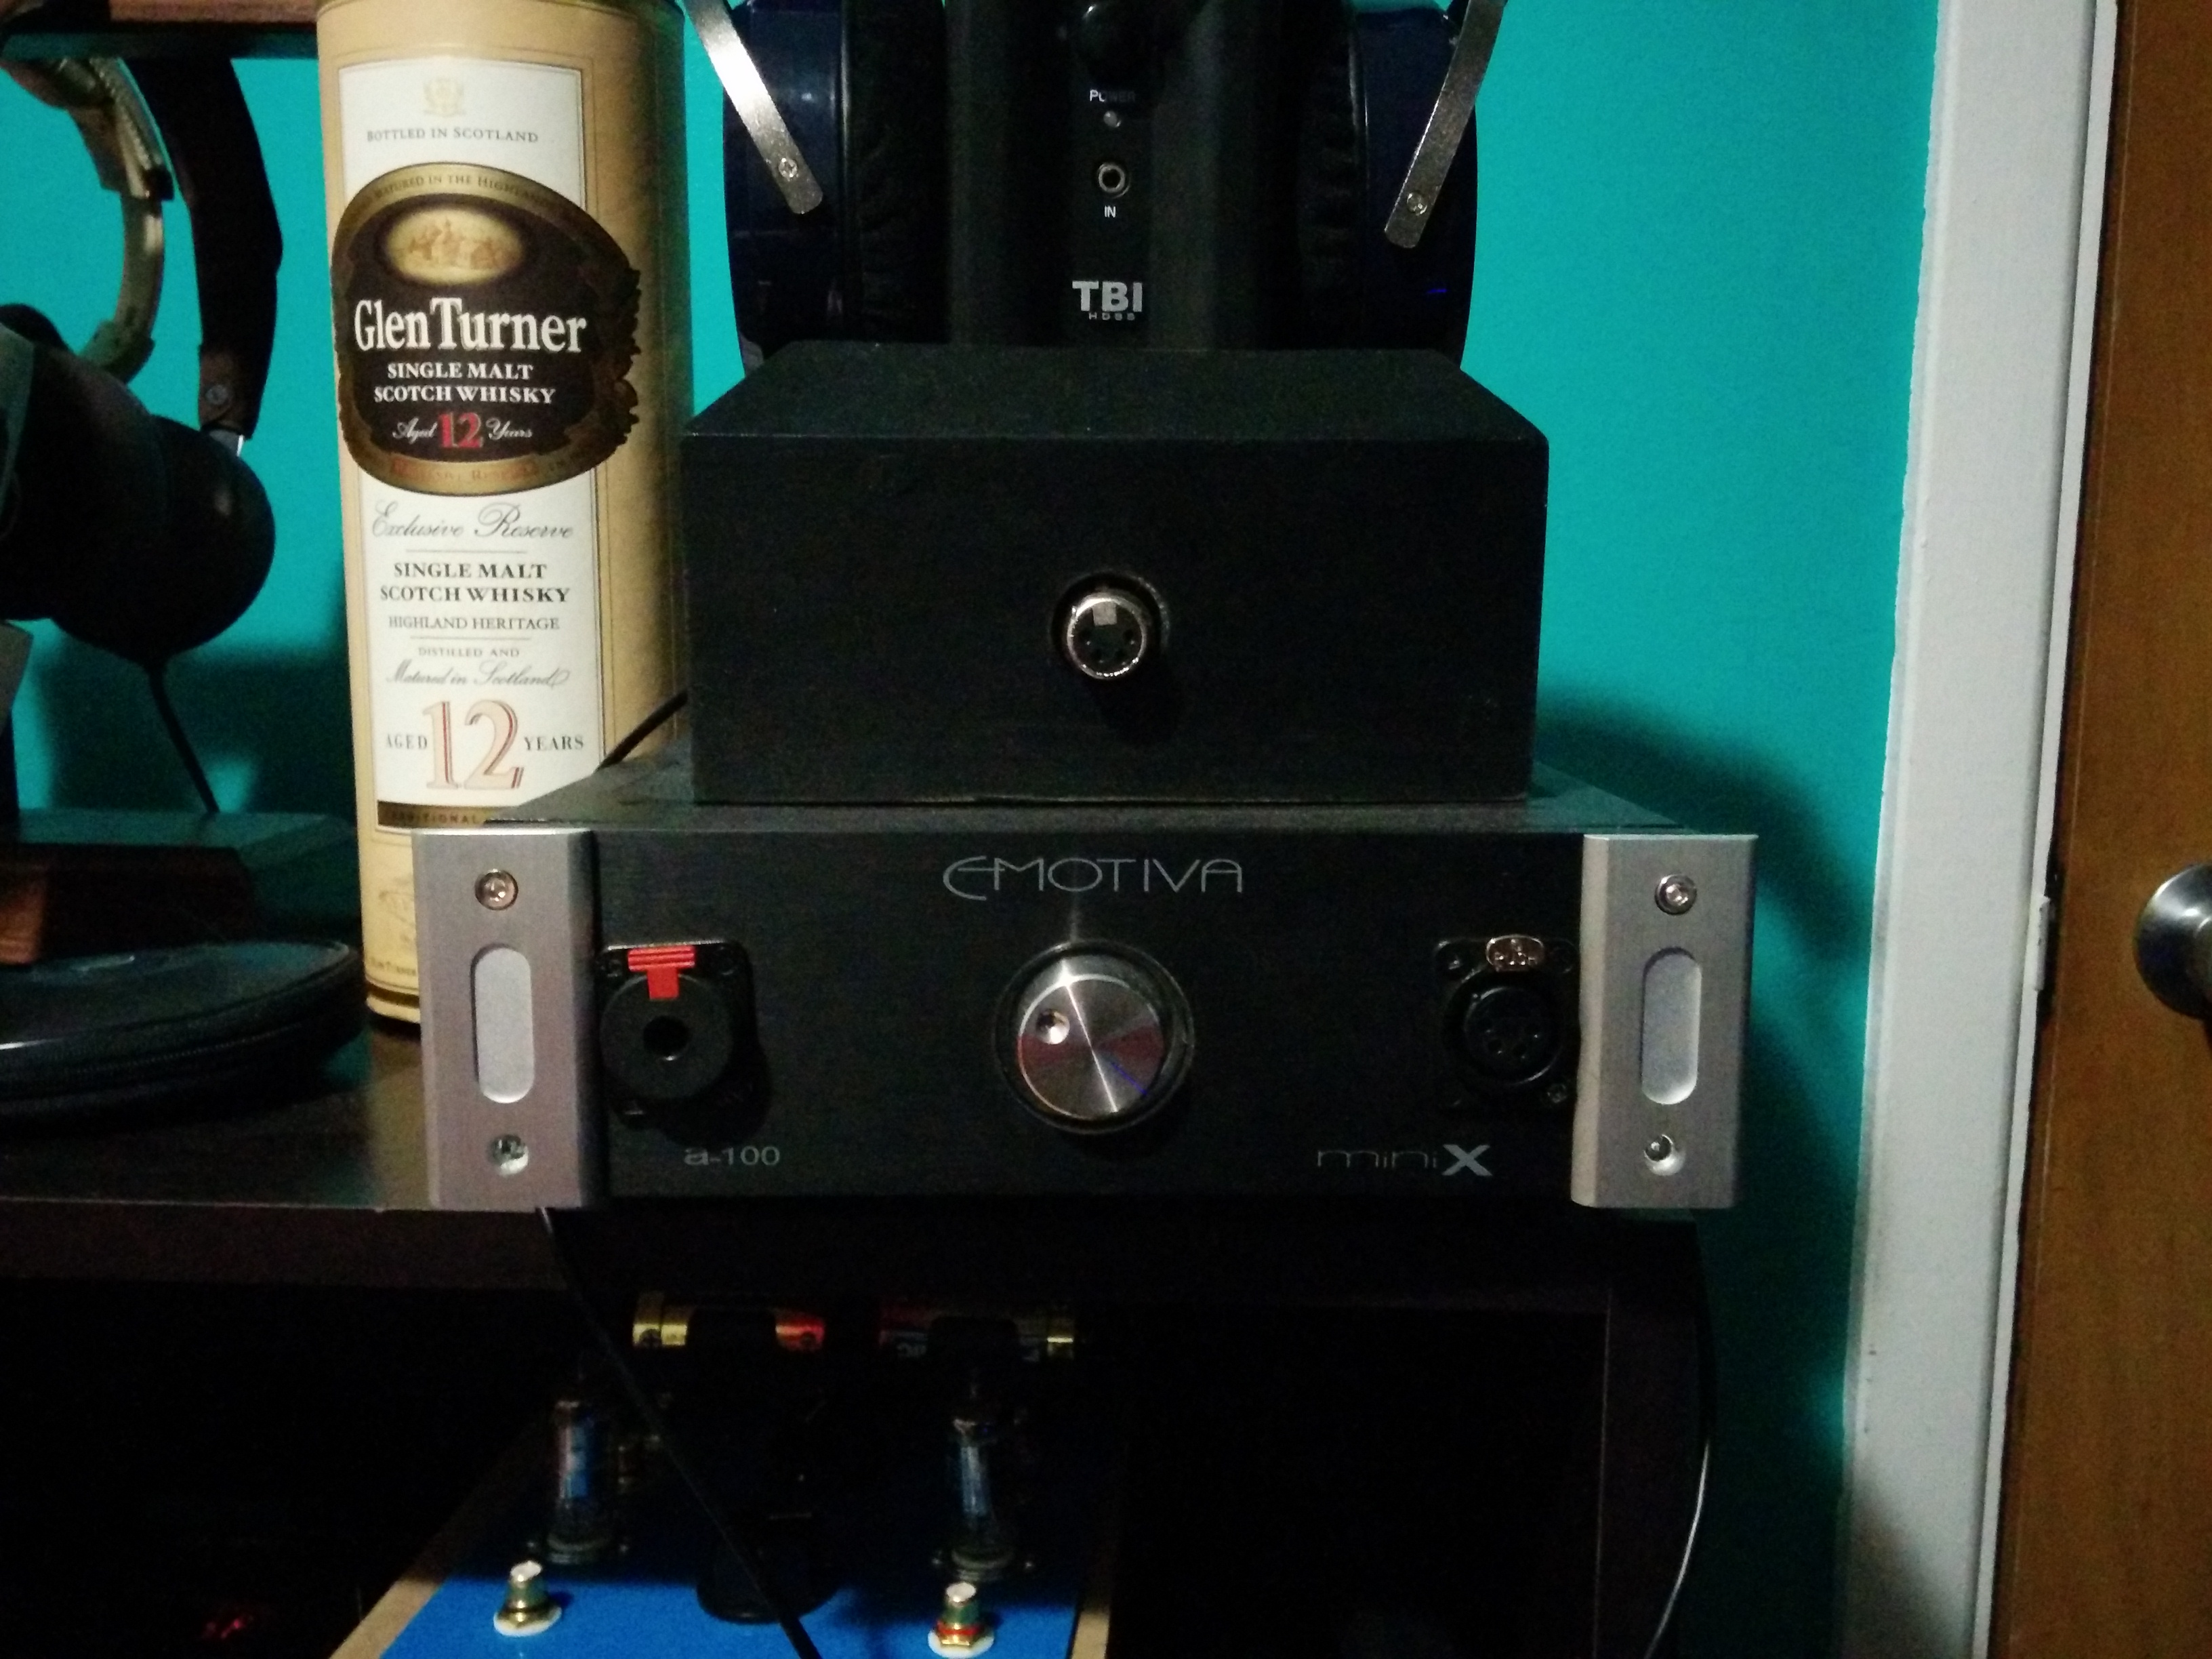
Initially, I installed the mini xlr and TRS jacks on the face plate of the Emotiva a-100.
I heard a hum from my Mini a-100 that sounds like a ground loop or 60 cycles per second hum so I added resistors following robrob's schematic a couple of weeks later and the hum disappeared (see Step Two, below). The Emotiva Mini a-100 performs very well, for me, and sounds good. For the price, you can't go wrong.
If you get a Mini a-100 and choose to modify it like koiloco with a headphone jack off the speaker terminals, you have to measure VERY Carefully because you only get on shot at it. There is limited space behind the face plate and I just barely got it "right."
You need to:
remove the knob - it pulls straight off. Not easy, but it's only friction mounted
remove the case cover and face plate (Put screws in a medicine bottle and use a foam pad in case you drop them)
move the heat sink to the side, actually towards the front just enough to reach the nuts on the speaker taps
and remove the volume pot board from the back of the face plate. Make sure you don't lose the little white, plastic washer between the volume pot stem and face plate's clear "window."
Measure the width of the front side aluminum accent and mark its position from top to bottom of the Rear side of the face plate. Measure and mark your "pilot" hole for your TRS jack. Draw a 1/4" hole centered over your pilot mark.
Digital calipers are essential for accurate measurements which is important when tolerances are so small. Make sure your 1/4" circle around the pilot mark does not impinge upon the edge of the volume pot board And its wire assembly.
If only installing a Single End TRS jack, put it on the front-left side of the face plate because there is more room to work, there. Note, I added a mini xlr because it looked too difficult to use a standard XLR without drilling into the volume pot circuit board and the front side aluminum accent.
Drill a pilot hole with a 1/16th inch drill bit from the back side of the face plate. Increase the bit size or use a step drill bit to reach 1/4" in diameter.

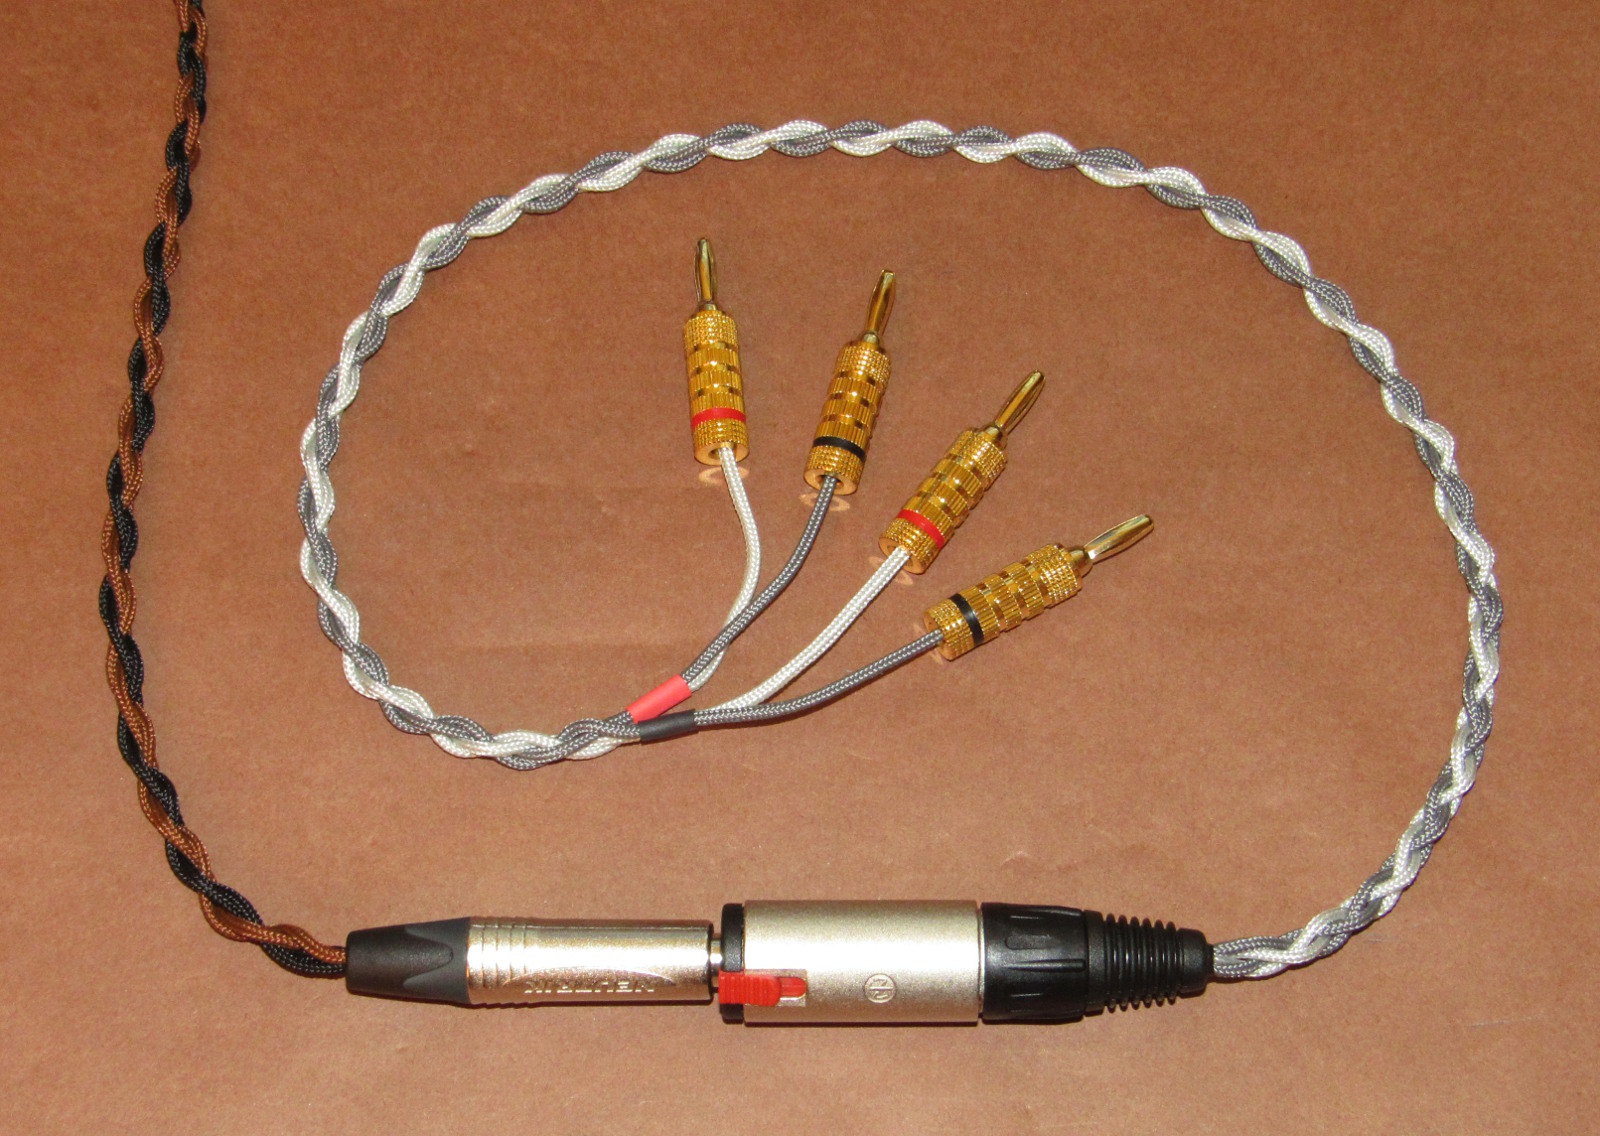
Blue and Clear wires are for + and - TRS/mini xlr jacks to speaker terminals.

Large black Mogami cable under and around Toroidal power supply with splitter at the top of the volume pot circuit board going to TRS at top right side and xlr at the bottom right side.

Splitter on right side goes to TRS on right and xlr on left side of circuit board.

Circuit board for volume pot with jacks on either side.

TRS jack right next to harness plug.

XLR next to other harness assembly.


Step Two:
I installed robrob's preferred resistor mod in my Mini a-100.
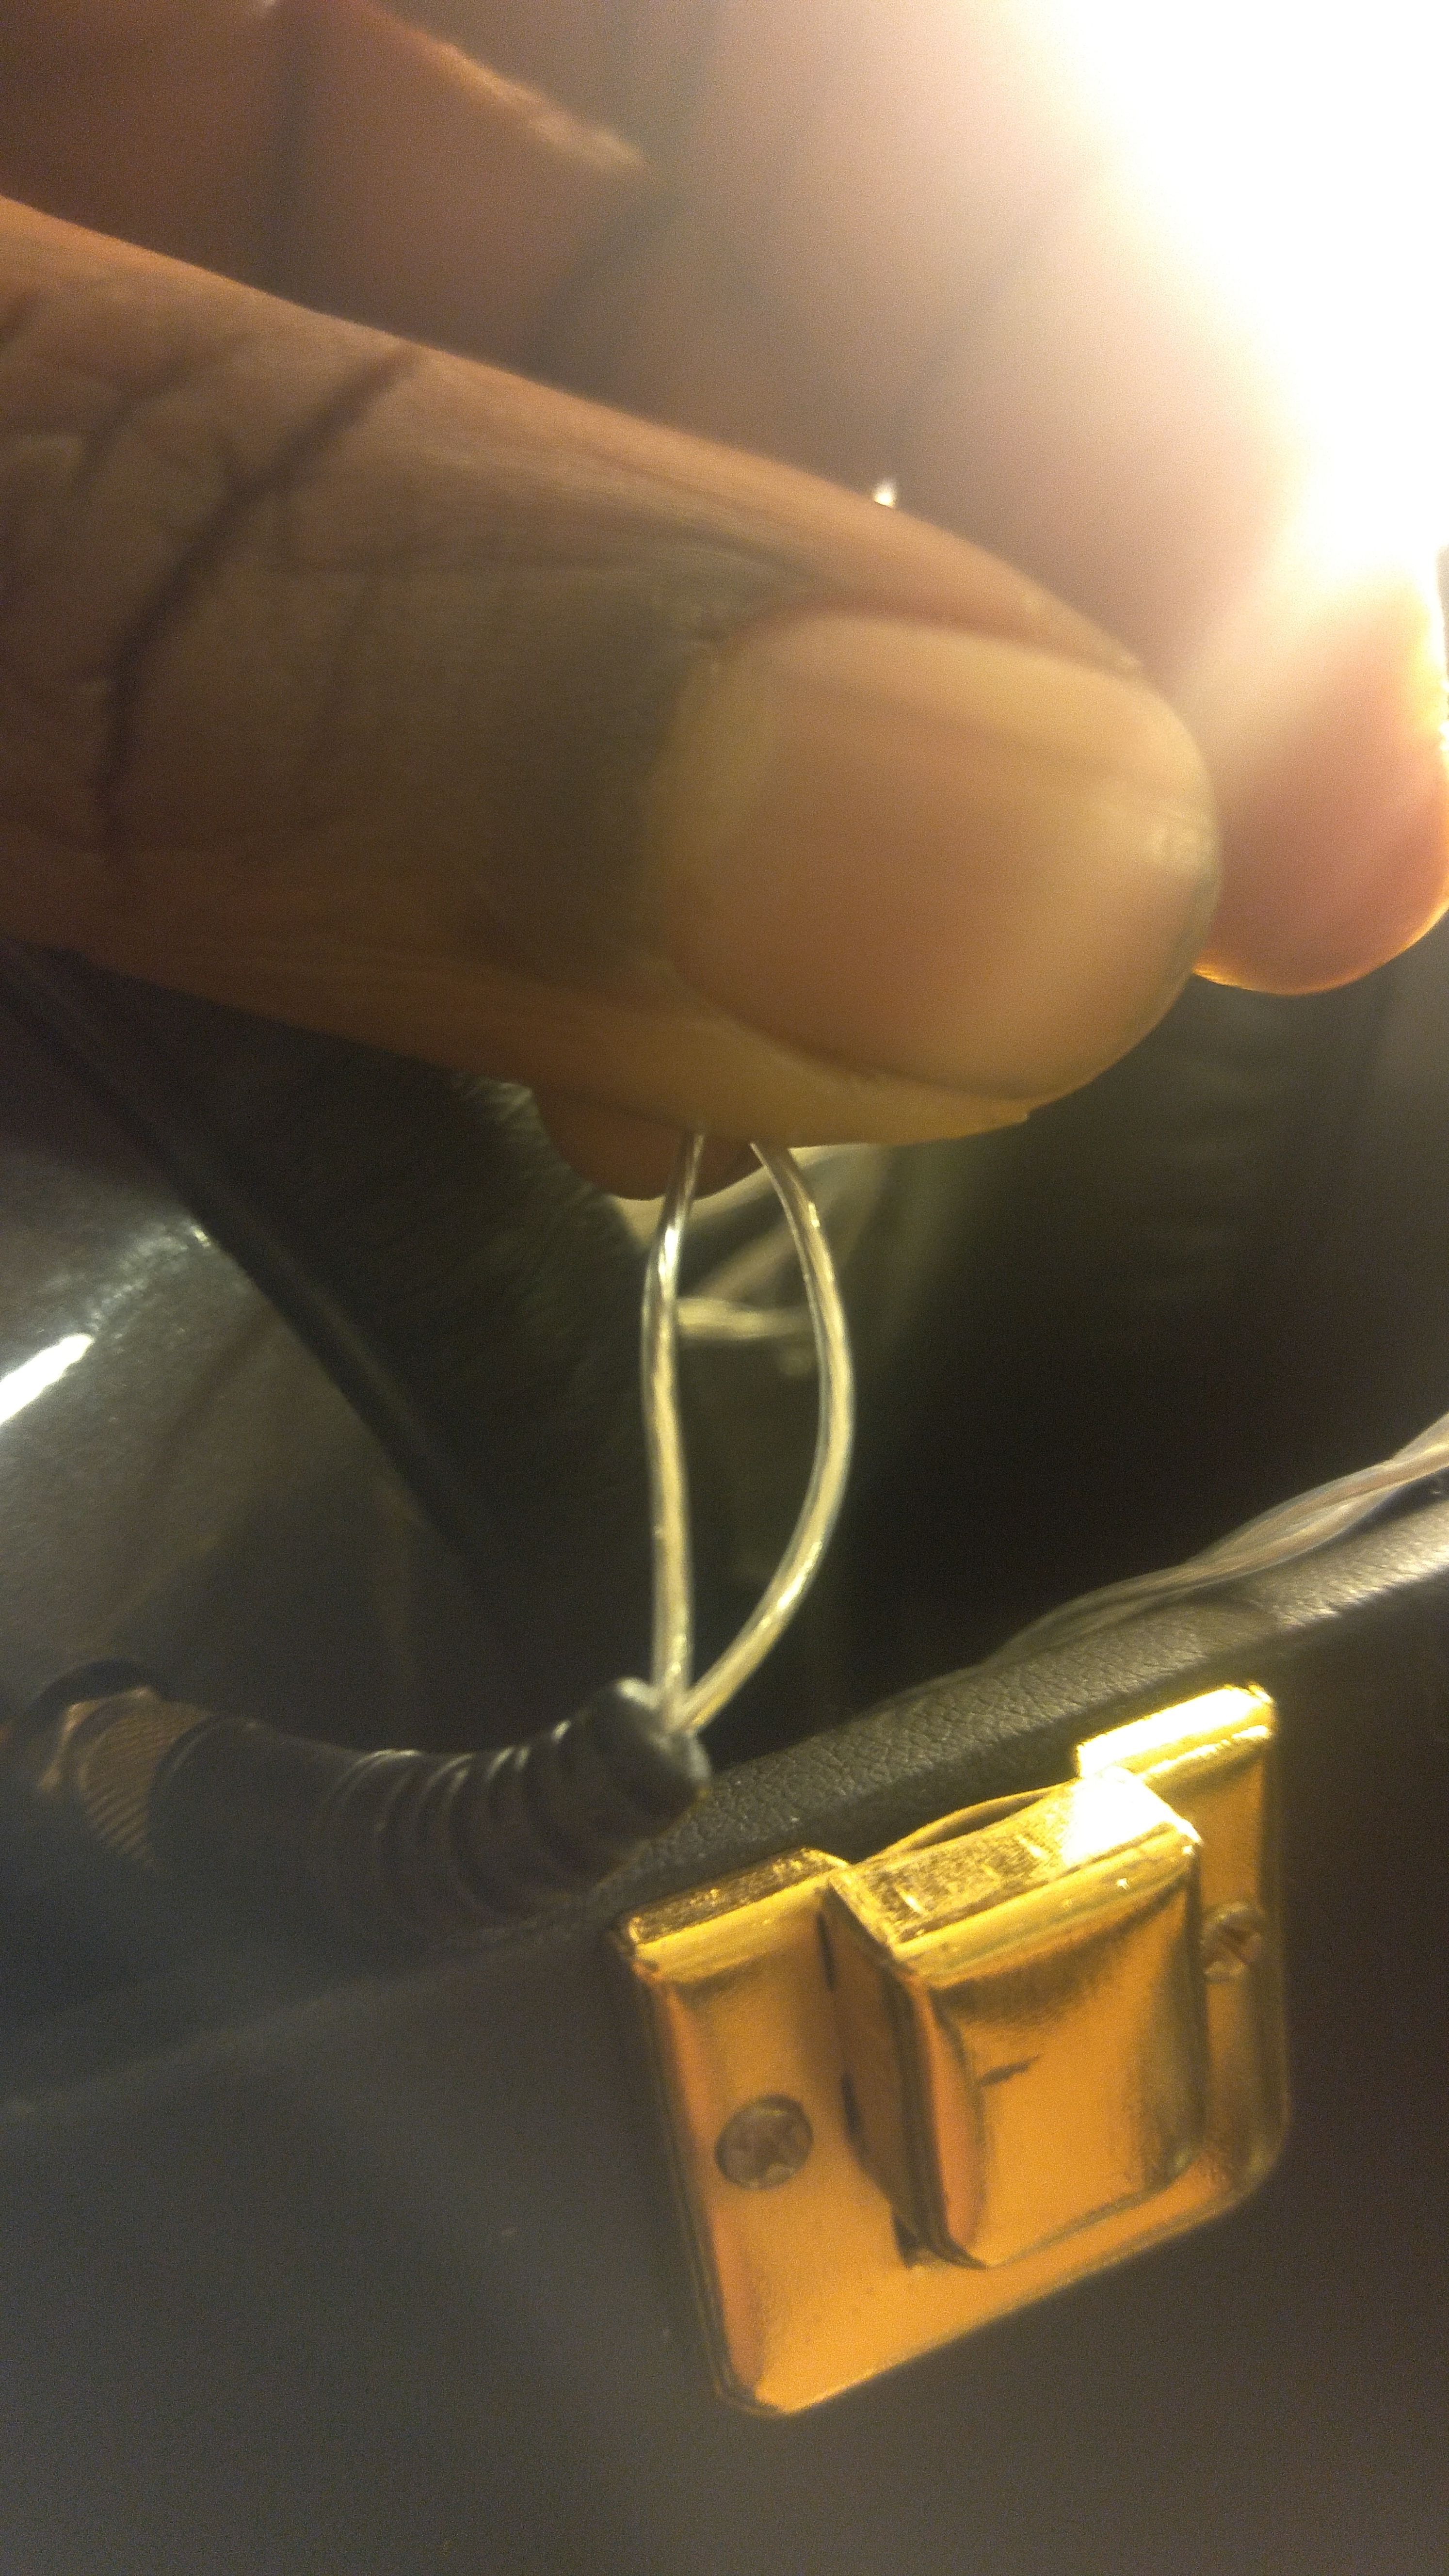
I did not want to cut the wires near the headphone jacks so I soldered spades onto the ends of the 5 watt resistors, bent the leads to fit under the heat sink, and soldered the Positive wires to the other end of the 5 watt leads. I cut out small sections from the all 4 wires and soldered the 3 watt resistors in place. Heat shrink and liquid electrical tape provides some shielding and insulation.
No more noise.
Better volume pot control.
Thanks robrob!

5 watt Vishay Dale Resistors with spades and heat shrink

Positive wire to headphone jacks

Mini xlr and SE jacks split off the same 4 wires