


Rav
1000+ Head-Fier
- Joined
- Oct 12, 2005
- Posts
- 1,143
- Likes
- 33
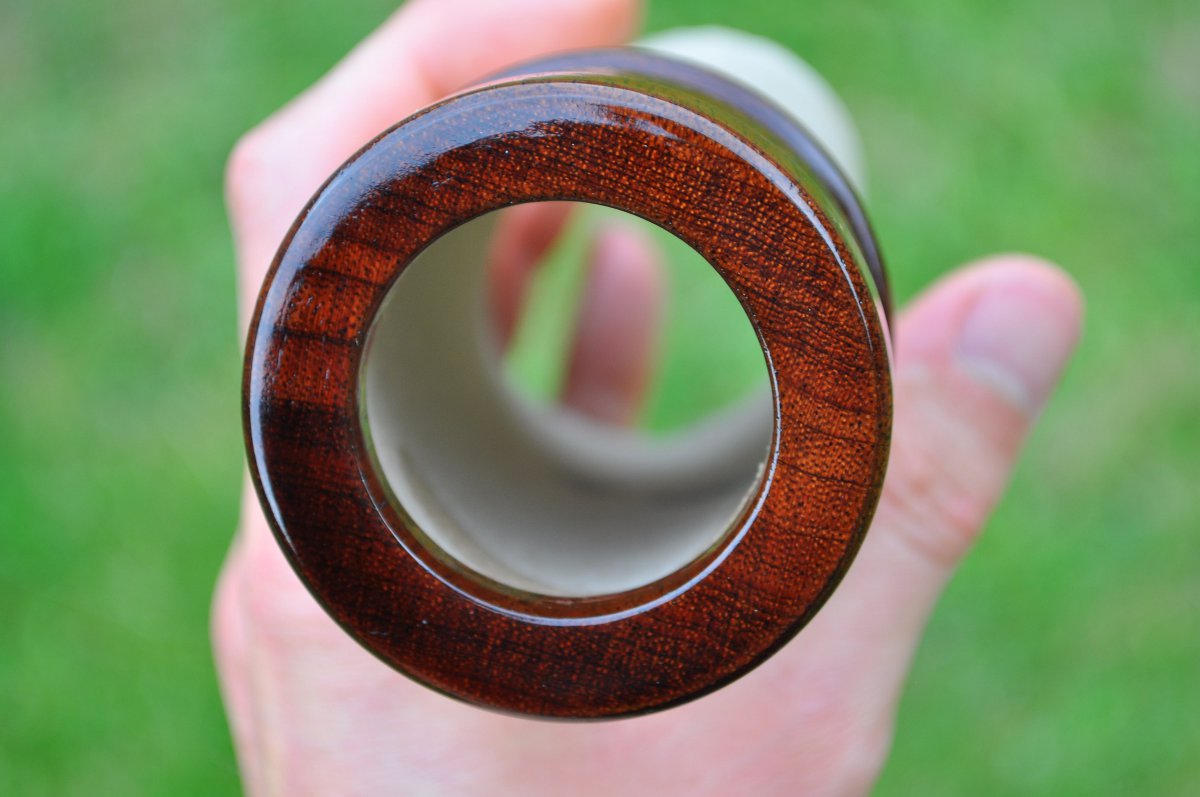
It needed to be enlarged afterwards on the lathe. i could probably have used a 44 but didn't want to chance it being too big and the driver falling all the way in.
Well the gods of procrastination have finally smiled and i've started to finish (...erm) these at last. I've had the shellac mixed up (it comes in dry flakes that disolve in spirits) for ages, but never got around to taking the cans apart to paint it on.
Anyway, so far these have had five or six coats, sanded down between most coats (some i gave two applications between sandings). I reckon i'll need another coat or two, and at least one more sanding as i have a few bubbles and other imperfections that i would like to get out. The lacquer i chose is a satin matte, so i don't know how it will apply over such a sheen, might need to buff it with some wet and dry sandpaper or wire wool before i spray it on.
These are a right bugger to photograph, as the shine gets in the way, plus they produce different colours depending on the angle they catch the light...
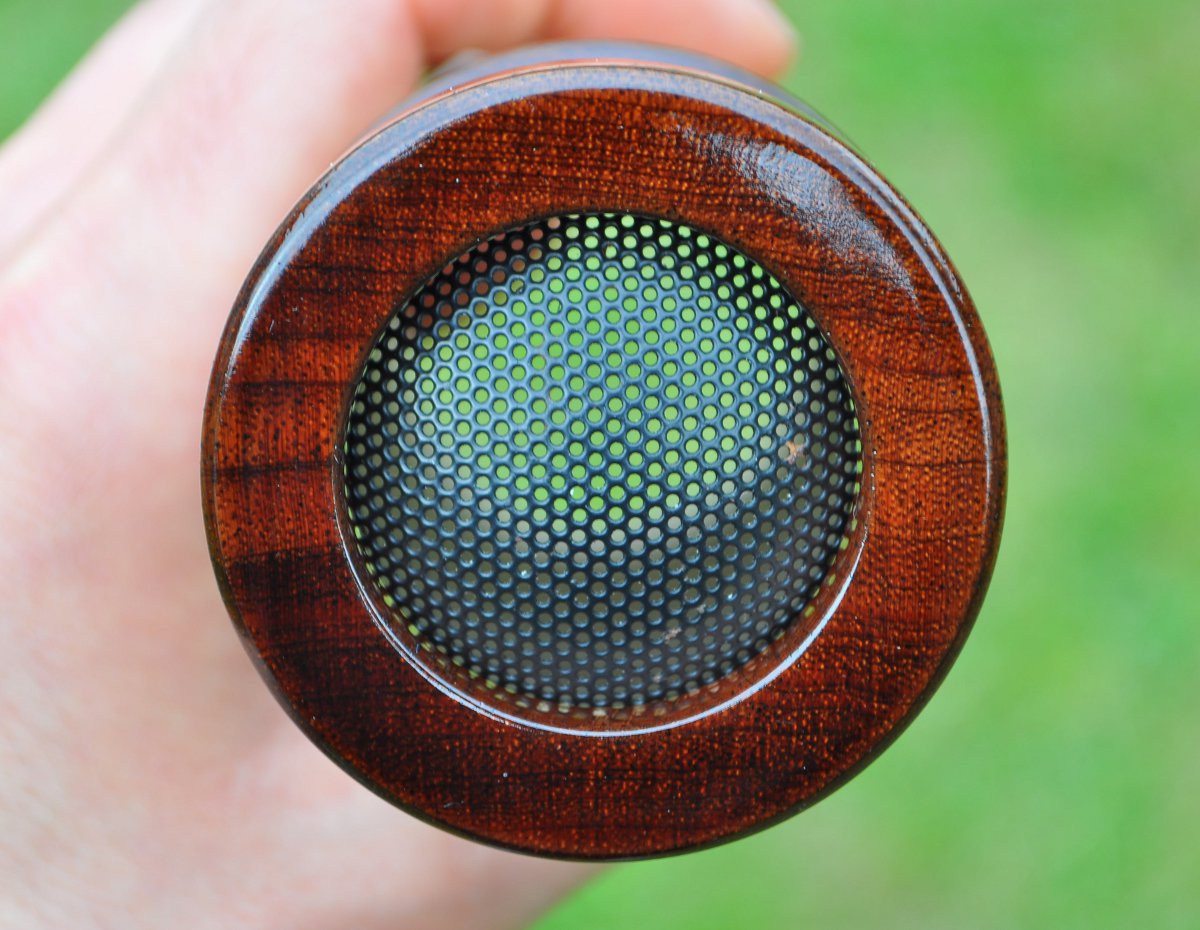
I've been having issues with sourcing and then cutting the grille, i got some woven wire mesh (very similar to stock grado RS series mesh) but couldn't cut out a circle of it without the wires un-meshing. I also tried some old metal speaker grilles (the hex perforated type) but my shears again weren't sharp enough. By chance i found a pair of old car speaker/tweeters that looked about the right size with domed metal grilles (albeit with a dent in one, should be able to hammer it out though). I sacrificed them for the cause to find that they are a perfect fit - 43mm exactly. They'll need cleaning up (i'll probably take the paint off with paint stripper and re paint with better stuff, or just clear lacqer if i like them bare metal) but you get an idea...

Nice work!
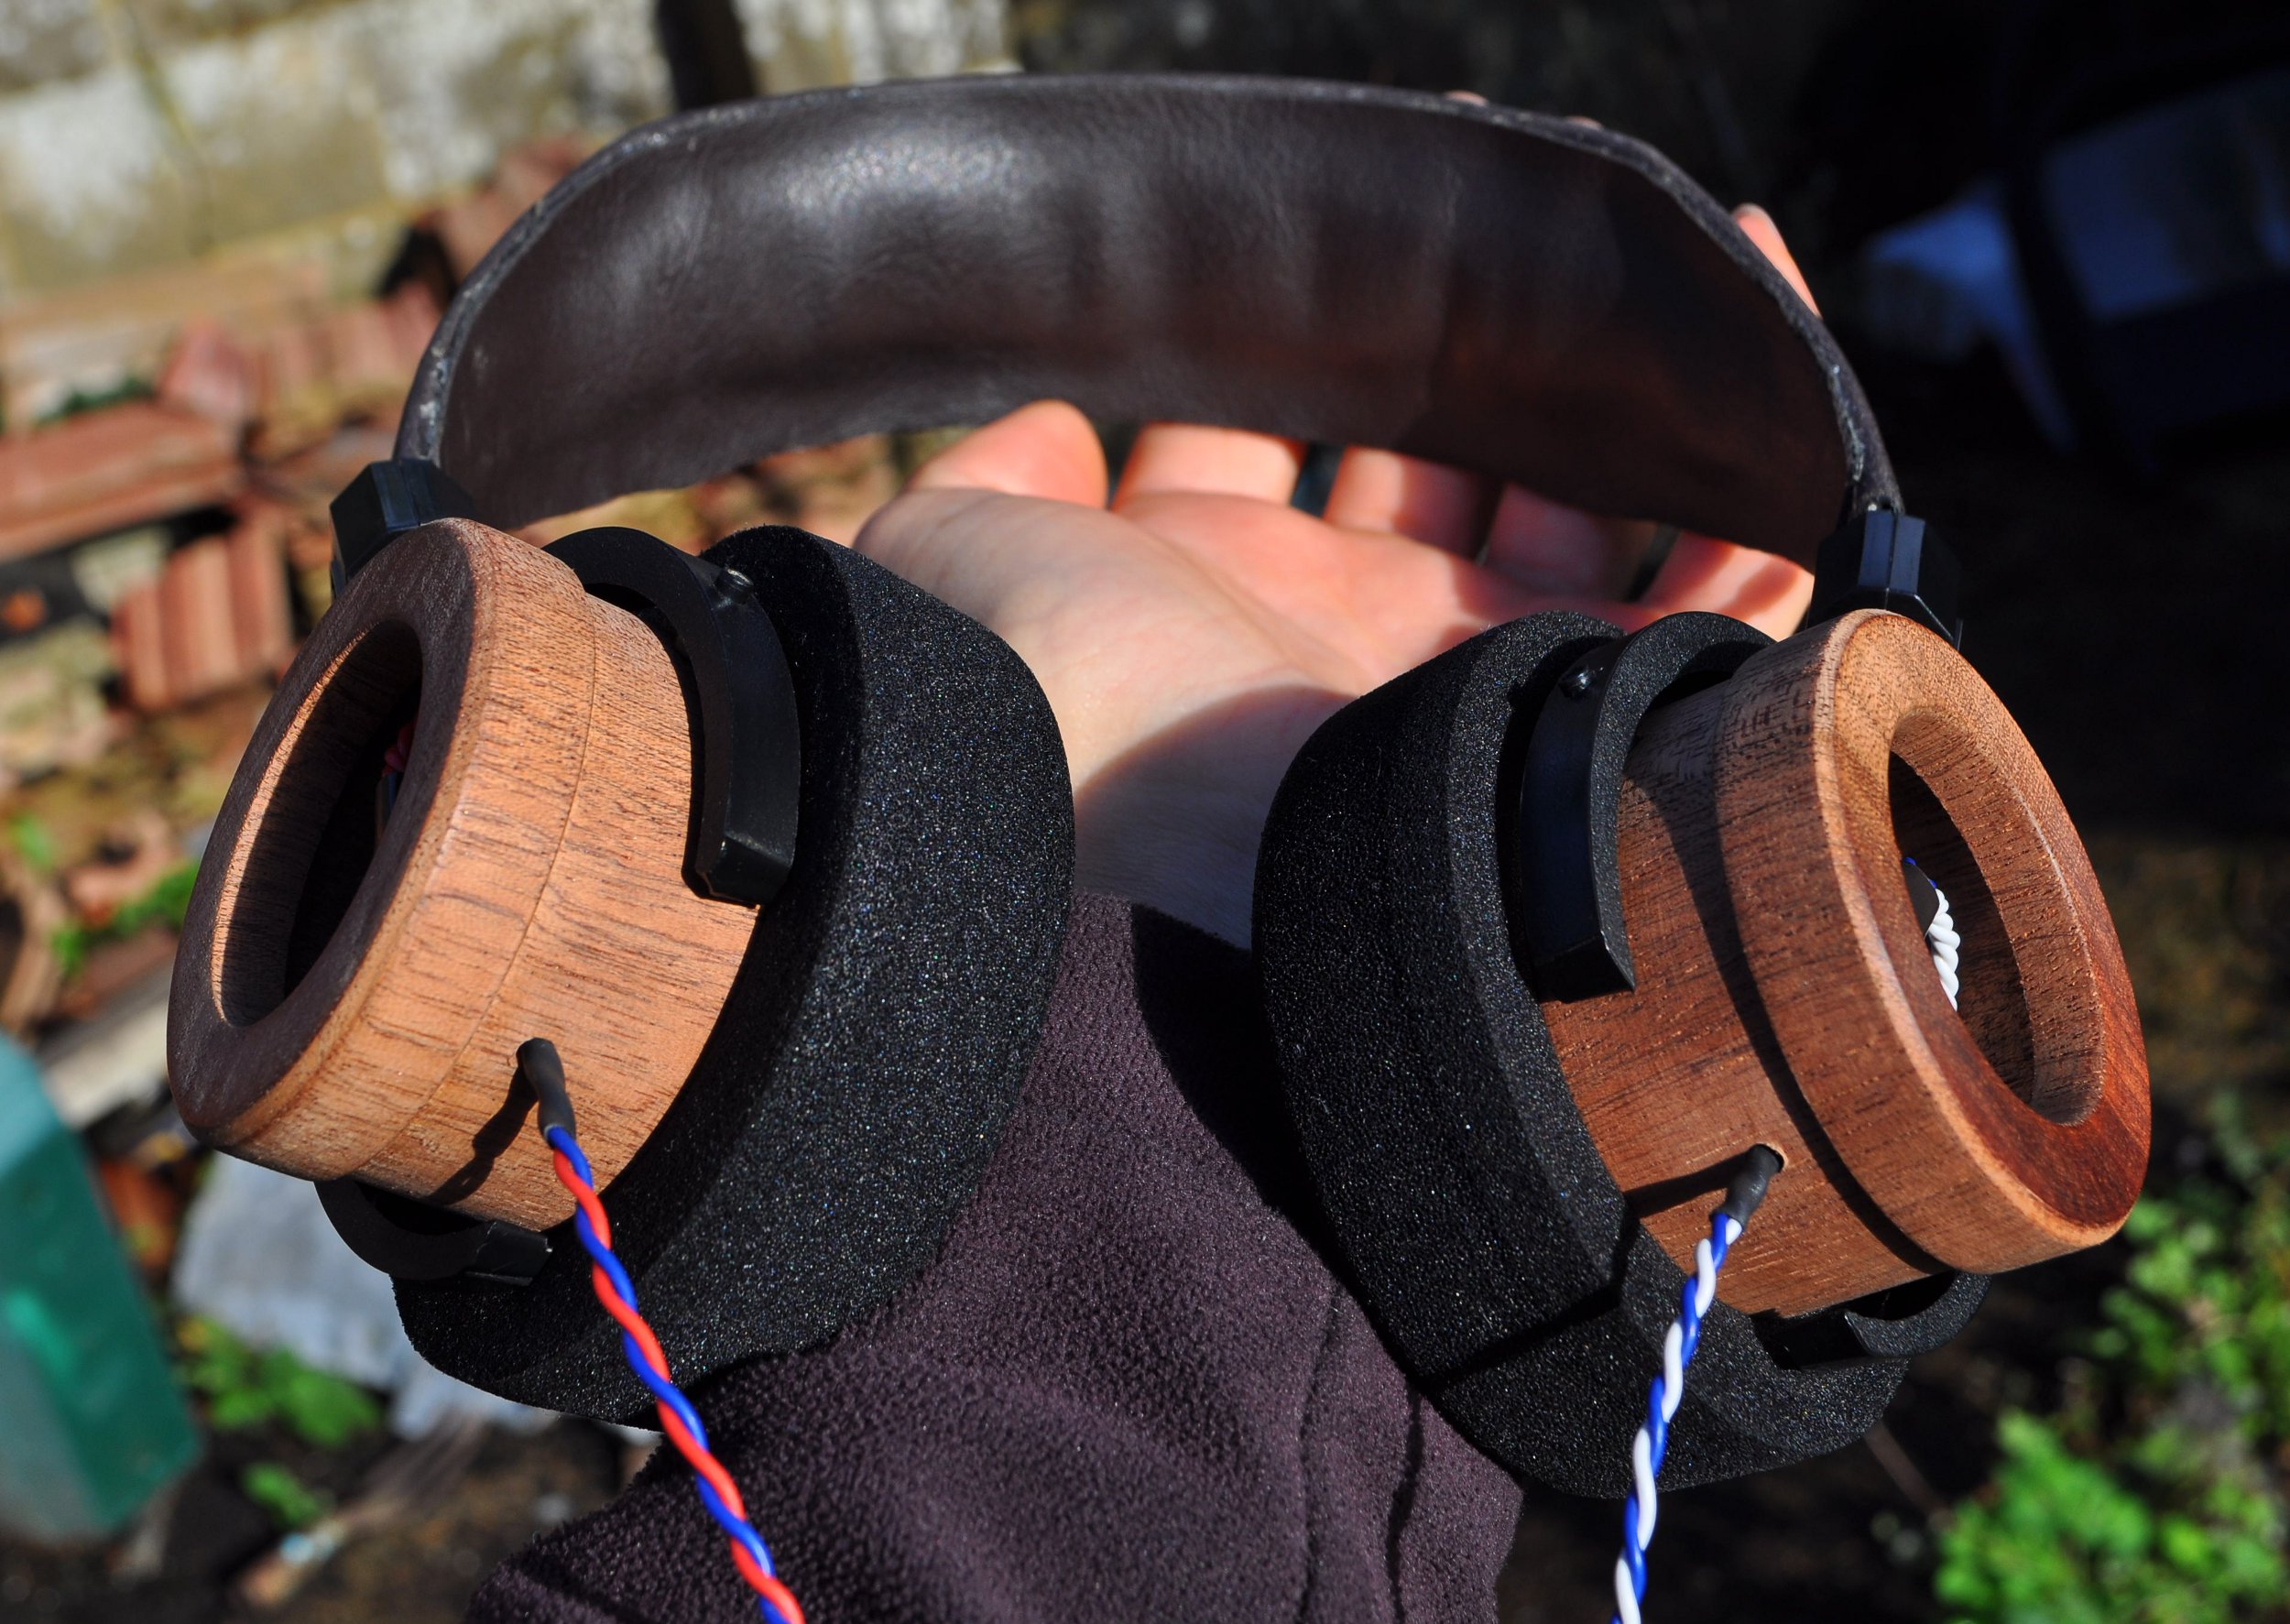
The photo's turned out nice, you can see the grain clearly.
Looks like you took the pics outdoors?
Anyone know if there is a thread on how to take pics of your headphones, I always have trouble with lighting.
") Your woodies look phenomenal man!
Your woodies look phenomenal man!The fact that this thread went unupdated for almost 9 months has convinced me that my own mod projects can be finished as well
Sure! I acquired a pair of sr80is a while back, and have been meaning to try out a new headband and a recable, if not full-on wood cups. I'd like to start a little small, and "test the waters" if you will. If/when I finally get in gear on that project, I will be sure to post regular updates.
I know myself, as other members would be quite eager to follow your progress during your build. It's always interesting to watch how things go together to make a beautiful build in the end. Or, if you're thinking of scrapping the build, I know I'd be interested in some of the parts, depending on what might available. Thanks,
Here is a link to my current progress. Okay, I know you are over in the other thread at the moment as well, but I wanted to make sure anyone else following this knew that I had actually lived up to my word
