


FrankWong
New Head-Fier
- Joined
- Feb 5, 2008
- Posts
- 43
- Likes
- 11
Indeed strange. I wouldn't say, must be nuts, as RS1, MS Pro & alike all run without sound chambers. Maybe it works with a small Grado, but definetely not with a MS1.
Quote:I love this thread!! James was here a short time ago a bit timid about modding his Grados and he i now coming up with wild ideas that will eventually yield some excellent sounds, you never know so I put some old with older quarter modded ones to see...haven't listened yet but let me ask you guys if we put it to a super secret vote I bet more than half of you guys already tried it...right!!! I took a day off to be miserable and moan, then I got Crysis 2 and fragged a bunch of folks...all better now!!!
Don't mess with the old guy!!!!!

How is crysis? I'm getting a little tired of having my ass handed to me in FIFA lately.
Quote:I love this thread!! James was here a short time ago a bit timid about modding his Grados and he i now coming up with wild ideas that will eventually yield some excellent sounds, you never know so I put some old with older quarter modded ones to see...haven't listened yet but let me ask you guys if we put it to a super secret vote I bet more than half of you guys already tried it...right!!! I took a day off to be miserable and moan, then I got Crysis 2 and fragged a bunch of folks...all better now!!!
Don't mess with the old guy!!!!!
How is crysis? I'm getting a little tired of having my ass handed to me in FIFA lately.
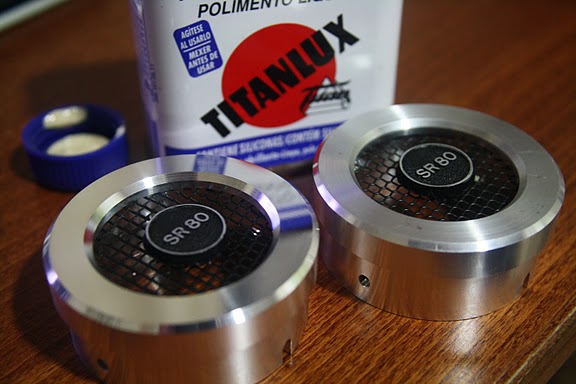
I finally figured out how to do this with a drill press.
I finally figured out how to do this with a drill press.
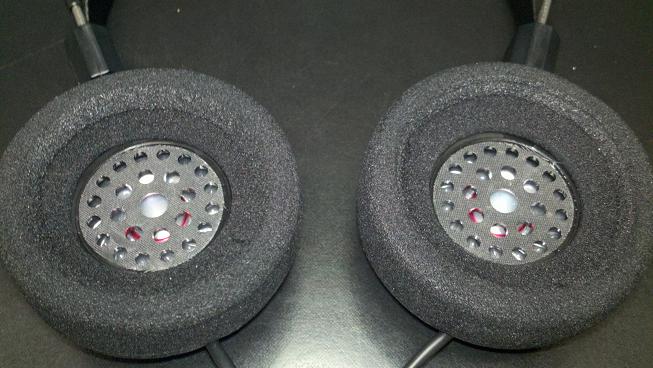
Can you see why the slip-on is only half the shell?
Please tell us how you did it?
ahhh... the advantages of having a drill press... hahaha
when was the last time you shaved, mr bilavideo?
the thing above your head "Bless our ... Bilavideo"
^
i like it!
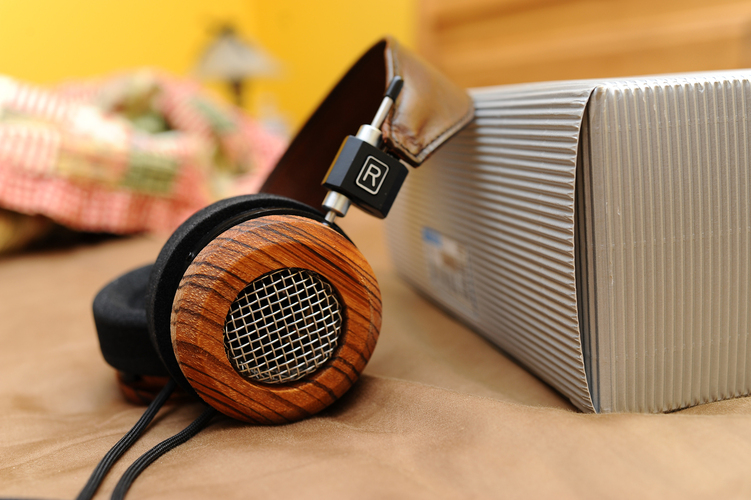
Those shells for liberated drivers? What are those aluminum housings from? Did you use multiple hole saws to the same depth then just saw (or dremel) the material? God I can't wait to listen to my phones again, I am jealous. I just listened to my Fostexes tonight, not the same, I am seriously considering selling them. Or I will keep them around to Thunderpants them when I get a lathe....
Bill strikes again! Thanks for another lesson on creativity and craftsmanship.
Bilavideo said:Big Bill, I was thinking about your setup and the need for reliable inners. I've been meaning to send you some decent inners, but I wanted to make sure I sent you something worth having.
