Forte
100+ Head-Fier
- Joined
- Jan 2, 2008
- Posts
- 297
- Likes
- 12
Quote:
Looks great, can't wait to see it stained up.
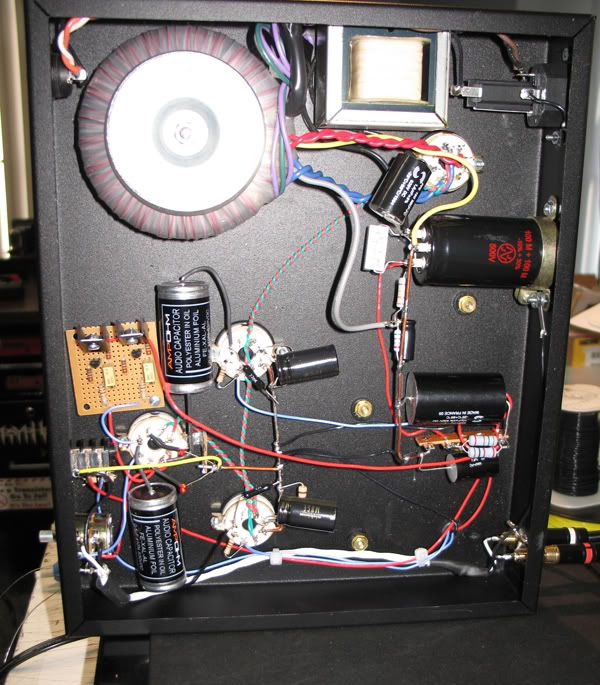
Just how did you shape the top and make the recess for the Vol knob?
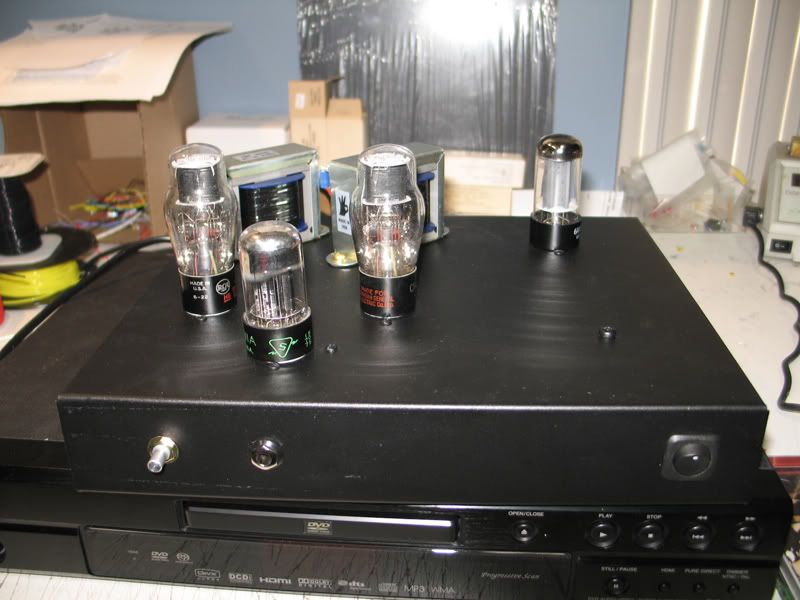
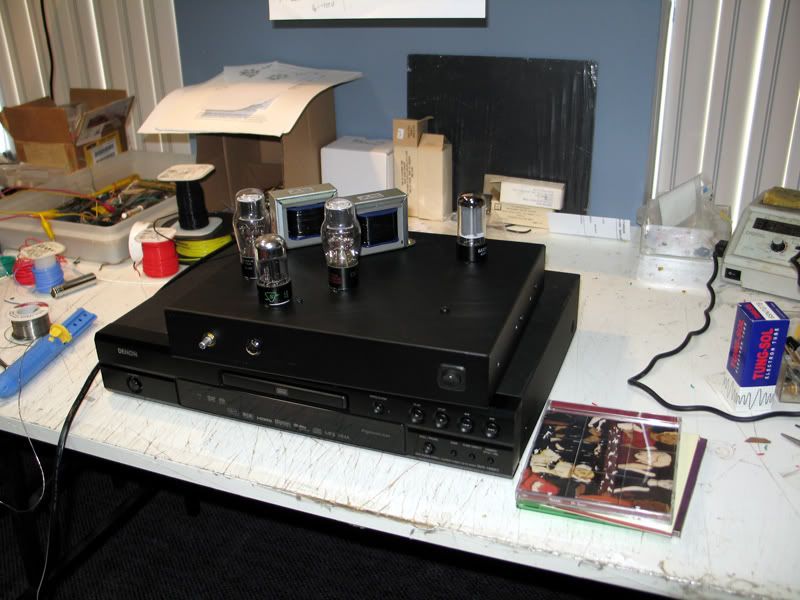
| Originally Posted by zkool448 /img/forum/go_quote.gif My current project the SOHA II is about to get cased up... To those perplexed or stumped with casework to house your DIY creations, don't count out wood. Compare to the popular (and pricey) Hammonds cases, wood are much cheaper, accessible, and easily 'shapeable' to any custom size and shape your heart desire 
This one is ready to receive a deep red cherry stain then will be sealed in clear lacquer (thanks smeggy!). |
Looks great, can't wait to see it stained up.
Just how did you shape the top and make the recess for the Vol knob?