


stratocaster
500+ Head-Fier
- Joined
- Feb 10, 2011
- Posts
- 506
- Likes
- 112
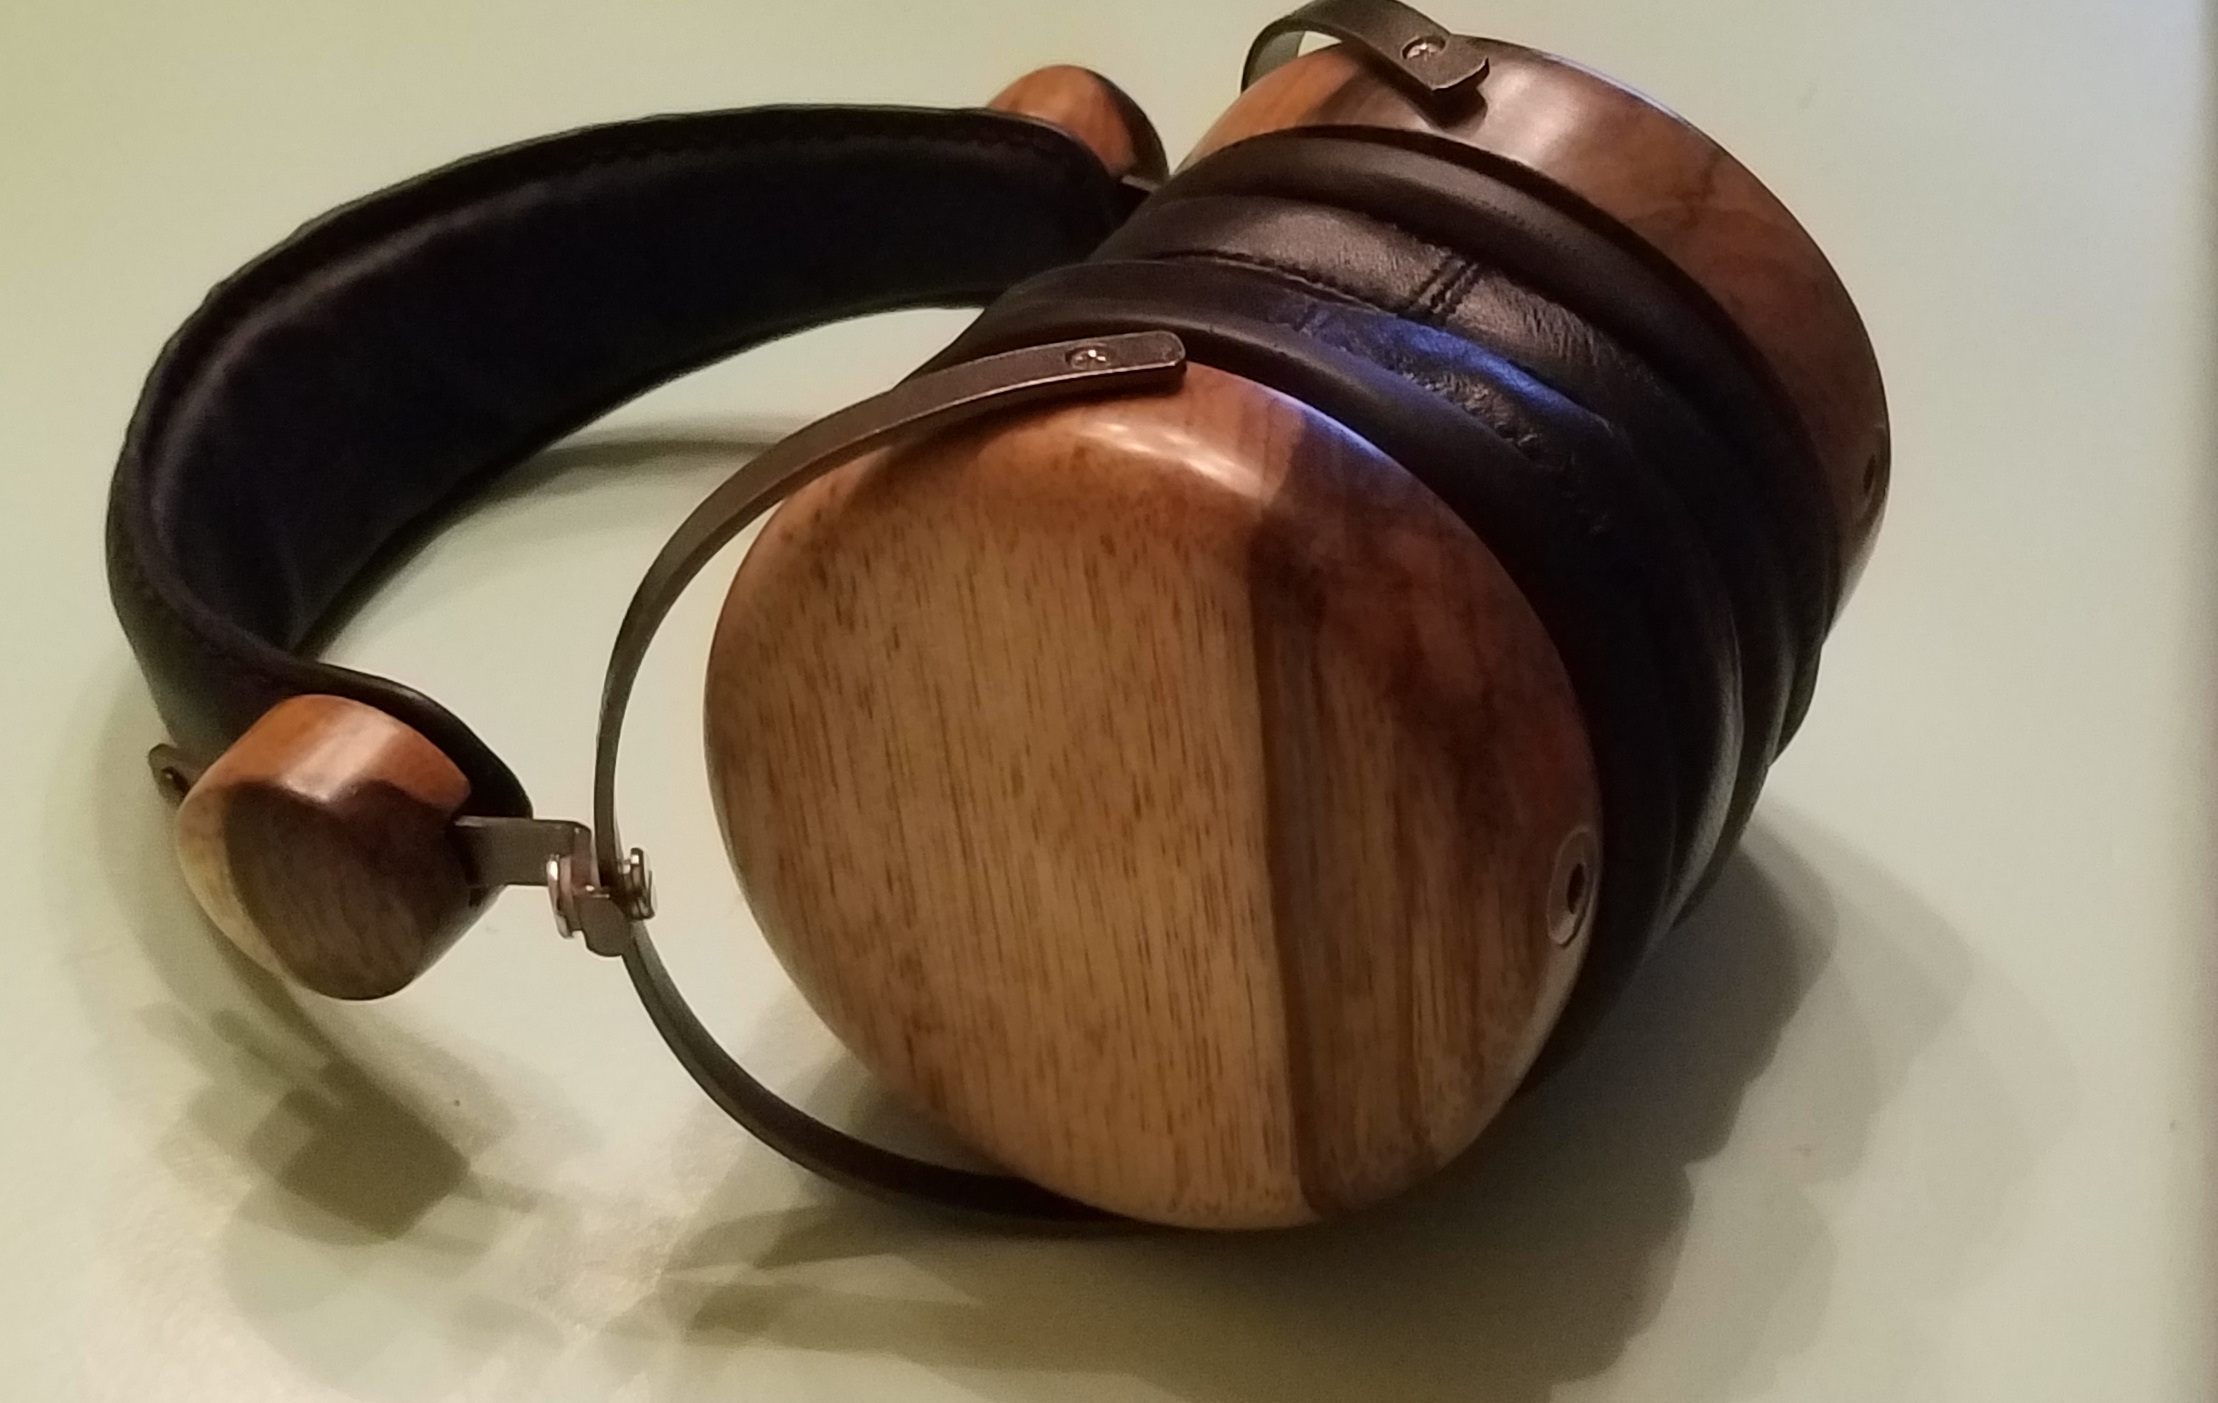
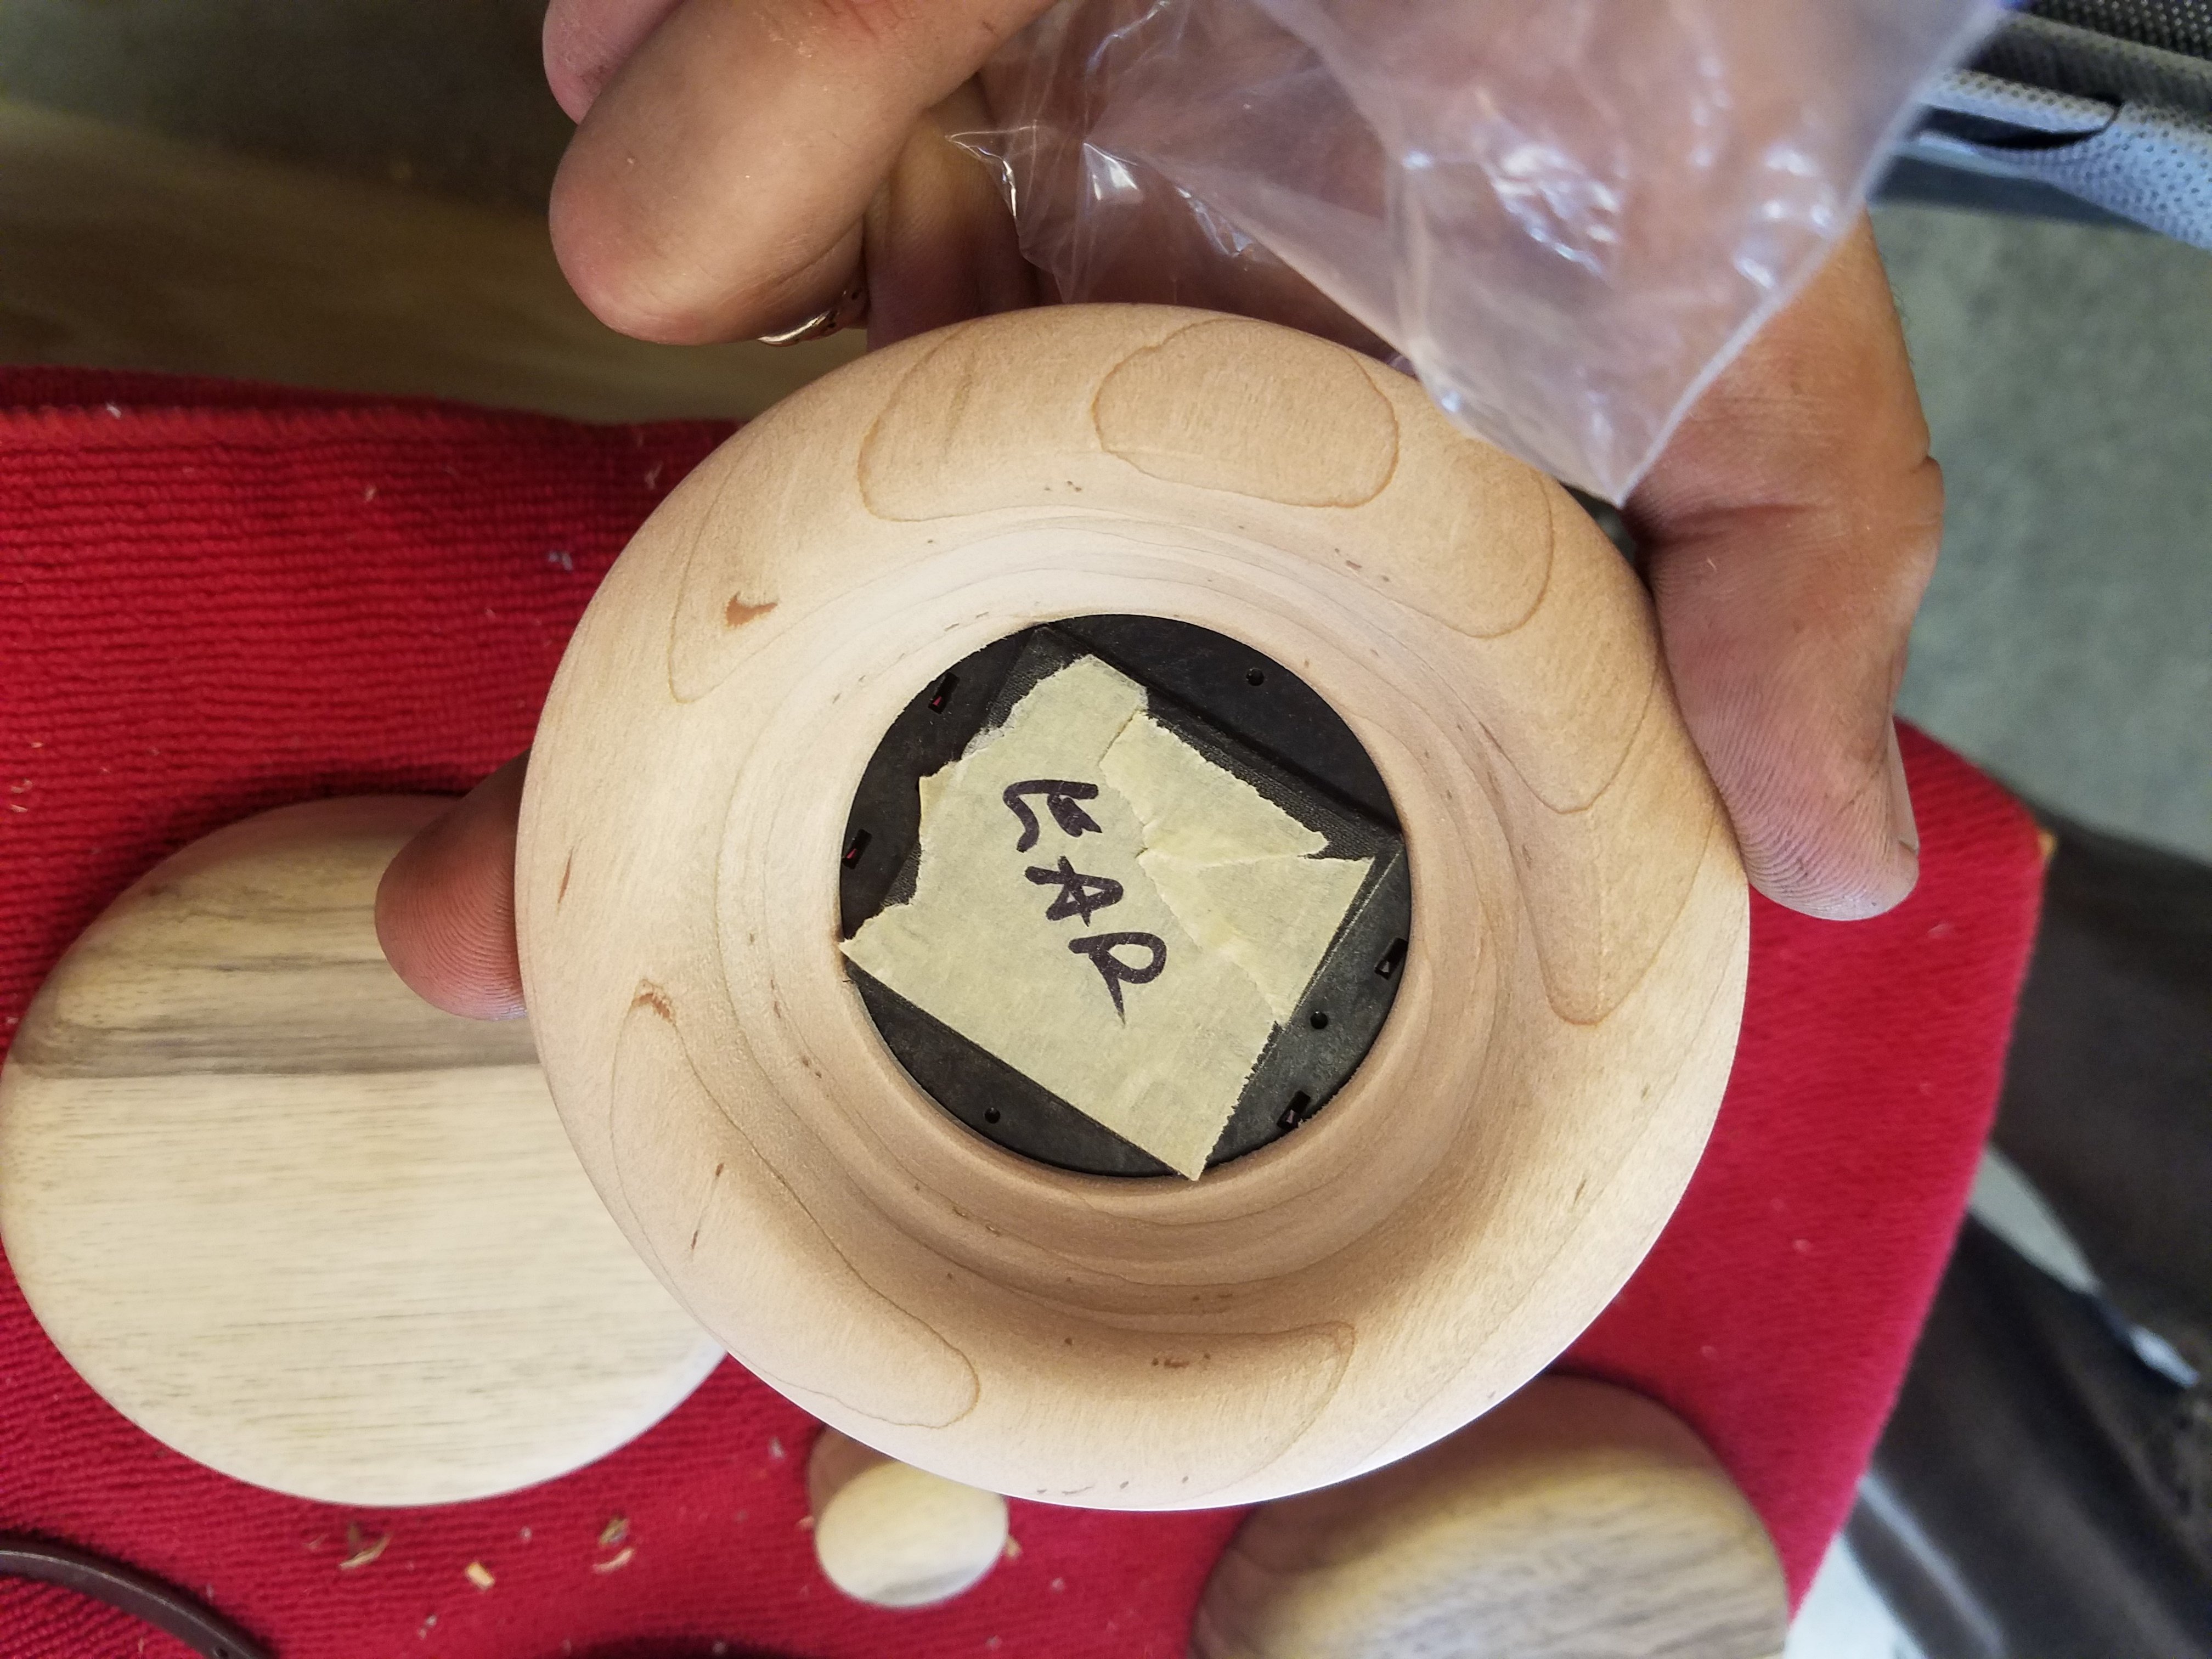
I was just wondering if anybody of you Fostex modding experts could complete the following list. I guess that would be a huge help to me as much as anybody else looking for a quick summary and up-to-date consensus.
If you want to enhance the bass: a) ... b) ... c) ...
If there is too much bass: .....
If you want to have the mids a little more recessed: ....
How to enhance the upper frequencies: ...
How to get the highs under control if they are too pronounced: ...
I hope I didn't ask too much. Otherwise I will get the advice to study the 450 something pages first and reach my own conclusions anyway")
If you want to enhance the bass: a) ... b) ... c) ...
If there is too much bass: .....
If you want to have the mids a little more recessed: ....
How to enhance the upper frequencies: ...
How to get the highs under control if they are too pronounced: ...
I hope I didn't ask too much. Otherwise I will get the advice to study the 450 something pages first and reach my own conclusions anyway


