I have finished for good, at least on the insides. I could always try different pads, but this configuration is months of tweaking, adjusting, listening, testing etc. I have now come to the conclusion that I cannot go any further and sound is as good as I can get it.
Bass is tight, clean, thunderous, impactfull and firm.
Midrange is smooth and detailed.
Treble is crisp, very detailed and extremely pleasant on the ears.
Soundstage, details, imaging and speed are better than I have heard previously.
I call it the:
T50 ResPonse.
Materials required:
Cable
4 core Mic cable
1/4 connector
Heatshrink (2 sizes)
Soldering Iron
Resin core solder
Cups
Respone (super sound deadener)
or
Dynamat and Paxmate (combo layers)
Insulation fibreglass (Rockwool, mineralwool etc), the acoustic version.
Cotton wool or polyfill.
Electrical tape
Drill
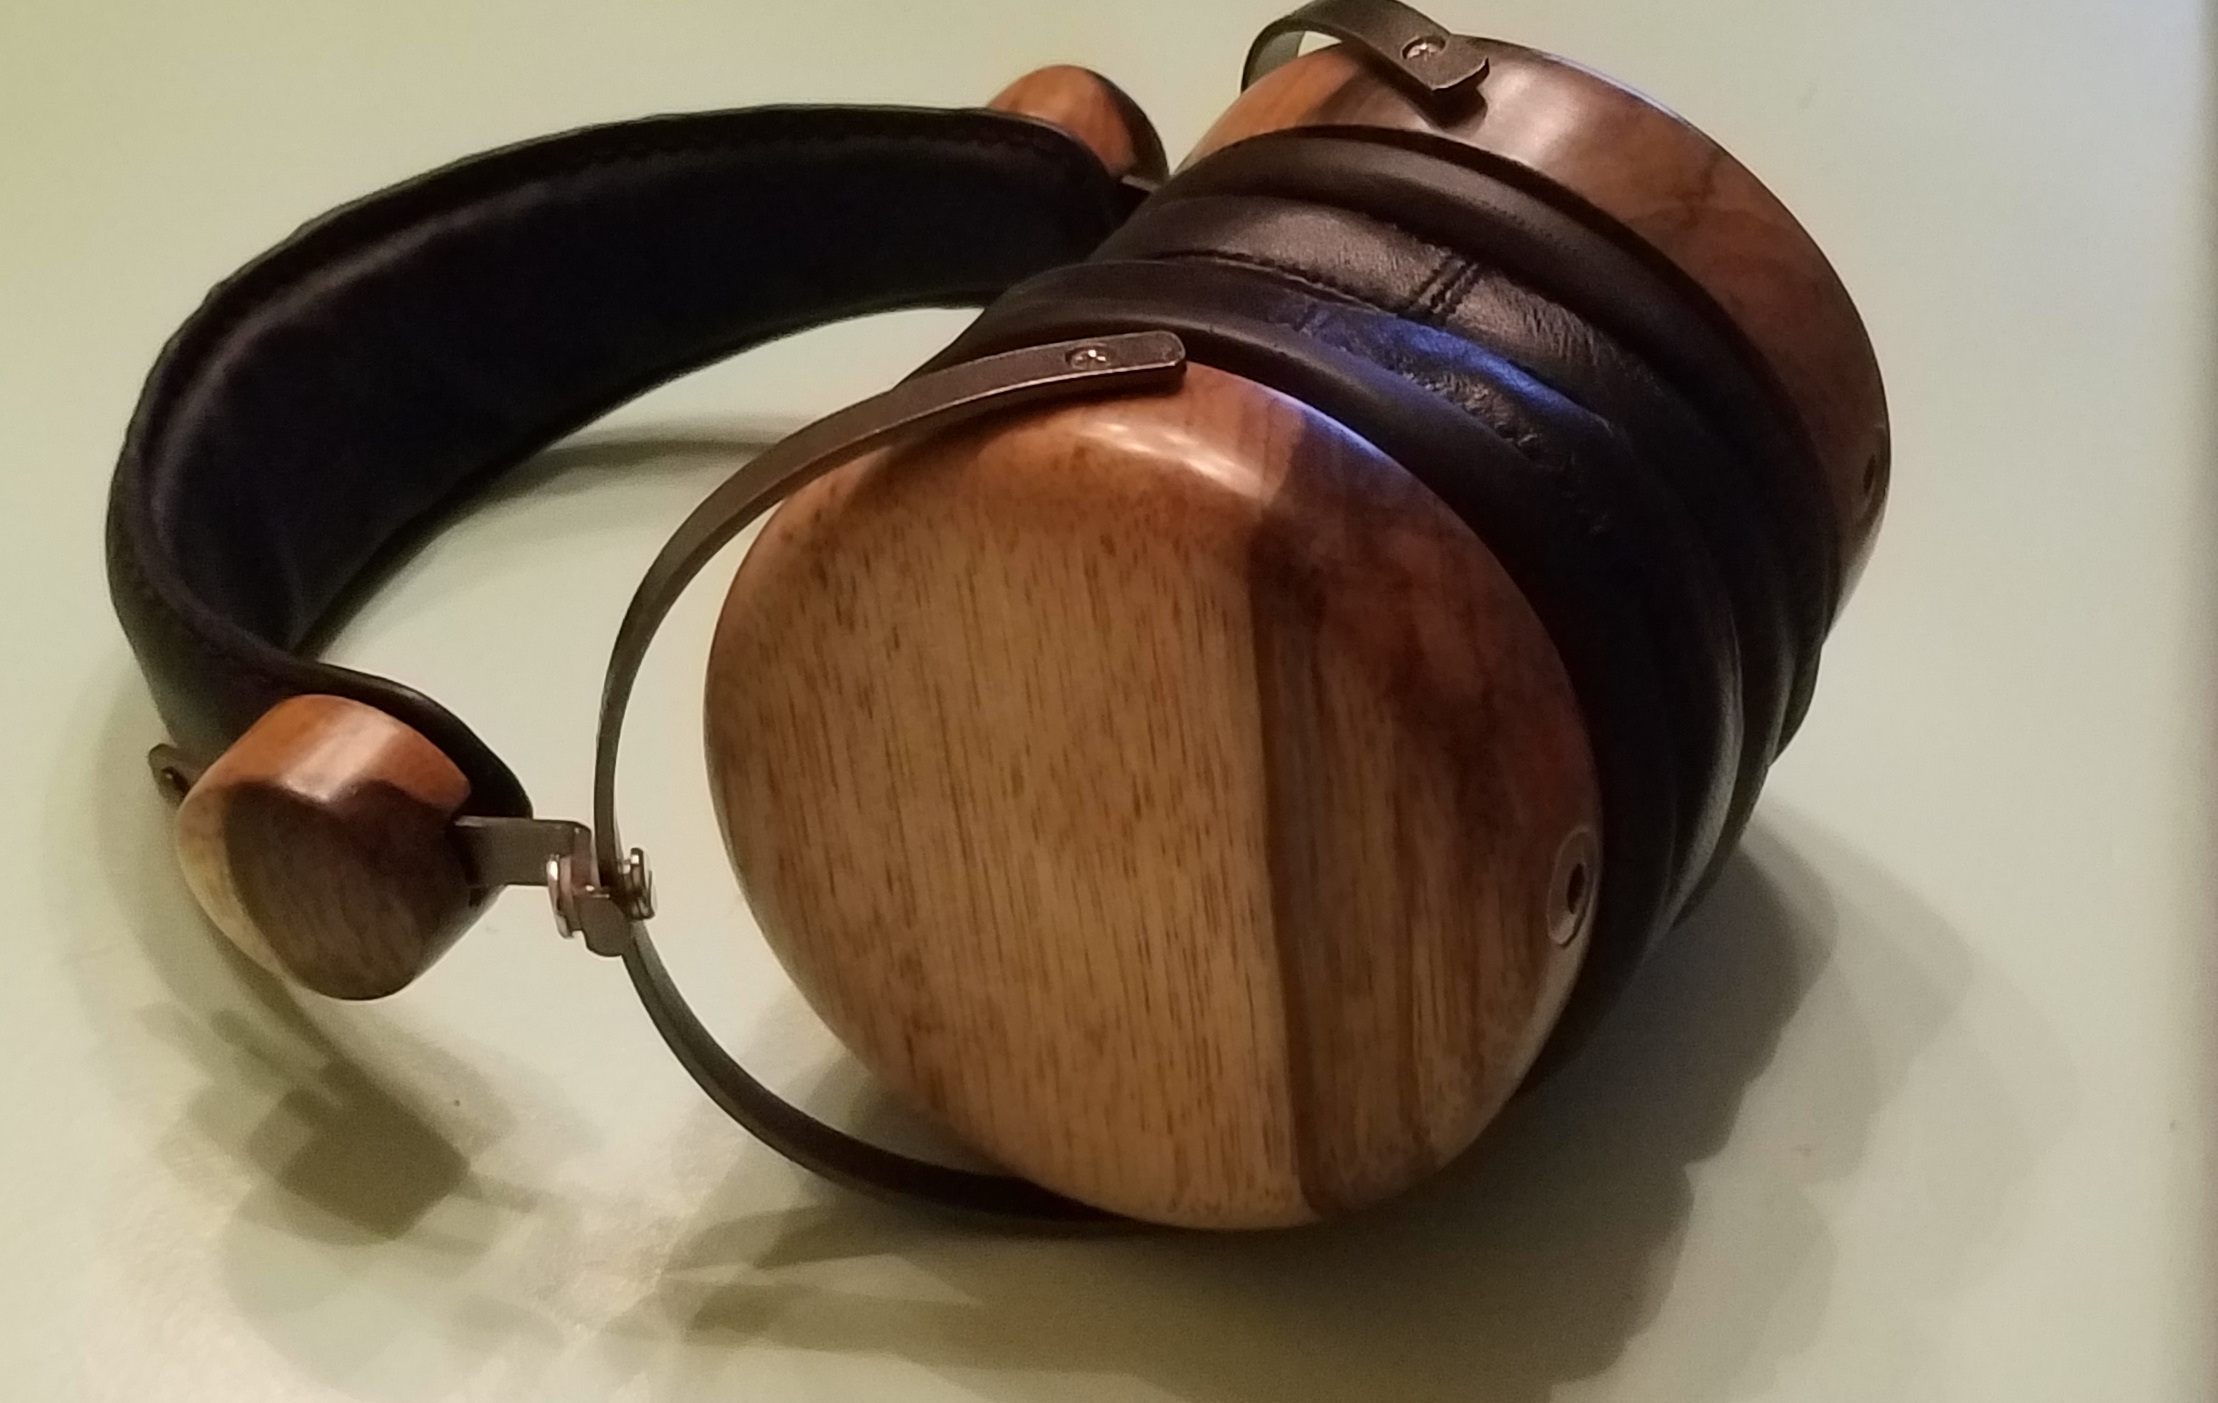
Headband
Leather or Vinyl
Elastic string
Pads
Shure 840 pads
Plastic food container (100mm diameter)
Instructions:
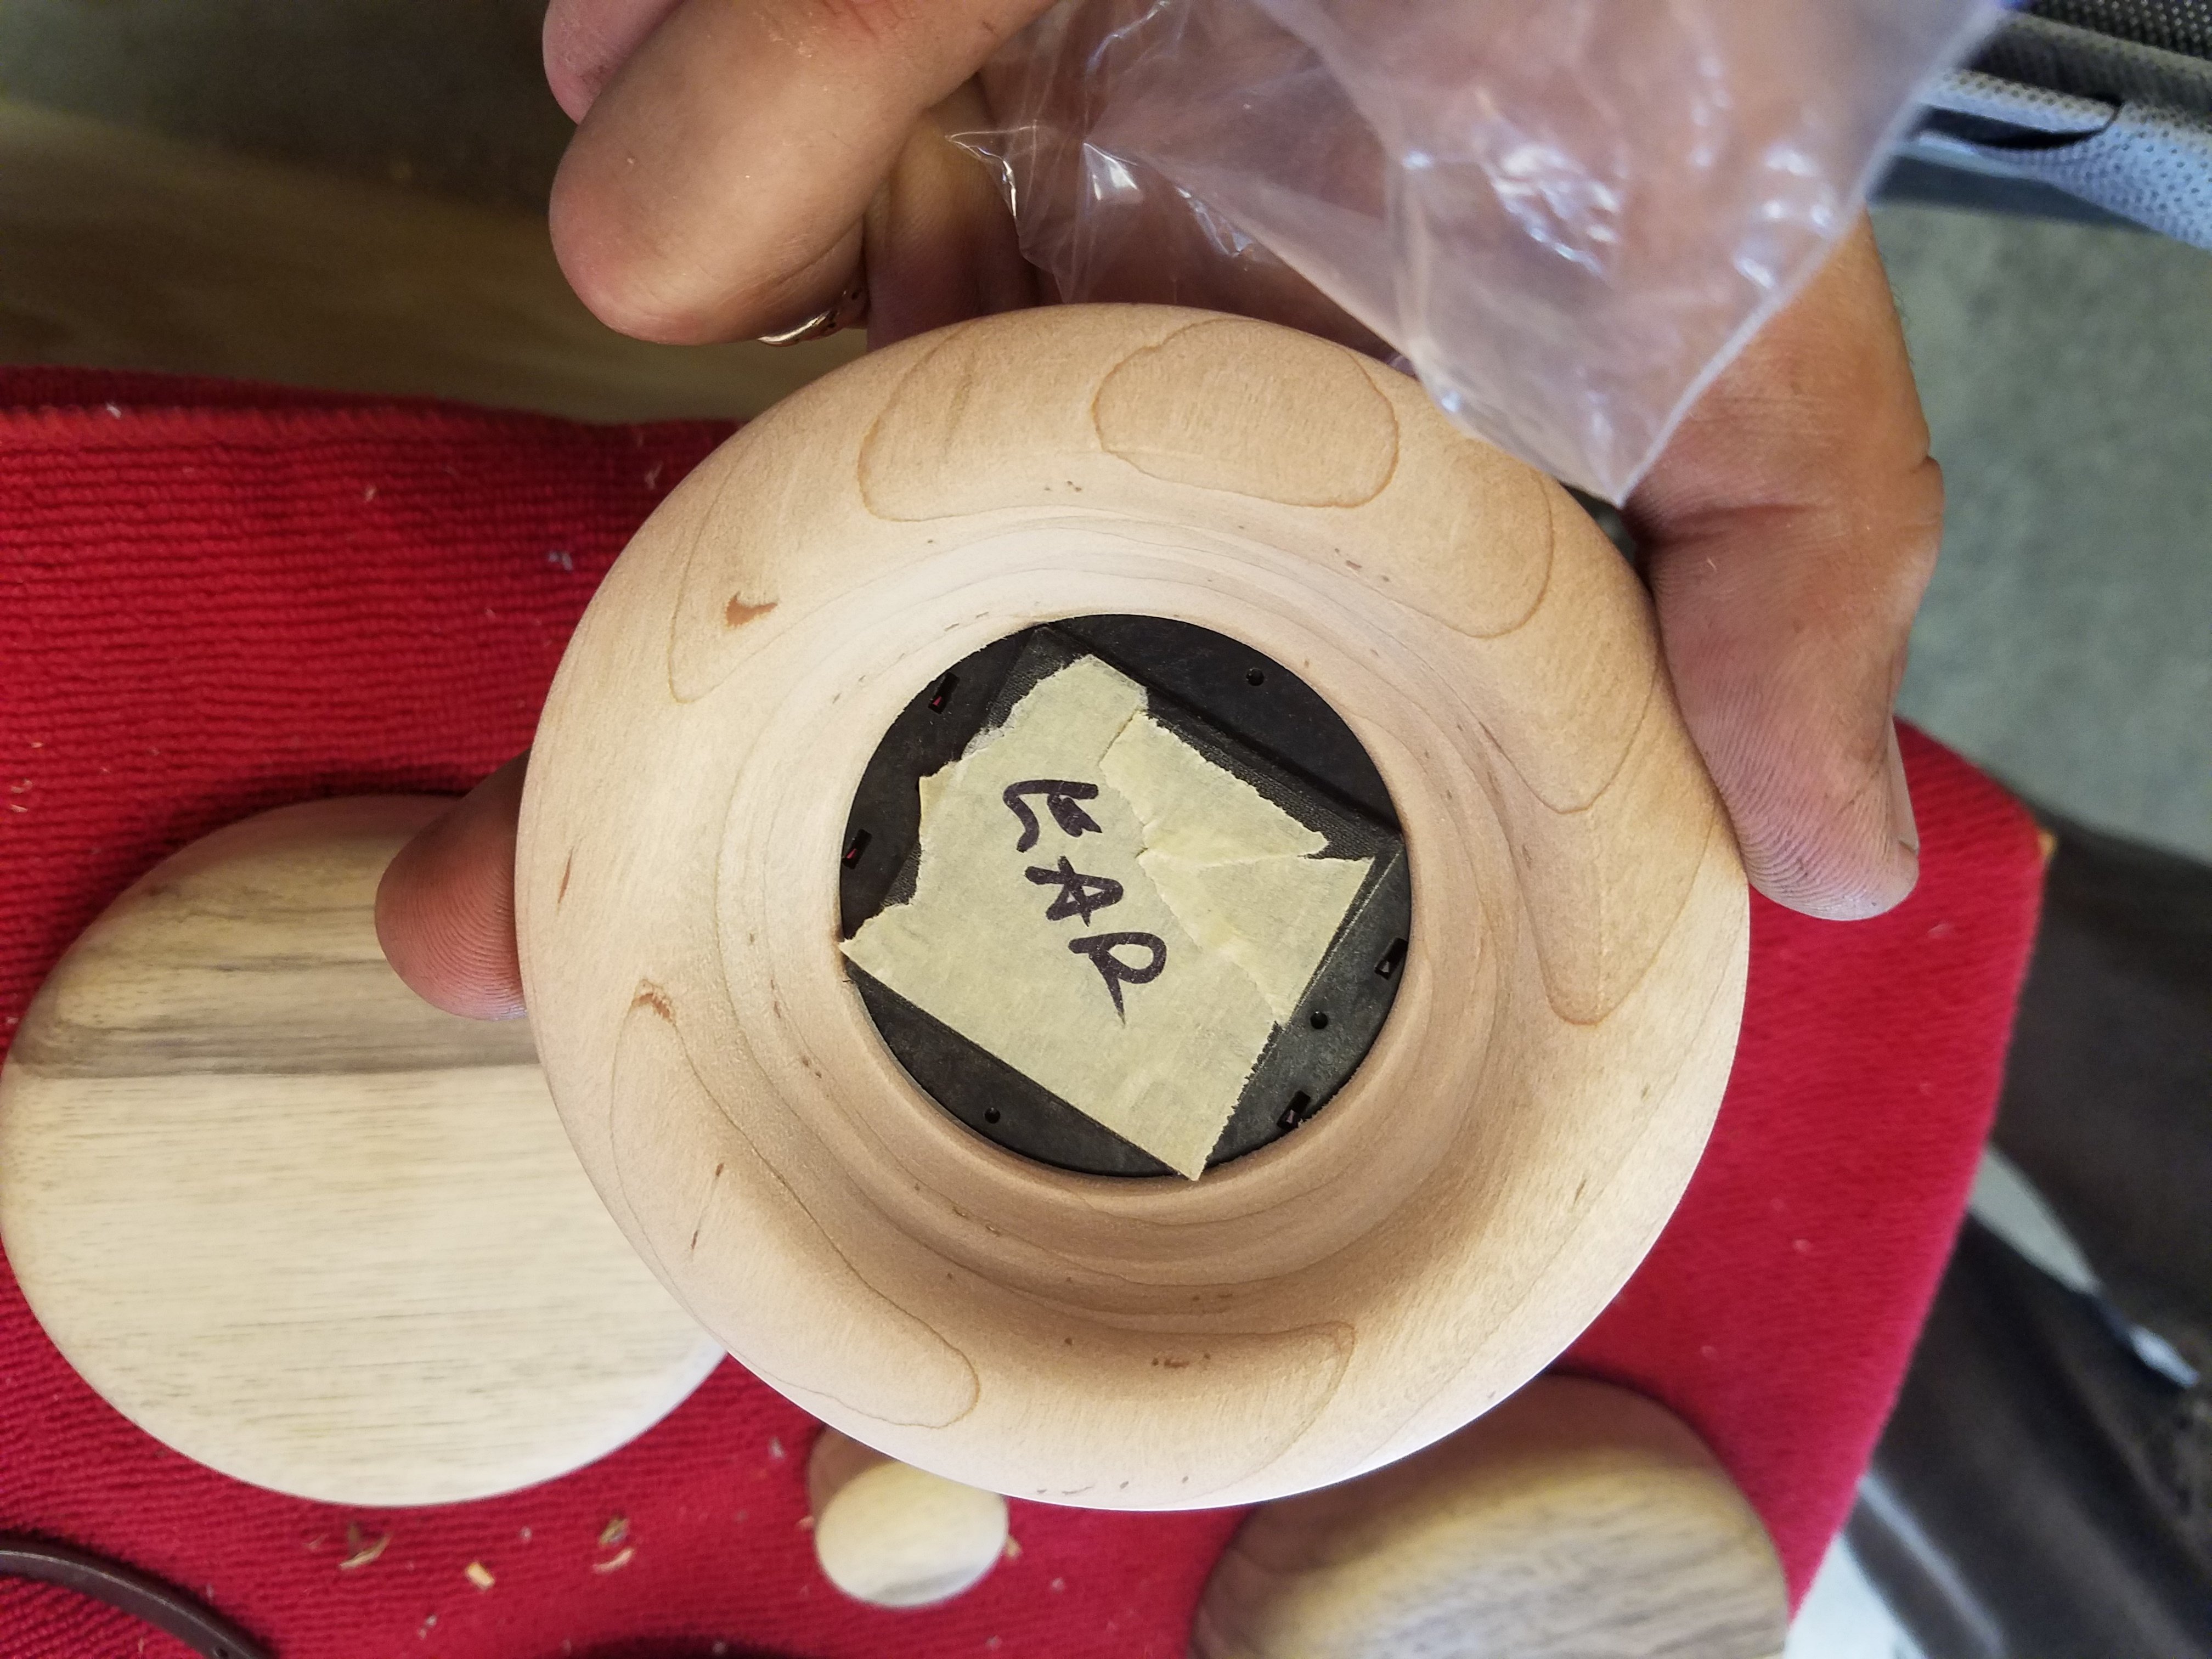
1. Peel off the pads
2. Unscrew the cups (the screws on the outside rim)
3. Completely remove the felt on the front and the back of the drivers
4. Cut the headphone wires off of the drivers.
5. Remove the little box that had the wires soldered to it on the left cup, this is a little tricky, I used an old soldering iron to melt the plastic away. Also remove the rubber feet on the posts.
6. Drill a hole big enough to tightly fit 2 of the stripped wires for the new cable, you most probably will drill this on the bottom of the cups and to the front a little.
7. Cut to fit Dynamat (and Paxmate) or Response and line the cups fully, pressed down tight against the back of the cups. (You may want to layer the Paxmate over the top of the Dynamt first before applying). Also be carefully not to layer it over the edge or the rim, were the baffle will press down into place (after application there should be a ring of vacant space around the edge of the cup) otherwise pressing the baffle down may prove troublesome. Also you may want to cut the bottom vent stripe open at this point, it could also be done at the end from the outside with a blunt nail file, this will allow the driver to breath and the bass to open up.
8. Fill all the holes/gaps around the driver on the baffle, with Response or dynamat then paxmate.
9. Cut an oval shape of acoustic grade fibreglass insulation, about 15mm thick, enough to fill the centre of the cups only. Also apply a very thin layer of cotton wool over the fibreglass (facing the driver). This will have to be adjusted to how you prefer, bass and midrange response.
I found that, more fibreglass equals less bass with smoother mids and treble, less fibreglass equals more bass and in your face mids and treble.
10. Heat the soldering gun up (20w is for PCB boards), melt some solder first, then apply to the driver to remove the old wires, using a suction gun or tape, remove the old solder.
11. Strip the cable down the middle about 40cm, exposing the 4 wires. Use white for Left, red for Right and use the 2 remaing wires for negative/ground. Apply heatshrink. Solder the the 1/4 connector on the other end, Left is the smallest tab, right is bigger and the 2 negative/ground wires get twisted together and soldered to the outside tab.
12. Pull cable through the hole of the cups and tie a knot in the cable AFTER you have pulled it through the cups, this will stop it from being pulled out once assembled, then solder to the drivers (heat solder onto the gun and dab onto the wire while holding it onto the driver).
13. Assembly time, place the fibreglass/cotton fill into the centre of the cups and carefully pull the cable back through the cups while moving the baffle over into position. Tighten the screws down, if the baffle isn't going to close down porperly you might thread the screw holes.
14. Line the earside of the cups with Response or Dynamat then Paxmate (leave holes for the outside screws and the tiny little vent hole on the corner of the driver. (optionally you can also tape the rim of the baffle for extra air tightness)
15. Peel back the 840 pads and roll them on. Get some electrical tape and pull the rear side of the pads out enough so they are just on the edge about to fall off, then tape them up (keep the front of the pads in the normal position), this will allow the necessary room for the plastic risers.
16. (I came up with this one, neat little trick) Plastic risers, cut the food container in half down the middle. With one half, cut a tapered shape, 28mm in the centre and 15mm at the ends (at the ends cut them in a circle shape so you don't have any sharp edges to cut the pads up). Line the insides of the risers with Response or dynamat then paxmate. It is essential that the risers are exactly 28-30mm, any smaller and your going to get a harsh midrange, on any T50RP with 840 pads.
17. Insert the risers into the back of the pads by gently pulling the pads out.
18. For the headband, you can cut out a shape as you desire for your head and tie it onto the bottom of the headband with elastic string.
Notes:
1. You may find it easier to only solder one driver, then assemble, as the other driver won't be left hanging and pulling.
2. The bass vent may have been covered by the fibreglass, be sure to get a blunt nail file and bore it out from the outside, so the driver can breath, this will make a huge difference to wether or not you have bass or not.
P.S.
I have also dedicated a thread (with pictures) to this configuration for easy access, nothing like weeding through 5000 posts to find it.
http://www.head-fi.org/t/583371/t50-response#post_7938001