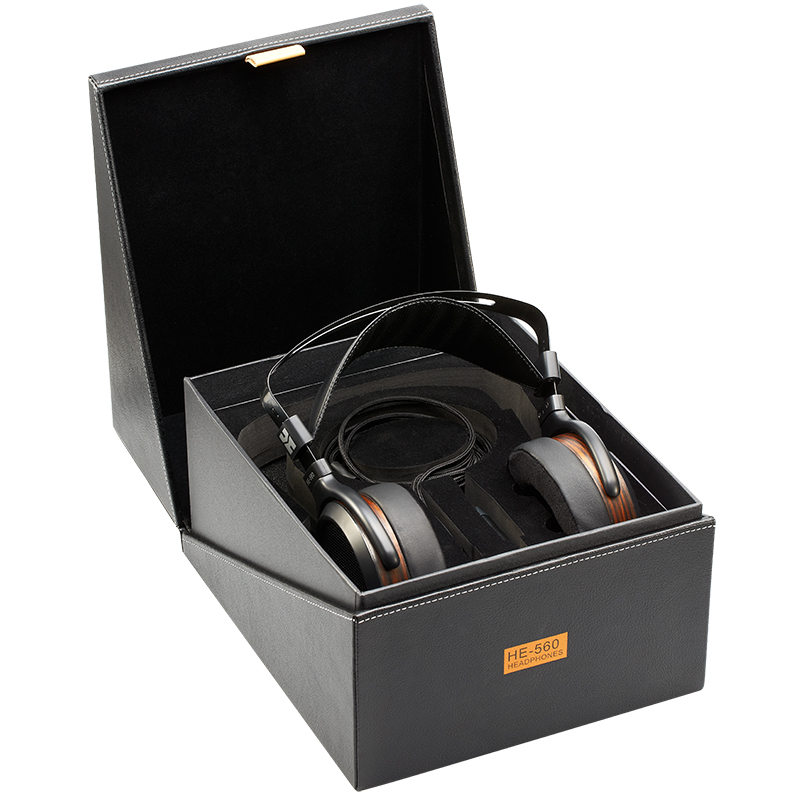


Mine from Adorama sale looks like this.
Four digit serial number on the right slider and the PAPER box.
Probably exclusive serial number for this paper box version?
It has no correlations with the driver serial numbers which is in seven digits.
Driver serial number nomenclature might be:
1st digit: last digit of the year of the production
2nd to 5th digit: month and day of the production (mmdd)
6th to 7th digit: serial number of the day (and odd number for the left and even number for the right driver)
Keep in mind that this is just my guess.
")