Hopefully this proves useful as a reference for those installing stock or custom firmware (the Fidelizer Purist ROMs by WindowsX), and kernel+scripts (jkbuha & prispewnic from 4PDA).
Many have already done this successfully even with some of the instructions focused or scattered on different pages of the thread.
Links to anything you need are provided within. This set of instructions goes for anyone with a windows home computer. To get firmware restores or TWRP installation to work on MacOS see
this post and then refer back to this one when applicable.
Best of luck!
Going forward, please keep any of your precious microSD cards removed from your player, and be aware anything on your player’s internal storage is going to be wiped.
-I've done this with microSD cards still inside, and they were left untouched, do so if you're nervous, but let’s continue.
Grab the 1.2.5 purist rom as well as the FiiO firmware upgrade tool from this link:
http://www.fidelizer-audio.com/fiio-x5iii-purist-rom-version-1-2-5-released/
~EDIT~ Here's 1.2.3 Stock Firmware & Firmware Upgrade Tool.
http://fiio-file.fiio.net/X5III firmware upgrade tool FW1.2.3.zip
It's not strictly necessary to install 1.2.5 stock zip afterwards.
Whether or not you're installing custom firmware, I stand by using the firmware upgrade tool to reinstall the stock update.img that comes with it, then installing newer firmware 1.2.X variant afterwards, if you wish. (1.2.3 through 1.2.5 are superfluous...only changes seem to be relegated to FiiO music app and nothing else)
-
If going Stock route, Once stock 1.2.X is reinstalled, you can opt to install the X5-ota-1.2.5.zip found here:
http://x5pack.fiio.net/1.2.4/X5-ota-1.2.5.zip via the technical support application. Then perform a factory data reset (in the Settings App) w/ internal storage wipe. Again though, 1.2.3 is adequate.
-If going Fidelizer route, Once stock 1.2.X is reinstalled, repeat steps but replace the update.img as described below
Begin by installing the latest usb drivers:
http://fiio-file.fiio.net/FiiO_USB_DAC_Driver-V4.47.0.zip
Then run the RKDriverInstall.exe from the firmware upgrade tool folder.
Fidelizer Step Only: Delete or remove the ‘update’ disc image file from the firmware upgrade tool folder, and replace it with the ‘update’ disc image extracted from WindowsXPurist1.2.5 zip. The purist disc image will be the smaller of the two.
Hold down the “Previous Track” rocker button (the one closest to the volume dial) with your player powered down and connect the micro USB cable from your computer to your player.
-You should have heard a connection chime, and your player's screen should remain off. The player is now in the "bootloader" mode
Right click on the firmware upgrade tool exe in the firmware upgrade tool folder and run as administrator.
With ‘√ Device Connected’ showing, click the green ‘Upgrade Now’ button ONLY ONCE. Wait patiently.
-The progress bar will move along, and in the process you will hear several connection chimes.
-
STOCK: It is done when your player has booted up to the language selection screen.
-
FIDELIZER: It is done when you see the white battery icon on your player's screen, and the blue LED power indicator illuminated.
-Hold down your player's power button and allow it to boot up/initialize, etc.
From the settings app, scroll to 'System', then hit 'Factory data reset', scroll down and check the 'Erase internal storage' box, hit the grey 'RESET DEVICE' button.
-Let this do its thing and wait for the player to reboot.
-You can disconnect USB from player at this time.
- END OF FIRMWARE STEPS -
******************************************************************************************************
Next we've got to install the TWRP (Custom Recovery) loader.
-found here:
https://www.androidfilehost.com/?fid=1395089523397899882
-unzip this to your desktop or wherever.
Power off your player again, and put it in bootloader mode by connecting to USB holding down the previous track button.
Open AndroidTool.exe from the loader folder.
- 'One Loader Device Found' should be displayed.
-Make sure that checkbox #2 'boot.img' & #3 'Image\recovery_twrp.img' are checked.
Press 'Run' and wait until the loader operation is completed.
Go to 'Advanced Function' and click "Reset Device".
-You should have heard a connection chime, and your player is released to a powered off and charging state, like when you installed the Fidelizer firmware.
-Go ahead and disconnect your player from USB cable.
Power on your player, allow it to boot up/initialize, etc.
Download the kernel+optimization scripts by jkbuha.
-links hosted by jkbuha found here (3.41 is latest):
https://androidfilehost.com/?fid=4349826312261607091
Download SuperSU (root).
-found here:
https://www.mediafire.com/download/ix18pf9gjg09jy4
It is recommended at this point to turn off the lock screen, changed under Settings app, Device, Security, then Screen Security, set screen lock to none.
Also in Settings app, Device, Display, Sleep After, set to 10 or 30 minutes.
-this will help to make sure you don't miss vital prompts down the line confirming successful kernel optimizations.
-once successful feel free to set these back to your preferred options.
Plug USB back into your player, and mount its internal storage.
-Without being too verbose, you should see the green android guy and a "turn on usb storage" button and click ok
-Once you see the internal storage as a volume on your computer, you're going to want to drag the two zips to an easy to access location, like the 'Download' folder on the X5's internal storage.
-Once that's copied go ahead and safely eject / unmount the X5 volume from your computer
-Click "turn off usb storage" button on your X5
-Power down your X5
To enter TWRP custom recovery, power off your player then simultaneously hold down the following three buttons:
-Play/Pause (Remain pressed until you see blue TWRP splash screen)
-Previous Track (Remain pressed until you see blue TWRP splash screen)
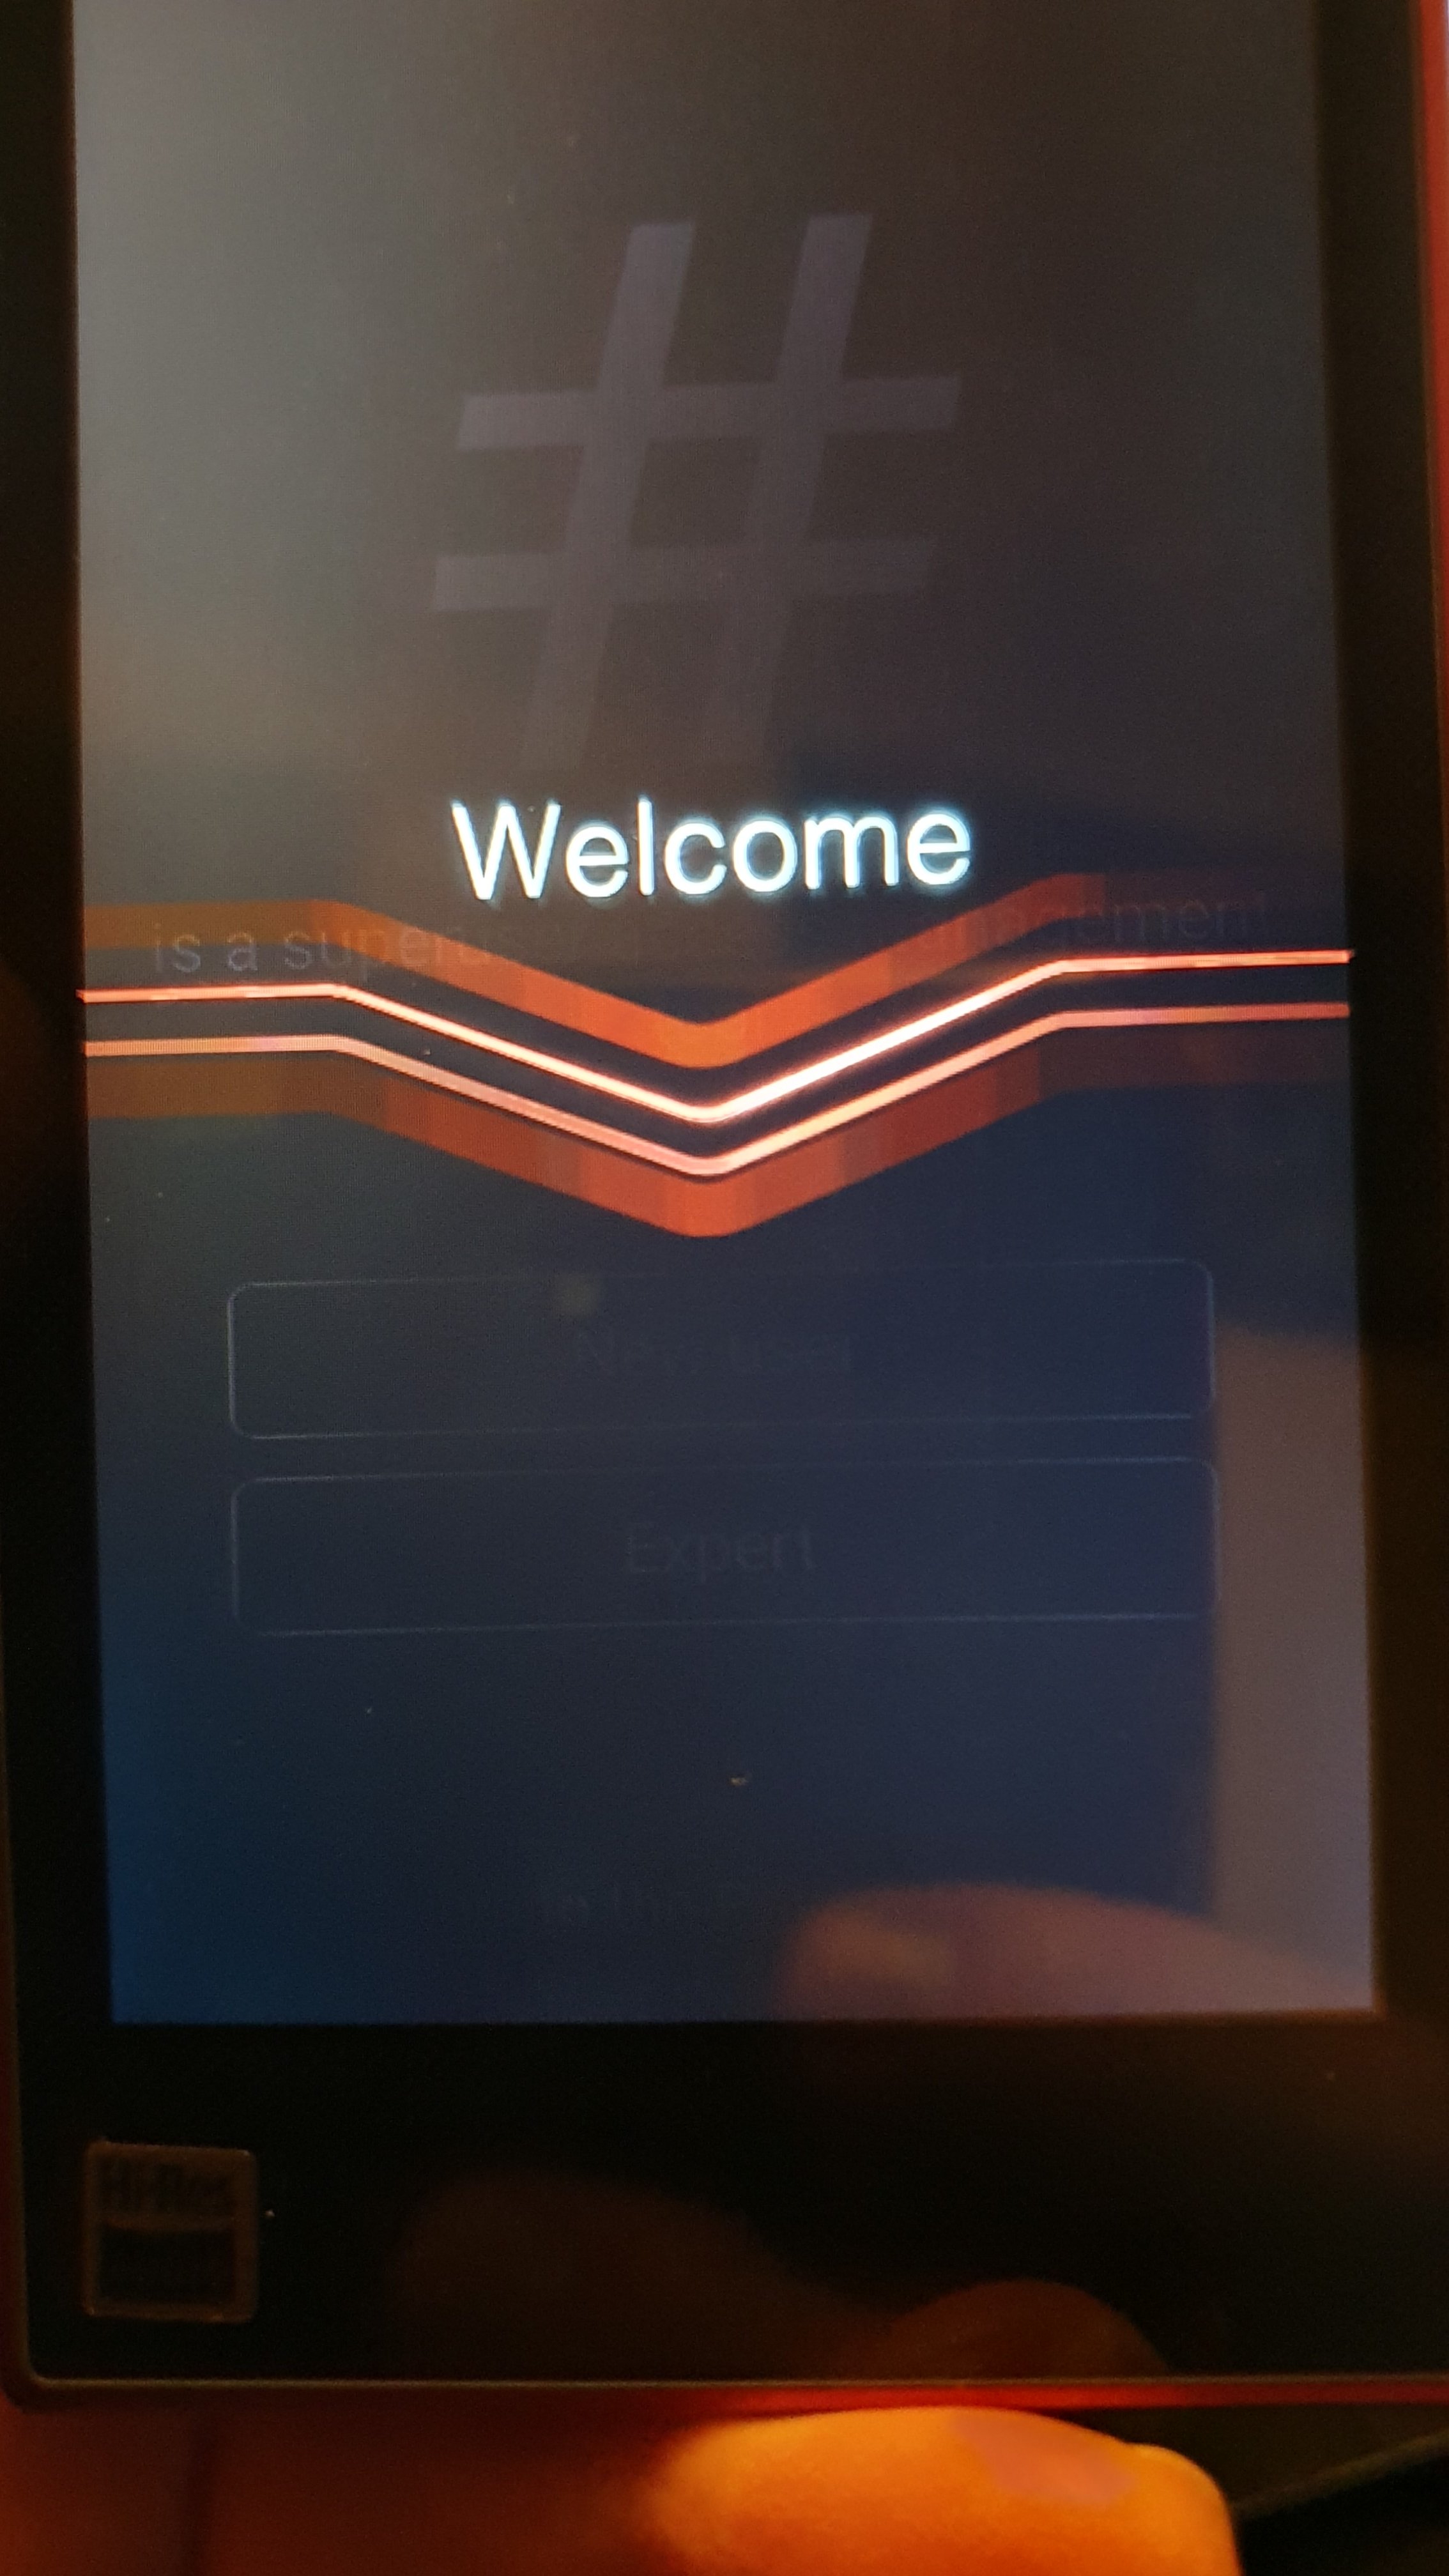
-Power (Release when FiiO ‘Welcome’ logo appears)
You should now be at the home page in TWRP
Press 'Install'
-navigate to sdcard/Downloads
-select the SuperSU zip
-swipe to install
-then hit 'wipe dalvik/cache'
Go back home in TWRP
-Go to advanced 'Fix Permissions' then 'Reboot System' (do not check any SE Linux options here)
-If done right you should not see the 'It appears your device is not rooted, would you like to install SuperSU' notice.
-If it does appear, player will hang on reboot.
-Remedy this by doing the SuperSU swipe to install & dalvik/cache wipe TWICE. Then fix permissions (Do both twice, i.e. Install->wipe->Install->wipe->fix permissions)
Let your player reboot and initialize, etc.
Open SuperSU app on your device before you flash the kernel and turn off all logging. ‘Logging Access’ set to ‘None’, ‘Clear Logs’ set to ‘1 Day’ & hit ‘Clear All Logs Now’
Re-enter TWRP Recovery
Press 'Install'
-navigate to sdcard/Downloads
-Select the jkbuha 3.41 multi zip
-swipe to install
-AROMA installer should begin, go through prompts (preferably custom install)
-Select 1416, 1704, or 2016 speed, recommended to begin with 1416 for stability and move up from there, if your device can handle them.
-
disconnect your player from any microUSB connection before clicking
Finish
-your player will then automatically reboot.
Depending on the number of applications installed on your device, this app optimization step can take up to 5 minutes or so, but stay vigilant.
-once you get to home screen observe bottom of the display for prompts for user to reboot device.
-these typically show up within 1-2 minutes.
-if user does not manually reboot (hold down power button, reboot) scripts will countdown to an automatic reboot of player (done in about 15-20 minutes)
Upon reboot observe bottom of the display for "Kernel 3.4: All Optimizations Done"
At this point you should have the Fidelizer 1.2.X firmware (if applied) and the latest kernel, scripts, boot optimizations, etc. installed.
With root access, you are going to want a kernel manager (
https://github.com/SmartPack/SmartPack-Kernel-Manager/releases/), as well as an application like Titanium Backup Pro (about $6 on google play store) because with that, you can freeze applications (like google play services or google services framework).
If you get a permissions error (installer code: 7) during AROMA installer process, install kernel version 2.8 first:
https://androidfilehost.com/?fid=1395089523397926869, this will properly set up init.d scripts. Once you get optimizations done prompt with this kernel version, proceed with the 3.41 installer again.
If you get "low system memory" error upon boot, return to TWRP, select 3.41 installer zip again, this time use "Restore" and select only the last option, which will remove the junk application backups (from where they were saved in /system/app/X-Backup and /system/priv-app/X-Backup directories).


")
