Latest Thread Images
Featured Sponsor Listings
You are using an out of date browser. It may not display this or other websites correctly.
You should upgrade or use an alternative browser.
You should upgrade or use an alternative browser.
Crack;Bottlehead OTL
- Thread starter ironbut
- Start date
Are the solder joints on the adapter on the underside touching any metal?
Two more pics. The adapter does make contact with the screws at 12 & 6 o'clock. Not sure if that matters.
Tom-s
100+ Head-Fier
- Joined
- Aug 11, 2015
- Posts
- 341
- Likes
- 1,119
There's probably your problem. Your adapter is now shorted to ground where it shouldn't. This could lead to serious damage inside your amplifier (with bad luck even the PT).
Your tube socket appears not to be sitting on top of your chassis plate, there's your problem.
Your tube socket appears not to be sitting on top of your chassis plate, there's your problem.
I agree.There's probably your problem. Your adapter is now shorted to ground where it shouldn't. This could lead to serious damage inside your amplifier (with bad luck even the PT).
Your tube socket appears not to be sitting on top of your chassis plate, there's your problem.
@ PsilocybinCube - I notice the socket for the 12AU7 on my BHC sits up higher than yours, and so I have no issues with this adapter. If there has been no damage to your BHC or adapter, try not inserting it all the way down to the top plate, to avoid contact with solder joints, and see if that works.
Last edited:
PsilocybinCube
100+ Head-Fier
Here was the reply from Garage over at Ebay:
It makes sense.
I'm going to see about remounting the tube socket such that it sits above the PCB like the Crack in this photo:

I would think that is the easiest fix, right?
On another note, because the adapter was only in the BHC and turned on for 3-4 seconds, nothing seems to be wrong. I've been listening this morning while working and have throw in two different 12au7 tubes and can't hear any noise or degradation in sound. And to clarify, the pics I posted with the adapter in the BHC were with the amp turned off!!!
| Hello, That would be the problem - this amp was built with the tube socket on the bottom side of the top plate. Most are built on the top side. We have a note in our listing: "Our adapters are PCB based and have an open bottom to the PCB. If your tube socket is recessed below a metal plate in the chassis, please message us to verify fitment to make sure the adapter will not short to your chassis." Good news is, it likely did no damage. Most cracks are built with the socket on the top side like this photo. I could attempt to make you a spacer that would sit our socket about 1/8" higher than it sits now, but you would need to verify fitment. As it stands, that socket sits so far down into the hole... hard to tell if it will clear that large screw. Let me know your thoughts on it. |
It makes sense.
I'm going to see about remounting the tube socket such that it sits above the PCB like the Crack in this photo:

I would think that is the easiest fix, right?
On another note, because the adapter was only in the BHC and turned on for 3-4 seconds, nothing seems to be wrong. I've been listening this morning while working and have throw in two different 12au7 tubes and can't hear any noise or degradation in sound. And to clarify, the pics I posted with the adapter in the BHC were with the amp turned off!!!
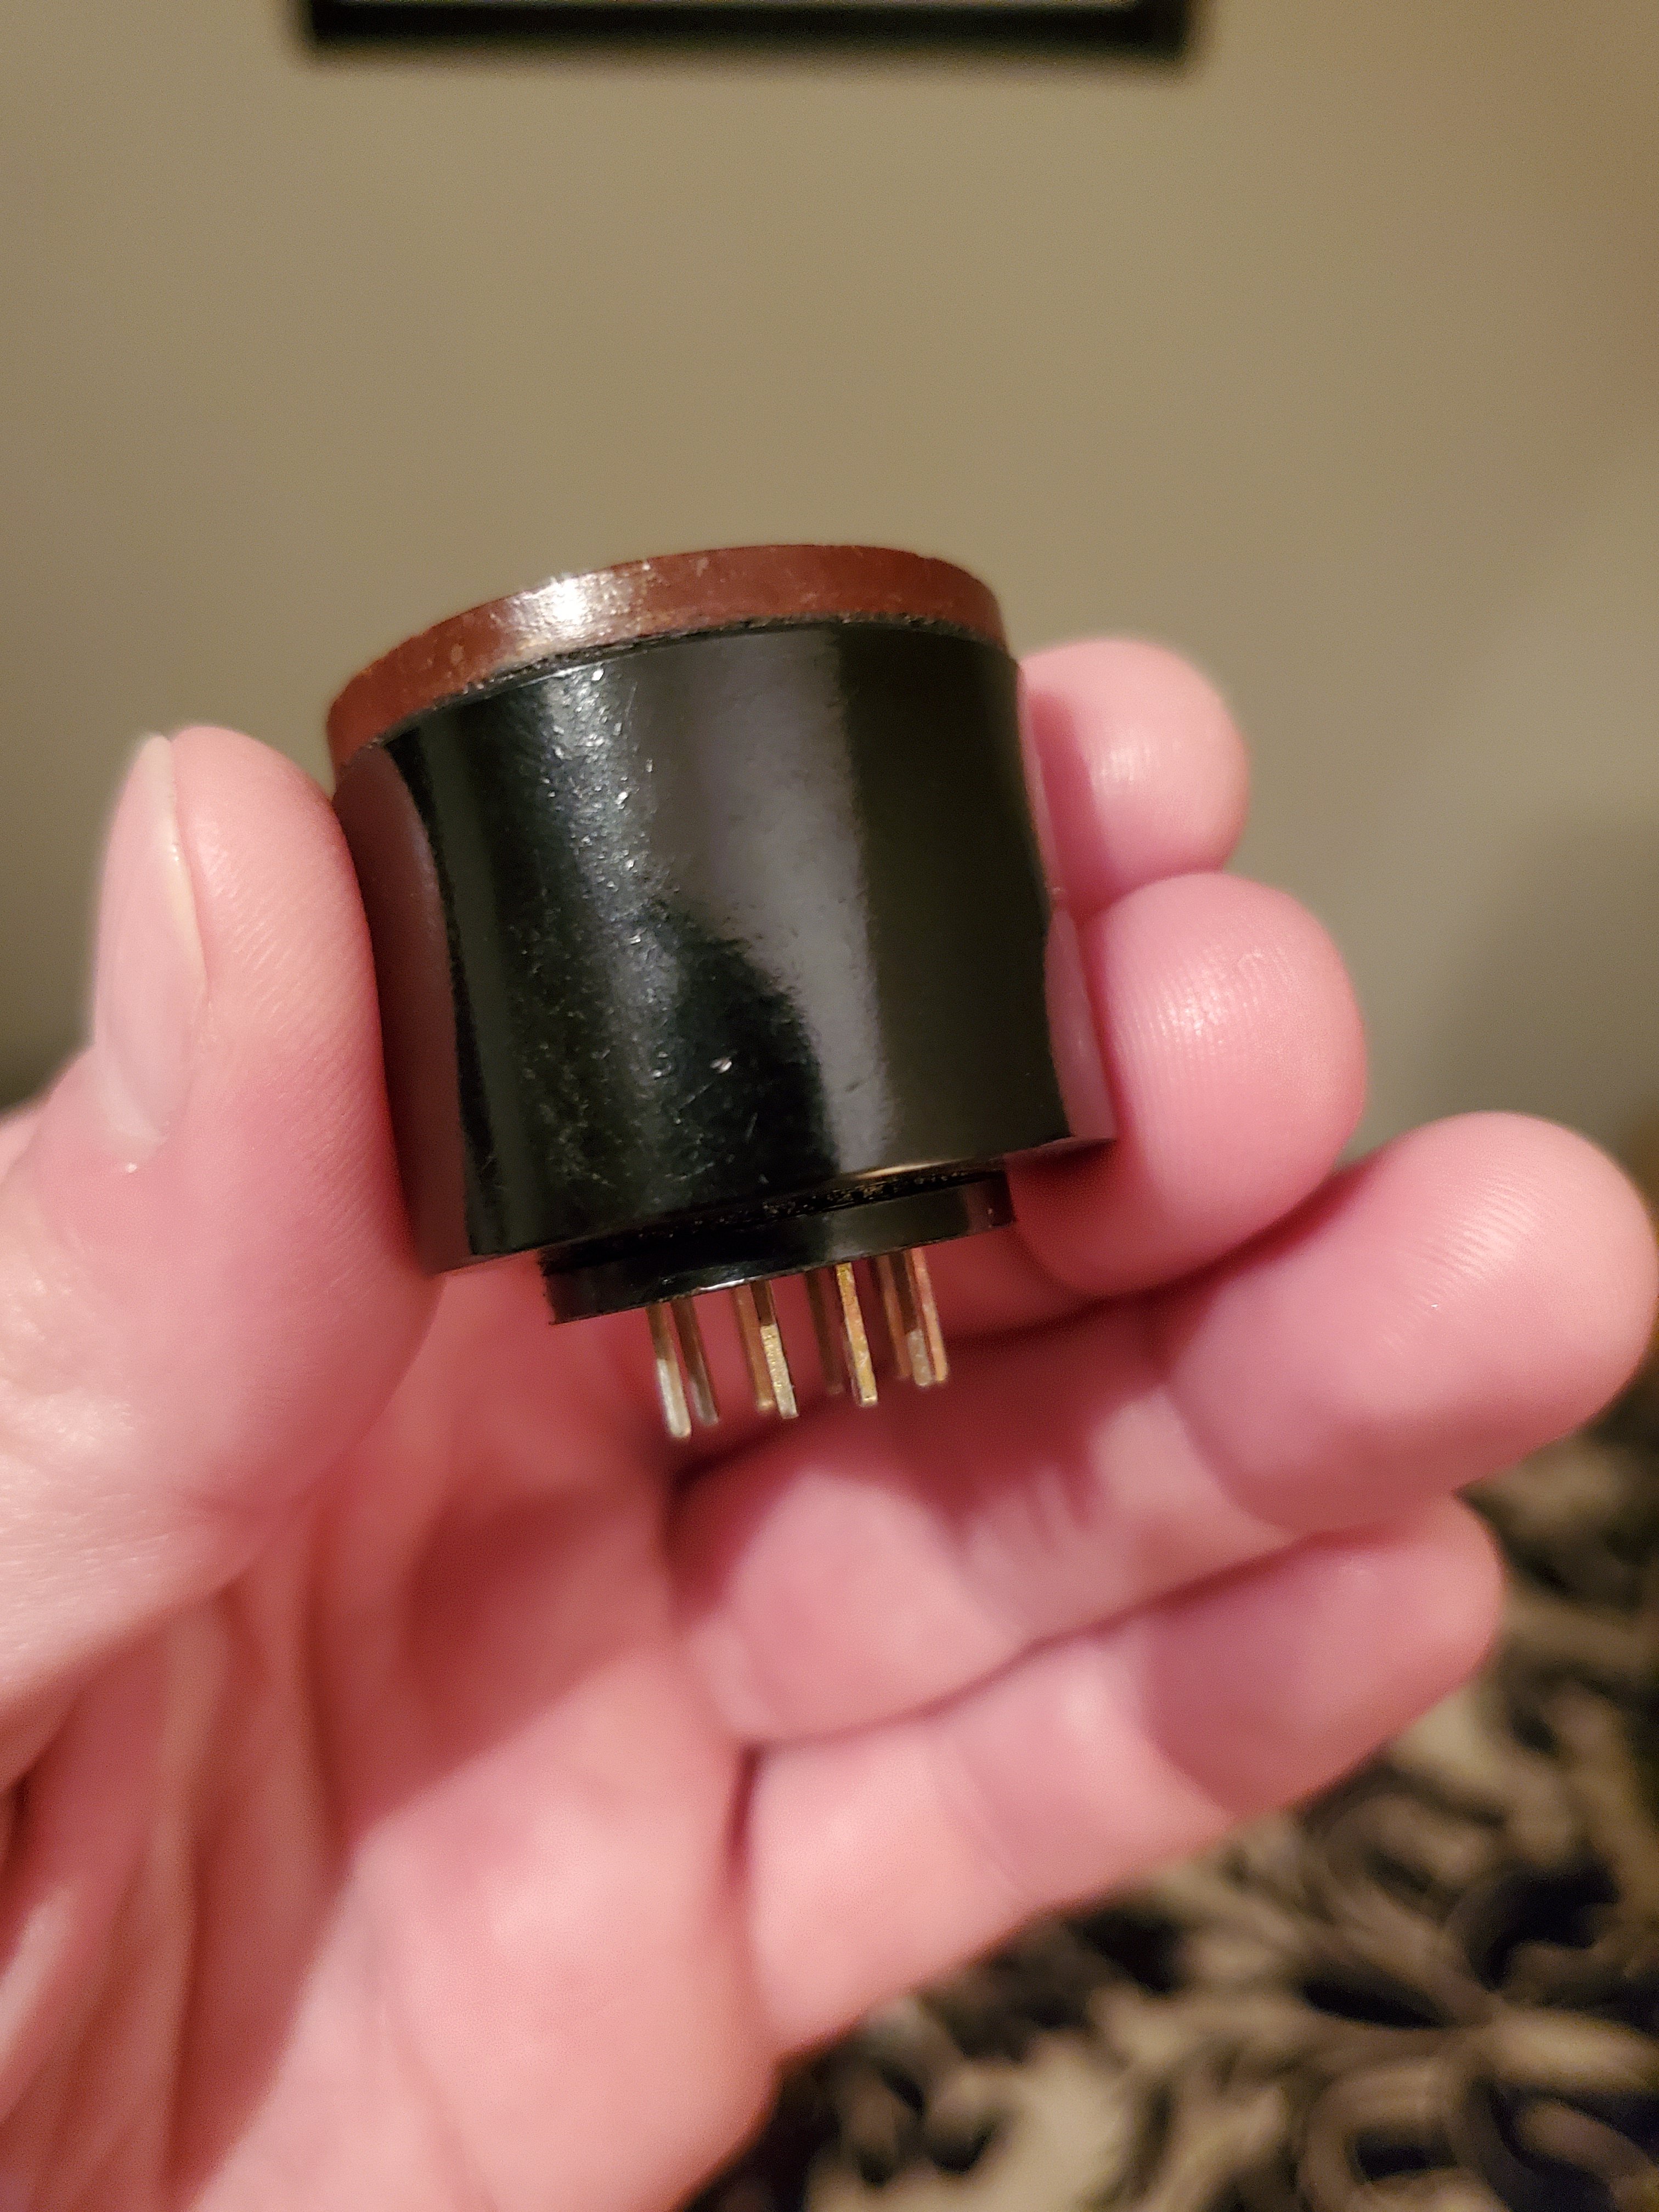
Speaking of adapters, look what just got delivered.  The quality of this adapter, feels as good as it can get. I love how @Deyan, used really high quality parts, which makes rolling a breeze. I highly recommend getting in touch with @Deyan, if you are looking for a quality adapter built to your specifications. He made it exactly how I requested, and this will not be my last adapter purchase.


 The quality of this adapter, feels as good as it can get. I love how @Deyan, used really high quality parts, which makes rolling a breeze. I highly recommend getting in touch with @Deyan, if you are looking for a quality adapter built to your specifications. He made it exactly how I requested, and this will not be my last adapter purchase.


attmci
Headphoneus Supremus
Yes, that fix ring of the socket is missing.There's probably your problem. Your adapter is now shorted to ground where it shouldn't. This could lead to serious damage inside your amplifier (with bad luck even the PT).
Your tube socket appears not to be sitting on top of your chassis plate, there's your problem.
How are u doing, Tom?
Paladin79
Previously MOT: Cables For Less
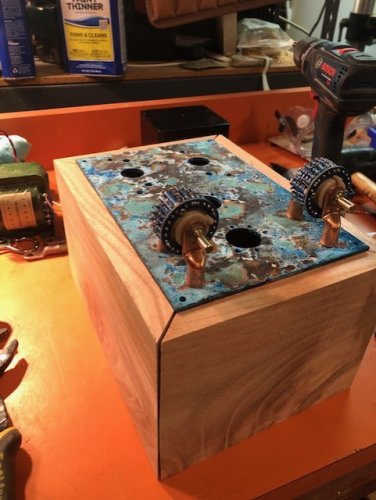
I am trying to avoid cutting holes in this particular cabinet so top mounted pots on this one. Copper supports that I can patinate to match if I want.
Love the patinated chassis plate! And the grain on that base ... !
Paladin79
Previously MOT: Cables For Less
The base is honey locust, no finish on it whatsoever yet, I will use a router on the top so the top plate is inset and then I do corner supports.Love the patinated chassis plate! And the grain on that base ... !
Color Me Enamored
I'm totally intoxicated by the sound of my recently completed Crack-a-two-a. There's an immediacy to the sound, which fosters a real emotional connection for me. I've rolled a couple tubes and settled -- for now -- on a mil-spec Sylvania JHS 6189-12AU7WA in the input-tube position, NOS Chatham Electronics 6080WB with slotted graphite columns in the output position and a pair of NOS GE 5-star 6005s in the shunt-regulator spots. The overall character is one of crystalline clarity, airiness and silky smoothness in the mids and highs with well-rounded, incisive, punchy and robust low end when called for. So glad I made the decision to purchase this fine amp! And on top of that, there was the bonus of being able to immerse in the build process.
Here are a couple test shots I made with my iPhone earlier today. I plan to make some more nicely arranged, composed and post-processed images with my full-frame mirrorless once I've installed the TwoQuiet upgrade.
Joe.


I've had my crack for about a year and a half now, and I think I'm finally done upgrading (for now). Here's the final product:


- speedball
- stained/finished base
- film output caps
- film cap for last psu cap (with bypass)
- 24 step goldpoint attenuator with vishay dale resistors
- Schottky rectifier diodes
- choke
- integrated khadas tone board with usb-c input on the top panel (It's an all-in-one unit now!).
- toggle switch for switching between onboard dac and an external dac.


Bullpride
100+ Head-Fier
I am digging the internal DAC mod. What DACdid you use? Or did you build it from a kit/scratch?I've had my crack for about a year and a half now, and I think I'm finally done upgrading (for now). Here's the final product:
Very pleased with how this turned out.
- speedball
- stained/finished base
- film output caps
- film cap for last psu cap (with bypass)
- 24 step goldpoint attenuator with vishay dale resistors
- Schottky rectifier diodes
- choke
- integrated khadas tone board with usb-c input on the top panel (It's an all-in-one unit now!).
- toggle switch for switching between onboard dac and an external dac.

PsilocybinCube
100+ Head-Fier
Have you
Do you get any USB interference from the USB-C or the DAC being so close to the electronics? If not, did you have to do any troubleshooting to help with that?
Really great job! I'm super jealous.
This is beautiful. What a nice product you've fashioned.I've had my crack for about a year and a half now, and I think I'm finally done upgrading (for now). Here's the final product:
Very pleased with how this turned out.
- speedball
- stained/finished base
- film output caps
- film cap for last psu cap (with bypass)
- 24 step goldpoint attenuator with vishay dale resistors
- Schottky rectifier diodes
- choke
- integrated khadas tone board with usb-c input on the top panel (It's an all-in-one unit now!).
- toggle switch for switching between onboard dac and an external dac.

Do you get any USB interference from the USB-C or the DAC being so close to the electronics? If not, did you have to do any troubleshooting to help with that?
Really great job! I'm super jealous.
Users who are viewing this thread
Total: 94 (members: 0, guests: 94)


