ATH-M50 Removable Cable Mod
Sep 26, 2011 at 3:26 PM Post #31 of 801
I'm not sure I'm reading it right, but it doesn't sound like there's anything wrong with the wiring. Got a picture?
 
Oct 21, 2011 at 8:00 PM Post #32 of 801
After further evaluation, the right channel is getting a signal, but there is no differentiation between Left and Right. For example, when I play a sound testing the sound card in windows, there is a jingle in the left ear, then the right ear. Using my ATH-M50's the sounds play on both ears simultaneously. It's really sad, because I feel like I've ruined my headphones, but given a free afternoon I'm sure I can iron out the kinks.


Oct 26, 2011 at 9:52 AM Post #33 of 801
hey! awesome thread guys.
helps me building confidence toward doing this exact mod to get rid of the oh so annoyingly heavy and prone to tangle coil cord.
 
before I begin tho, I'd like to confirm some steps of the process.
First the only cutting involved is inside the left cup, on the main cord going out the headphone?
Second, the only soldering is on the 3 exposed wires (ground red green) to connect them to the new female 3.5 chassis?
This means no desoldering on the drive board and no touching the wires reaching for the right cup.
Is there any enamel coating on the wires or are they simple twisted copper threads.
 
and last but not least, did any of you guys experienced a reduction in audio quality after doing this mod?
 
I guess thats it question-wise... until I start modding and have a ton more for you hehehe
 
Oct 26, 2011 at 4:40 PM Post #34 of 801


Quote:
After further evaluation, the right channel is getting a signal, but there is no differentiation between Left and Right. For example, when I play a sound testing the sound card in windows, there is a jingle in the left ear, then the right ear. Using my ATH-M50's the sounds play on both ears simultaneously. It's really sad, because I feel like I've ruined my headphones, but given a free afternoon I'm sure I can iron out the kinks.


Ah, the picture clears it up. You should have desoldered the wires off of the driver instead of cutting it. Dang. It looks like you need to completely re-cable your headphones. But maybe somebody else can chime in. I don't know very much about DIY.


Quote:
hey! awesome thread guys.
helps me building confidence toward doing this exact mod to get rid of the oh so annoyingly heavy and prone to tangle coil cord.
 
before I begin tho, I'd like to confirm some steps of the process.
First the only cutting involved is inside the left cup, on the main cord going out the headphone?
Second, the only soldering is on the 3 exposed wires (ground red green) to connect them to the new female 3.5 chassis?
This means no desoldering on the drive board and no touching the wires reaching for the right cup.
Is there any enamel coating on the wires or are they simple twisted copper threads.
 
and last but not least, did any of you guys experienced a reduction in audio quality after doing this mod?
 
I guess thats it question-wise... until I start modding and have a ton more for you hehehe


Yes to the first two questions. There is an enamel coating, but it should burn off when you tin the wires. I didn't hear a reduction in audio quality. You sound like you know what to do. Good luck with your mod!
 
 
Oct 26, 2011 at 4:45 PM Post #35 of 801


Quote:
After further evaluation, the right channel is getting a signal, but there is no differentiation between Left and Right. For example, when I play a sound testing the sound card in windows, there is a jingle in the left ear, then the right ear. Using my ATH-M50's the sounds play on both ears simultaneously. It's really sad, because I feel like I've ruined my headphones, but given a free afternoon I'm sure I can iron out the kinks.


I sounds like the problem may be over on the other side... did you resolder anything regarding the cable that heads over to the right side? Circuit board, etc? 
 
I'm wondering if extra solder or something is causing a jump (e.g. you're sending the left signal everywhere). 
 
Or accidentally use a mono jack for the cable termination? 
 
Oct 26, 2011 at 6:14 PM Post #36 of 801


Quote:
Yes to the first two questions. There is an enamel coating, but it should burn off when you tin the wires. I didn't hear a reduction in audio quality. You sound like you know what to do. Good luck with your mod!


excellent! thanks for the fast answer.
 
Now I bought a very (very) cheap pair of earbuds to get my hand on some copper wire soldering.
 
The wires consisted of very fine color coated (enamel) copper threads twisted around some white thread. (how does that compare to the wires found inside the M50?) 
I had the worst time trying to solder anything, even tinning the wires wouldnt work. I used a 30W iron and lead free 60% rosin solder.
The solder would just bead and drop down without even touching the wire. so no luck tinning anything, even less soldering 2 wires together.
I got the sound back on both earpieces using a 3rd hand to hold everything together so I guess the enamel did burn while I was *trying to* solder.
 
Should I use flux and what kind of solder works the best on the M50 wires?
 
Im gettin there! 
 
Oct 27, 2011 at 2:59 PM Post #37 of 801
The M50 wires also have that fine enamel and white thread. Is your solder at least sticking to your iron, or is it just beading off that too?
 
Oct 27, 2011 at 3:40 PM Post #38 of 801
You absolutely cannot work with enamel wire this way, you will fail.  Either pay up $30 for a solder pot (a Tenma one will do the job) and a $25 one pound bar of lead solder, or don't do it at all.  Using flux will help you on wires that aren't enameled/litz, but it won't do a damn thing on enamel wires since they're coated in a very strong coating that can only be burned off in a solder pot.  Simply immersing the wire in a blob of solder that is on the end of your iron is nowhere near hot enough.
 
Dec 11, 2011 at 8:54 PM Post #40 of 801
Cool mod.  I really want to attempt, but kinds hesitant.  I think I can follow along on how to put the female socket and everything, but where I'm stuck on is how to even open the headphones.  I don't see any screws that will open them up.  I've searched for a while but I came up with nothing.  Can someone point me in the right direction.
 
Dec 23, 2011 at 9:31 PM Post #41 of 801
So I finally got my headphones back, and now I remember why I bought them. Such a great set of cans, and to have been without them for like 4 months because I suck at removable cable mods hurt. But now I am better.
 
My problem was mostly due to the cube-style Radio Shack 1/8" panel mount jacks. I'd advise people to stay away from them for three reasons:
1. The protrusion is so short that once all three wires are connected holding it from one side while securing from the other can be a chore.
2. The nut that secures it from the outside is too thin to get a hold on it and secure it so the jack is quite loose, and eventually one channel starts cutting out.
3. The prongs which you solder L/R/Gnd wires to are worthless, basically after bending once they're screwed.

Here is my solution, which solved the problems on all three fronts:
http://www.amazon.com/gp/product/B000ML4A2Q/ref=oh_o02_s00_i00_details
 
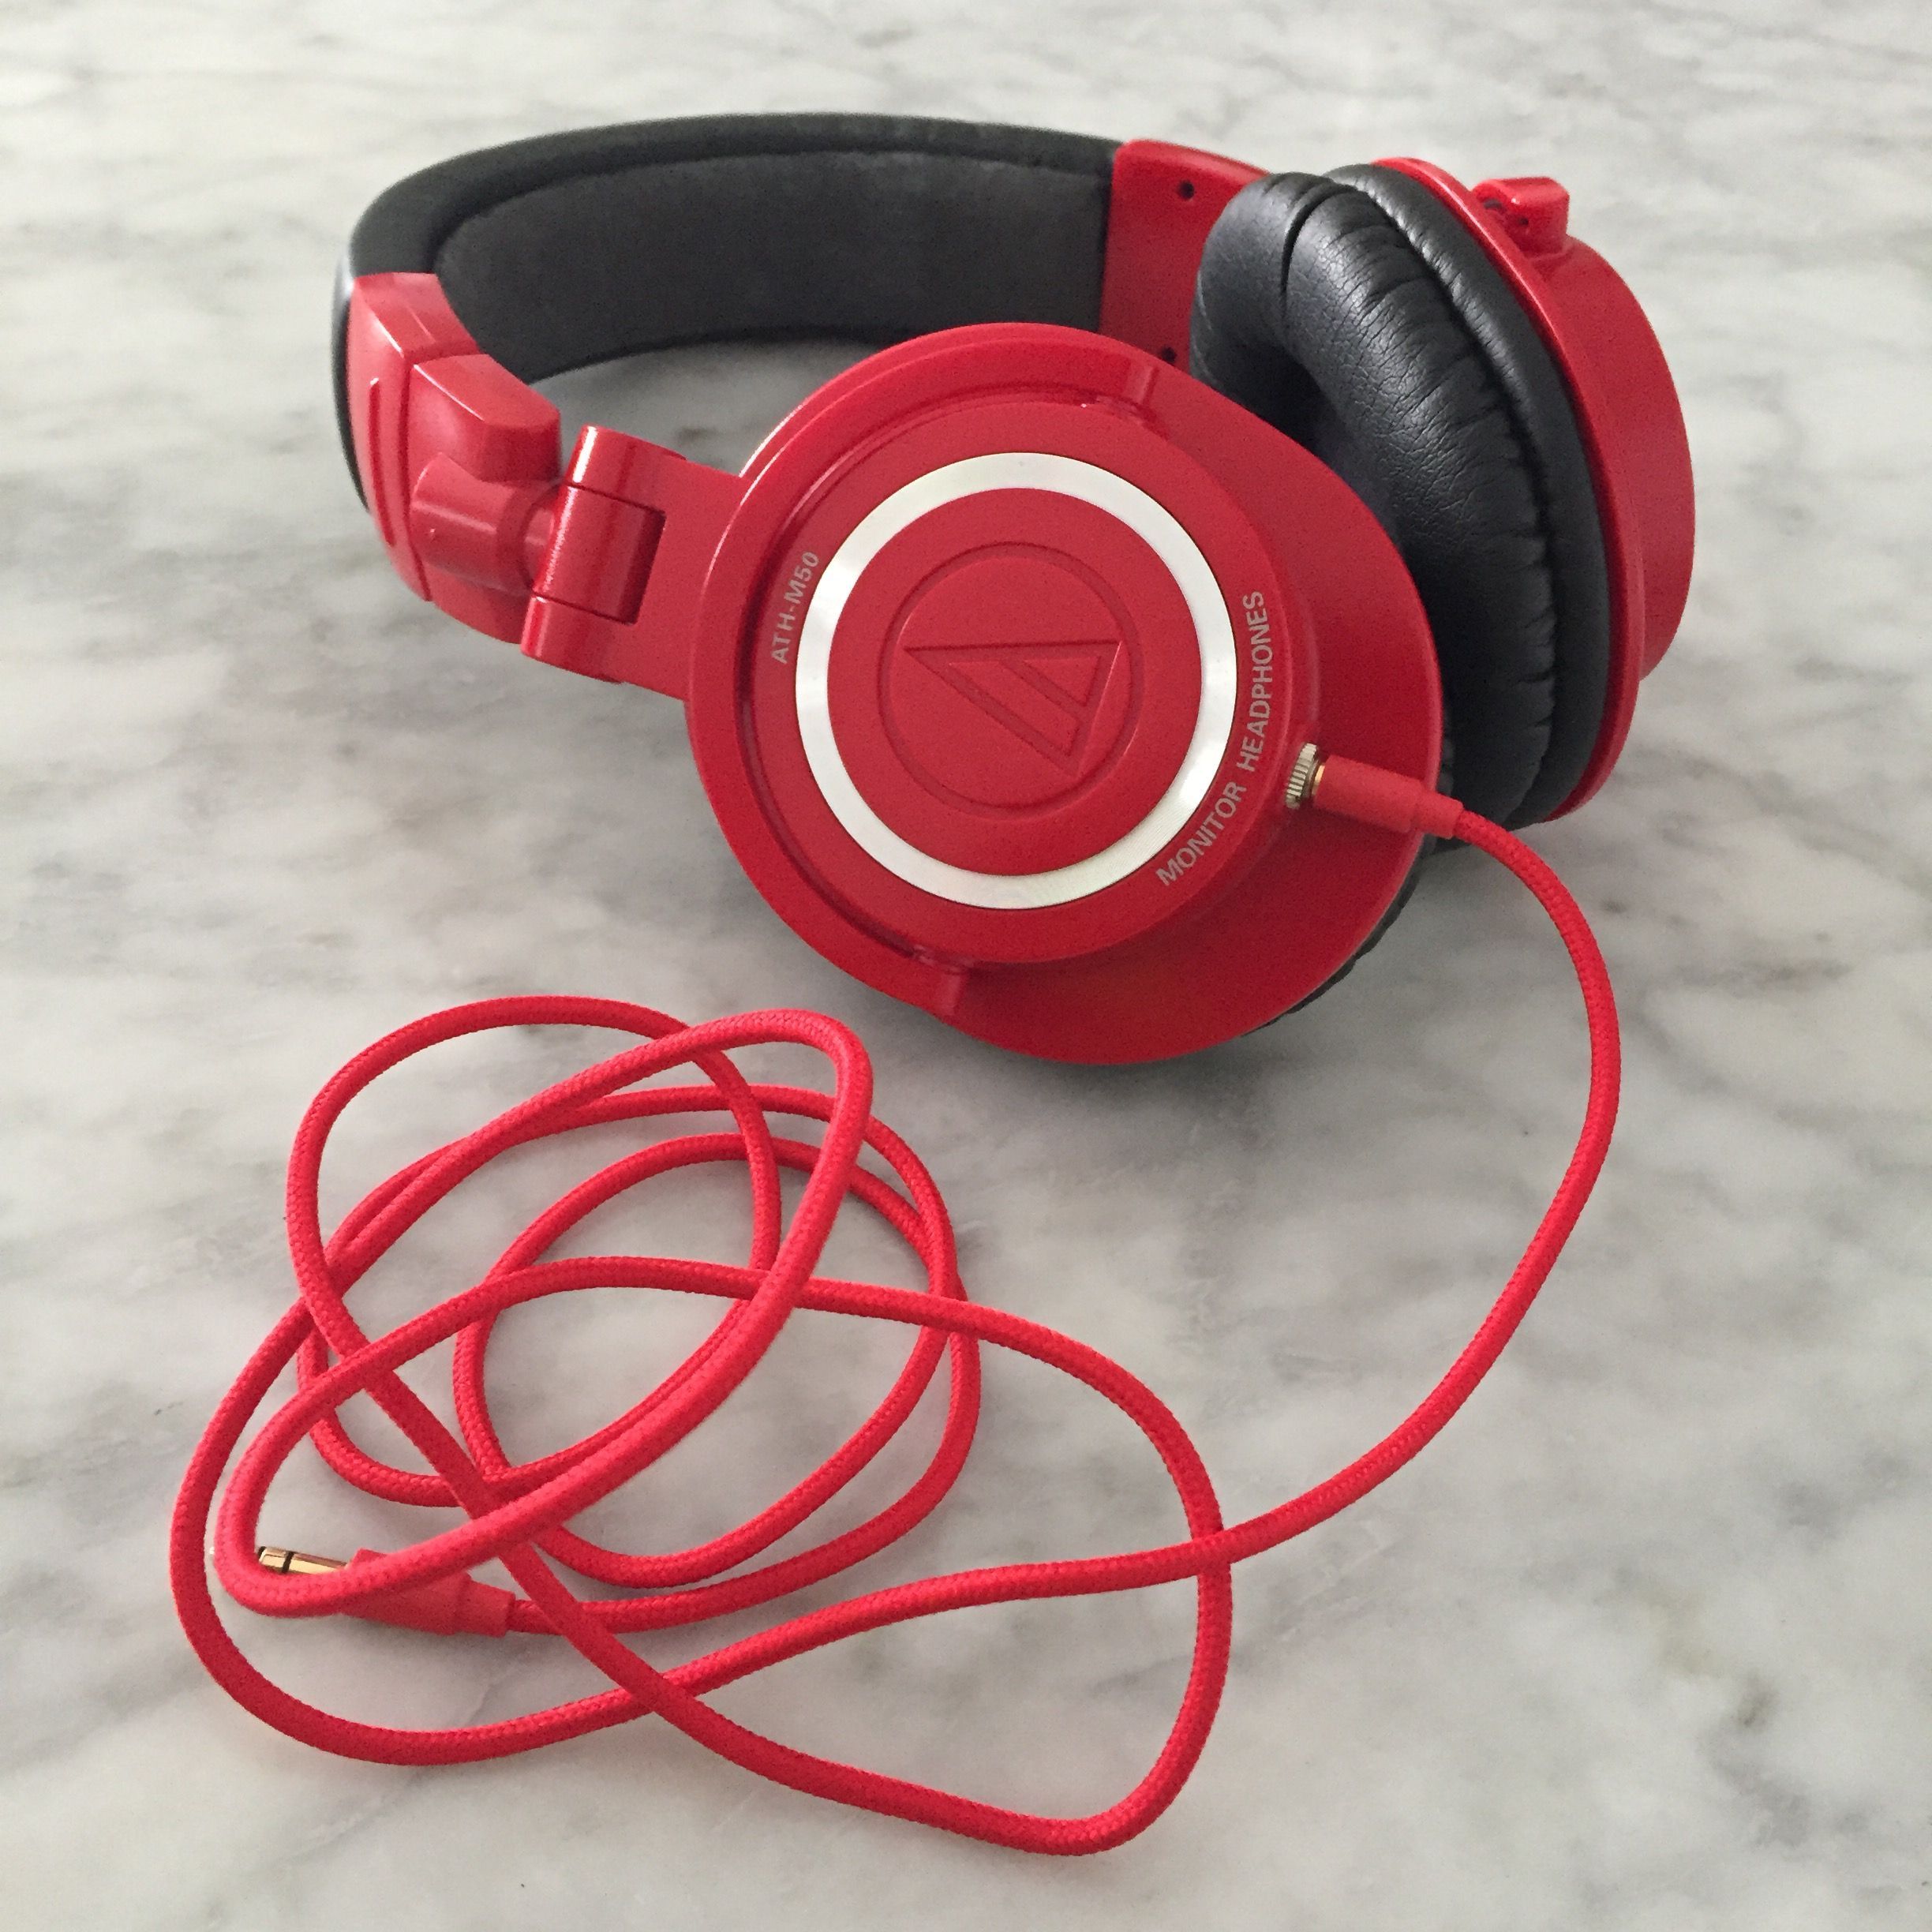
Here are two images showing the finished product.


Having done it, I am happy with the result, but would issue a disclaimer to anyone attempting this mod:
It's not enough to have experience with soldering and disassembling electronics, You must have small, nimble fingers, a long attention span, and the ability not to spaz out when things are not working out because your big sausage fingers are inept for this type of work. Otherwise you are good to go! Enjoy, and happy modding.
 
Thanks to everybody who has helped this thread develop. The diagrams, closeups of the innards, and descriptions were all essential in completing the mod.


Dec 24, 2011 at 1:25 PM Post #43 of 801


Quote:
Cool mod.  I really want to attempt, but kinds hesitant.  I think I can follow along on how to put the female socket and everything, but where I'm stuck on is how to even open the headphones.  I don't see any screws that will open them up.  I've searched for a while but I came up with nothing.  Can someone point me in the right direction.


Remove the fake leather pad. Underneath it you'll see four black philips head style screws. Remove them and the driver, and encasing will pop off. Then, perform the tube sock pad mod showcased on page one of the thread. It was very easy to do, did little to change the sound (at least as far as I can tell, but I could never tell one headphone cable apart from another just by the sound) and best of all, now my ears won't get all sweaty!


Dec 25, 2011 at 5:08 PM Post #45 of 801
See the HD595 thread from this week.  I have a list of what you need for this week.  You can get a pretty cost no object DIY setup for around $1000 and a basic but fairly complete setup for maybe $500, and some of the bare essentials for maybe $200...just depends on what you're willing to compromise on.  I mean I like to throw a dremel, heat gun, solder pot, all the trimmings in when I consider setting someone up for DIY.  But the bare minimum is soldering irons, heat guns, glue guns, wire strippers, etc.
 

Users who are viewing this thread

Back
Top