the Pimeta-V2 thread
May 3, 2011 at 12:55 AM Post #346 of 651
I have the same problem where one of my buffers gets hot enough to hurt me if I touched it.  I know I installed one of them in reverse and I think on a different one there was a bridged solder joint and after I corrected it then one gets hot so they're probably fried or something.  I'm using the same pot as boris so I'd also better check that.    I haven't ordered new buffers yet though but probably will soon.
 
May 7, 2011 at 10:25 PM Post #347 of 651
Well, I've been experimenting with the BUF634's bandwidth control pin in my hybrid pimeta. I started with the 220 ohm resistor recommended in the schematic, and it sounded quite good. A bit veiled, I believe... so I added something like a 82 ohm resistor in parallel with the 220 one, taking it down to about 60 ohms. 

I read that thread where kurtw tested this buffer and found out that distortion goes up when you go lower than 200 ohms.. but it didn't seem to my ears that the buffers were distorting at 60 ohms. In fact, it sounded better! Sound was a bit less veiled, but the TO220 package was getting a bit hotter than what I was comfortable with at this setting.. So I hacked up an old pentium II heatsink into four pieces, resulting in four generous heatsinks for a TO220 chip. After mounting them to the buffers with some MX-2 thermal paste and superglue on the tabs' corners.. I connected the BW pin directly to V-... and it sounds even better!! The heatsinks are keeping those buffers about five degrees over ambient temperature if my fingers don't deceive me. Temperature's alike to overclocked DDR2 memory overvolted to 2v, lukewarm. I'll try stacking those buffers some time soon.. no time right now to do that.
 
The OPA827/BUF634 WB mode combo sounds really good!! Even better than I expected. This PIMETA amp is completely worth it. Nice project, I'm glad it turned out well. No DC offset! Not even 0.1 mv, that's wonderful. In RMAA my x-fi scores -101.5 dB in dynamic range and noise... this amp's getting a dynamic range/noise over -95.5 dB while adding no THD/IMD compared to my x-fi's lineout on its own. Channel separation is -91 dB, vs -98.8 on the x-fi itself... 


Here's some pics of the PSU and the amp... I'll build a case for all this in some months when I get some free time from college. About the psu.. yeah, I'll add some more filtering caps there when I get more appropiate ones. (1000 uF 35v instead of 63v, my bad on that one) and that big mess o' caps is just three 2.2 uF caps in parallel to get near the 6.8 uF recommended value there..
 
http://www.imagebam.com/image/377ea8131325698
http://www.imagebam.com/image/f9928d131325701
http://www.imagebam.com/image/4f9f96131325703
http://www.imagebam.com/image/4e6ec6131325707
http://www.imagebam.com/image/130498131325710


May 8, 2011 at 10:39 AM Post #348 of 651
Cool report.
 
Heh, you overclocked your PIMETA. I'm waiting for the picture where you put it in a case with a window in the side and EL tape everywhere. :)
 
I'm surprised you're not seeing line hum from the EI transformer placed so close to the amp stage.
 
Care to show your PCB layout, or at least a bottom-side pic?
 
May 8, 2011 at 2:22 PM Post #349 of 651
hehe thank you tangent, I'm even more thankful to you for making such a nice amp design available for everyone to build.
 
You know, there's no line hum, nothing! The amp's background is pitch black, I can hear a reaaaaaaaaaaaly faint hum at 100% volume, not at something like 95%... Needless to say that 50% provides more than enough amplification for my SR850 no matter what source I'm using, anything more than 55-60% is loud enough to hurt... so that's not a problem. Probably that's a sign of needing more filtering before the 7815/7915 pair in the PSU... 

Sure, here's my layout. It's not exactly the same as what I've built, there were some minor bugs that were quite easy to correct.. which are taken care of in this schematic. When I build a case for all this, I'll probably desolder everything and make another final PCB. Here are some pictures, and if you use PCB wizard, the PCB file. The components' names are the same as in your schematics. The only thing missing in the PSU schematic are the regulators' bypass caps, both at the input and the output.


Look for the improved version of both the amp and the psu on post 351
 
May 8, 2011 at 8:09 PM Post #350 of 651
Oh, I clearly didn't look at your pictures closely enough. There are two PCBs. In that case, I'd just advise keeping the transformer as far away from the amp board as your enclosure allows. Put them in opposite corners, if you can.
 
The other thing you can do to help is lower the gain a bit so that your standard rock-out volume is at the 2 or 3 o'clock position. This gives you a little bit more volume range if you need it, while not raising up too much noise.
 
May 8, 2011 at 8:37 PM Post #351 of 651
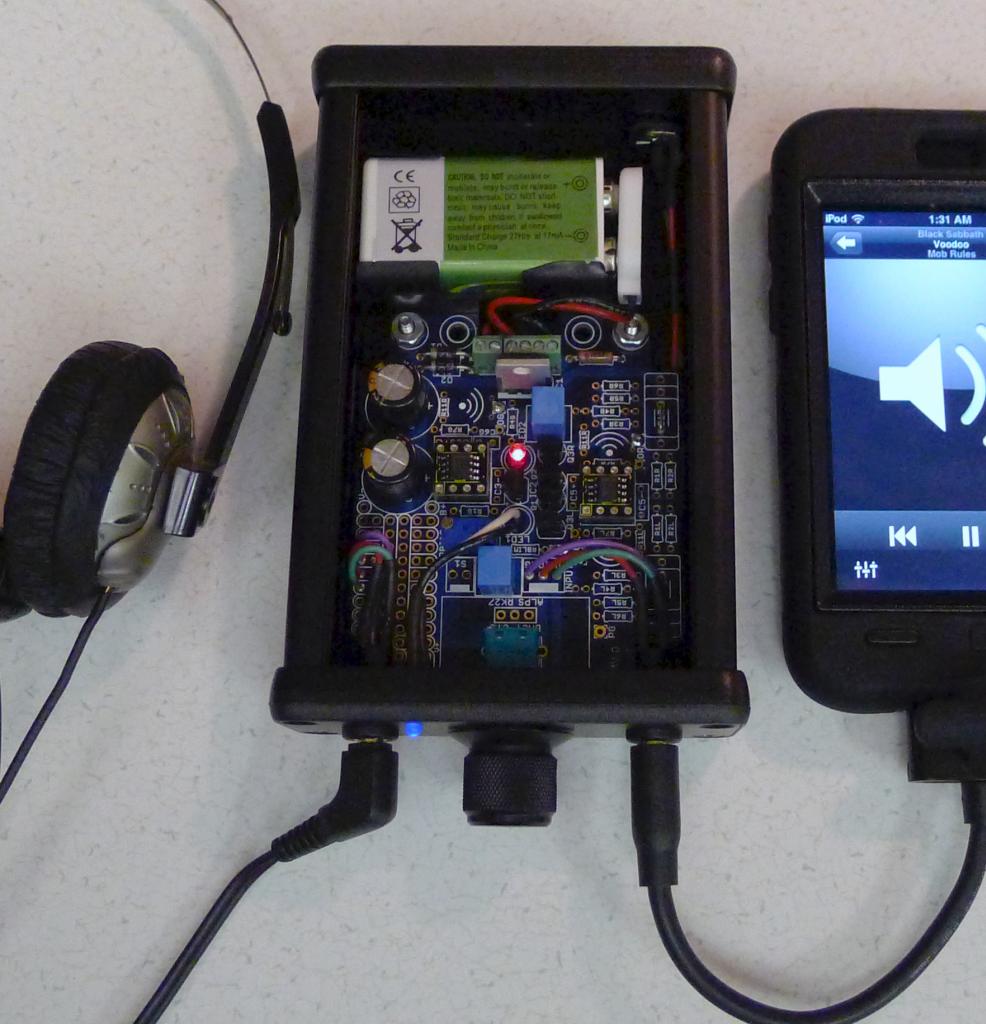
That's right, there are two PCBs. One's the amp and the other's the PSU. Yes, that'll be something I'll take care of when I build an enclosure for this. It won't be a problem to have them in opposite corners... as you can already figure out this PIMETA is being used as a desktop amp, so it won't be a problem to have a slightly larger enclosure for that purpose.
 
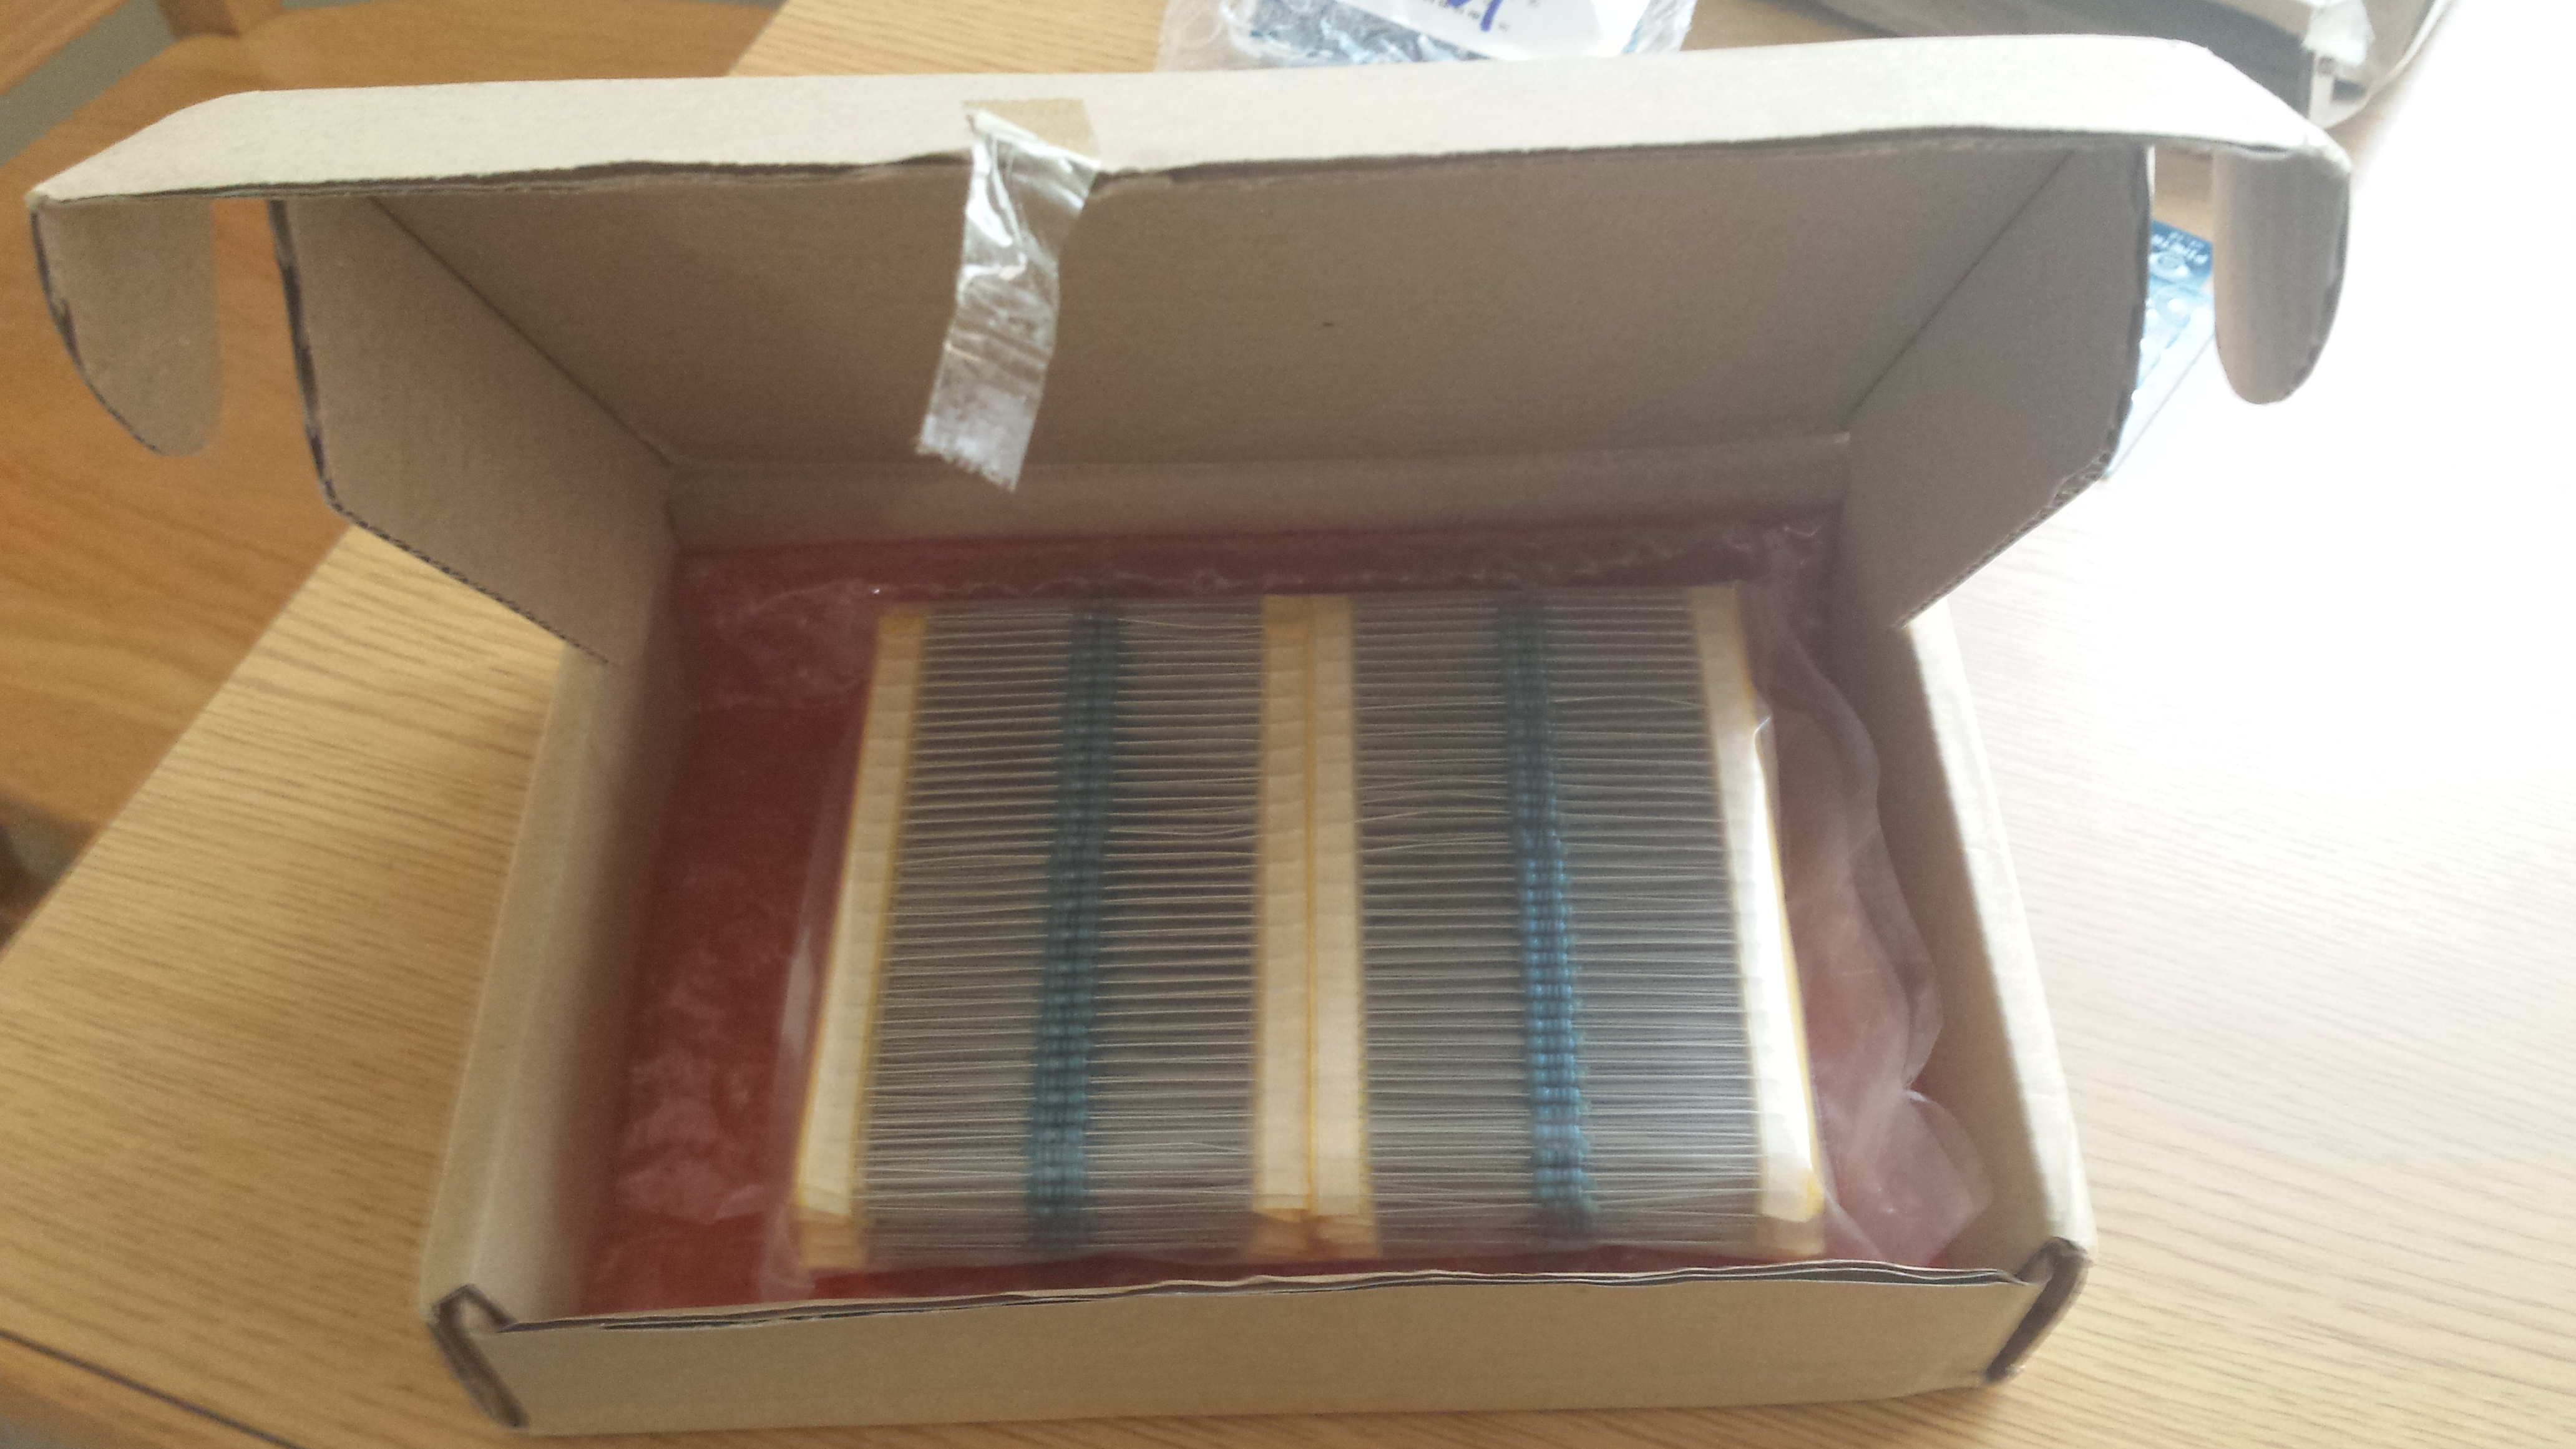
Thank you for the tip tangent, I've read your notes on this amp and you recommend to play with R4 to change the gain. That's what I'll do, I have some spare resistors here to lower the gain.
 
----------------------------------
 
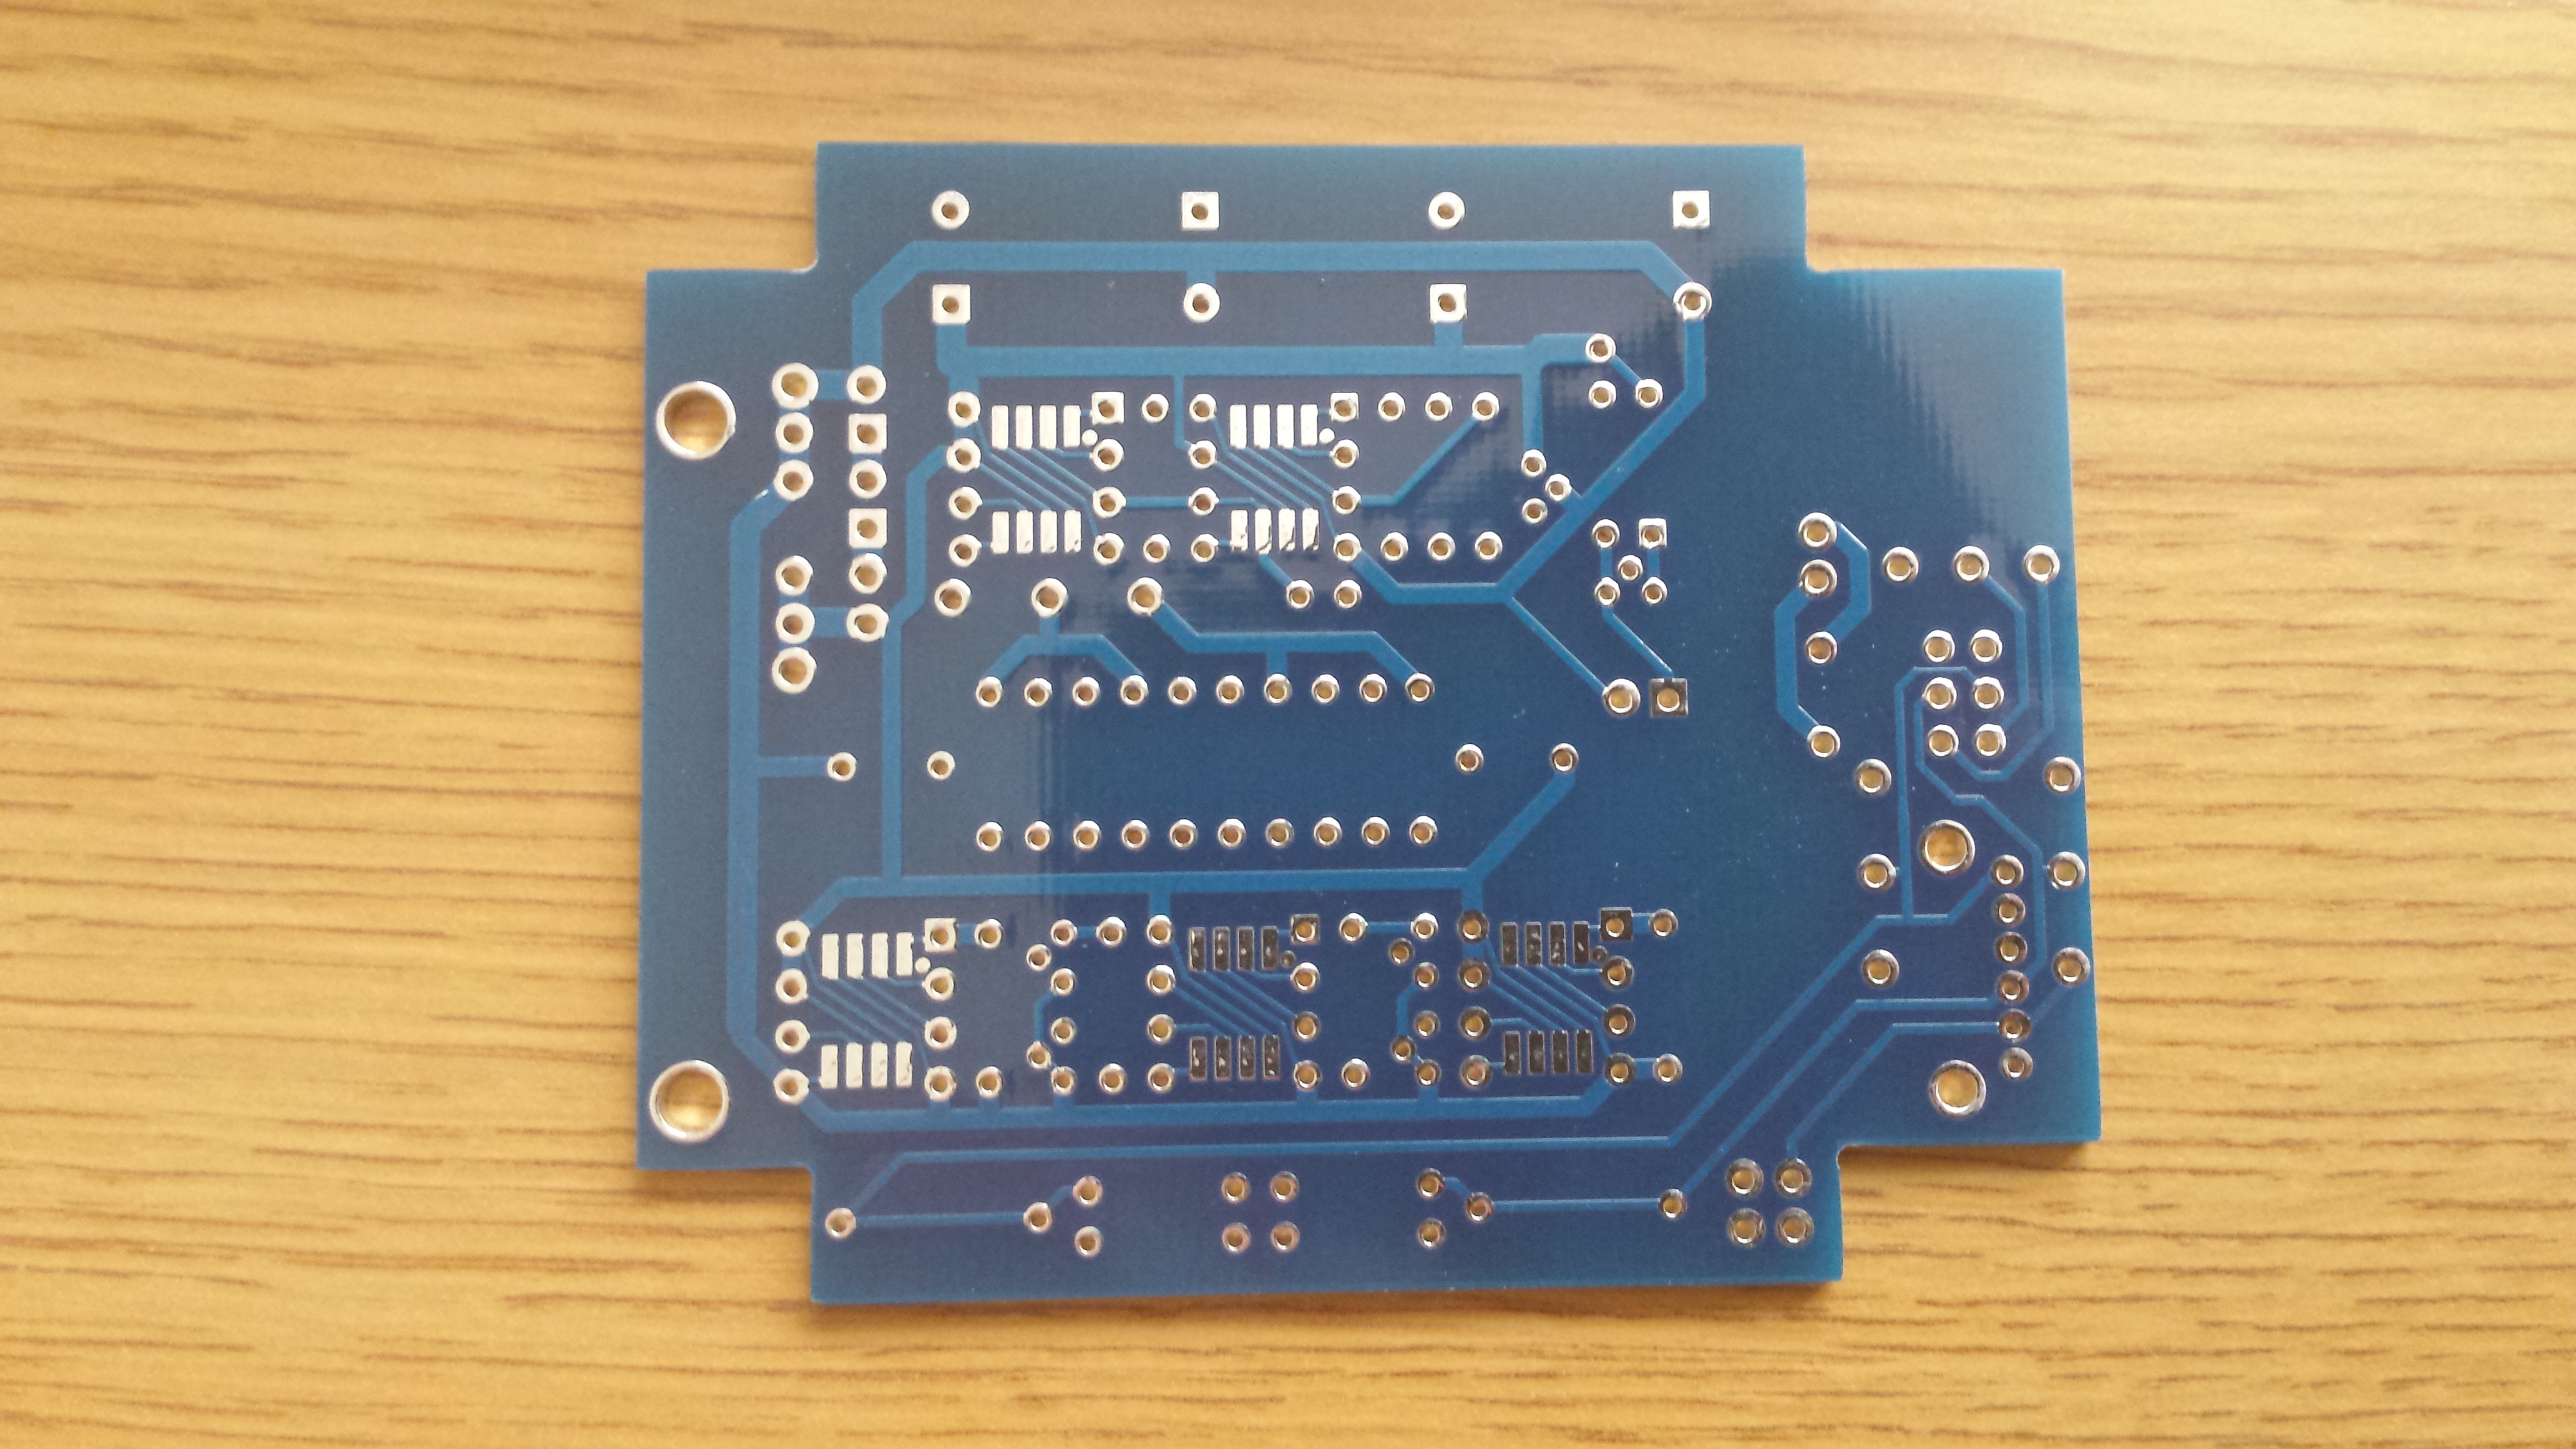
EDIT: (31/05/11) Well I've redone the PSU entirely, thicker traces, much cleaner and logical design, more capacitance, bypassed both regulators with tantalum caps, recommended on the datasheet. Same with the amp board... thicker traces... I've added more ground surface around the three channels so I can bypass everything as per the opamps and buffers' datasheets recommendations. 0.1 uF ceramics for the opamps and 10 uF tantalum + 0.1 uF ceramic in parallel for the buffers. I also lowered the gain from about 4.7 to 3.8, that's more than enough for my SR850.
 
 
All I have to say is WOW! Bass now has a much stronger kick and clarity, while everything else is as clear and sparkling as before, probably even better!! I literally dropped my jaw with some songs. Those buffers are really benefiting from those caps at its power pins... as a result, now my headphones are actually getting all the current they want!  Soundstage grew bigger... it got more 3D! so did instrument separation and clarity. BTW I'm using the amp without input caps because DC offset is below the milivolt range. Much cleaner sound just from removing them. I think this DIY pimeta is at its apex... dunno what else I can do besides stacking the buffers, but they're already running at full WB mode, heatsinked... more than happy with what it's become, an excellent desktop amp. I'm in love with it 
biggrin.gif


Have a look at the new designs if you want
  1. amp board (7x6.5cm board)
  2. psu board (10x10cm board)
  3. PCB wizard file with both the amp and psu


Jun 21, 2011 at 11:58 AM Post #352 of 651
been awhile since i last visited, just thought i would give a status report. been enjoying my pimeta v2 for months now, it really steps up the fun factor when paired with my M50's. its working great! going to start on another one soon (i already have the board) Going to try for a little larger unit with higher end components and a tad more voltage i think, I also need to play around with more op-amps!
 
Jun 29, 2011 at 5:36 PM Post #354 of 651
Yes, current mirrors do work as you're hoping.
 
Jun 30, 2011 at 8:46 AM Post #355 of 651
so i have successfully installed 3 cells of 3.7V 1400mAh lipo battery with protection circuit board into my portable case, and my pimeta is up and running now. the problem is now, the battery only last 6.5 hours while i was expecting more like 18 hours in a single charge (based on basic calculation)
 
i'm using ad8620 on L & R channel, and opa827 on ground. i jumpered rblim and i got 1.43V across rbias-rblim so i set the rbias to 1.6k ohm using the trimpot (i intended to hit around 1mA bias current). can someone answer why i'm getting a short battery life time with my current configuration? any help would be much appreciated :)
 
Jul 5, 2011 at 5:24 PM Post #359 of 651
Cool!
 
How did you do the panel lettering?
 

Users who are viewing this thread

Back
Top