For those interested, I was able to successfully dye Sennhesier pads.
Basically I used RIT liquid dye. I filled a smaller disposable tupperware container with hot water from a kettle. I put dumped some salt (several spoonfuls) and about half the container of liquid dye. I then put a few spoonfuls of white vinegar in. I then put the pads in and let them submerge, squeezing them full of dye every few minutes. I also added hot water every 10 minutes or so for about 45 minutes.
After 45 minutes in their dye bath, I then squeezed the pads out and washed them under cold water until no more dye came out. The last step was to fill my original container (washed out of course) with a tiny bit of laundry detergent and squeeze the pads in that a few times (more dye coming out) until the liquid coming out was mostly clear. I then rinsed them for several more minutes and dried them.
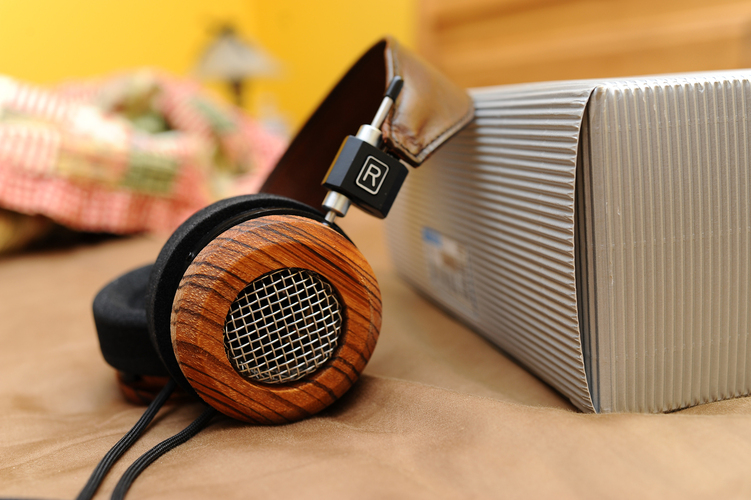
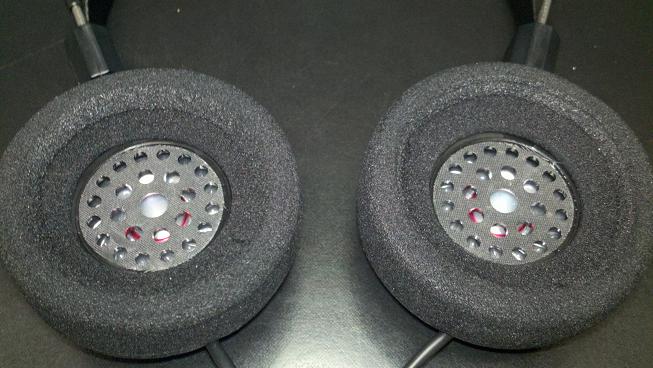
So far so good, no dye bleeding and nice, dark black pads. Looks much better with my wood shells than the yellow pads.


")
