


koreanzombie
100+ Head-Fier
- Joined
- Oct 11, 2012
- Posts
- 272
- Likes
- 18
Ok guys im a noob but I want to recable these sony's myself as the cable is terrible. Can anyone help me out with a guide on how to do it and recommend a cable to do it with. Thanks.
Ok guys im a noob but I want to recable these sony's myself as the cable is terrible. Can anyone help me out with a guide on how to do it and recommend a cable to do it with. Thanks.
") . Also I was thinking of using my fake dr dre tour beats, as the cable as there about the same width but the beats cable is lighter.
. Also I was thinking of using my fake dr dre tour beats, as the cable as there about the same width but the beats cable is lighter.My right channel still goes lower in volume compared to the left channel when I use it for more than 1-2 hours.
Guys please suggest a great budget amp for these beauties. I was thinking in the lines of Fiio E6.

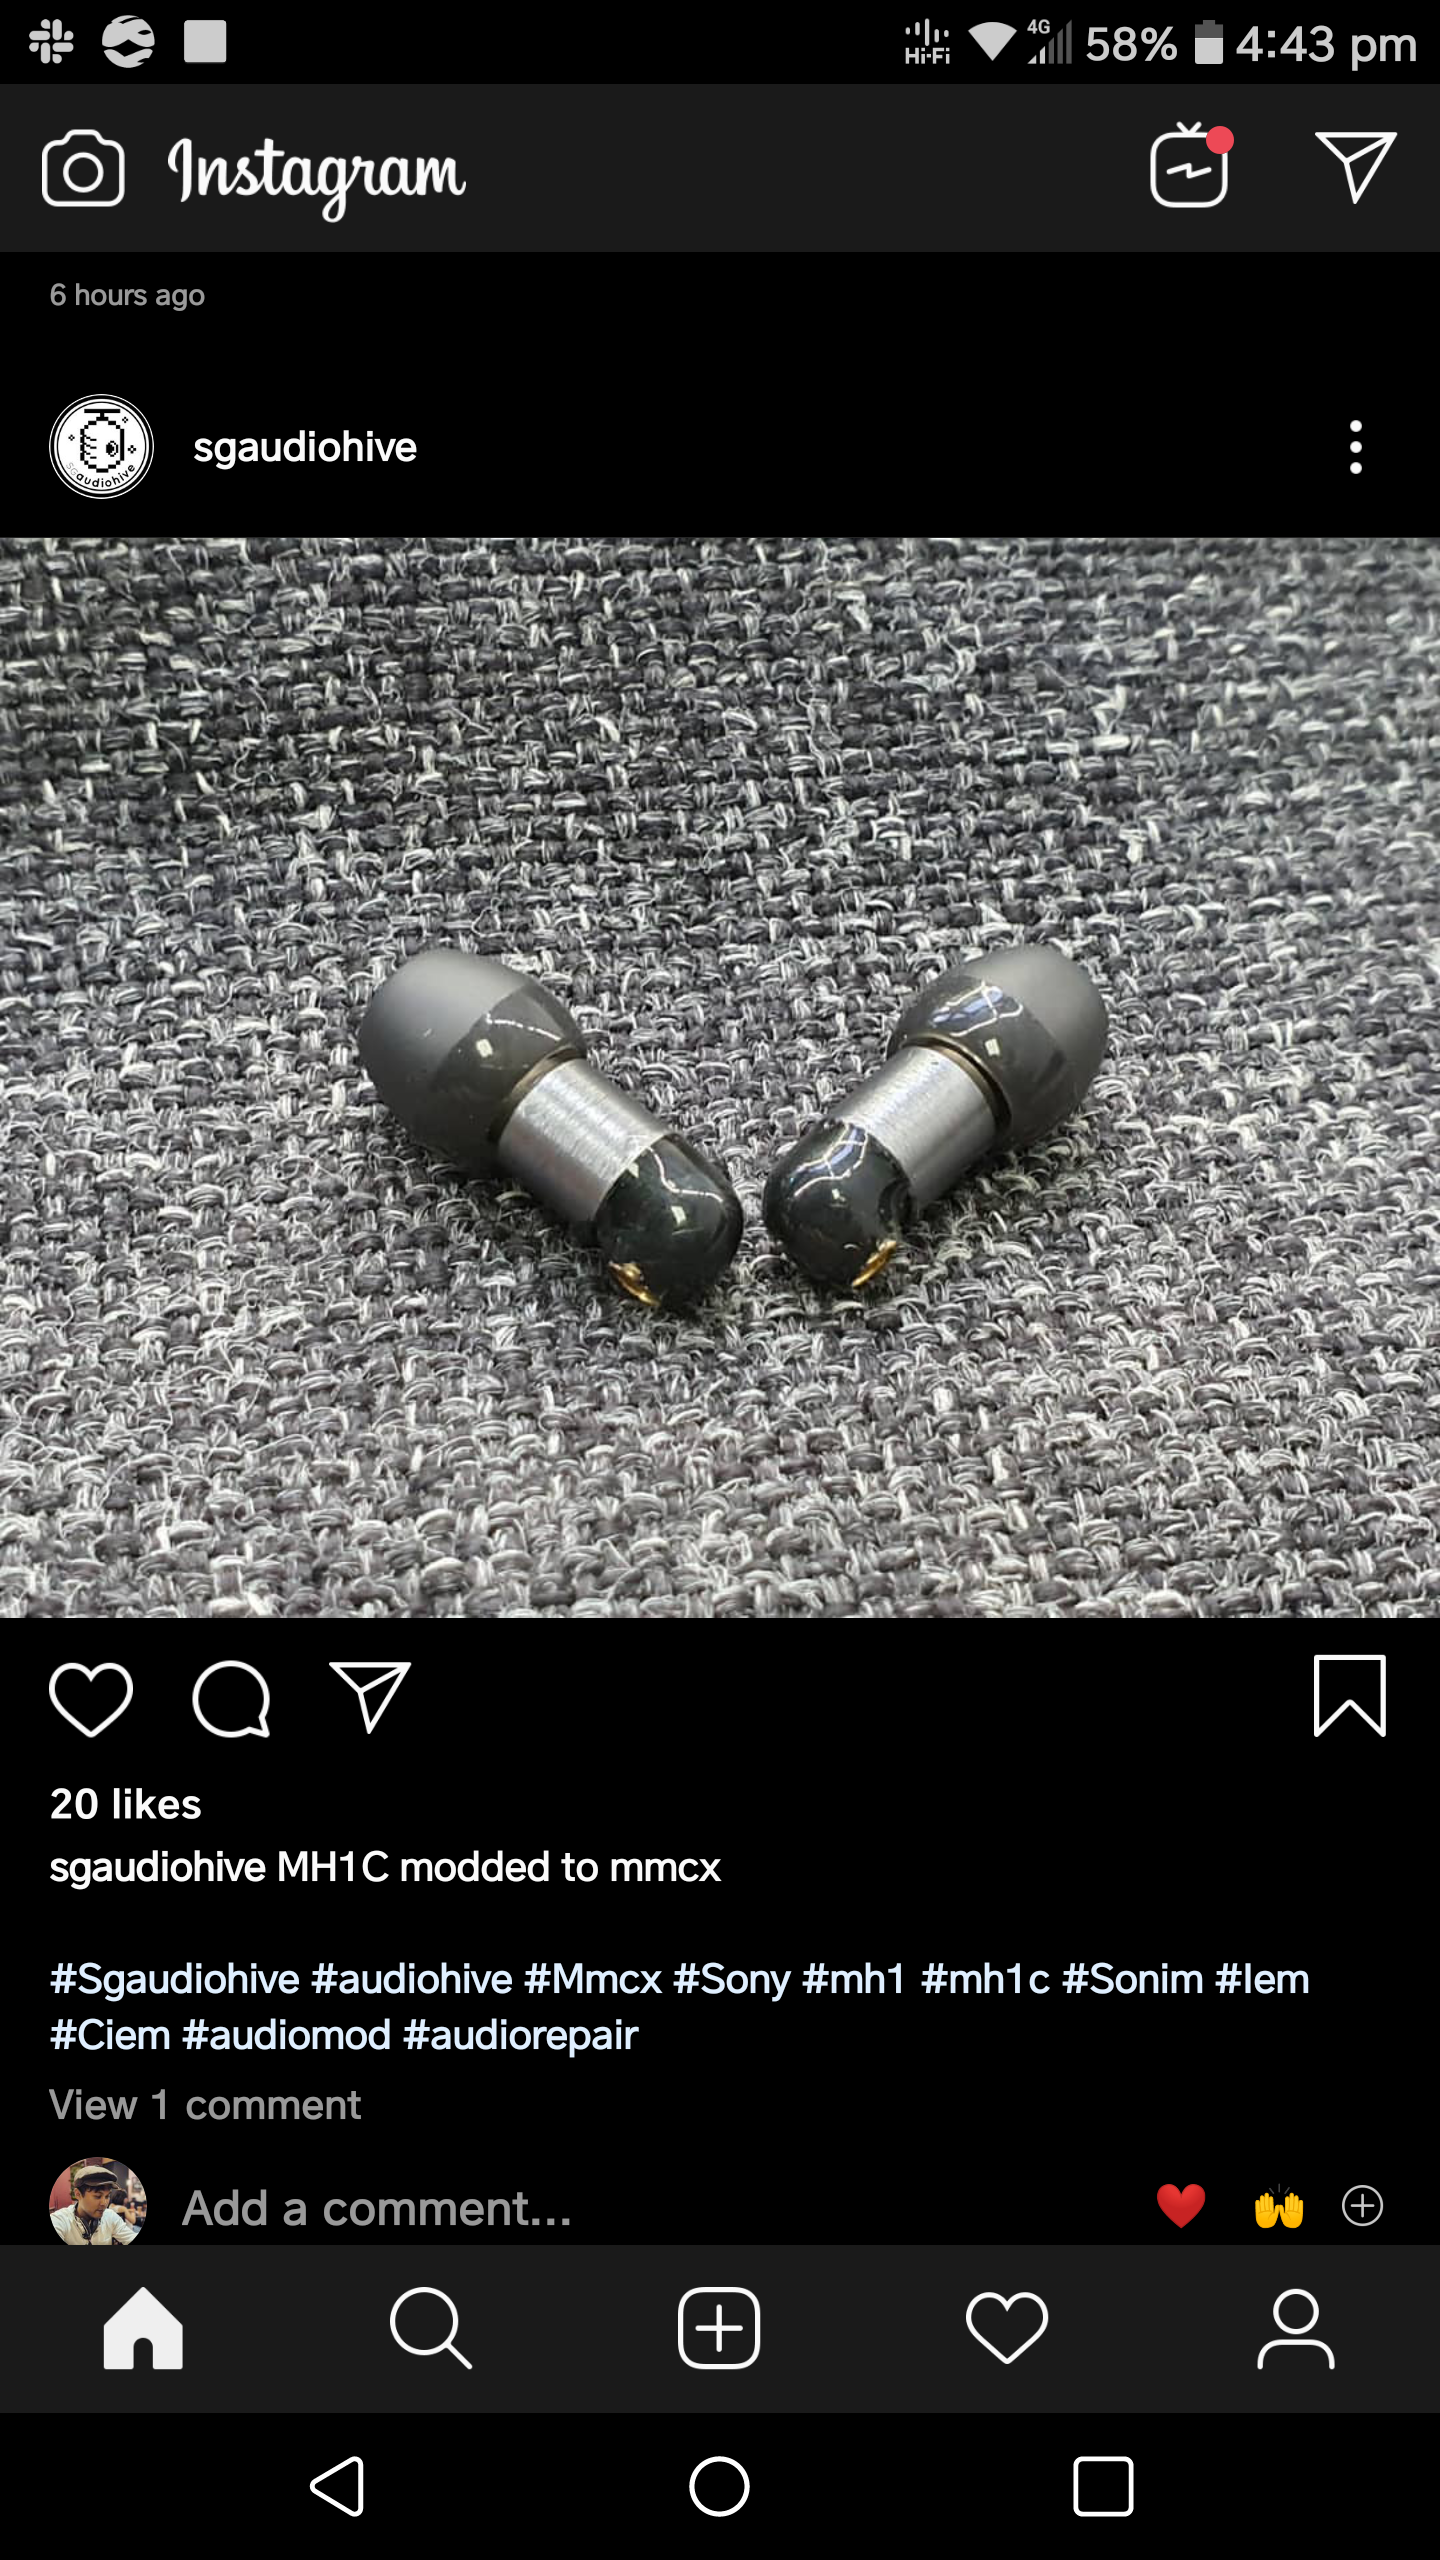
First attempt at recabling the MH1s. Didn't remember to take photos until I'd already done the housing terminations.
1) I used a craft knife to cut the rubber strain relief away from the side facing the ear so I could get at the terminations. If there's a proper way to remove the strain relief I'd be happy to know since I want to recable my other pair with silver wire in the new year.
2) Solder your new wires on. I used 26 AWG OCC 7N copper wire from toxic cables. Remember to label the ground and the signal wires.
3) I put the strain relief back on, then added a length of memory wire held on with heatshrink.
4) I planned to keep things simple with a 3 strand cable so I soldered the ground wire together I also twisted the wire around each other to stop them splitting.
5) At this point I decided how long to make the rest of the cable, then doubled it when I cut the wire so I could account for the loss of length from braiding. Label your wires at both ends.
6) Braid dem wires, I use masking tape to hold the braid together until I finish assembling the cable.
7) Finish up the soldering to the right, left and ground channels.
8) Use heatshrink to isolate the channel electrically, then a larger piece to hold them all together. Epoxy putty is another option.
9) Same for the 3.5mm jack. I've used a Neutrik 3.5mm straight jack since I gave about 15 of them in a drawer.
10) Look at your fancy new cable and listen to your improved MH1s.


