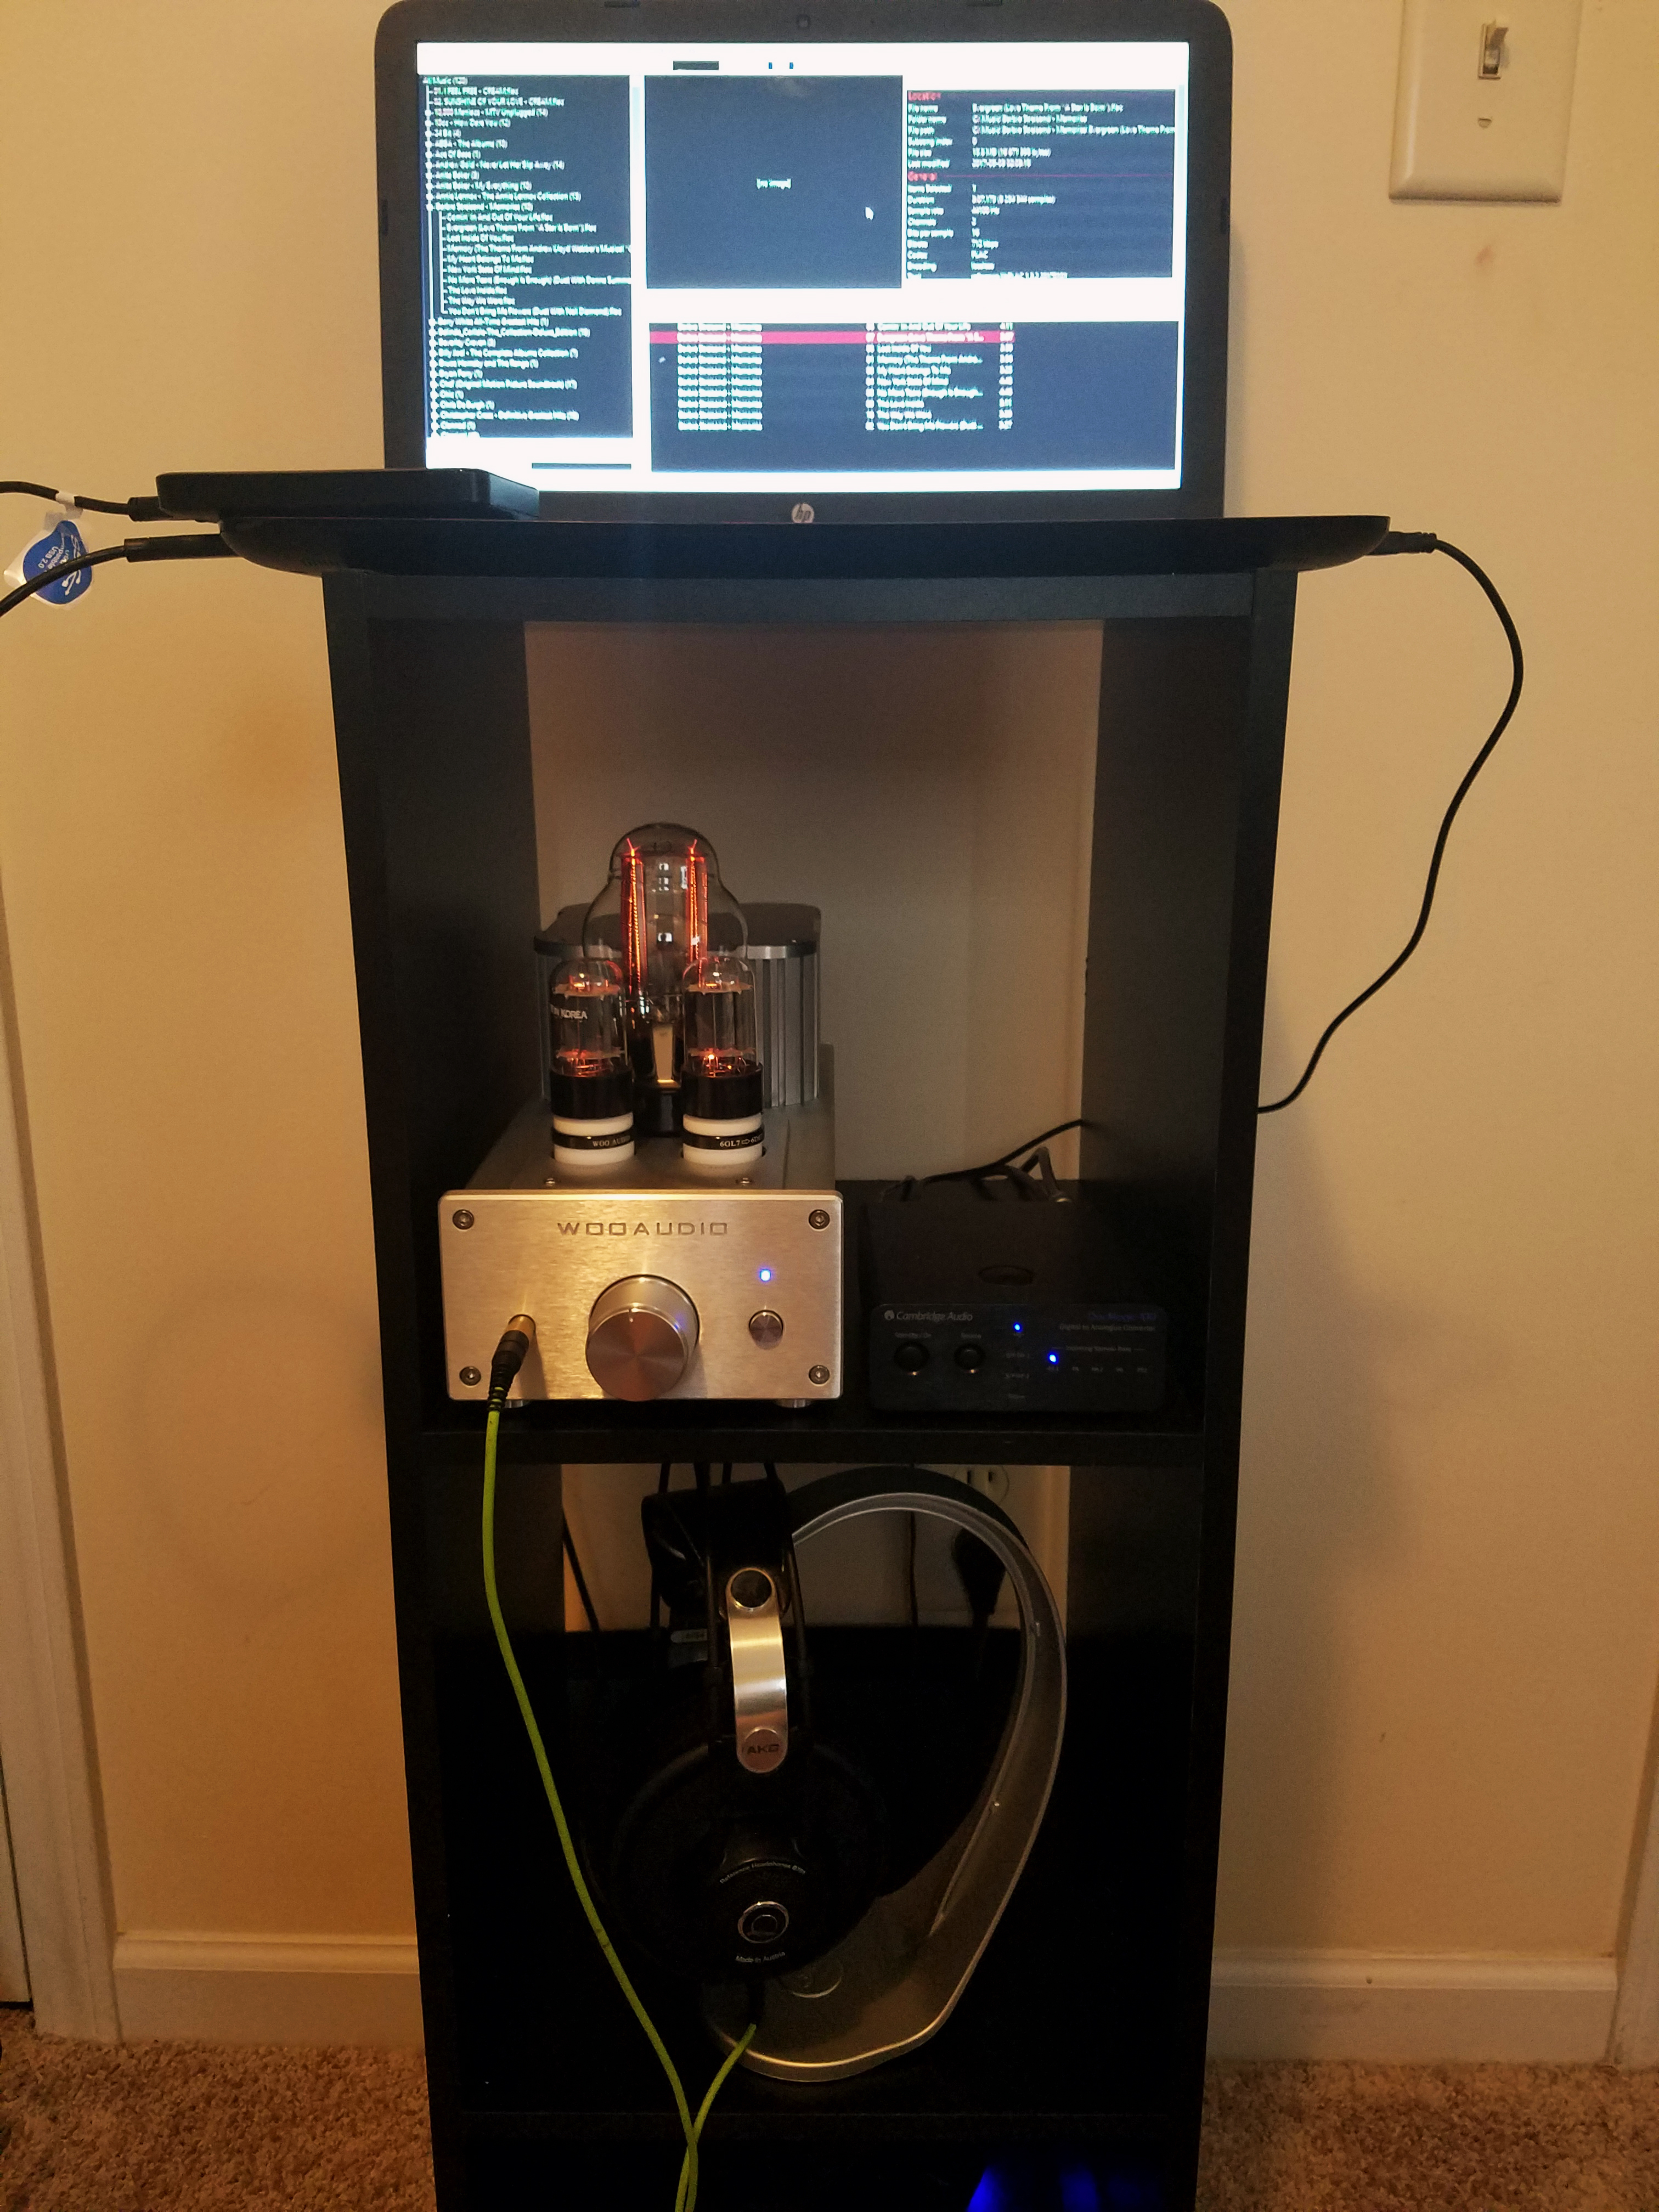
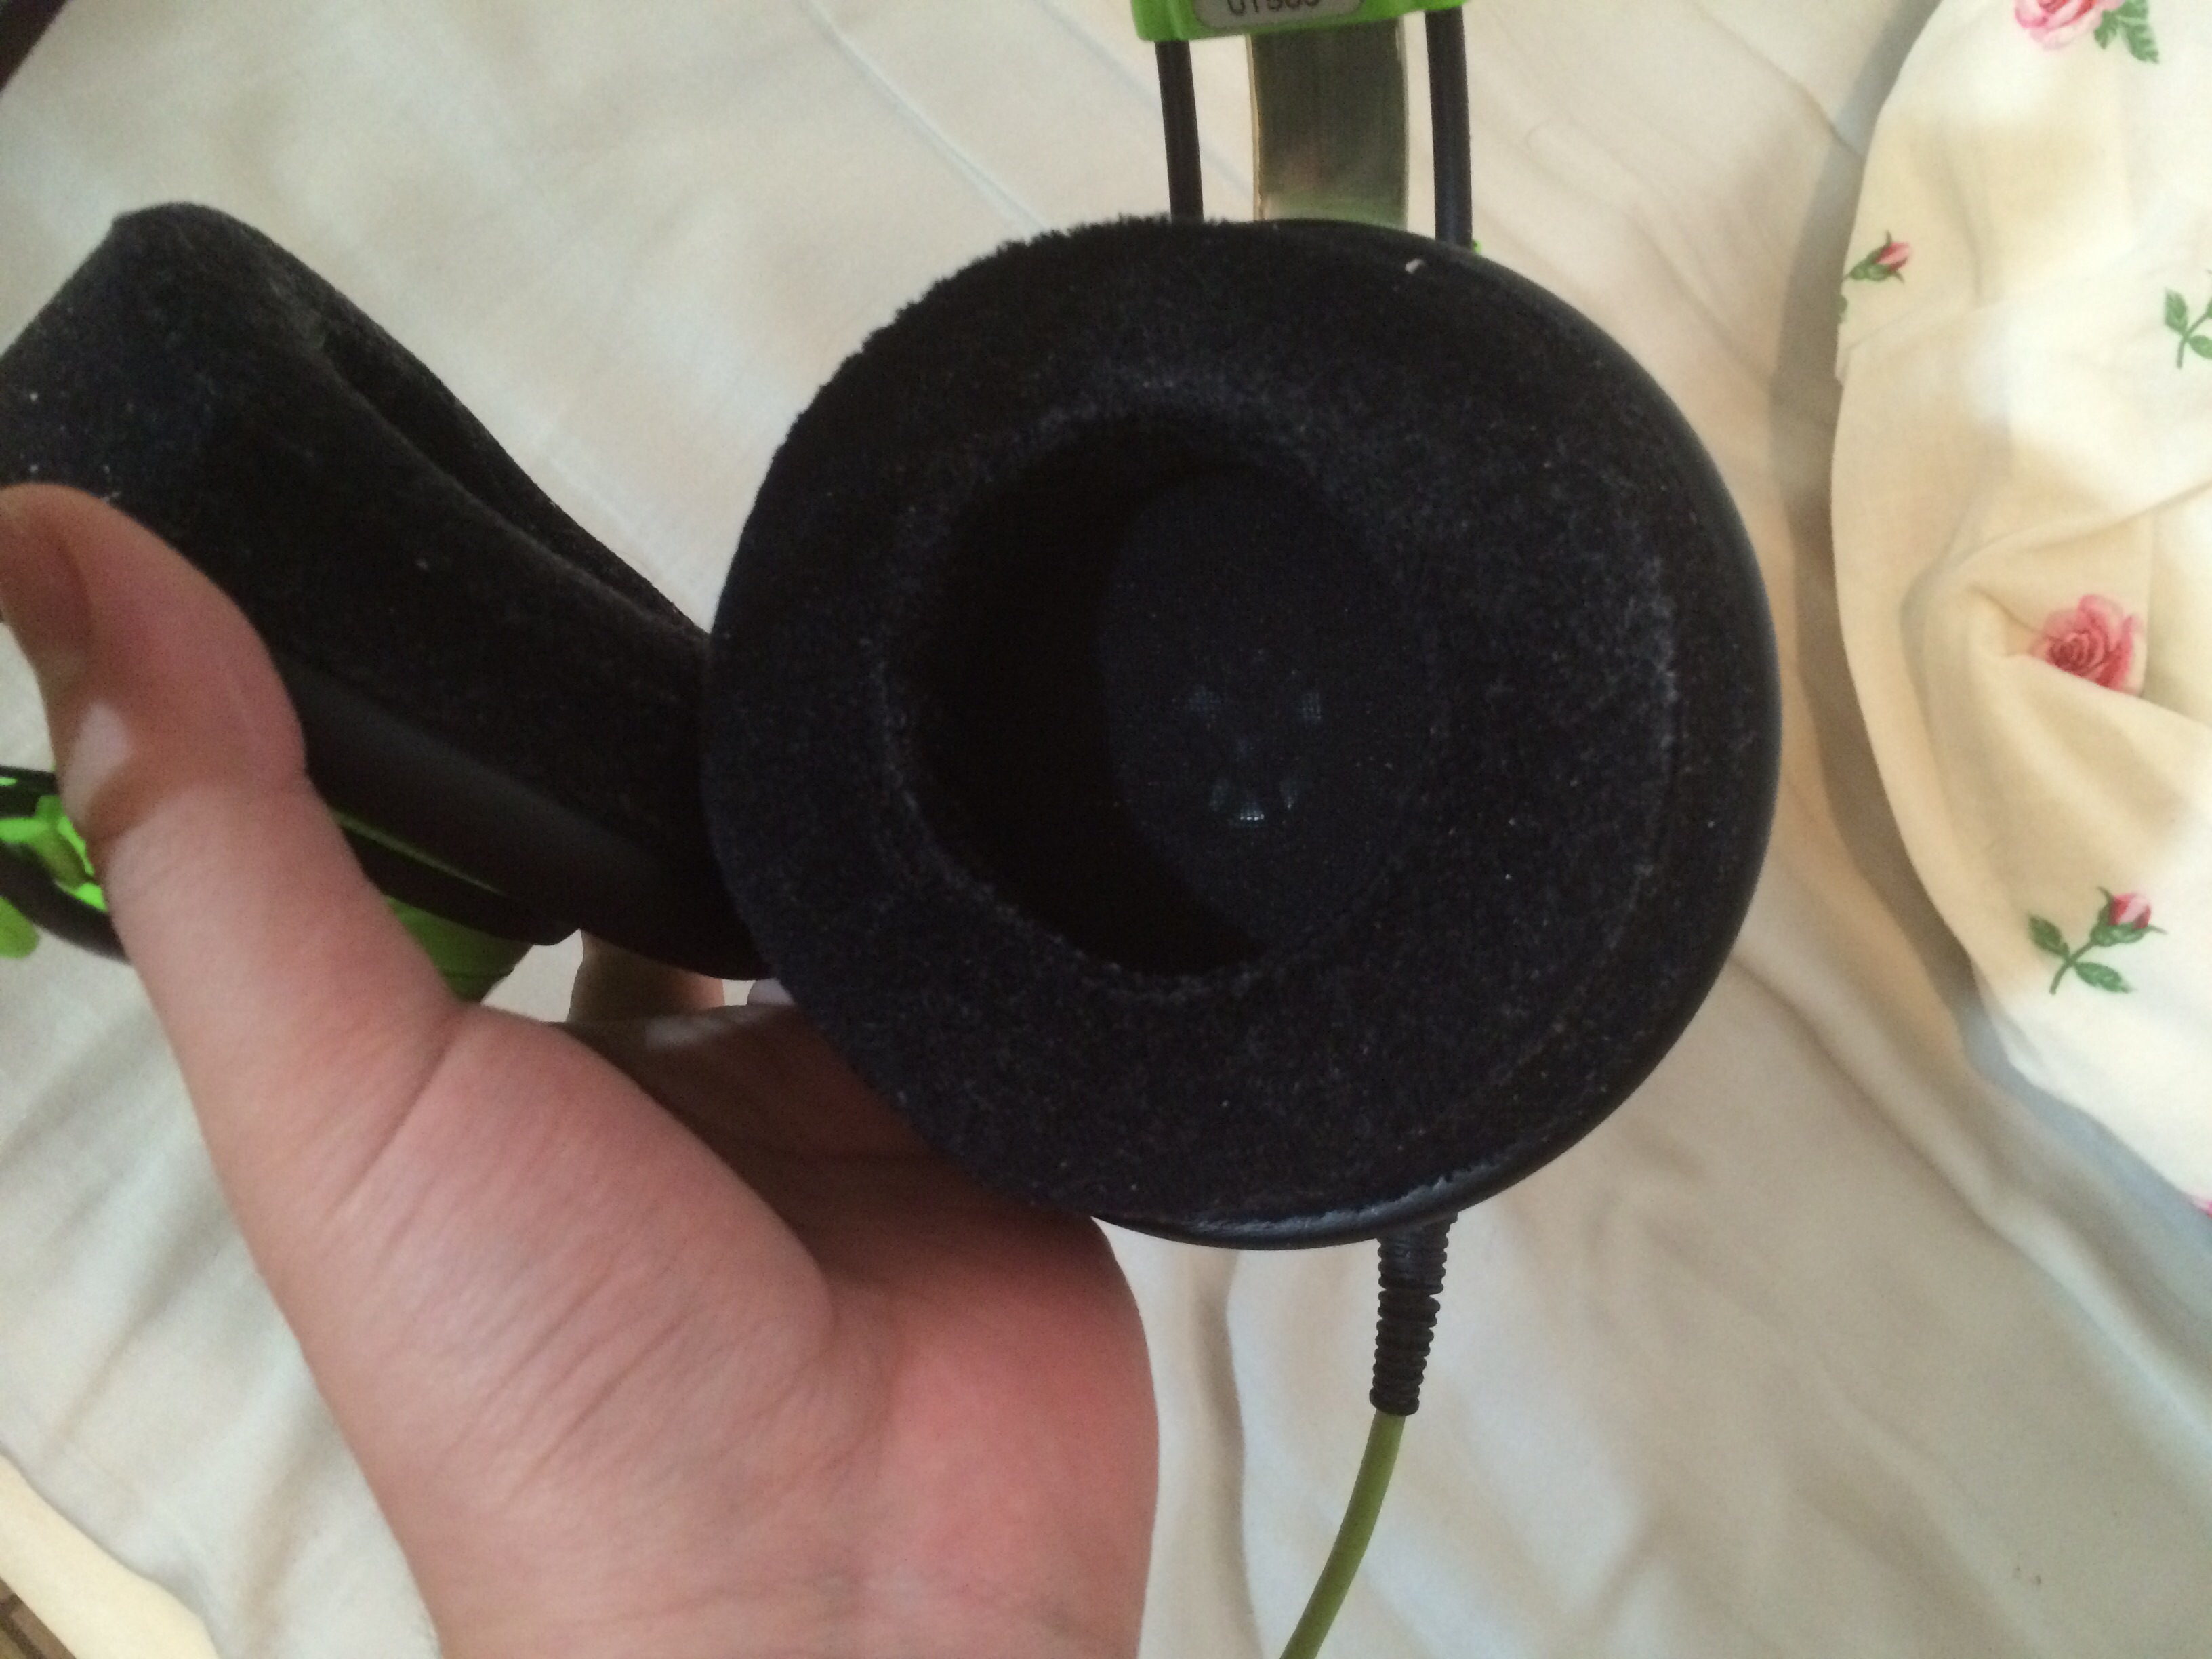
Bass mod - I just gave it a try by only modding the left ear. I then played a bunch of bass-heavy songs and kept sliding the balance from one ear to the other. There is subtle but certainly there. I'm running it through an e9 amp.
I should note that i edited my response after i discovered that during the repair i had accidentally dropped the little circular piece of padding. I couldn't tell a difference at all with the mod when the padding was missing. Once i re-inserted the padding i could definitely hear a slight bit more bass. While it's nothing major, it does sound a slight bit more full, so i will be doing the right ear now. ..perhaps more padding will increase the bass further?
---------------
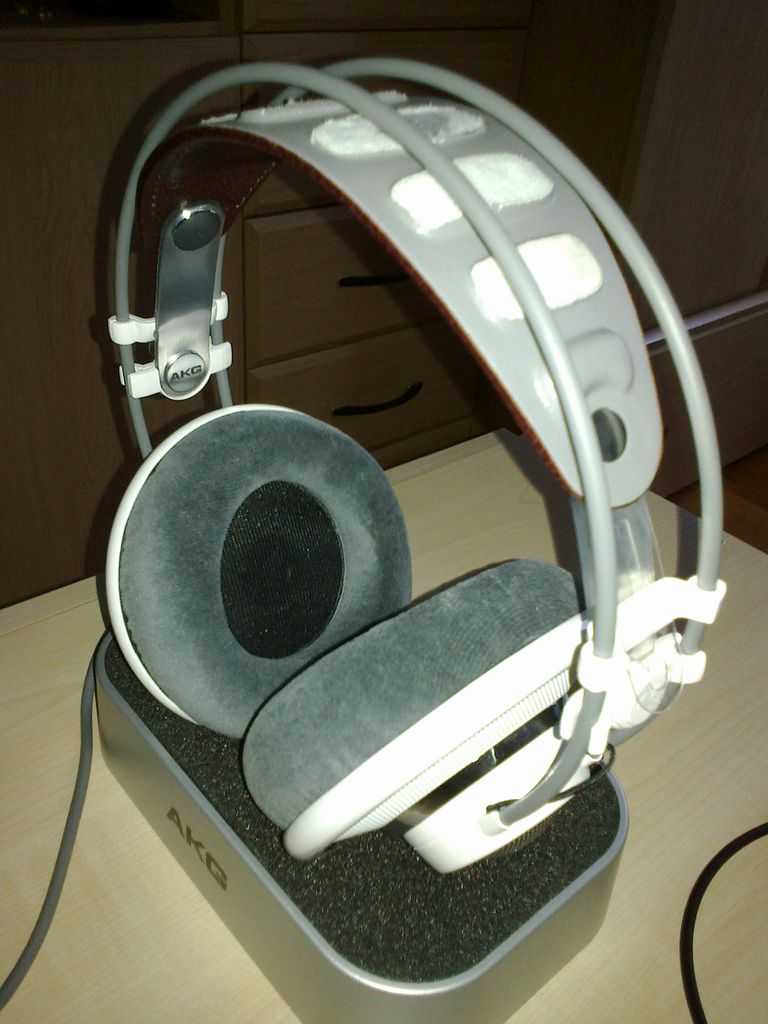
Headband mod - Sorry, i didn't take any in-progress pics. Though, here is a walkthrough. It was an easy process that only took about 15 minutes of work and some drying time.
*Use a razer to cut off the nubs on the existing headband.
*Cut a sock into a rectangle the size of the headband. Then keep trimming it down until you have it roughly 1/4 of an inch of smaller than the width of the headband. This 1.4 of an allows for some room to be able to glue down the leather beside the pad.
*Use the piece of sock you cut down as a template to make 3 more pieces that are the same size. You could change the amount of sock to however many pieces you want, but i found 4 to be pretty comfortable.
*Stack the sock pieces so they line up and then sew them all together. This is to make it so you can glue the pad to the headband prior to attaching the leather. Doing it all at once would be a pain and the pad may bunch up.
*Glue the pad to the headband. Take care to keep it centered. I only waited about 10 minutes for the E6000 glue to dry and it was fine.
*Cut your leather so that it will have roughly 1 inch of overhang on all edges of the headband.
*Use a bit of sandpaper to rough up the 1/4 inch of exposed leather on the original headband to help with glue adhesion
*Smear on an ample amount of glue to the exposed and sanded 1/4 of headband. Be sure to go entirely around the pad on all sides.
*Place the leather piece over the pad. Start on one side and press the leather down into the glue. Use your fingernail to press tightly near the pad. Go all the way around the pad, tucking the leather close to the pad as you go. I went around the whole thing about 10 times.
*Let it dry for 5-10 minutes
*Go around with your finger and fingernail about 10 more times.
*The package says to wait 24-72 hours for the product to cure. I only waited about 1 hour and it was fine.
*Use a sharp razerblade to cut the overhanging leather off. Be patient and go slow so you don't cut yourself or hit any other parts of the headphones with the blade. If you use a new blade then it cuts quite easily.
*Enjoy your comfortable headband
") http://www.amazon.com/gp/product/B0045SIOZQ
http://www.amazon.com/gp/product/B0045SIOZQ
Here is the exact source of leather that i bought. Looks like it was only $9. It is incredibly soft and had absolutely no defects on it. The back of the leather is fuzzy and soft like suede. There was enough leather to do the mod close to 4 or 5 times.
http://www.michaels.com/E-6000%C2%AE/gc0181,default,pd.html
This is the E6000 glue i got from michaels. It worked great. None of the edges are peeling up.. just be sure to scuff up the original headband to give it something to stick to.
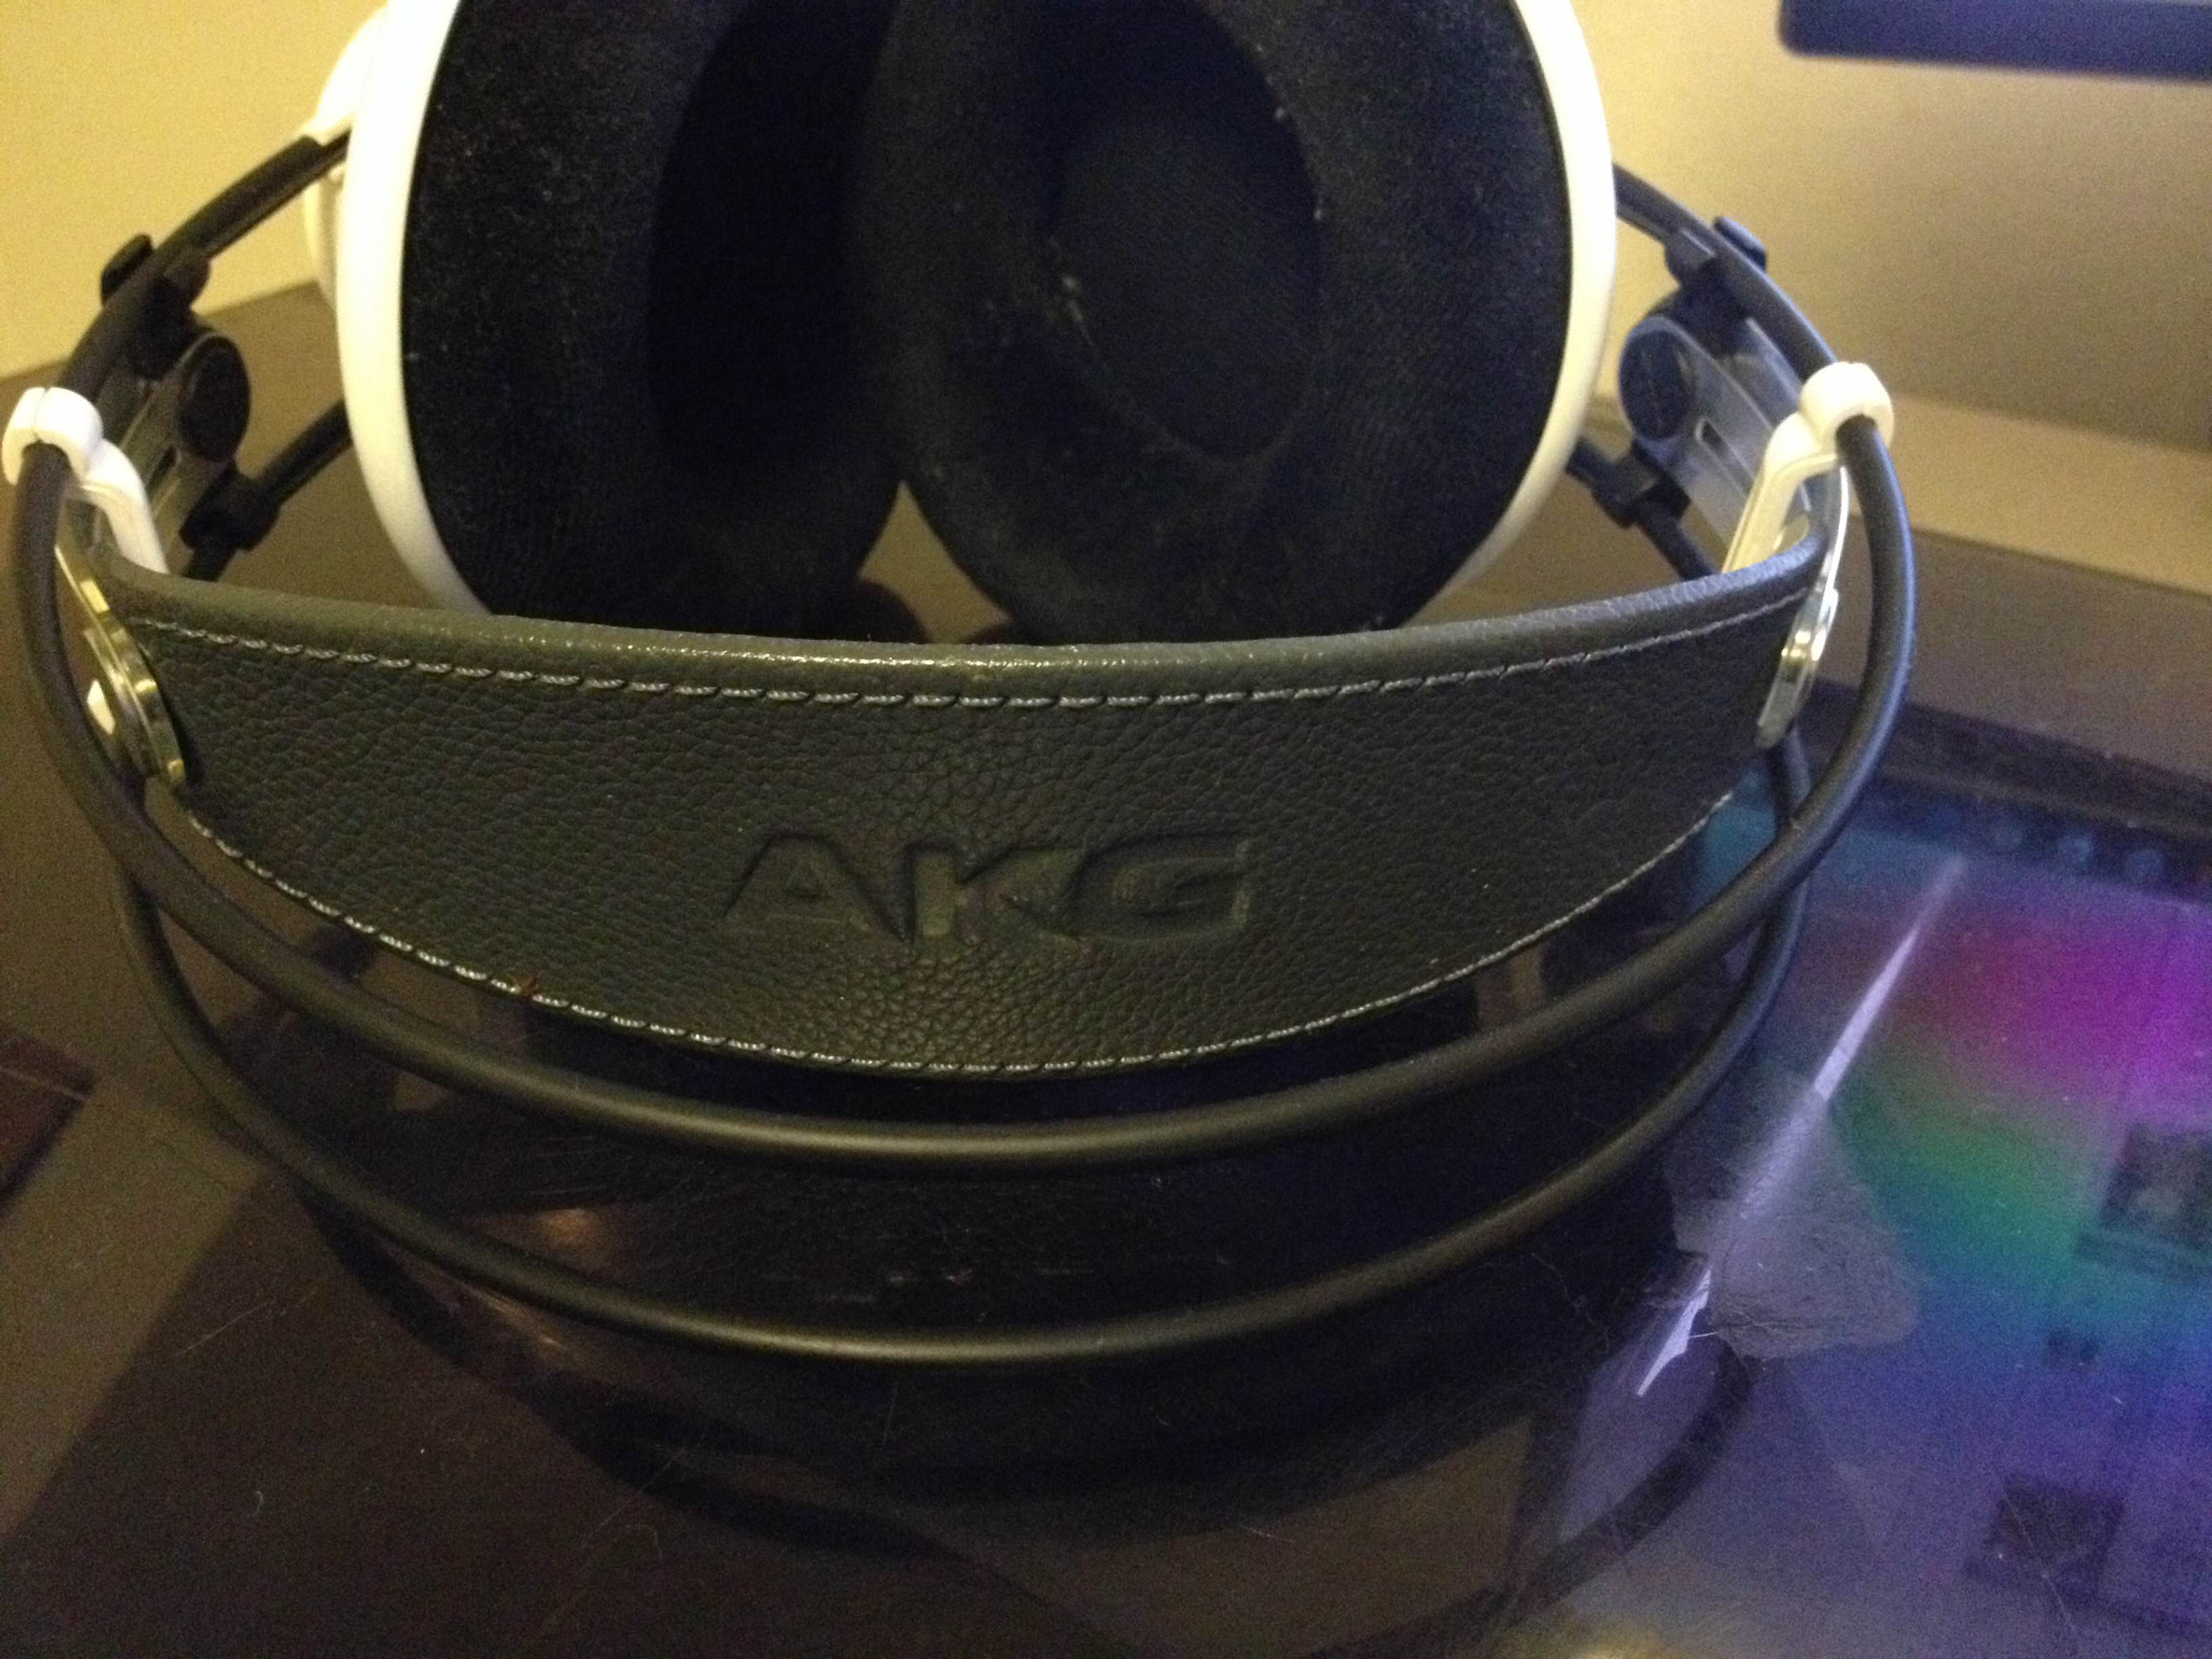
And here's a repost of one of the pictures for easier reference.