Joshatdot CMoy v1.03
OPA2107 on single 9v
Panny FM 220uF PSU Cap
EPCOS 1.0uF Input Cap
Yageo 1/4w 1% Resistors
TLE2426 Virtual Ground
CUI 3.5mm In/Out Jacks
LED 3mm Hi-Eff Red Diffused 20ma w/4.75k RLED
Hammond 1455C801 Case
Beautiful work. If I may make one suggestion, it does not appear as if there is any fresh air intake for the chassis. You have vented the top plate but unless there is a way for cold air to be drawn in through the bottom of the chassis you aren't going to get much ventilation. I'd think a small pattern of holes in the bottom plate would be a good idea.
Thanks guys, I really appreciate it. This doesn't come easy to me, but, I enjoy it.
Quote:
Originally Posted by PhaedrusX interesting that you chose not to use RCAs.
It simply fits with the interconnects I have at the moment.
Quote:
Originally Posted by n_maher If I may make one suggestion, it does not appear as if there is any fresh air intake for the chassis. You have vented the top plate but unless there is a way for cold air to be drawn in through the bottom of the chassis you aren't going to get much ventilation. I'd think a small pattern of holes in the bottom plate would be a good idea.
Thanks for the suggestion. It would be easy enough to add and makes sense to do so. I just never really thought about it.
@ Echo : stunning work man, often its the most simplistic designs that are the most aesthetically striking!
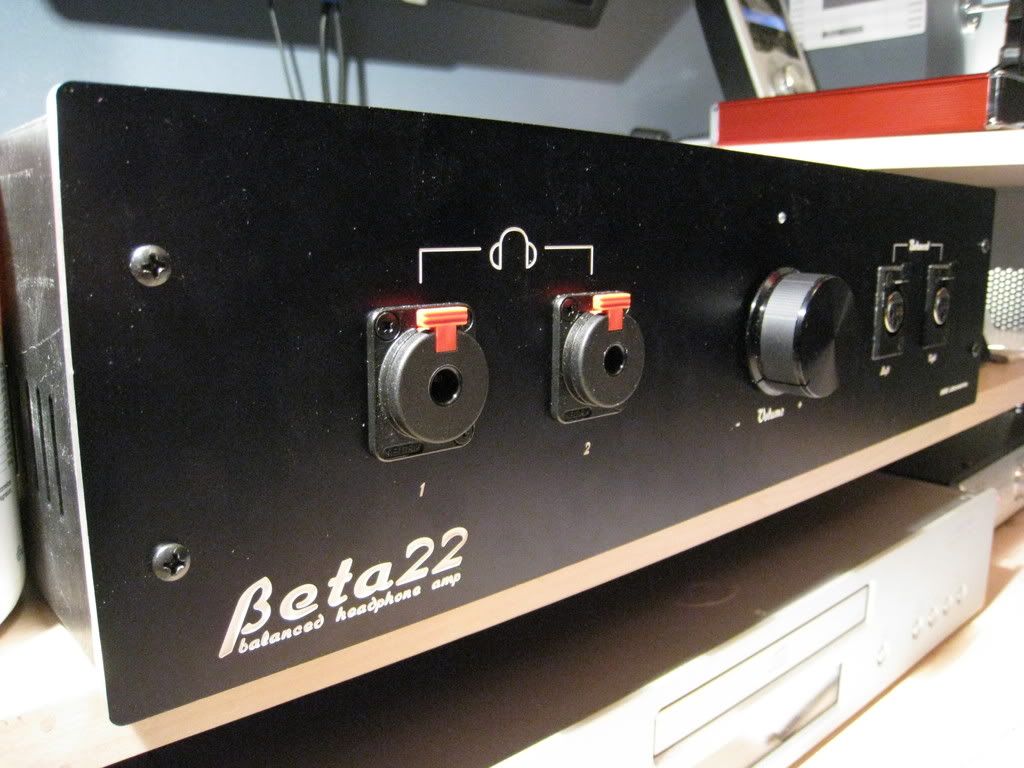
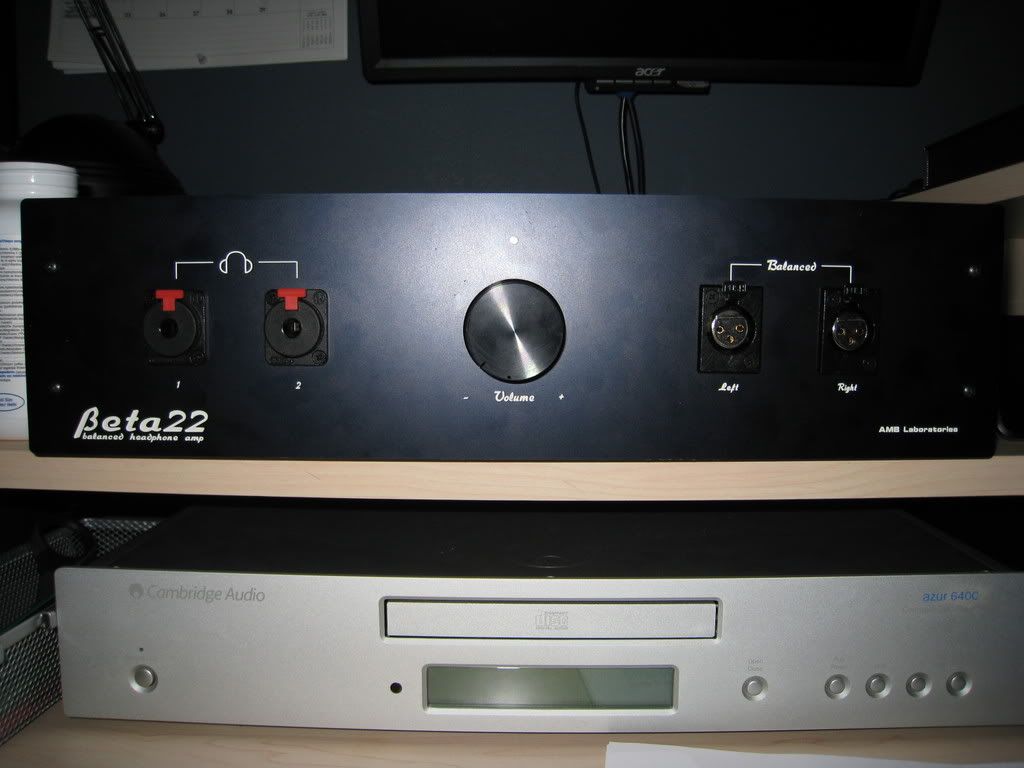
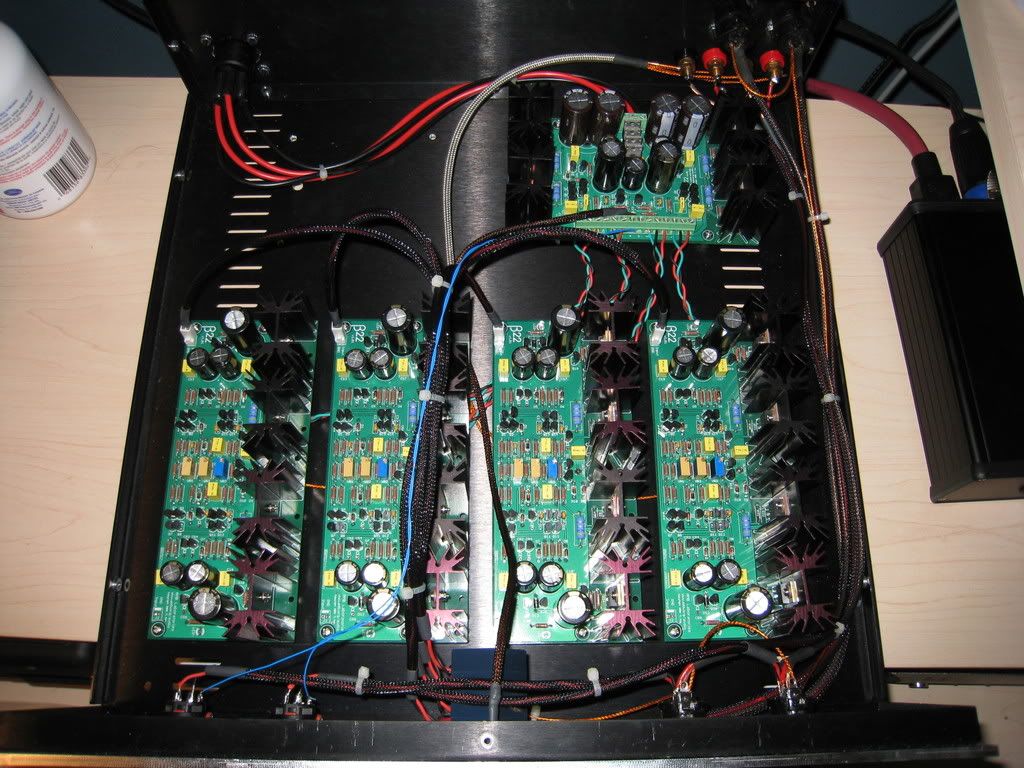
anyways, heres a quick teaser pic of my 4 channel b22. im in the process of recasing the transformers and adding a second sigma 22 (yes thats what the blank spot in the case is for
Photos of PPA. Elna, Nichicon Muse caps, Dale-Vishay resistors, Cardas solder, Teflon coated silver wire and BB 627 OPAMPS. Finished in oak, stained and lacquered. Sounds great, has no noise issues (as mentioned in PPA build thread due to needing a massive metal chassis ground which is untrue). Steps power supply on top at 24V. Please excuse the wallpaper (not my doing).
Here is my latest project finished. I was on the last step, polishing, and the plexi got caught and got a little chip. So when it warms up I will cut a new top.
This site uses cookies to help personalise content, tailor your experience and to keep you logged in if you register.
By continuing to use this site, you are consenting to our use of cookies.