Originally Posted by Daveze /img/forum/go_quote.gif You could say the same thing about the case...there's plenty of real estate in there.
I'm thinking something along the lines of upgradability...cmoy => cmoy+active ground => onwards and upwards, ever twirling. There's space for just about anything you want in there.
Absolutely. I'm thinking of it more as learning platform for electronics than a finished product. The parts could end up anywhere.
I was thinking about replacing the amp board with a PIMETA next.
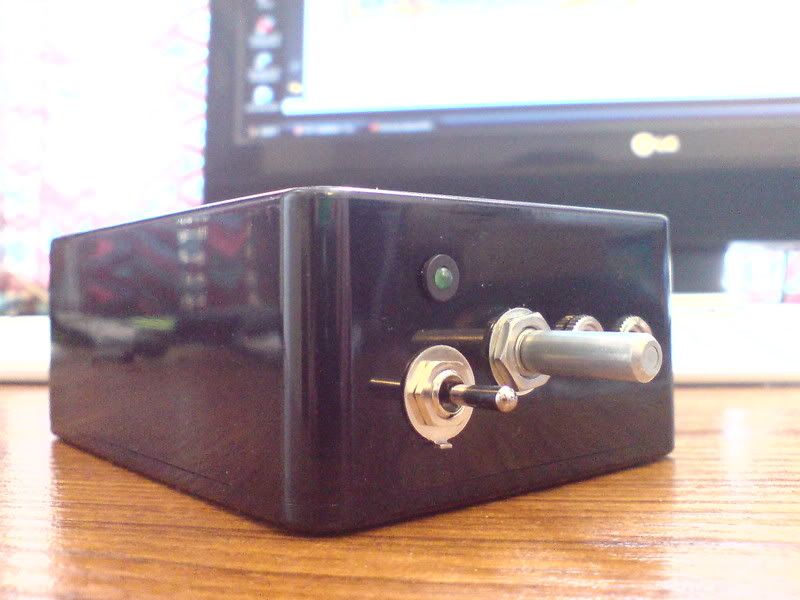
The transformer seemed like a good deal, but I must admit to being suckered by the aesthetic appeal of the over-sized toroid
The case is the coal-tray from a portable barbeque. I can't believe how expensive "real" cases are. (At least where I live).
fault51: is the cable you are using the 2 conductor shielded teflon wrapped stuff? If so, how is your experience working with it? I always seem to have fun stripping the jacket without tearing up the shield!
sorry..
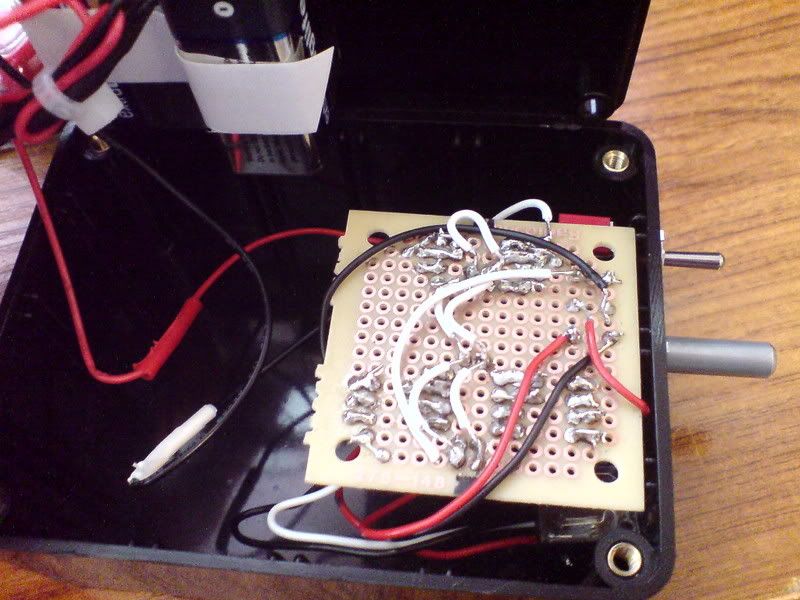
here's a shot of the "bottom" i can't get the top because it's held in place by the pot. Batteries are stuck using double sided tape.
Is it clear enough to see my shoddy soldering? never done any like it before, and the board absorbed all the heat!
I completed my 4x2 Passive Audio Switch this week. Labeling scheme has yet to be implemented. There was a ton of hum on the first test. I reviewed the useful comments by FallenAngel and AMB on my initial plans, and saw that I was having an obvious problem with the grounds. Fixed it a few minutes ago and it works as good as a Radio Shack unit!
Originally Posted by bperboy /img/forum/go_quote.gif ^^^^
What RCA jacks are those? Do you have a PN at Mouser or Digikey?
I ordered them from Antique Electronic Supply (Antique Electronic Supply). P/N S-H267B & S-H267W @ $2.95 each. Also ordered the knob and switch from them. Excellent ship times and outstanding customer service.
Originally Posted by breakfastchef /img/forum/go_quote.gif I completed my 4x2 Passive Audio Switch this week. Labeling scheme has yet to be implemented. There was a ton of hum on the first test. I reviewed the useful comments by FallenAngel and AMB on my initial plans, and saw that I was having an obvious problem with the grounds. Fixed it a few minutes ago and it works as good as a Radio Shack unit!
I am sure with the nice connectors and switch, yours is much better than a Ratshack unit.
Originally Posted by Pars /img/forum/go_quote.gif Nice job fault51 and colin!
fault51: is the cable you are using the 2 conductor shielded teflon wrapped stuff? If so, how is your experience working with it? I always seem to have fun stripping the jacket without tearing up the shield!
hey sorry for the slow reoply, yeh it is the cable you mentioned. Its a bloody nightmare to strip (Well it was at first!). In have developed a more gentle approach as i worked on the amp.
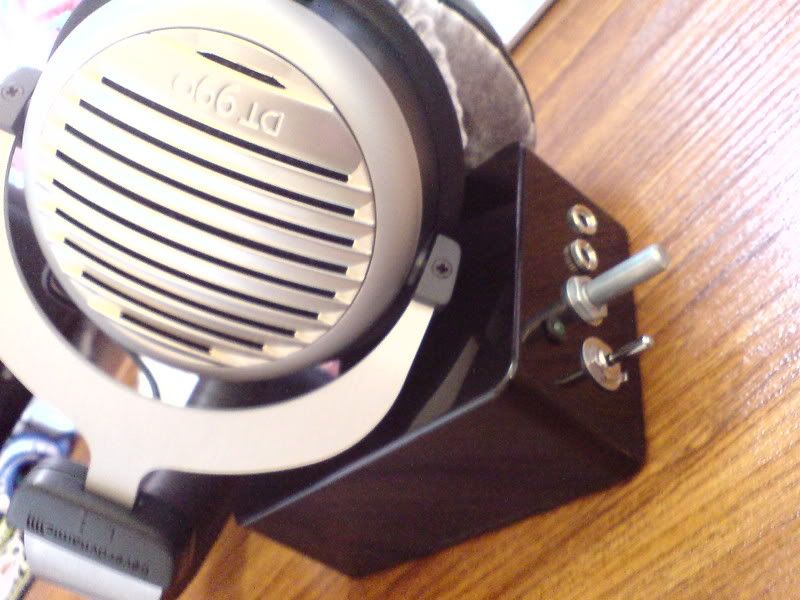
I have a 10mm panel with lovely milled corners, its too thick for me to work on but i will sen it of to FPE, have a recessed know and jack etc. Its going to look good.
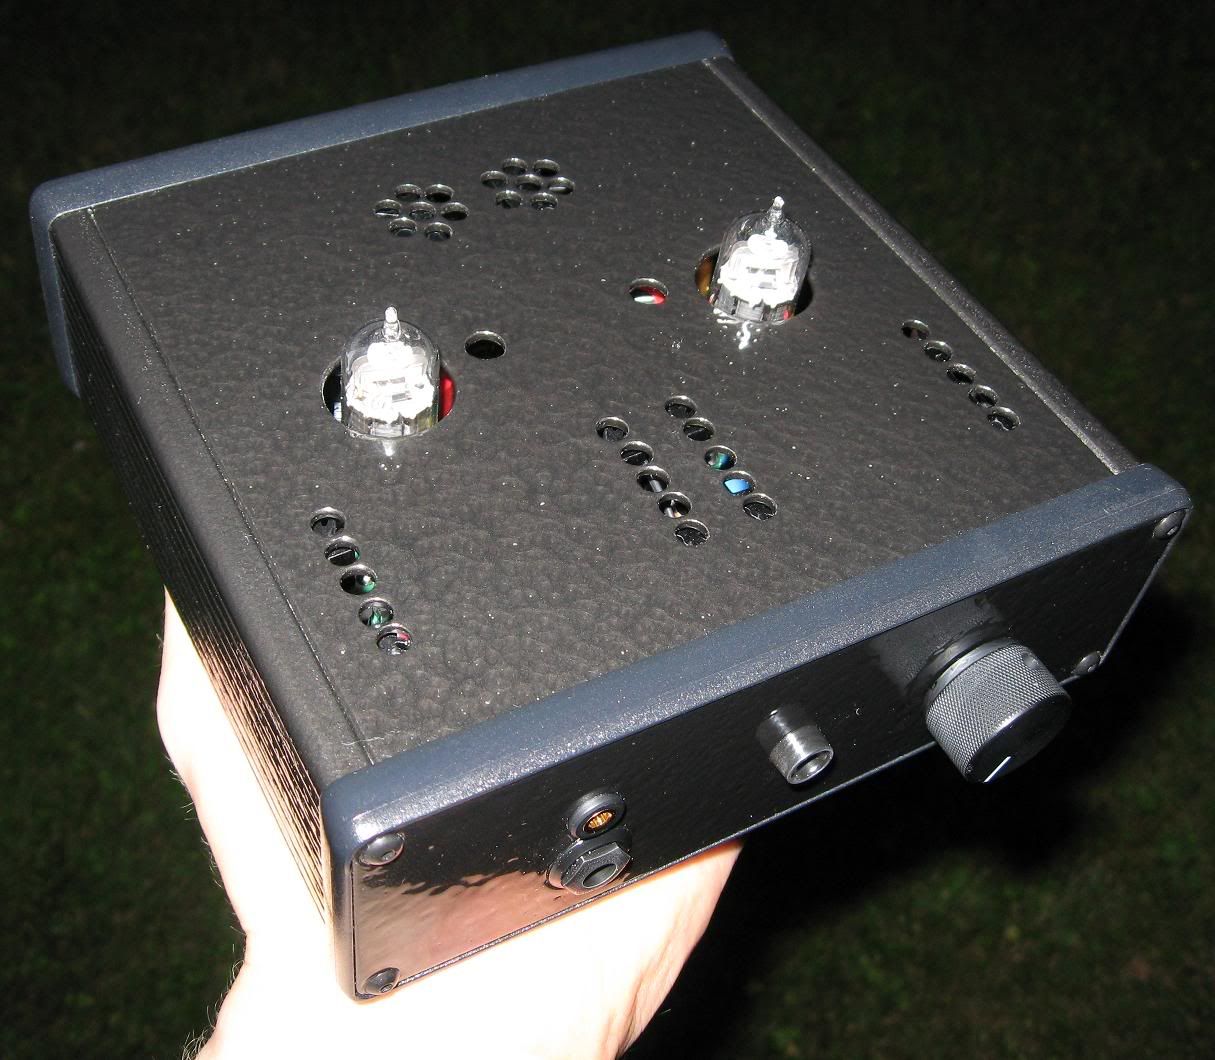
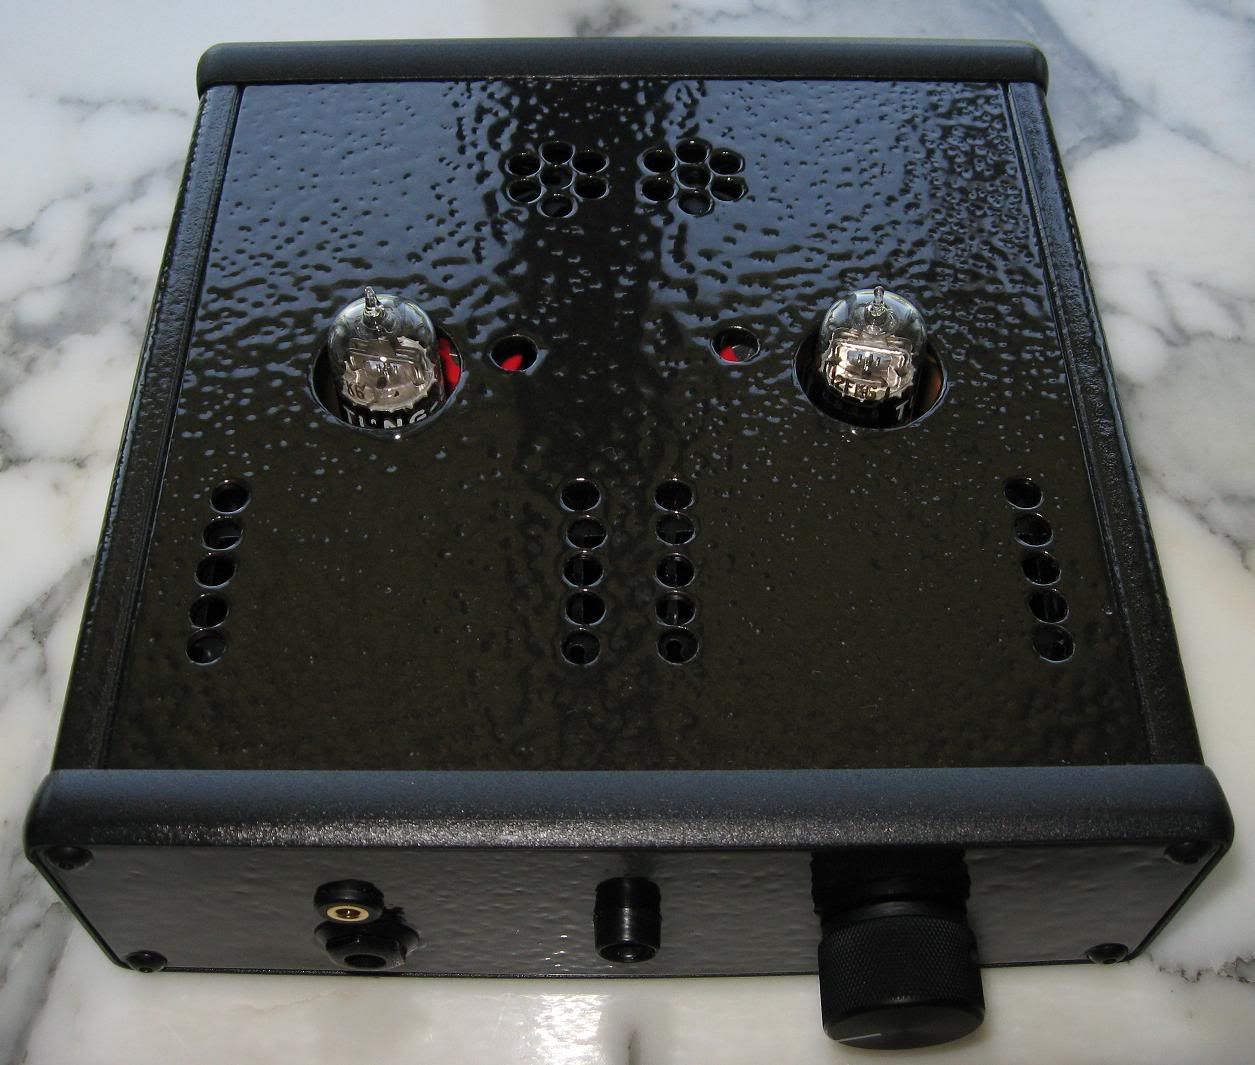
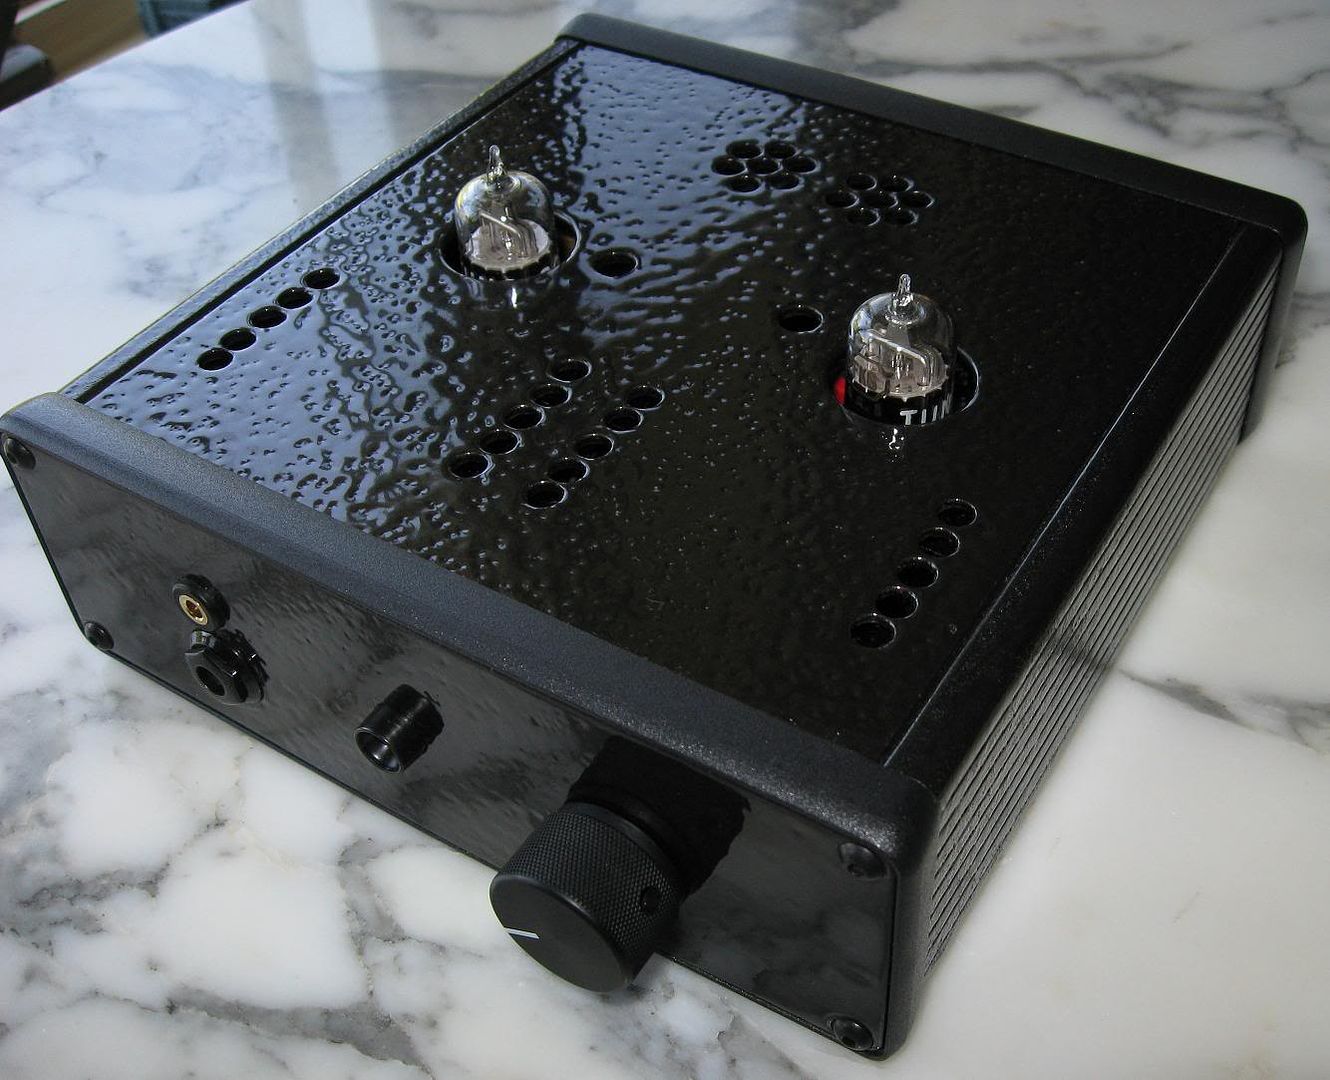
By the way, i did the case work with a $10 drill and step drill bit. They are a must have for all DIYers.
This site uses cookies to help personalise content, tailor your experience and to keep you logged in if you register.
By continuing to use this site, you are consenting to our use of cookies.