Just an update. I spent the last few hours trying to replace KingRoot with SuperSU.
Success, and it survives reboot!
It's a little bit complicated, but not too terribly so if you know anything about the command line. You can do this entirely from the device itself, which is nice.
1) Download KingRoot: http://www.kingroot.net/tutorials
2) Make sure you have enabled "Unknown Sources". This can be found by going to Settings --> Security --> Scroll down and under "Device Administration" make sure the "Unknown Sources" is checked.
3) Open the downloaded KingRoot APK file. You'll get a warning about this not being safe, with a little arrow. Click on the arrow and click on "install anyway". Once it is installed, click on "open".
4) Once the app is open, scroll down three screens and click on the "Try It" button.
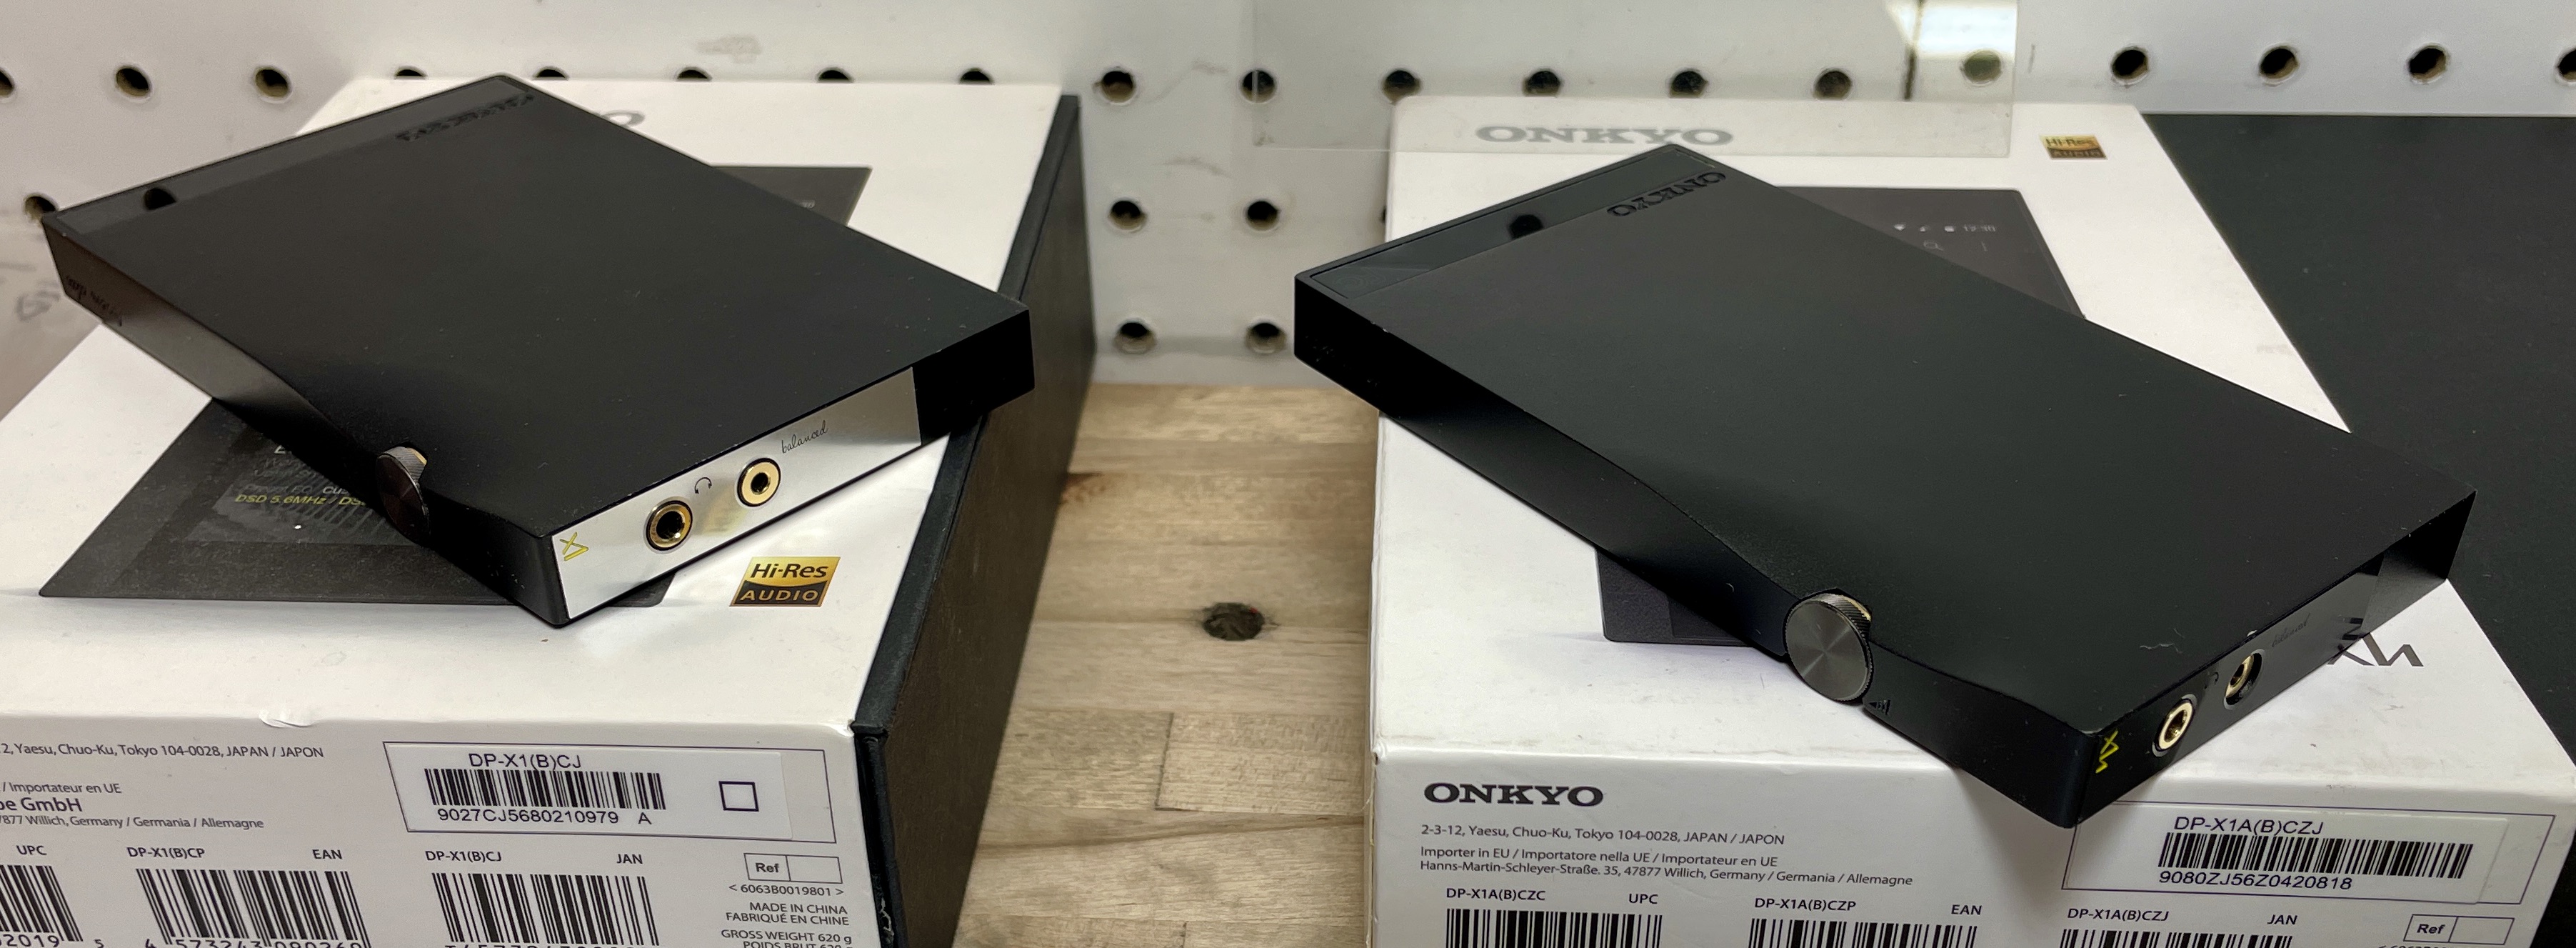
5) Click on the big circle button to attempt root. It will identify your device as a "DP-X1", and after a little bit it will say that there's no strategy. That's okay.
6) Click on the new "run anyway" button. This should take a few minutes. Your device may reboot, but mine didn't. After a few minutes, you'll be told that you were successful.
7) If you are happy with KingRoot, you can stop the process now. You have root access. I don't quite trust KingRoot myself so I wanted to replace it with a better (more well-known) alternative: SuperSU. Warning: the following is intermediate level, and you very much could break your device. Don't proceed unless you are comfortable on the linux command line and know what you are doing. I take no responsibility if you brick your device, which is very possible to do. However, if you do have some experience it's fairly easy and straightforward.
8) Before we get started, you'll want to install "BusyBox" and "Terminal Emulator" from the Play Store. Do the first results for those exact searches and make sure they get installed.
9) When prompted if you want to give them root access, select "grant" or "allow". Make sure you install everything with busybox.
10) Now comes the fun part. Download the "replace kinguser with supersu v2.4" zip file from here: http://www.mediafire.com/download/mxzbt42xypvn2ts/Replace_Kinguser_with_SuperSU-v2.4.zip You'll want to extract it on your computer and move the "mrw" folder into the "/sdcard" folder in the Onkyo Android. If you are using "Android File Transfer", the directory that you get plopped in by default is the "/sdcard" folder. You can also use a tool like 'ES File Explorer" to open the zip file on your device and extract it to the /sdcard folder -- that's what I did. But if you don't feel comfortable doing that, you can just extract on your computer and move over.
11) This part is a little bit tricky and requires a bit of juggling. We are going to setup so we can remove kingroot and replace it with supersu. Open the "Terminal Emulator" and type "su", without quotes, followed by the enter key. You'll get a popup from KingUser asking you if you'd like to allow root access. Grant/allow, and you will see the terminal prompt turn from a "$" to a "#". This means your terminal now has root access. This is very important: make sure you don't close this window at all for the remainder of the process, or you'll have to start over again from the beginning.
12) Now that you have the root terminal window, open the "kingroot" app. Click on the three dots on the top right of the screen and go into the settings menu. From there, you should see an option for removing kingroot and unrooting the device. I don't remember exactly what it was called, but it's fairly obvious. Click on that option and remove the KingRoot install. You can keep a backup if you want to -- I didn't, but it should theoretically give you a better starting point if you need it later. You may get a warning about it rebooting your device, but it shouldn't. Make sure you don't reboot the device at all for the remainder of the steps. If you reboot now before we install SuperSU, you'll lose root access. This is why I had you open the root terminal window before -- we'll be making use of it.
13) After KingRoot is uninstalled, go back to the terminal emulator window that is currently running with root access from the previous steps. You will want to enter:
and then hit the enter button. This will take you to the exploit script.
14) We want to make sure we make the root filesystem writable (it normally isn't). Enter the following command, without quotes, and then hit enter:
Code:
busybox mount [color=rgb(102, 102, 0)]-[/color]o remount[color=rgb(102, 102, 0)],[/color]rw [color=rgb(102, 102, 0)]/[/color]system
This makes the /system directory writable, which is necessary for installing SuperSU.
15) We now want to actually run the script and install SuperSU. Enter the following command:
Hit enter, and the fun will happen. You'll see it attempting to clean up everything, and then install SuperSU. Once it is finished, SuperSU will open.
16) When SuperSU opens, it will prompt you to update the binary. Click "continue" or "update" to continue on. When it prompts you for which way to run the update, choose "normal", which will install the binary to your /system folder that you unlocked earlier.
17) After a few minutes, you should be told that you are successful, and that you can reboot. Reboot the DP-X1, and you should have full root access with SuperSU.
If for some reason you are getting an error when updating the SuperSU binary, you probably missed the step of uninstalling KingRoot before attempting to install supersu. This was my biggest issue and took me the longest time to figure out. You need to launch supersu from your root terminal window -- you can't just launch it from the app drawer after removing kingroot. And if KingRoot is still installed, it actively blocks writing to the /system directory, so that's why you need to remove it before you install SuperSu. Hence, you need to install the terminal emulator, grant it root permissions while KingRoot is installed (which will maintain its root permissions), uninstall kingroot, use the root terminal window to launch and install supersu, and then reboot to finalize everything.
Hope this writeup helps somebody else out.
I also didn't check out if we could simply do "adb root" from a computer to see if we can get root without all of the trouble. Somebody else may want to check that for me before going through all of the steps that I did.