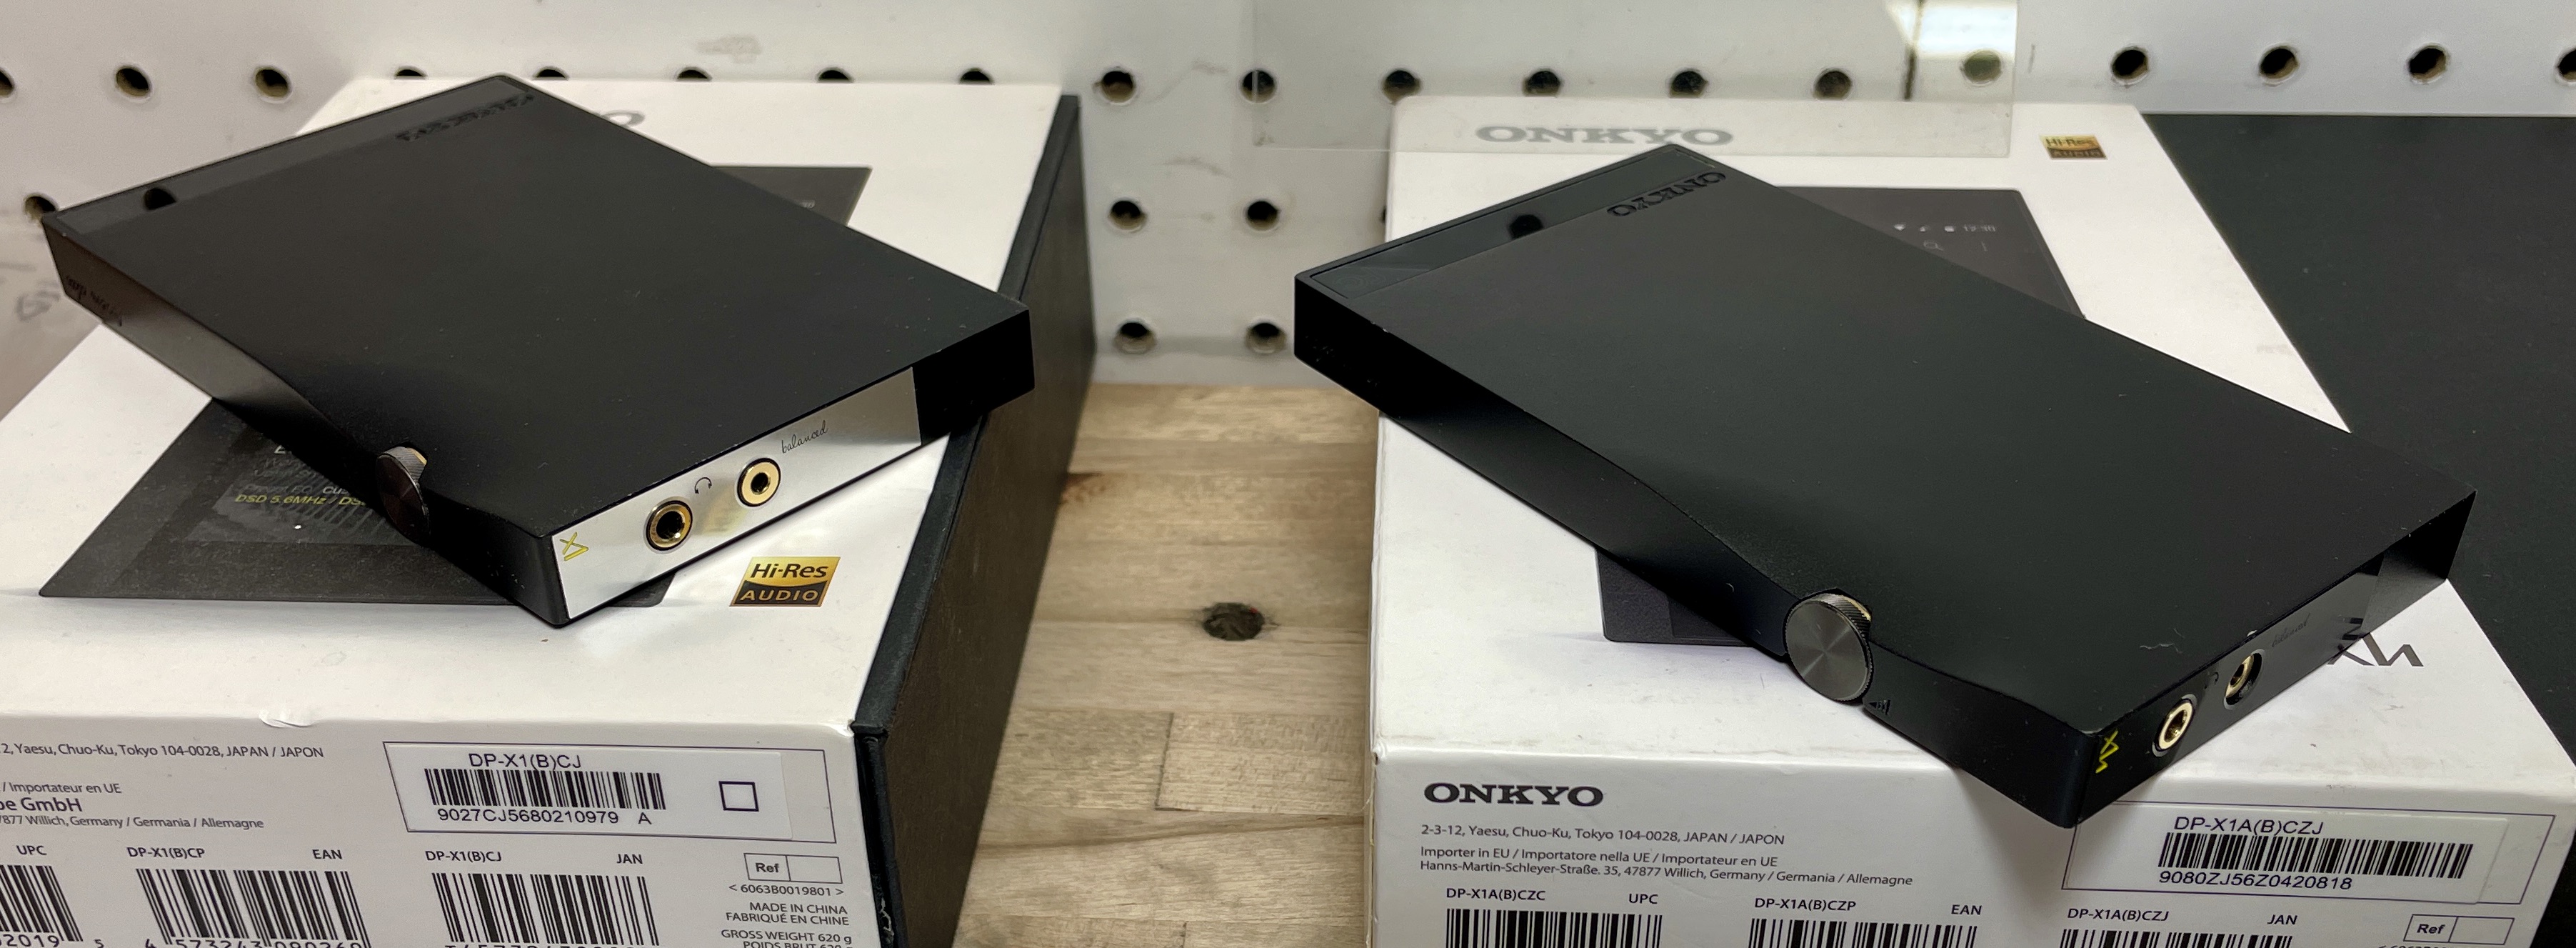
Onkyo and Pioneer are the same from a firmware perspective.
I find the global DSP Viper4Android much more preferable to the option of using the PowerAmp player. Since it's a global system processor and not a player app, it works with local files as well as with all of the streaming services. That makes it much more useful for me, and it also sounds amazing!
You'll need to root the device and install XVortex’s custom ROM, then install the global Viper4Android DSP.
Instructions below…
(Lots of people contributed to this, but the majority of the credit goes to XVortex for developing the customized packages)
The following instructions have been aggregated from various sources, I just put the pieces together.
1) Download the following files from XVortex to your Windows PC.
XVortex’s custom TWRP recovery image and tools for Pioneer\Onkyo.
https://mega.nz/#!k1EniTZT!Vc68r9kIERjt4MePfG-bCgveAWSpIWvXvw6skHskpL4
XVortex’s custom Pioneer/Onkyo rom DP-X1_0.1.37.8_VTX_Lite firmware for DP-X1 (speed optimized, debloated, pre-rooted)
https://mega.nz/#!BoUTmJ5Z!n2k5ArOa7sUzUVfmDUHCrmTjCVC8bvL_3Dpoe_Pit4o
XVortex’s most recent custom version of Viper4Android (2.5.0.5)
https://mega.nz/#!w1cDRCBb!oydWeFF_jMkWOPgvHs3u40JzW1nK6UUrcVtBpSapj2I
2) Unzip the TWRP file, but leave all the others in ZIP format. Place everything in the same folder for easy access.
3) Enable Developer Options on your Pioneer. Go to the settings menu, and scroll down to "About phone." Tap it. Scroll down to the bottom again, where you see "Build number." Tap it seven (7) times. After the third tap, you'll see a playful dialog that says you're four taps away from being a developer. Keep on tapping, and *poof*, you've got the developer settings back.
4) You’ll now see a new Settings option called “Developer Options” and within you’ll see a setting called “USB Debugging” - Set this to enabled
5) Install ES File Explorer App from the play store.
https://play.google.com/store/apps/details?id=com.estrongs.android.pop&hl=en
6) Ensure you have enabled "Unknown Sources". This can be found by going to Settings --> Security --> Scroll down and under "Device Administration" make sure the "Unknown Sources" is checked.
7) Using the phone browser, download the Kingroot APK file at this url below….
https://kingroot.net/
It’s an exploit that infects the **** out of your device, but we’ll be wiping it shortly, so it doesn’t really matter.
8) Open ES File Explorer and open the downloaded KingRoot APK file. You'll get a warning about this not being safe, with a little arrow. Click on the arrow and click on "install anyway". Once it is installed, click on "open".
9) Once the app is open, scroll down three screens and click on the "Try It" button.
10) Click on the big circle button to attempt root. It will identify your device as a "DP-X1", and after a little bit it will say that there's no strategy. That's okay.
11) Click on the new "run anyway" button. This should take a few minutes. Your device may reboot. After a few minutes, you'll be told that you were successful.
We now have a rooted device but we’re only halfway done.
We’ll need a Windows machine and a USB cable to continue…
12) Shut down the device. Boot the device into recovery mode by holding down PWR and Rewind simultaneously buttons. (you should see the penguin logo)
13) Connect the device to your PC and open the Windows “Device Manager”
14) You should see either “Android Device” or “DP-X1” with an exclamation mark somewhere. Update the driver using the included USB driver in the TWRP zip downloaded earlier.
15) Open a CMD prompt and navigate to the folder where you unzipped the TWRP files.
Enter the following commands
C:/TWRP/> fastboot -i 0x0746 devices
You will see your device connected
C:/TWRP/> fastboot -i 0x0746 boot recovery.img
The device should now reboot to the TWRP Menu, this may take some time. (you also may need to reboot pressing PWR and FstFwD at the same time, but be patient)
16) Disconnect and Reconnect to the PC. (You may need to install the Android driver again, also note that the name may change from “Android” to “DP-X1” or vice versa I
can’t remember)
C:/TWRP/> adb devices
Should list the connected device like the previous step using fastboot.
C:/TWRP/> adb push DP-X1_0.1.37.8_VTX_Lite.zip /sdcard/DP-X1_0.1.37.8_VTX_Lite.zip
(uploads the new custom firmware package to the device)
C:/TWRP/> adb push ViPER4Android-2.5.0.5-20161016.zip /sdcard/ViPER4Android-2.5.0.5-20161016.zip
(uploads the custom V4A package to the device)
17) Within the TWRP menu, choose install and navigate to the /sdcard folder and choose DP-X1_0.1.37.8_VTX_Lite.zip. Proceed to install.
(we don’t install Viper4Android just yet.)
18) Shut down the device, and boot back into recovery. Use the TWRP menu to wipe device before first boot.
19) Now boot the device normally and run through setup process.
20) Shut down the device
21) Boot the device into TWRP recovery again.
22) Install Viper4Android package from the /sdcard location
23) Reboot.
24) Turn off DSP in Music App to allow for V4A to take over.
25) Reboot.
26) In the device Settings, set the gain in settings to the lowest appropriate setting.
27) Open Viper and ensure it’s running by looking at the “Driver Status” option. It should read “Processing: yes” when playing audio.
28) Setup V4A (Template below)
1. MASTER POWER:
(i) V4A is powered on:
2. PLAYBACK CONTROL GAIN:
(i) PlaybackAGC is enabled: ✘
3. SPECTRUM EXTENSION:
(i) Spectrum extension is enabled: ✘
4. FIREQUALIZER:
(i) FIREqualizer is enabled:
31hz +12db, 62hz +8db, 125hz +6db, 250hz +5db, 500hz +3db, 1khz +1.3db, 2khz +0db, 4khz +0db, 8khz 1.2db, 16khz +5db
5. CONVOLVER:
(i) Convolver is enabled:
(ii) Impulse Response
(iii) Cross Chanel: 10 Percent
6. FIELD SURROUND: ✘
7. DIFFERENTIAL SURROUND: ✘
8. HEADPHONE SURROUND+: ✘
9. REVERBERATION:
(i) Room Size: 32m2
(ii) Sound Field: 6m
(iii) Damping Factor: 70 Percent
(iv) Wet Signal: 11 Percent
(v) Dry Signal: 100 Percent
10. DYNAMIC SYSTEM:
Dynamic system is enabled:
(i) Select Listening Device: Common Earphone(v2)
(ii) Select Dynamic Bass: 12 Percent
11. TUBE SIMULATOR (6N1J): ✘
12. FIDELITY CONTROL:
(i) Enable ViPER Bass:
Select Bass Mode: Natural Bass
Select Bass Frequency: 50 Hz
Select Bass Boost: 8 dB
(ii) Enable ViPER Clarity:
Select Clarity Mode: Ozone+
Select Clarity: 10 dB
13. AUDITORY SYSTEM PROTECTION:✘
14. MASTER GATE (Limiter)
(ii) Channel Pan: 0
(i) Output Gain: 0 dB
(iii) Limit Threshold: 0 dB


![color]](https://forum-lw-1.xda-cdn.com/images/2015/twemoji/36x36/2714.png[color=rgb(69, 69, 69)][/color])
