Llama16
100+ Head-Fier
- Joined
- Mar 22, 2009
- Posts
- 326
- Likes
- 0
Thanks Zkool.
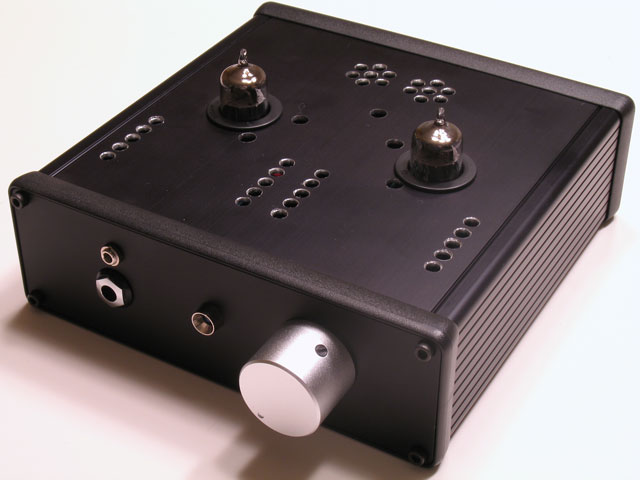
I've ordered both the 2" and 1.5" ones, to make sure about heat. I'm really not sure of how I'm gonna do the the heatsink holes as I don't got the tools to cut just half the panel out (dunno the word for the tool). So I'll probably just cut the holes through and then seal it again with a fine piece of wood glued/screwed on the inner side of the top side, where I could then stick the mosfets through.
I've ordered both the 2" and 1.5" ones, to make sure about heat. I'm really not sure of how I'm gonna do the the heatsink holes as I don't got the tools to cut just half the panel out (dunno the word for the tool). So I'll probably just cut the holes through and then seal it again with a fine piece of wood glued/screwed on the inner side of the top side, where I could then stick the mosfets through.