


- Joined
- Jan 6, 2010
- Posts
- 563
- Likes
- 267
Quote:
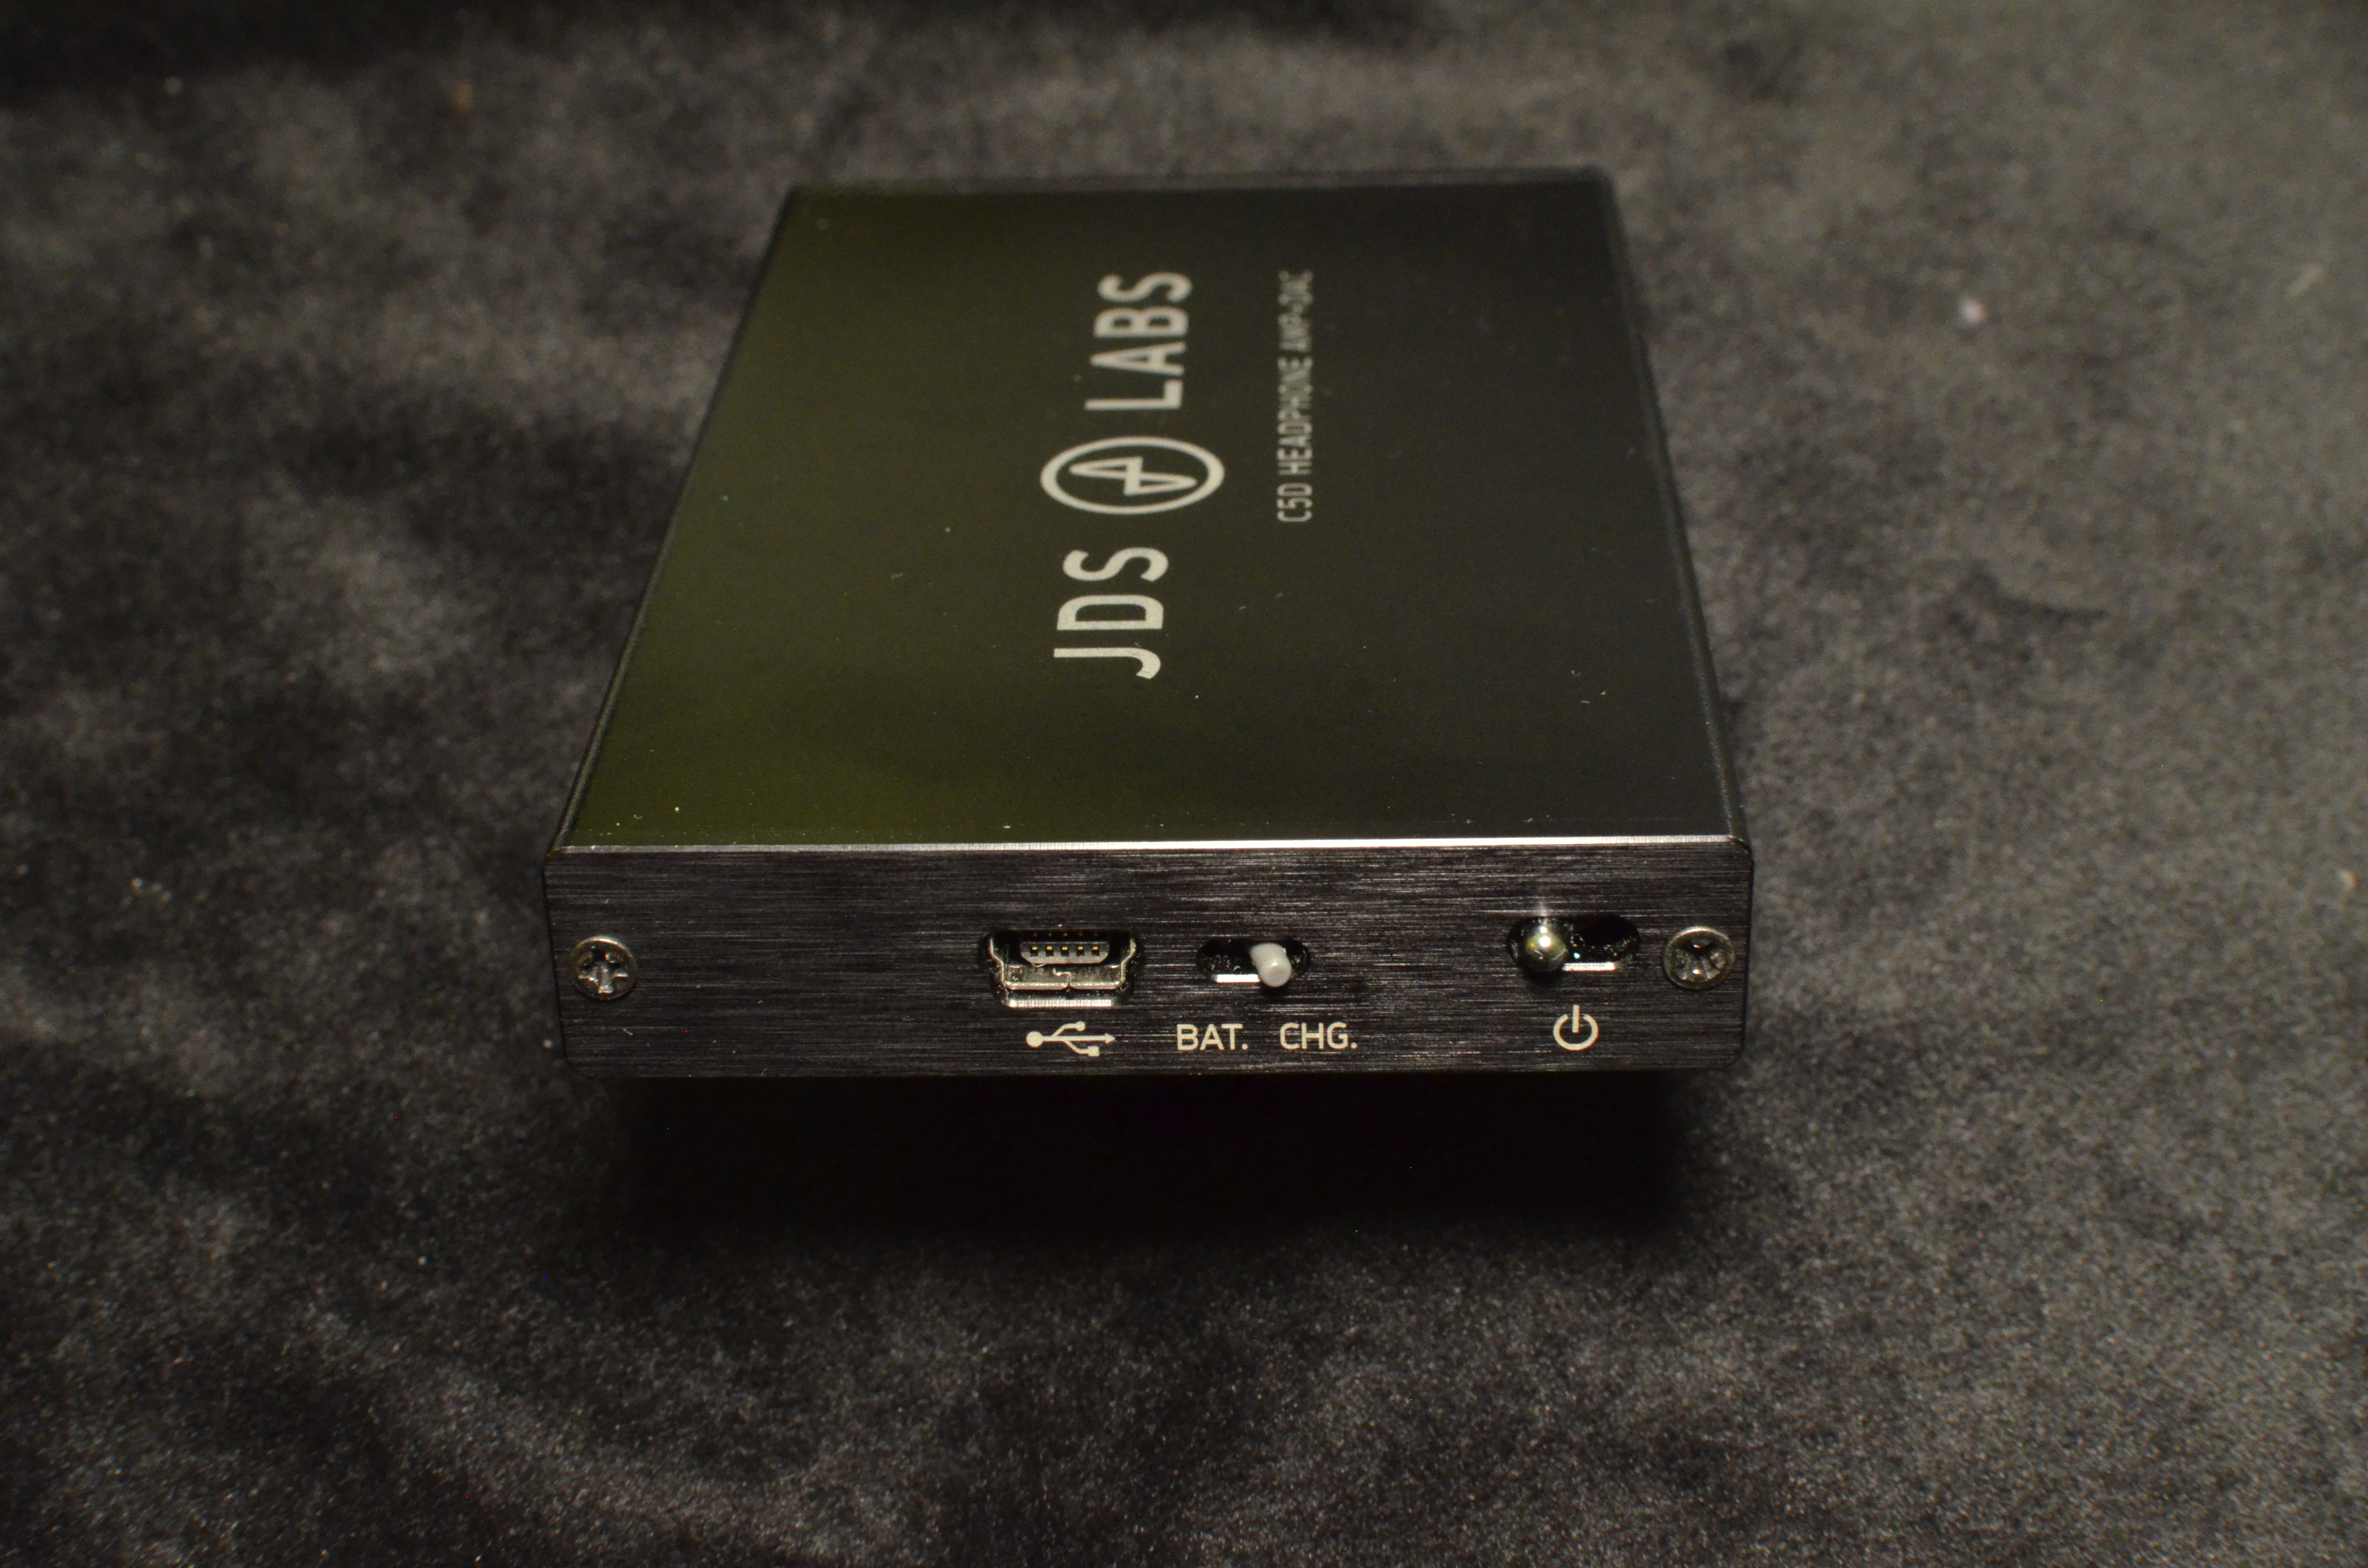
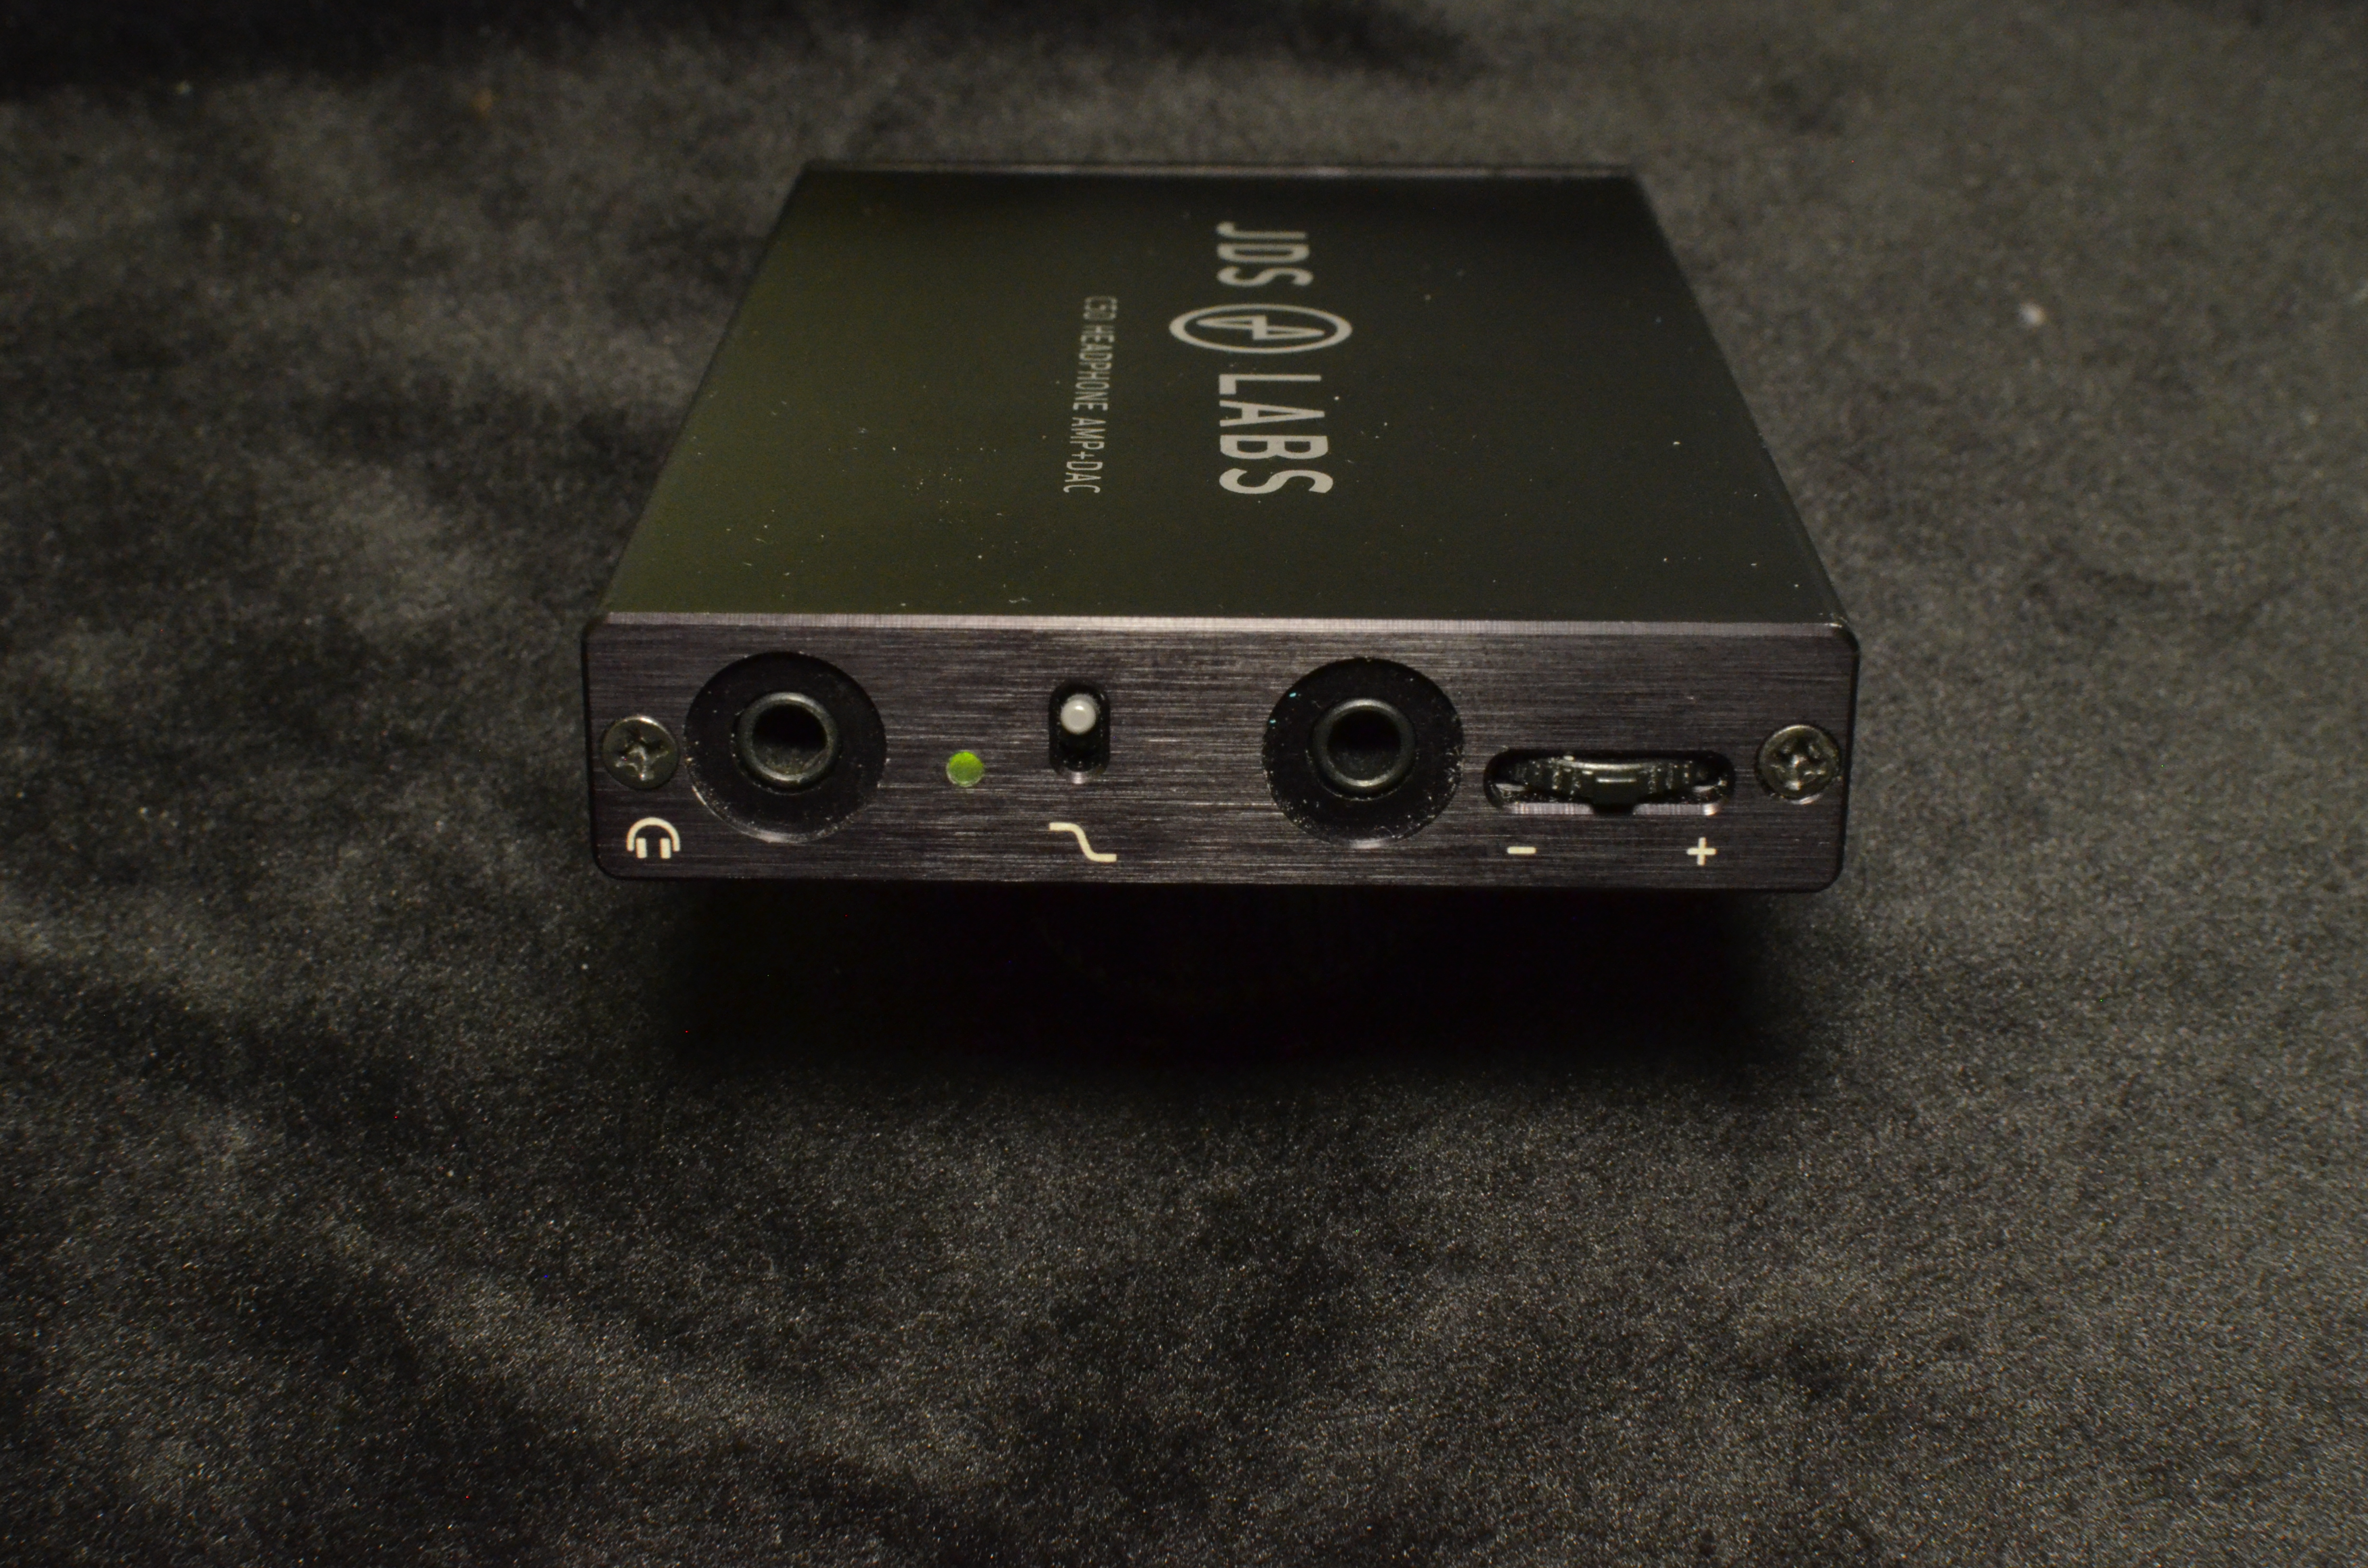
The switch position was a choice of performance over aesthetic intuition. I wanted bass boost Up, and normal audio Down also, but that analog path used the longer set of legs on the switch. It's important to keep pathways short in this section of circuitry.
Correct. A switch also yields greatest performance. We did two prototypes with digital pots in place of the toggle switch, but there's no true "off" state. The wiper presents a small amount of resistance even at minimal position. Thus, bass boost could never truly be turned off in the chosen circuit, and you'd experience an extremely small amount of phase and frequency response manipulation. So we went back to a DPDT toggle to control bass boost.
We released firmware source code for the benefit of the DIY community. It's not intended to manipulate SQ.
No way! We stay on top of incoming orders. All in-stock orders placed through Friday afternoon have already shipped.
25% of C5 preorders have also shipped by now. The remaining 75% will be fully tested and ready to ship as soon as the second round of cases come back from the anodizer (Wednesday).
It is strange, but from JDS Lab's C5 blog post:
Looking more closely at the press release photos, all of the C5's have the switch in the up position.
The switch position was a choice of performance over aesthetic intuition. I wanted bass boost Up, and normal audio Down also, but that analog path used the longer set of legs on the switch. It's important to keep pathways short in this section of circuitry.
Bass boost is hardware from what I know
Correct. A switch also yields greatest performance. We did two prototypes with digital pots in place of the toggle switch, but there's no true "off" state. The wiper presents a small amount of resistance even at minimal position. Thus, bass boost could never truly be turned off in the chosen circuit, and you'd experience an extremely small amount of phase and frequency response manipulation. So we went back to a DPDT toggle to control bass boost.
We released firmware source code for the benefit of the DIY community. It's not intended to manipulate SQ.
Are all other JDS products shipping prolonged due to the preorder queue of the new C5?
No way! We stay on top of incoming orders. All in-stock orders placed through Friday afternoon have already shipped.
25% of C5 preorders have also shipped by now. The remaining 75% will be fully tested and ready to ship as soon as the second round of cases come back from the anodizer (Wednesday).


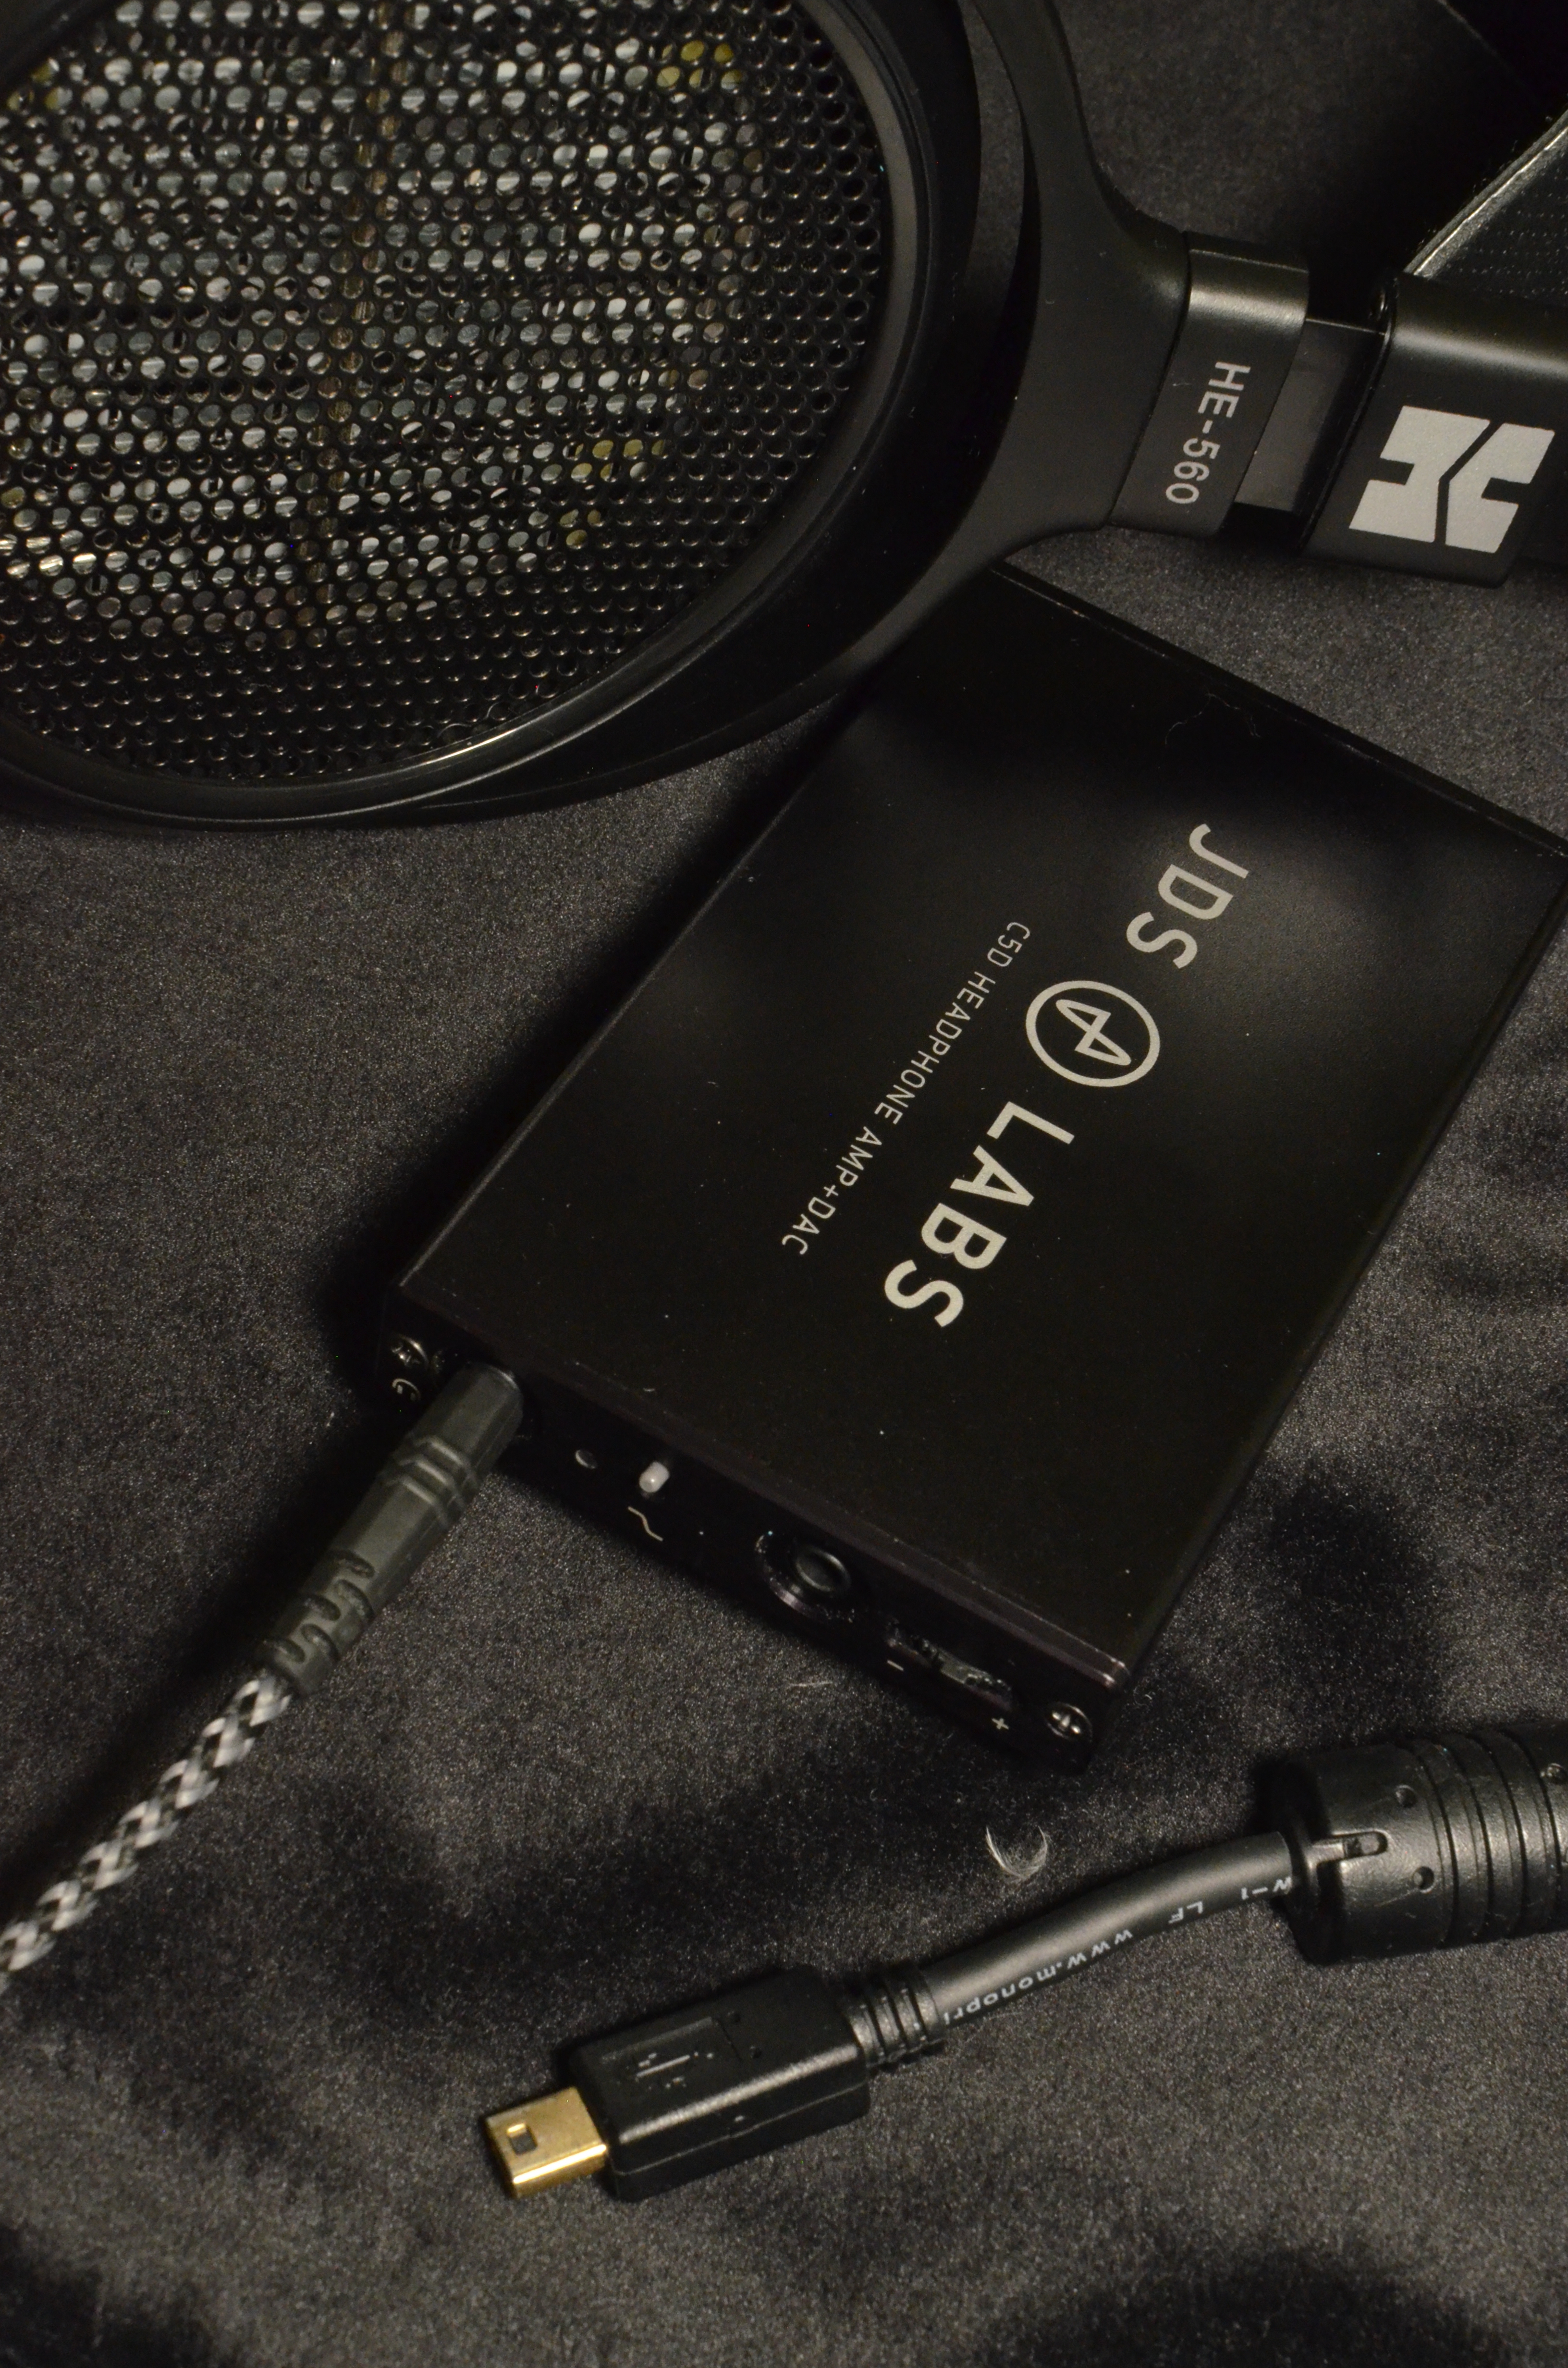
") ), so I'm wondering how does one connect the C5 to the Arduino? I can't really tell from the photo on the blog how it's connected.
), so I'm wondering how does one connect the C5 to the Arduino? I can't really tell from the photo on the blog how it's connected.


")


