


improvised
New Head-Fier
- Joined
- Mar 3, 2011
- Posts
- 22
- Likes
- 1
First off this guide is not for everyone; as a matter of fact it was more or less an experiment on my part. I’ve never attempted a two part mould so I wanted to tackle the project for a pair of JH Audio IEM’s. The question for me is how you keep those little pins at the perfect distance while making sure that there strong enough so that every time you take them out of your IEM's they don’t connect, break or pull apart.
I simply looked no further than the cable that was supplied with your JH Audio IEM’s and decided to make a cast as it’s a perfect match and it would be more interesting for me than using epoxy putty or some other type of glue to hold the pins at the right distance.
As you will see from the following tutorial it was quite a project to get my head around as I said before I have never attempted anything like this before.
This tutorial solely focuses on the pin assembly and not the soldering of the 3.5mm jack as there are enough examples of this on this site already.
1st) Assemble your tools.
A: Wire strippers B: Clasp to hold cable while soldering C: Soldering Gun
D: Solder, I’m using Mundorf Supreme here. E: Wire crimpers, wire cutter, razor blade
F: Plasticine G: Silicon Rubber with Catalyst H: Liquid Plastic Kit or Polytek EasyFlo 60
I: Petrogel helps to de-mould your project J: Small plastic tub to make cast K: JH Audio Pins
L: Florists heat treated wire 24awg i.e memory wire
M: The cable you want to to make, I’m using a Crystal Cable Piccolino Cable, use whatever you like
N: Your original JH Audio Cable O: Your JH Audio IEM’s
Next let’s begin by cutting a little circle into your small tub just big enough to fit one end of the original JH Audio cable through it.
Next fill the tub with Plasticine filling half to the top and leaving the other half just below the circle you cut. Slip the cable through the hole and gently press down half way and make indentation with the back of a pencil or any other type of small object as you see in the photo.
Next measure out per your products instructions the required ratio and pour over the cable as you see in the photo. After the Silicon has dried flip the mould over cut the bottom out and gently scrape off the Plasticine to expose the cable. Simply brush over a little Petrogel and pour over another layer of of silicon rubber to make the top half of your cast. After this has set you can then pry apart your two part mould.
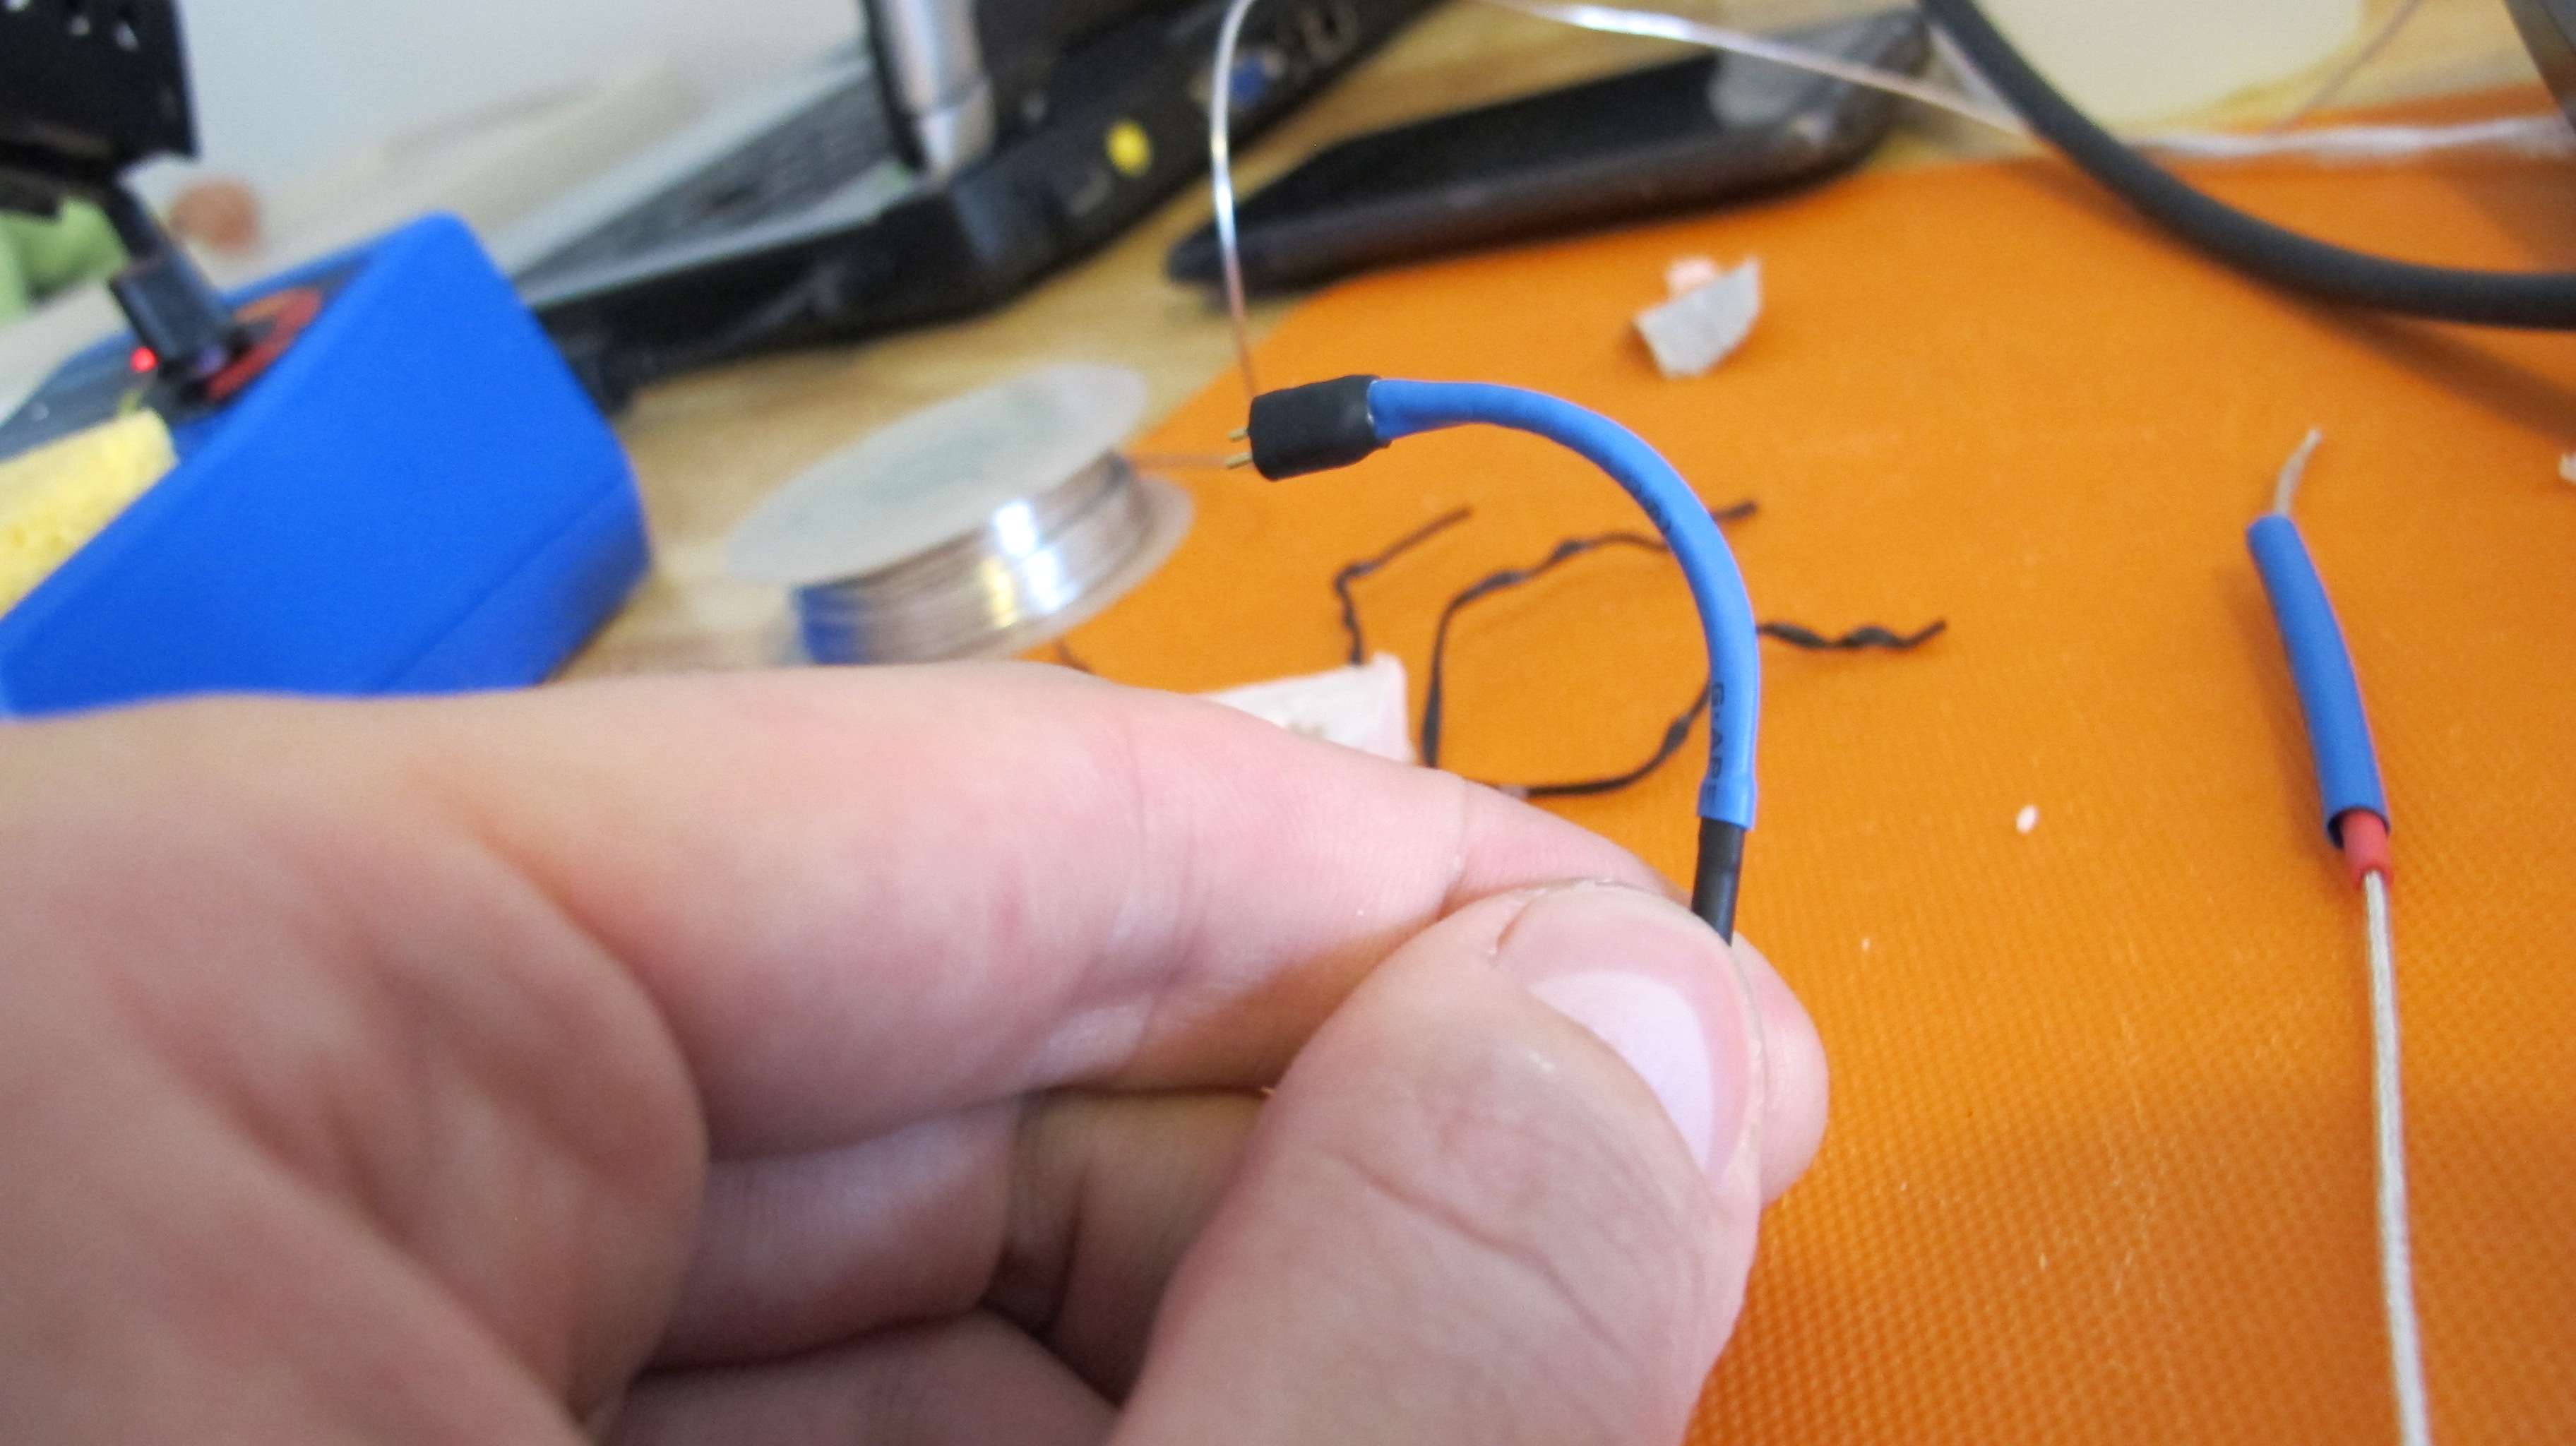
While the top layer of your mould is drying we begin by stripping your cable and soldering the pins. At this point you can make a decision to put a cable choke over the two wires or slip on heat shrink. I did not put these in the supply photo as it’s not necessary to make the cable but a personal decision on which way you go. I slipped on blue heat shrink as I thought it would add a different touch.
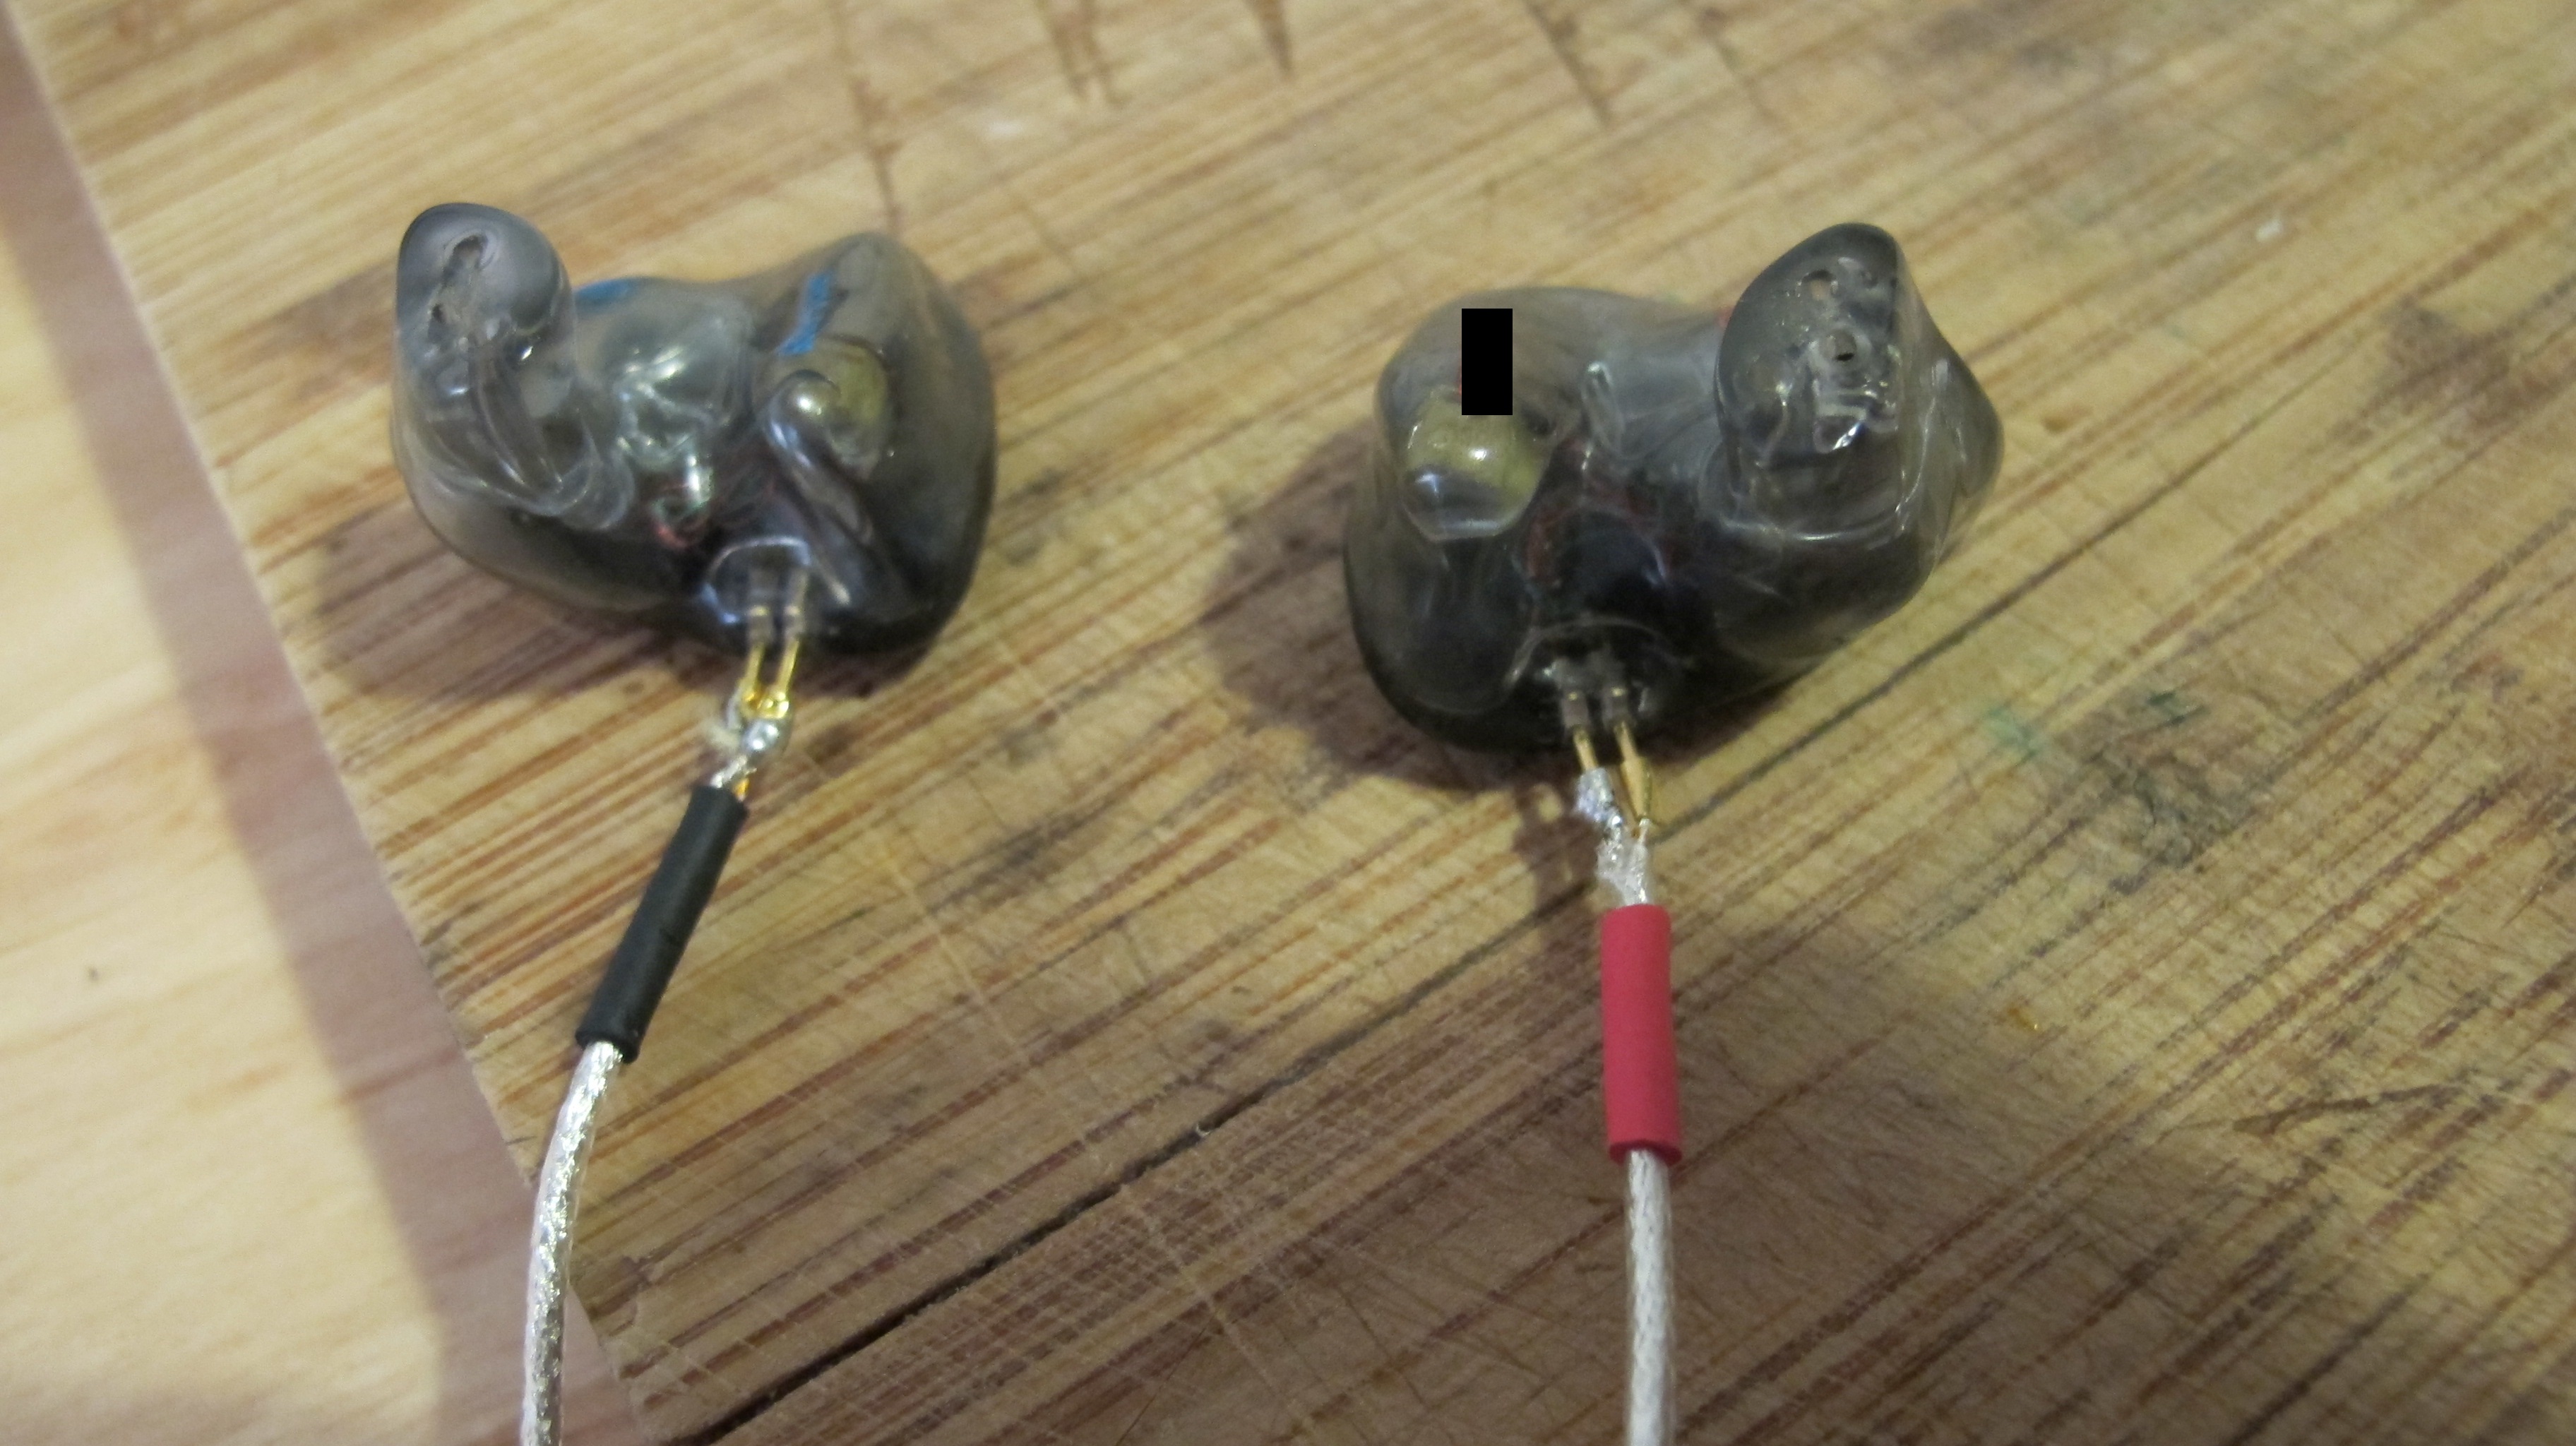
After your pins are soldered we check there will be no issues with inserting them into our IEM’s.
Next we prepare the cable be inserting a short piece of memory wire into the mould and then slipping the cable into the pin holes that were made during the cast. Note in the photo I put a short piece of heat shrink over the bottom of one of the cables. This is simply extra insurance to make sure the pins don’t come in contact during the plastic cast.
I use twist ties to hold the mould together and weigh my liquid plastics together and gently using the end of a straw drop in 2 or three drops into the tiny hole to form the plastic bond. It’s important to note that whatever you use it should have enough viscosity to go into such a tiny hole this is why I choose Polytek EasyFlo 60 as it’s very liquidy when mixed and set’s rock hard.
Before the plastic has set and this depends on what you are using I gently opened my mould before the plastic came to a complete hardness and gently formed any abnormalities with my fingers to obtain the shape I needed. You can then use fine grit sand paper to smooth out any rough edges.
Next I check to make sure the pins will insert ok into the IEM’s no problem here.
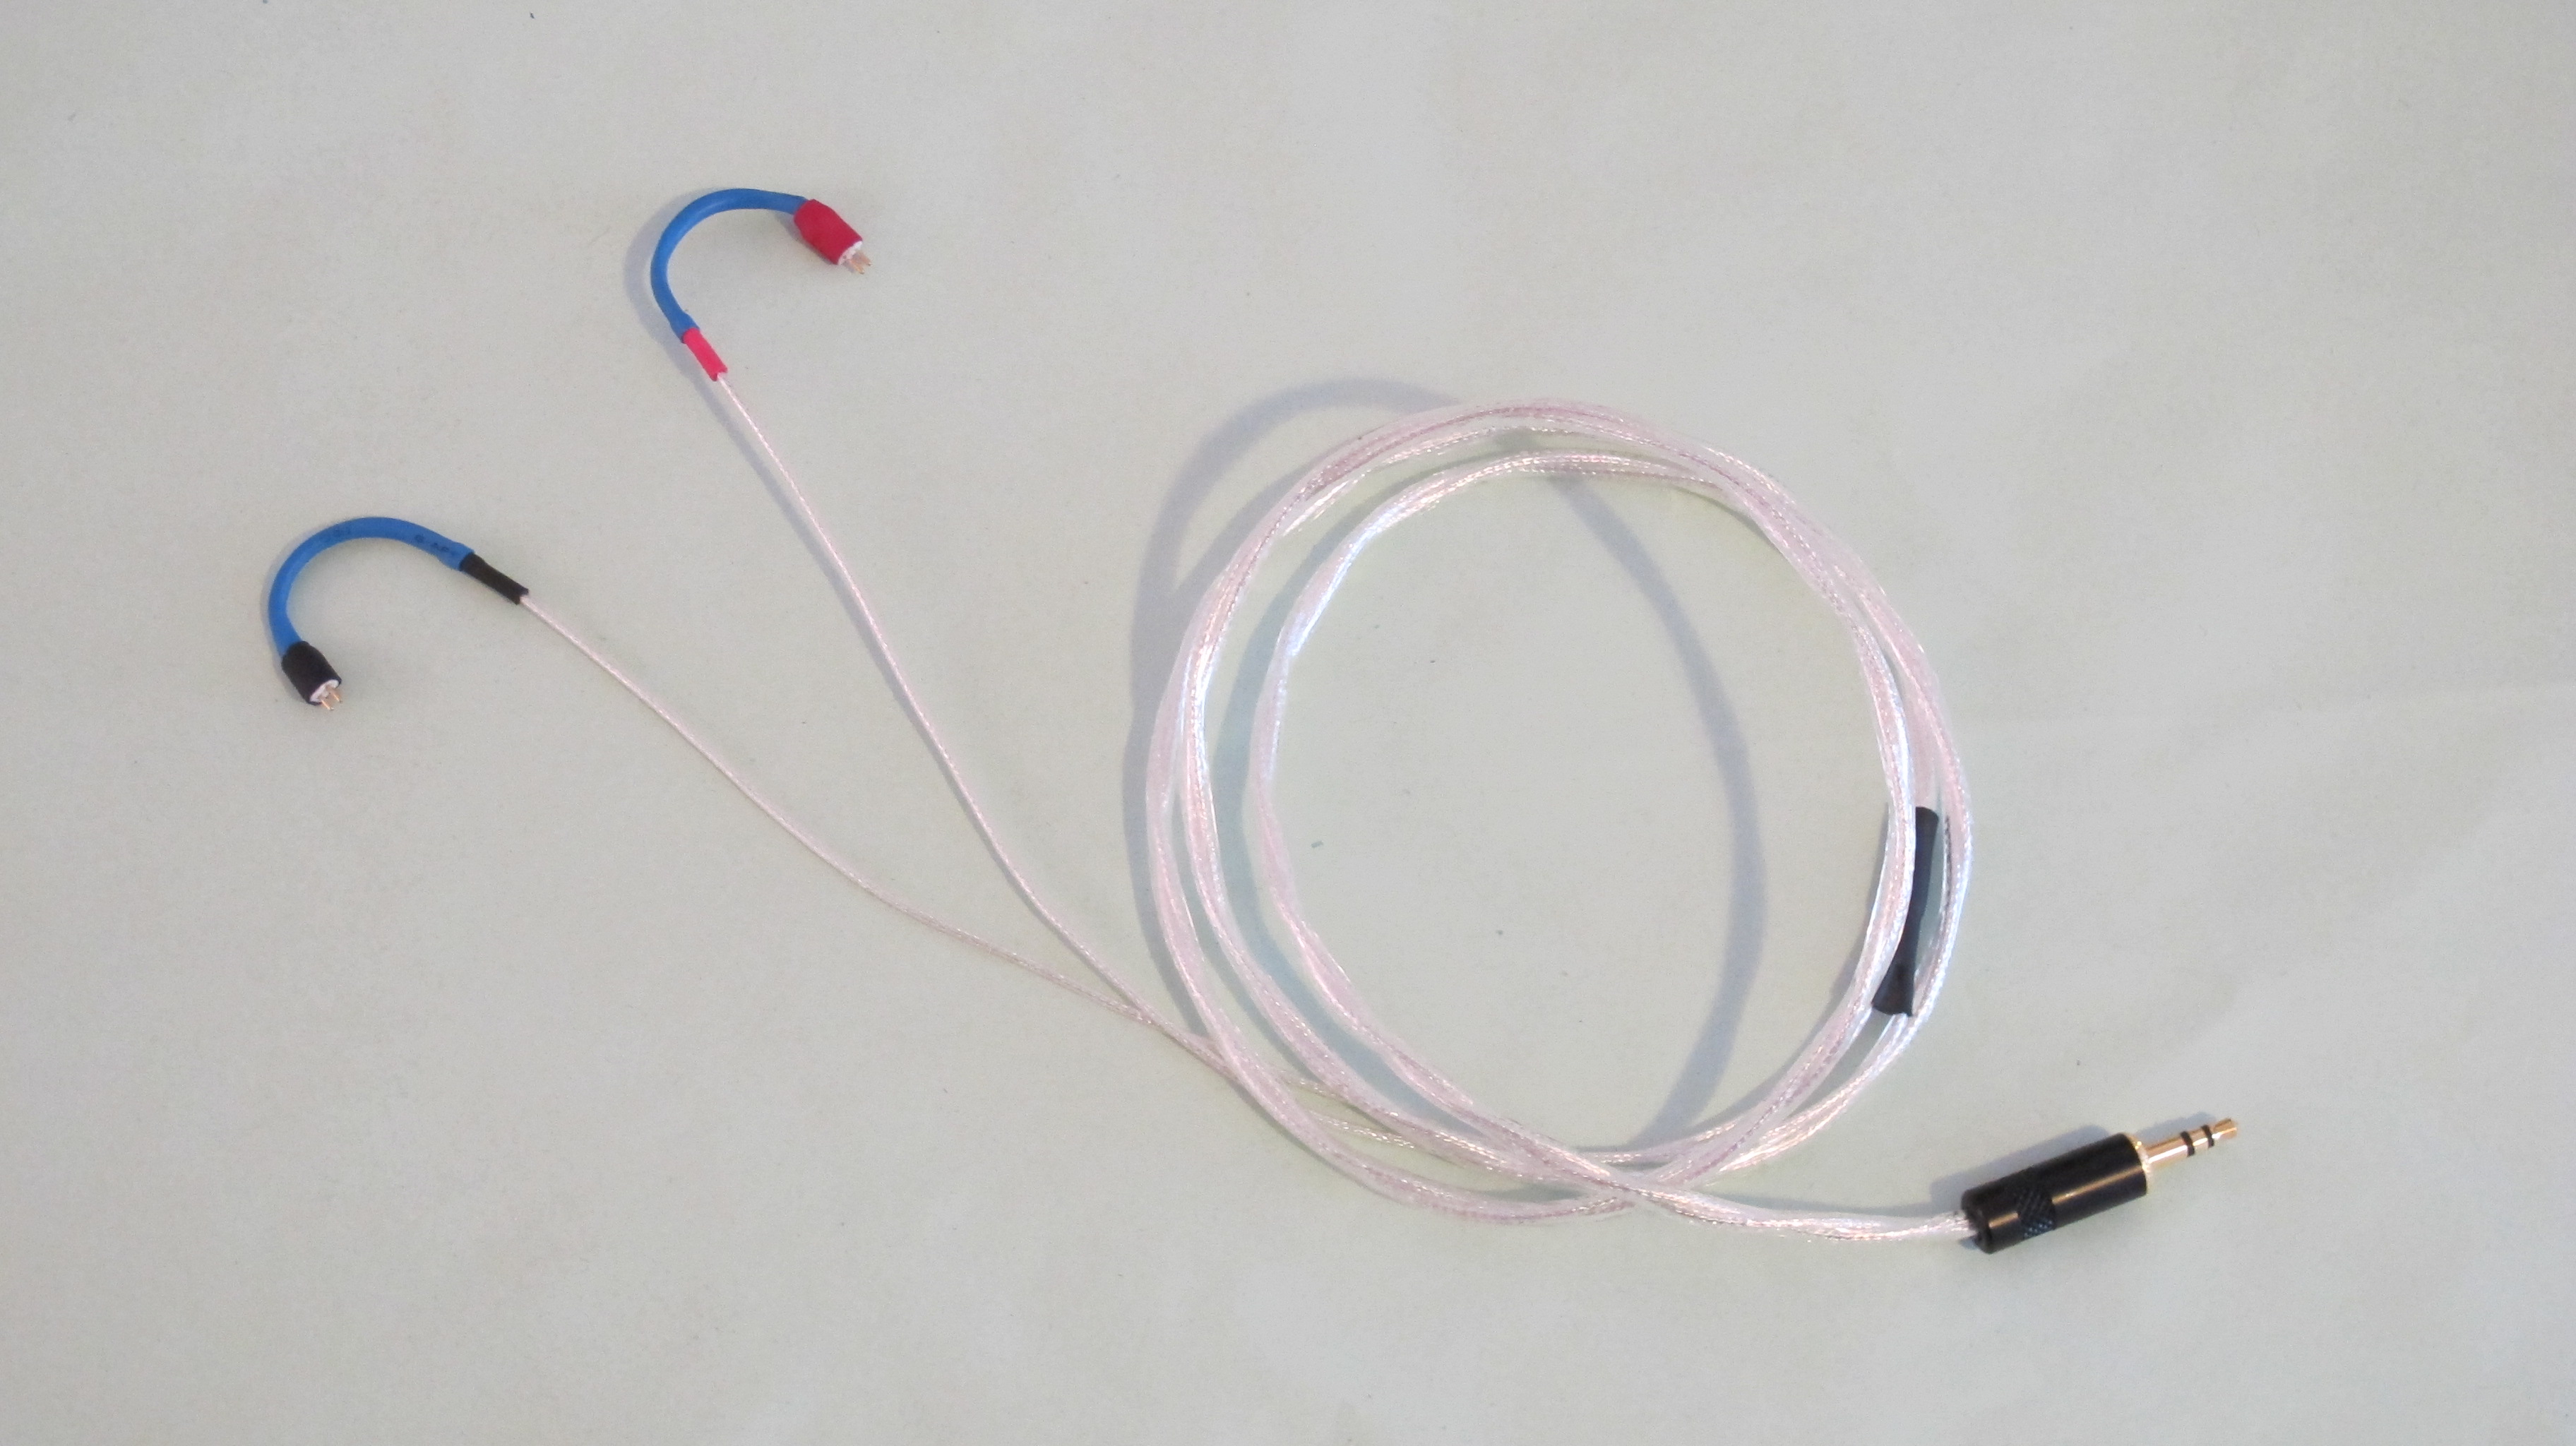
Finally I apply a short piece of heat shrink to the tips for added insurance and colour and also over the memory wire which is set in the plastic. You can see in the photo I’m adding the finishing touches.
Job Done!!
This should last awhile with proper care. The colour scheme I chose may not be for everyone but that shouldn’t stop you from using whatever colour heat shrink you like or simply none at all.
When making your custom cable you must make sure whatever you use for the plastic it will be suitable for your mould. The liquid plastic I used generates a lot of heat during cast and the silicon mould takes the heat just fine. Whatever you want to use either polycarbonate or some other type of plastic make sure your mould will work with it.
I do apologize for not taking photos of the top layer mould cast as I was distracted with other things but if you’re interested there are good videos on youtube discussing two part moulds that will help with any question you might have.
Good Luck
