


- Joined
- Jan 24, 2012
- Posts
- 2,117
- Likes
- 409
Alright, here comes instructions!
First off, here is a photo of the materials necessary:

List of materials:
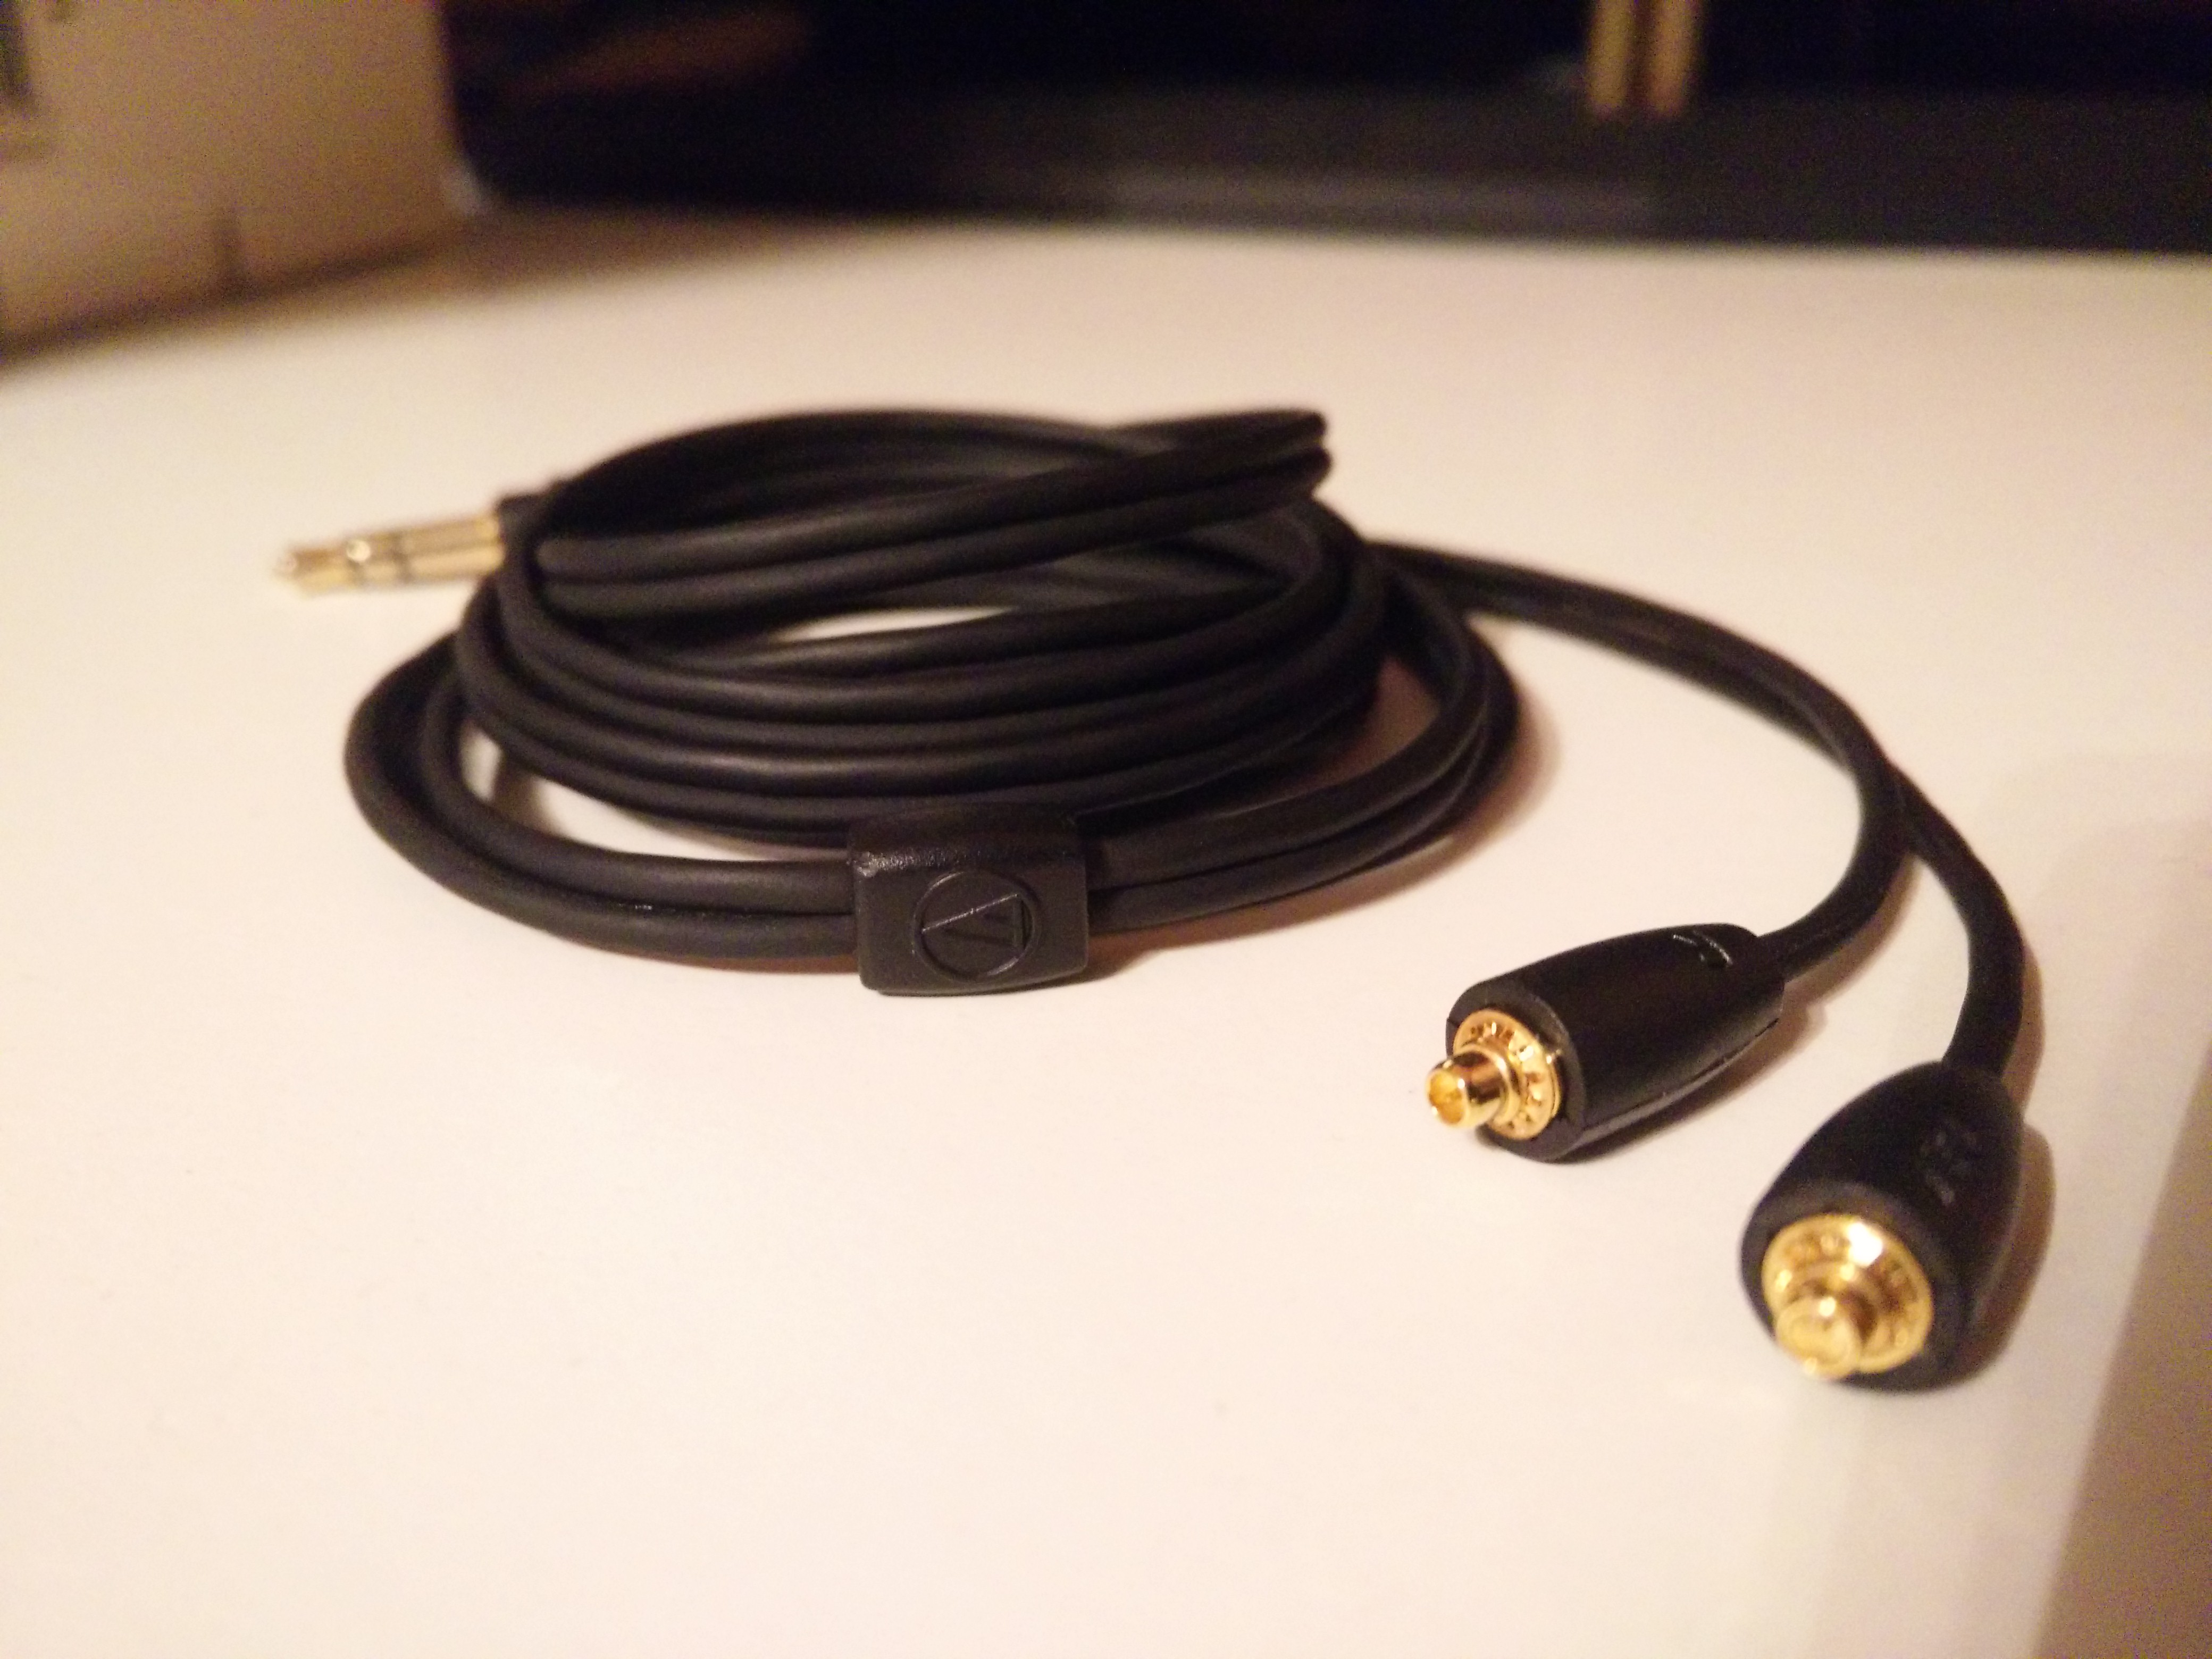
- A stock Audio Technica ATH-ES10 (a recabled version may not sound that different, but I wouldn't know to be honest)
- Replacement ear pads (optional). ESW9 and ESW11 ear pads fit
- Foamies 2mm thick foam sheet (color doesn't matter)
- Rainbow Classicfelt felt sheet (color doesn't matter)
- Dimensions wool felt roll (color doesn't matter)
- Realeather Crafts brown deertan piece (this particular piece is required)
- A long piece of dynamat (length matters)
Tools to use... well, scissors and screw driver.
So... let's get cracking!
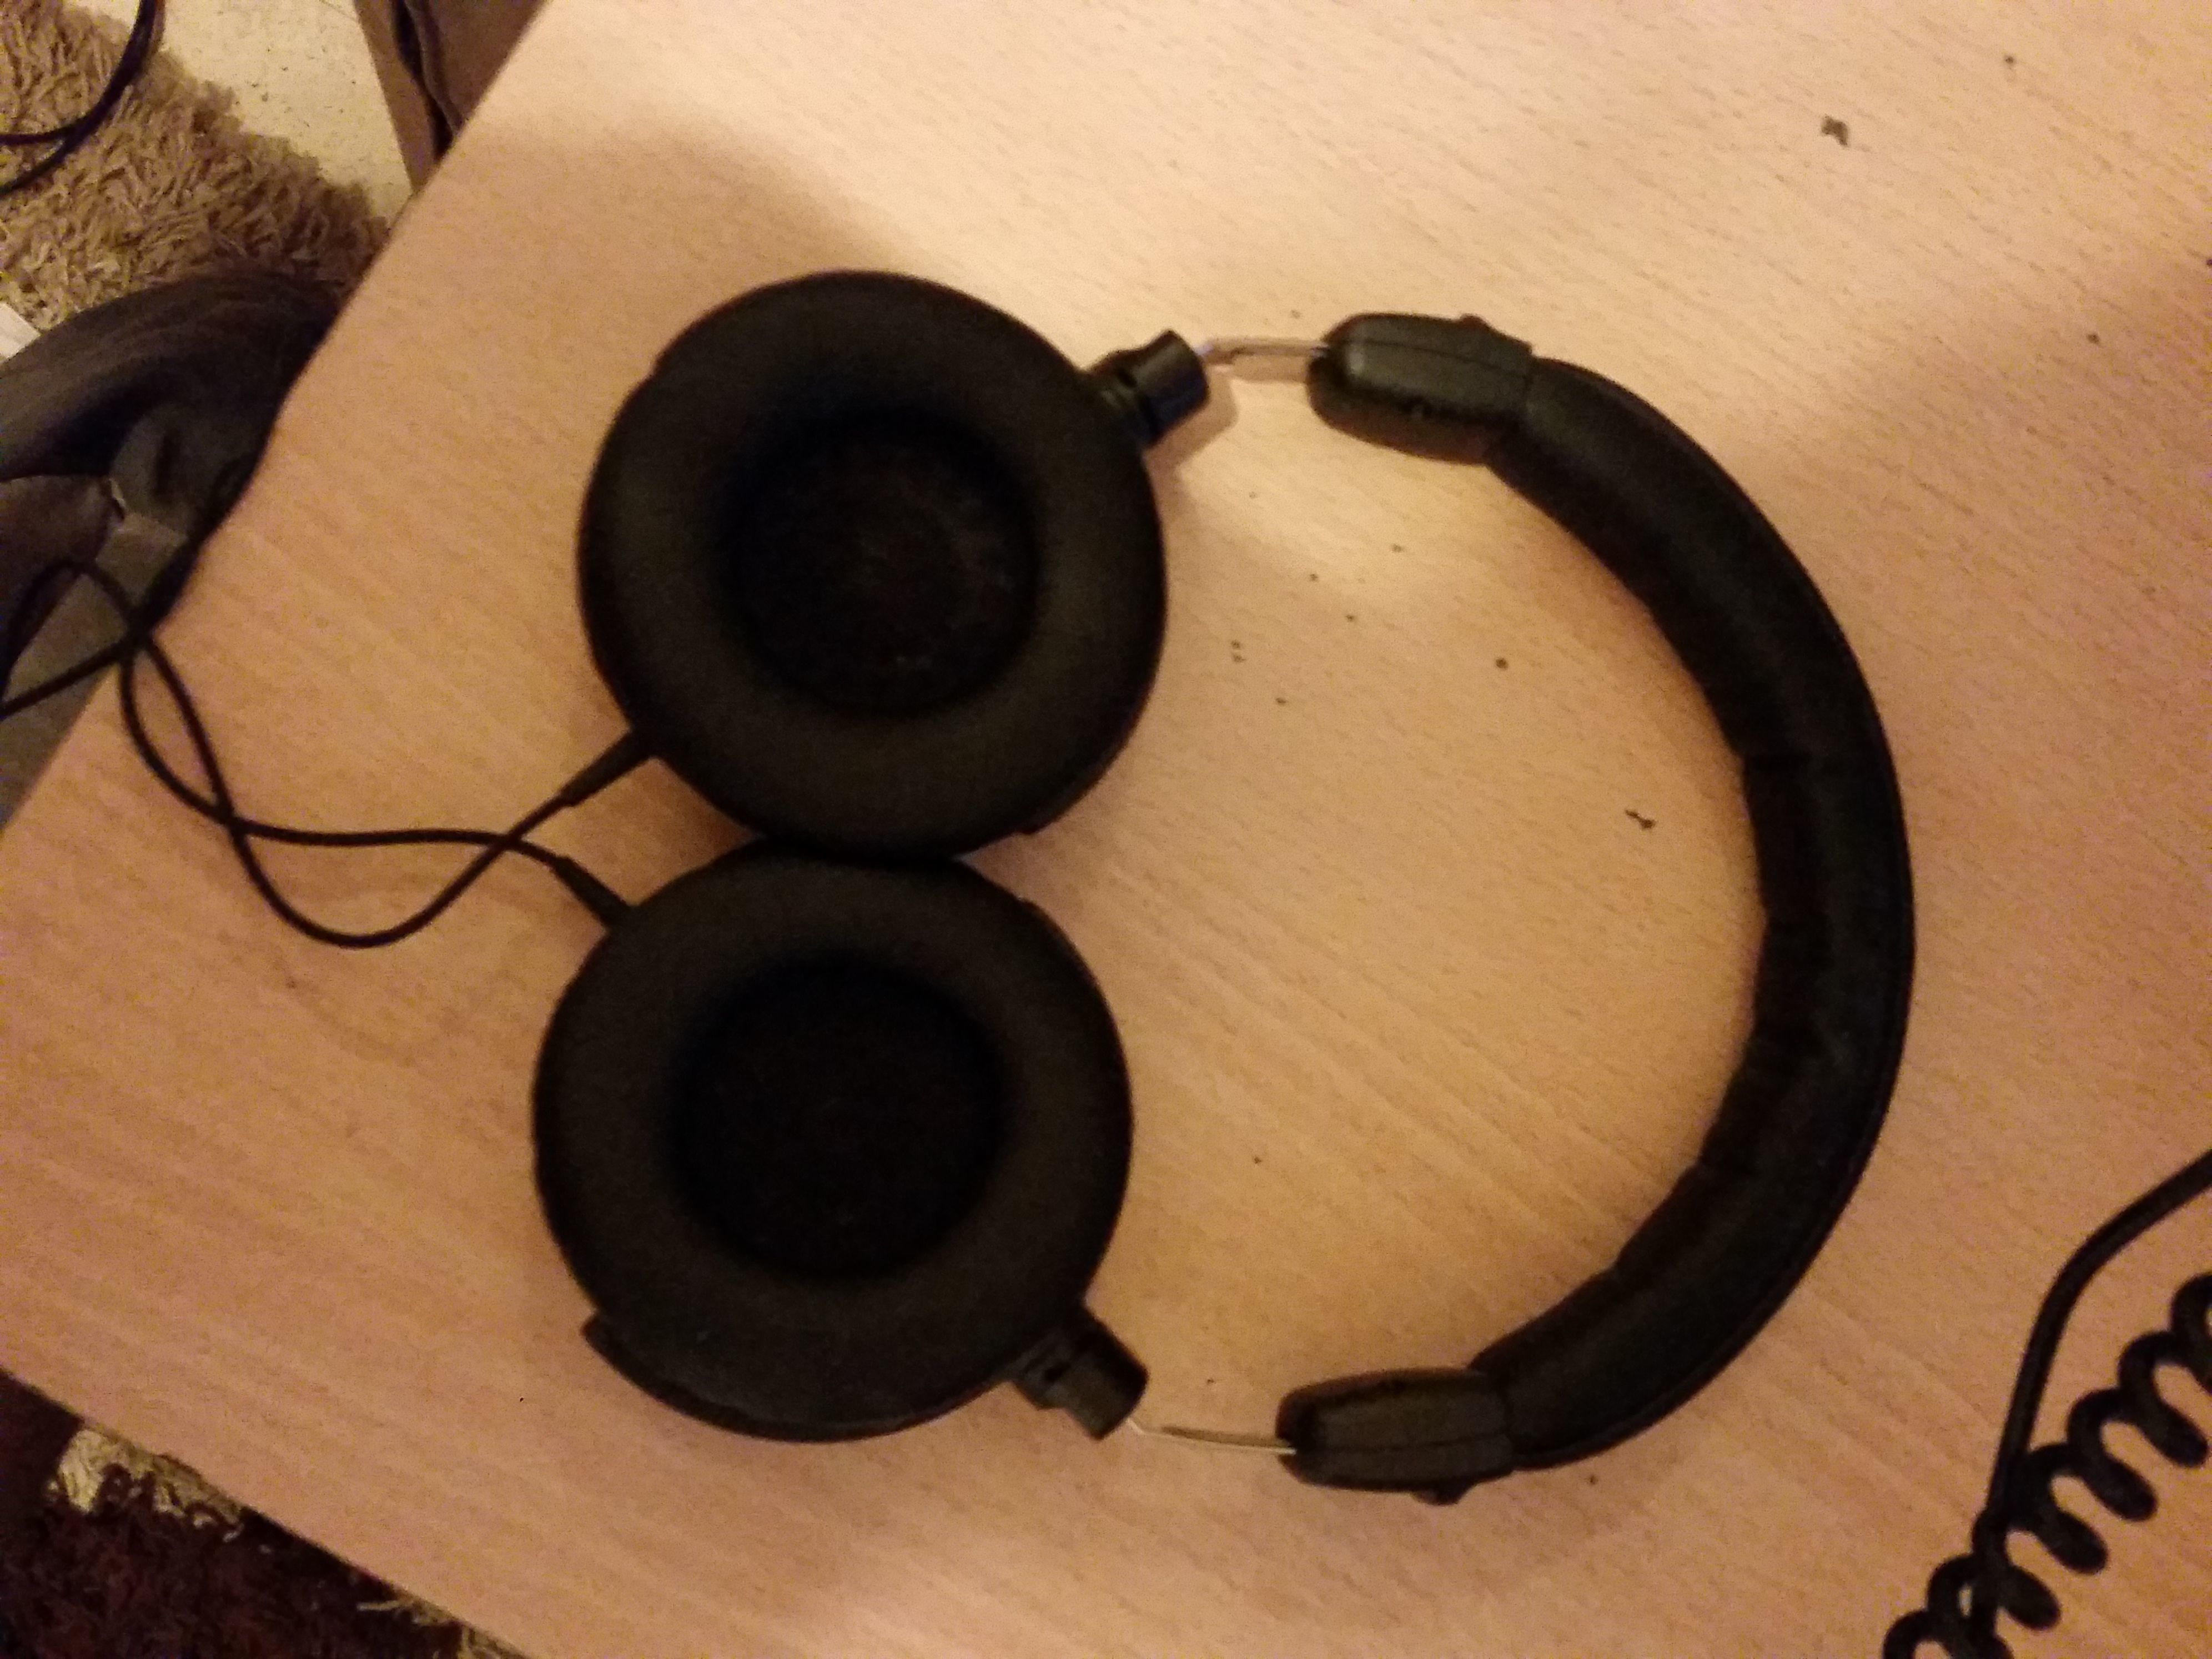
First, you gotta open one side of the headphone up.
This isn't too hard. All you gotta do is pull off the ear pads and unscrew 4 screws:


See that yellow stuff inside the ear cup? That's fiberglass, the material Audio Technica uses to damp a lot of their modern headphones. They used to use wool felt and acoustic foam, but I guess fiber glass gives them a better balance between clarity, bass, and midrange. Either way, it's not doing your ES10 any favor in terms of clarity and all, so... let's take it out.

Much better! Now we can work with the ear cup.

Okay... bear with me here. See those 4 regions of the ear cup that's separated by the screw holes? Yeah... we are going to line the 3 top sides up with dynamat, leaving the bottom side with the opening for the cable alone. That means you need a bunch of long dynamat pieces. Also... make sure there is not too much adhesive with each piece of dynamat. You can just use your hand to pluck away some of the black adhesive/glue stuff.

Sorry, it's kinda hard to see, but I tried my best to show you how it'd look once you line the plastic inside of the ear cup with dynamat strips. You don't have to cover the whole thing. Just a thin strip will do. Overdoing it gives more clarity, but may cause harshness as well, so... tune it to your taste.

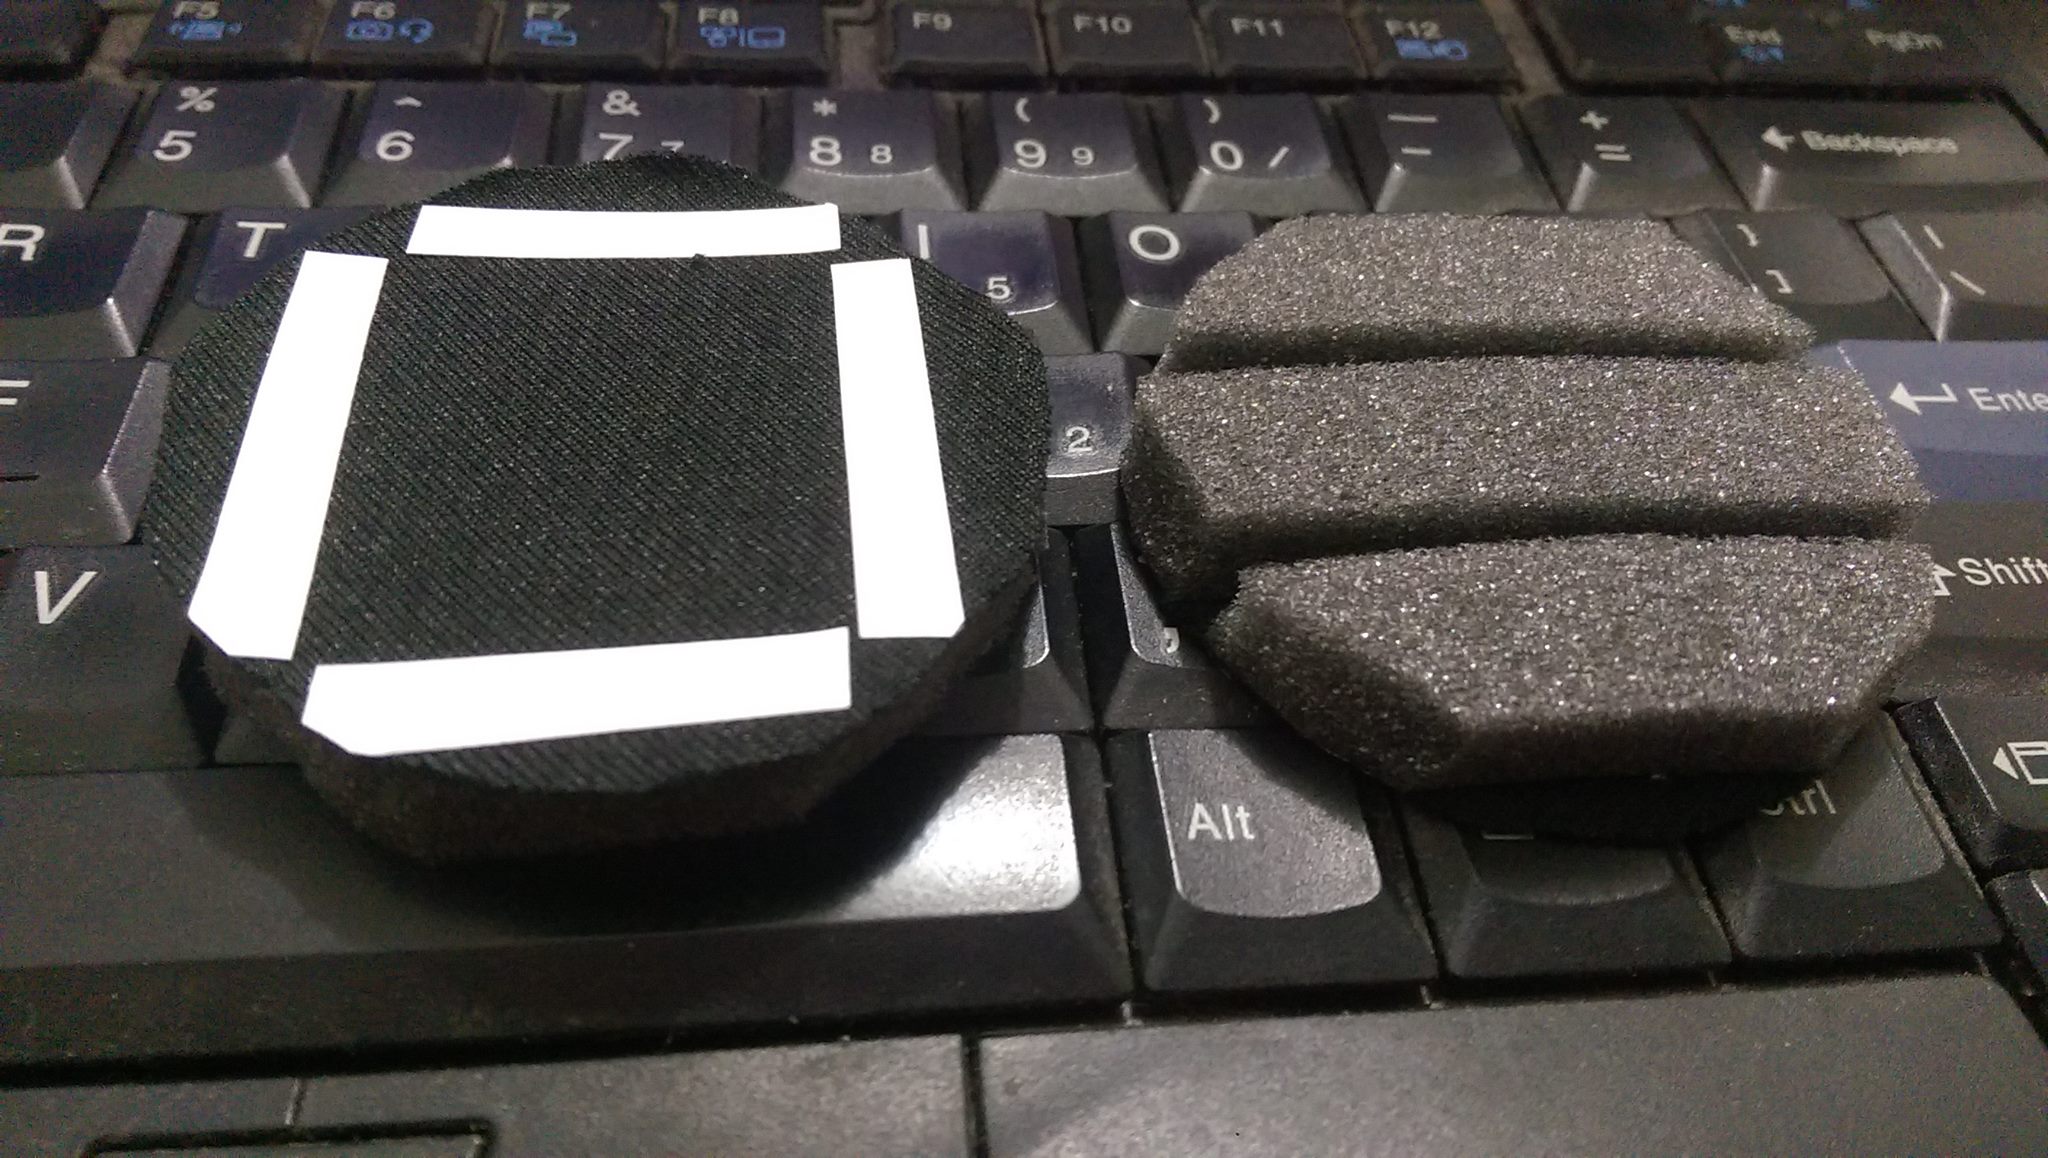
Now cut a piece of foam and wool felt about the same size as the lining of the insides again, but this time, the wool felt piece would be shorter than the foam piece. I have included a scale so you can see that about 1.5" for the wool felt and 2.0" for the foam piece is about the right length. Also, you would need a small V opening right smack the middle of the foam piece. That's because we are going to place it at the very bottom, and you need to leave an opening for the cable.

And once you're done cutting, the pieces line up just like that. If the wool felt piece doesn't want to stay, use a bit of the black adhesive/glue stuff that you plucked from the dynamat pieces to help it adhere to the foam piece. The foam piece by itself will slot in the opening between the 2 screw holes just fine, so you probably won't need any adhesive for it to stay.

See that circular opening that exposes the titanium cover of the ear cup? Cut a piece of leather and 2mm felt to that shape. They should each be slightly bigger than the opening, because that makes it easier to slot them in.

Slot the circular piece of leather into that opening, and it should fit snuggly.

And then you just have to lay the circular felt piece on top for it to stick.

Last step is to cover the sides of the plastic protrusion part with dynamat. You'll need a particularly long piece here, and... be extra careful. The wiring is very thin right there!
But after that, we're done! Just duplicate those steps for the other side.
----
So yeah, I think all of that is fairly easy to revert back to stock if you happen to not like the new presentation.
Though stock ear pads sound okay with the mod, I think it sounds best with either ESW9 or ESW11 ear pads. Each will give a different presentation, so it's up to you to choose whichever one suits your taste better.
And once again, thanks to Triggerfish for lending me his stock ES10 headphone for the photos!
----
Edit: I put the link to this post in my signature, so for future reference, you can always go back to the post with my signature.
Happy modding!

First off, here is a photo of the materials necessary:
List of materials:
- A stock Audio Technica ATH-ES10 (a recabled version may not sound that different, but I wouldn't know to be honest)
- Replacement ear pads (optional). ESW9 and ESW11 ear pads fit
- Foamies 2mm thick foam sheet (color doesn't matter)
- Rainbow Classicfelt felt sheet (color doesn't matter)
- Dimensions wool felt roll (color doesn't matter)
- Realeather Crafts brown deertan piece (this particular piece is required)
- A long piece of dynamat (length matters)
Tools to use... well, scissors and screw driver.
So... let's get cracking!
First, you gotta open one side of the headphone up.
This isn't too hard. All you gotta do is pull off the ear pads and unscrew 4 screws:
See that yellow stuff inside the ear cup? That's fiberglass, the material Audio Technica uses to damp a lot of their modern headphones. They used to use wool felt and acoustic foam, but I guess fiber glass gives them a better balance between clarity, bass, and midrange. Either way, it's not doing your ES10 any favor in terms of clarity and all, so... let's take it out.
Much better! Now we can work with the ear cup.
Okay... bear with me here. See those 4 regions of the ear cup that's separated by the screw holes? Yeah... we are going to line the 3 top sides up with dynamat, leaving the bottom side with the opening for the cable alone. That means you need a bunch of long dynamat pieces. Also... make sure there is not too much adhesive with each piece of dynamat. You can just use your hand to pluck away some of the black adhesive/glue stuff.
Sorry, it's kinda hard to see, but I tried my best to show you how it'd look once you line the plastic inside of the ear cup with dynamat strips. You don't have to cover the whole thing. Just a thin strip will do. Overdoing it gives more clarity, but may cause harshness as well, so... tune it to your taste.
Now cut a piece of foam and wool felt about the same size as the lining of the insides again, but this time, the wool felt piece would be shorter than the foam piece. I have included a scale so you can see that about 1.5" for the wool felt and 2.0" for the foam piece is about the right length. Also, you would need a small V opening right smack the middle of the foam piece. That's because we are going to place it at the very bottom, and you need to leave an opening for the cable.
And once you're done cutting, the pieces line up just like that. If the wool felt piece doesn't want to stay, use a bit of the black adhesive/glue stuff that you plucked from the dynamat pieces to help it adhere to the foam piece. The foam piece by itself will slot in the opening between the 2 screw holes just fine, so you probably won't need any adhesive for it to stay.
See that circular opening that exposes the titanium cover of the ear cup? Cut a piece of leather and 2mm felt to that shape. They should each be slightly bigger than the opening, because that makes it easier to slot them in.
Slot the circular piece of leather into that opening, and it should fit snuggly.
And then you just have to lay the circular felt piece on top for it to stick.
Last step is to cover the sides of the plastic protrusion part with dynamat. You'll need a particularly long piece here, and... be extra careful. The wiring is very thin right there!
But after that, we're done! Just duplicate those steps for the other side.
----
So yeah, I think all of that is fairly easy to revert back to stock if you happen to not like the new presentation.
Though stock ear pads sound okay with the mod, I think it sounds best with either ESW9 or ESW11 ear pads. Each will give a different presentation, so it's up to you to choose whichever one suits your taste better.
And once again, thanks to Triggerfish for lending me his stock ES10 headphone for the photos!
----
Edit: I put the link to this post in my signature, so for future reference, you can always go back to the post with my signature.
Happy modding!


")
