ATH-M50 Removable Cable Mod
May 17, 2014 at 2:23 AM Post #631 of 801
   
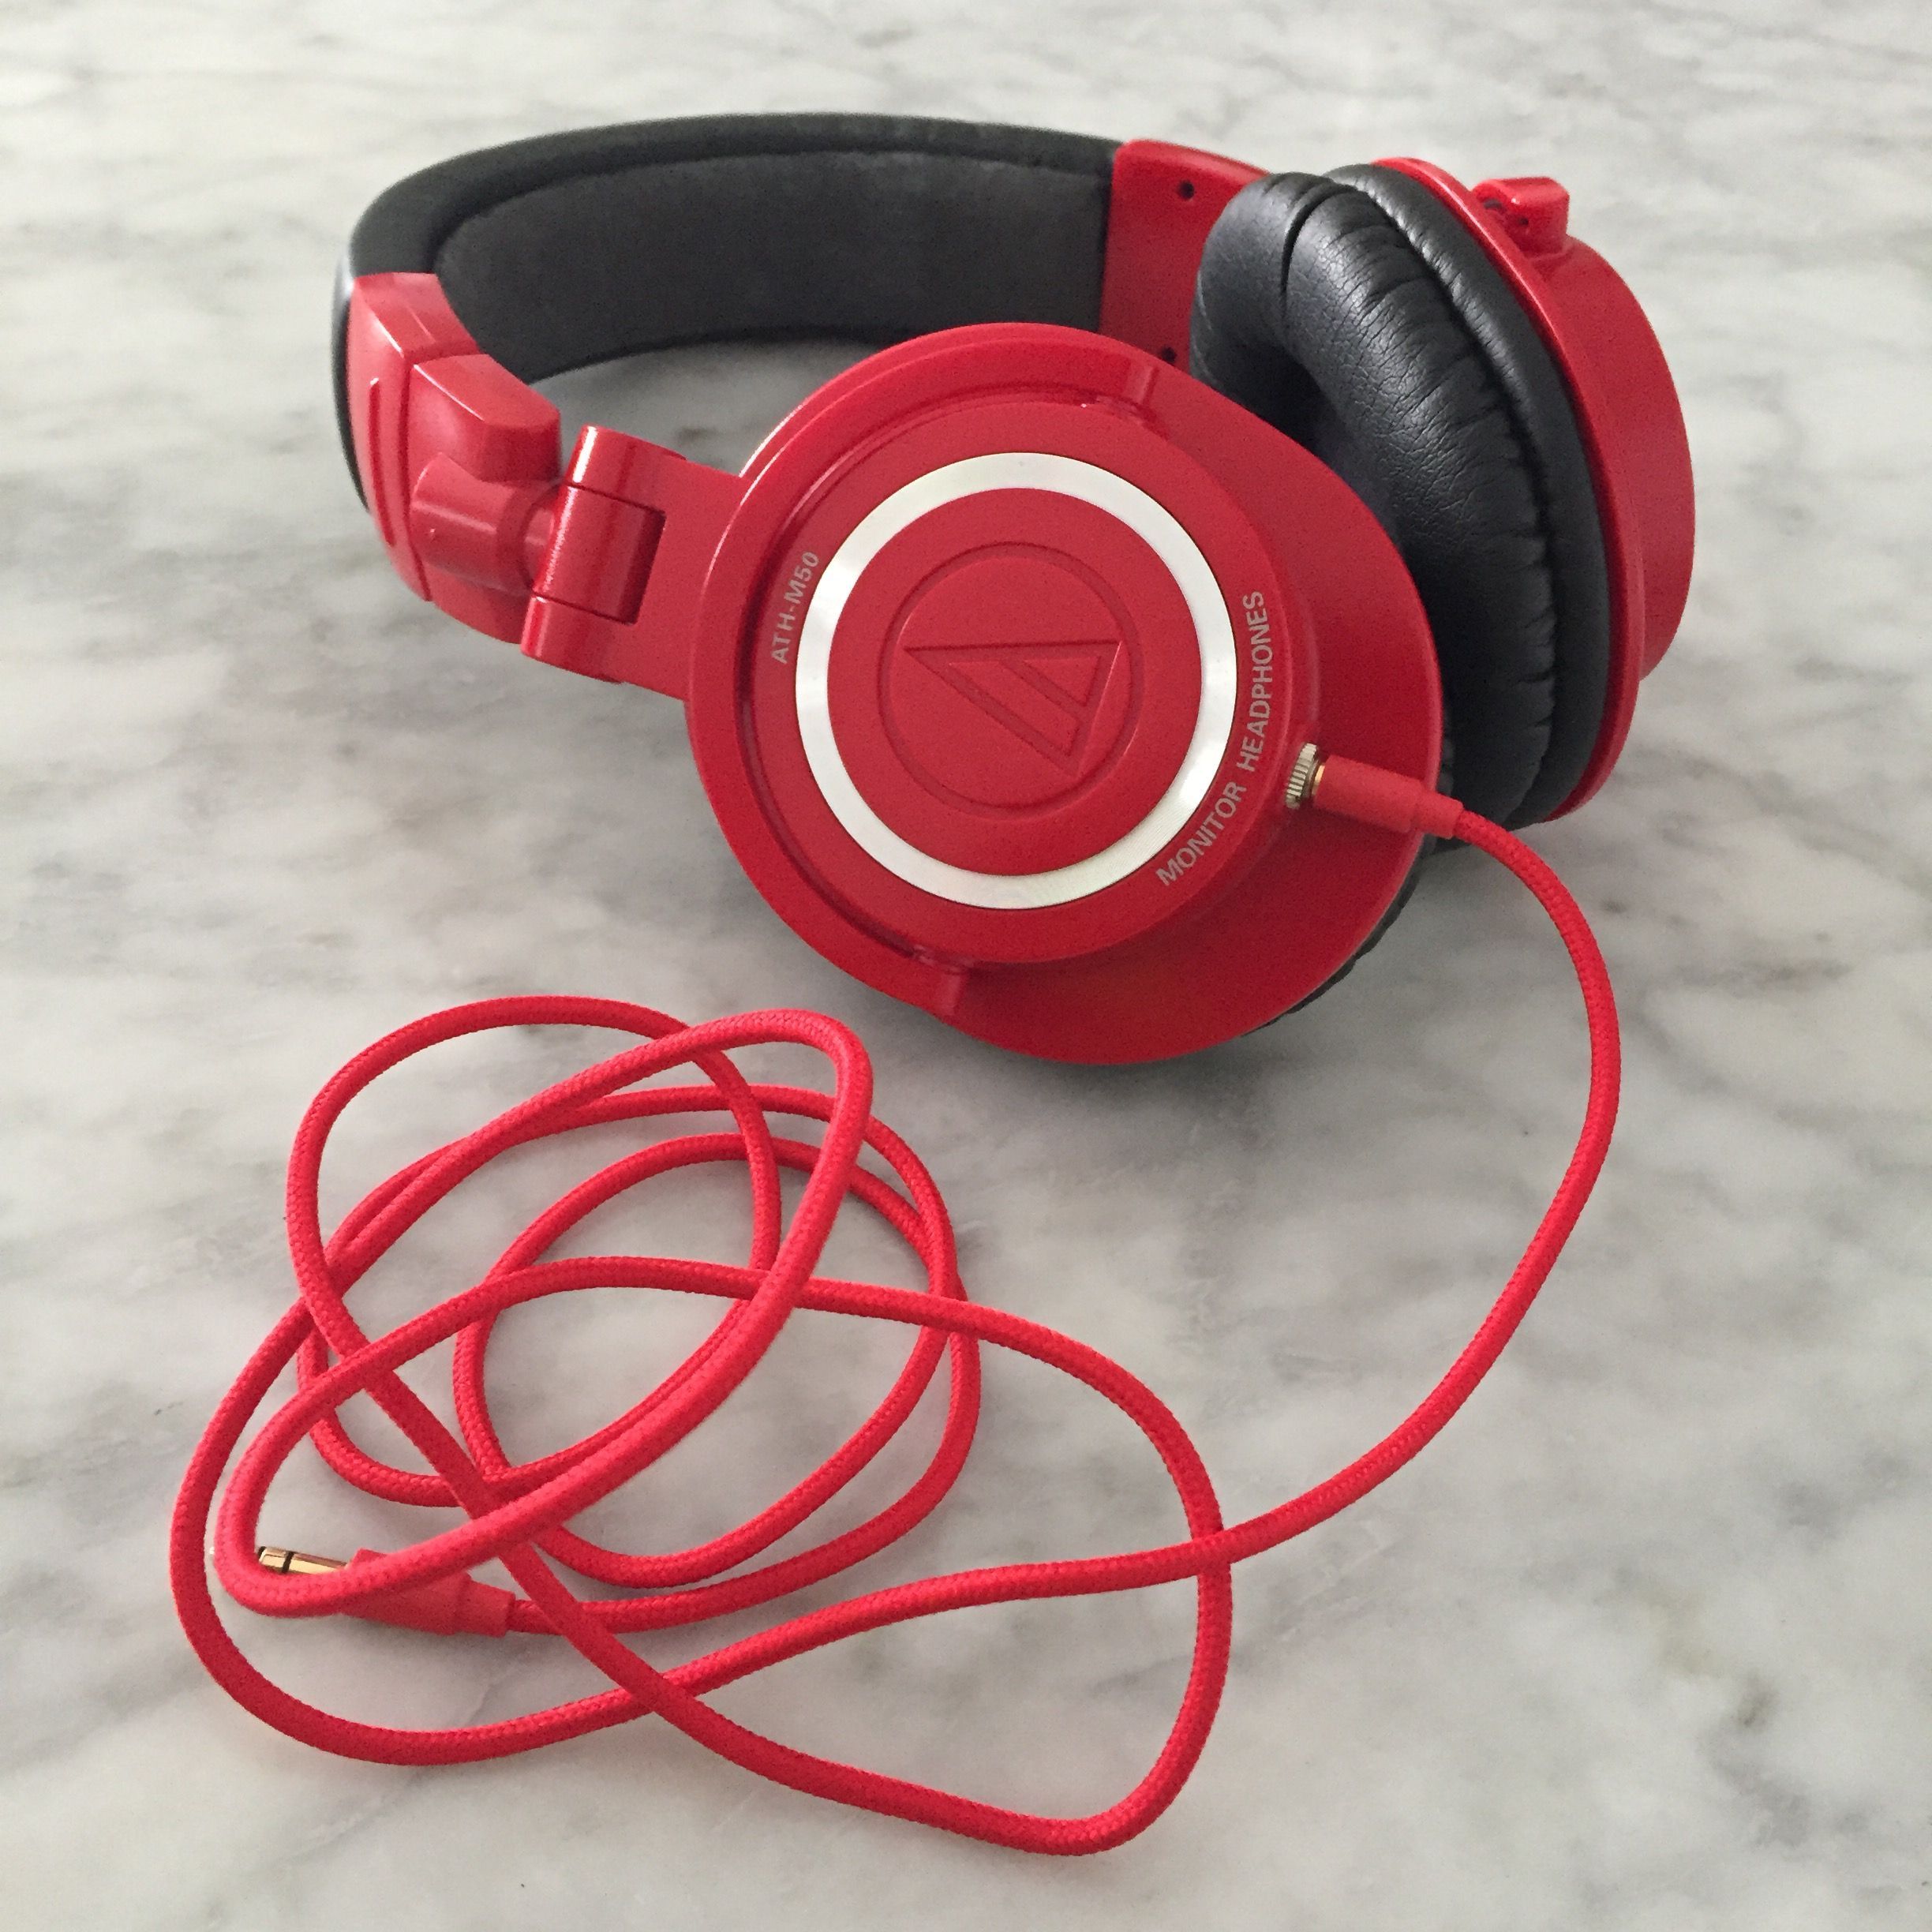
Just do it my way.  I didn't want to seriously mutilate the driver's chamber like I've seen others do.

 
A shame to mount a panel mount like that. You won't change the sound with what little you have to do to add a jack.
 
I did plenty of work inside my Beyer T70 and they didn't change one bit.
 
May 17, 2014 at 9:31 AM Post #632 of 801
No shame in mounting a panel mount in any way. I sure as hell aren't going to believe that mutilating the inner chamber won't affect the sound, I've done my share of headphone modding and tuning and know that some things shouldn't be messed with in such a reckless manner.
 
May 17, 2014 at 8:33 PM Post #634 of 801
I honestly think that this http://www.amazon.com/gp/product/B000ML4A2Q/ref=oh_details_o00_s00_i00?ie=UTF8&psc=1 is not very suitable for m50.
Bcos it's too big, can easily get something else with smaller size.

Since this is widely available, so try to minimize the cutting as much as possible in m50.

Sent from my GT-N7100 using Tapatalk
 
May 17, 2014 at 9:32 PM Post #635 of 801
I've done detachable mods with that same chassis to the M50 close to 10 times and never hear any difference in sound. I just make sure the hole I cut into that small ring behind the driver is just big enough to fit the chassis through it, and I just cut into the padding and don't remove it.
 
May 17, 2014 at 9:58 PM Post #636 of 801
I used the very small square,black Jack. Cut the nearby support and didn't have to touch the dampening material at all.

No change in sound. You need to be more concerned with proper soldering connections. That could potentially mess with the sound quite a bit more.
 
May 17, 2014 at 11:10 PM Post #637 of 801
Epoxy.  I carved out shallow curves on opposite ends of the jack's black plastic so that the epoxy gets more grip on the jack.  The jack also has a tight fit in the hole.


I have the same jack. Can you give more details on what you did? What epoxy is good to use? I've got some plastic glue, but I want it to be permanent. And just the epoxy/glue is enough to hold it securely? You said the fit was tight, looking at my open ear cups it looks like it wouldn't fit as is, did you need to file the hole at all? Also, with the way you left the jack hanging out further, you're saying ou didn't have to cut anything out of the internals? I don't mind cutting the one peg out, but would be nice to leave the round bigger part clean.

If you got it to work, nice. I think it looks fine, so no shame in appearance. Most of the tie there will be cable attached anyway.
 
May 17, 2014 at 11:16 PM Post #638 of 801
I used the very small square,black Jack. Cut the nearby support and didn't have to touch the dampening material at all.

No change in sound. You need to be more concerned with proper soldering connections. That could potentially mess with the sound quite a bit more.


Which one is the very small black square jack? So you only had to cut one of the pegs out, and did no cutting on te circular part that's closer to the driver? After reading through this whole thread, it sounded like that square one was more bulky than the one here?
http://www.amazon.com/gp/product/B000ML4A2Q/ref=oh_details_o00_s00_i00?ie=UTF8&psc=1
 
May 17, 2014 at 11:36 PM Post #639 of 801
Which one is the very small black square jack? So you only had to cut one of the pegs out, and did no cutting on te circular part that's closer to the driver? After reading through this whole thread, it sounded like that square one was more bulky than the one here?
http://www.amazon.com/gp/product/B000ML4A2Q/ref=oh_details_o00_s00_i00?ie=UTF8&psc=1


The pictures from mine are on page 32 of this thread. It's a 50 year anniversary pair. The pages right around that have pictures with your linked Jack to compare.
The black one is wider but doesn't extend as far into the cup. That allows you to avoid cutting into to the dampening if you think it will matter that much.
 
May 18, 2014 at 9:34 PM Post #640 of 801
I'm having a wiring issue with my ath-m50s!  I started this mod and soldered all the connections, but for some reason I'm getting the following issue.
 
The left channel plays in both the left and right sides, while the right channel plays only in the right side.  I'm no electrical genius, but I don't see how this is possible.  If the left / right channel wires were touching at some point of contact, wouldn't the right channel also play in the left side?  I'm kind of confused, and I'm really hoping that someone can give me some guidance, because I really can't seem to figure it out on my own.  Thanks so much!
 
May 18, 2014 at 9:39 PM Post #641 of 801
Sounds like you wired things a little off. Make sure everything is wired correctly, if I had to guess I would say it's likely that the left signal and common were swapped.
 
May 18, 2014 at 9:43 PM Post #642 of 801
I'm having a wiring issue with my ath-m50s!  I started this mod and soldered all the connections, but for some reason I'm getting the following issue.
 
The left channel plays in both the left and right sides, while the right channel plays only in the right side.  I'm no electrical genius, but I don't see how this is possible.  If the left / right channel wires were touching at some point of contact, wouldn't the right channel also play in the left side?  I'm kind of confused, and I'm really hoping that someone can give me some guidance, because I really can't seem to figure it out on my own.  Thanks so much!

Will be great if u have multimeter. Use it to check all the connectivity at the driver and and cable and the 3.5mm jack. Somewhere must be shorted

Sent from my GT-N7100 using Tapatalk
 
May 18, 2014 at 10:49 PM Post #643 of 801
I have the same jack. Can you give more details on what you did? What epoxy is good to use? I've got some plastic glue, but I want it to be permanent. And just the epoxy/glue is enough to hold it securely? You said the fit was tight, looking at my open ear cups it looks like it wouldn't fit as is, did you need to file the hole at all? Also, with the way you left the jack hanging out further, you're saying ou didn't have to cut anything out of the internals? I don't mind cutting the one peg out, but would be nice to leave the round bigger part clean.

If you got it to work, nice. I think it looks fine, so no shame in appearance. Most of the tie there will be cable attached anyway.

 
I used Loctite epoxy.  Gorilla epoxy will work as well, but will run around more easily.  Epoxy will definitely do.  I widened the hole gradually with my solder iron until the jack could just barely fit through just because I wasn't in the mod to put with cleaning up the mess that dremelling/filing would do.  That's mainly to hold it in place while I epoxied it.  I did not cut anything inside of the cups, not even the dampening pad, just make sure that the ground tab faces the back of the cup so that the jack fits properly.  The black part is durable plastic, file down the sides next to the right/left channel tabs.  Around a millimeter or two will do, just leave a sort of concave notch on each side, basically.  Then roughen the plastic of the cup around the hole where you will insert the jack, about a few millimeters around the hole will do.  Then when you peoxy it up, the epoxy will get the best grip on both the cup and the jack to hold everything in place very robustly.  Leave it curing for 24 hours, then cut off any excess epoxy that might be in your way when you try to close the cup back up with a utility knife or Xacto knife or such.
 
I removed both of the plastic pegs with pliers.  They are no longer needed and just take up space without any purpose anymore, might as well remove them.  That is up to you, though.
 
May 23, 2014 at 5:20 PM Post #644 of 801
Mod done with a modified inline connector.  
It allows standard patch cable connection but also adds the threaded locking feature that I wanted without having to bore a large hole in the driver cup.  Also minimal driver clamp material removed and no sub clamp foam removed (the white foam under the drive clamp is completely intact).(See fourth image link below)
 
20131115-JDN_3440.jpg

 
20140421_JDN_8478.jpg

 
20140421_JDN_8479.jpg

 
20131115-JDN_3442.jpg


Part that I modified from inline to headphone mount (panel mount style) 
http://www.markertek.com/Connectors-Adapters/Audio-Adapters/3-5mm-Adapters/Calrad-Electronics/30-297.xhtml
 
Thread locking part
http://www.markertek.com/Connectors-Adapters/Audio-Connectors/3-5-2-5mm-Mini-Connectors/Switchcraft-Corporation/35HDLBAUS.xhtml
 
May 23, 2014 at 10:29 PM Post #645 of 801
Impressive!
Where did you get those rubber boots that the Switchcrafts have?
 

Users who are viewing this thread

Back
Top