I had some free time tonight and some extra Noctua thermal paste from a previous CPU I just assembled. So I said what the heck and dissembled my DX7.
First the good news. The job is done, the unit reassembled, and it powers on and sounds fine.
The bad news...
I discovered that:
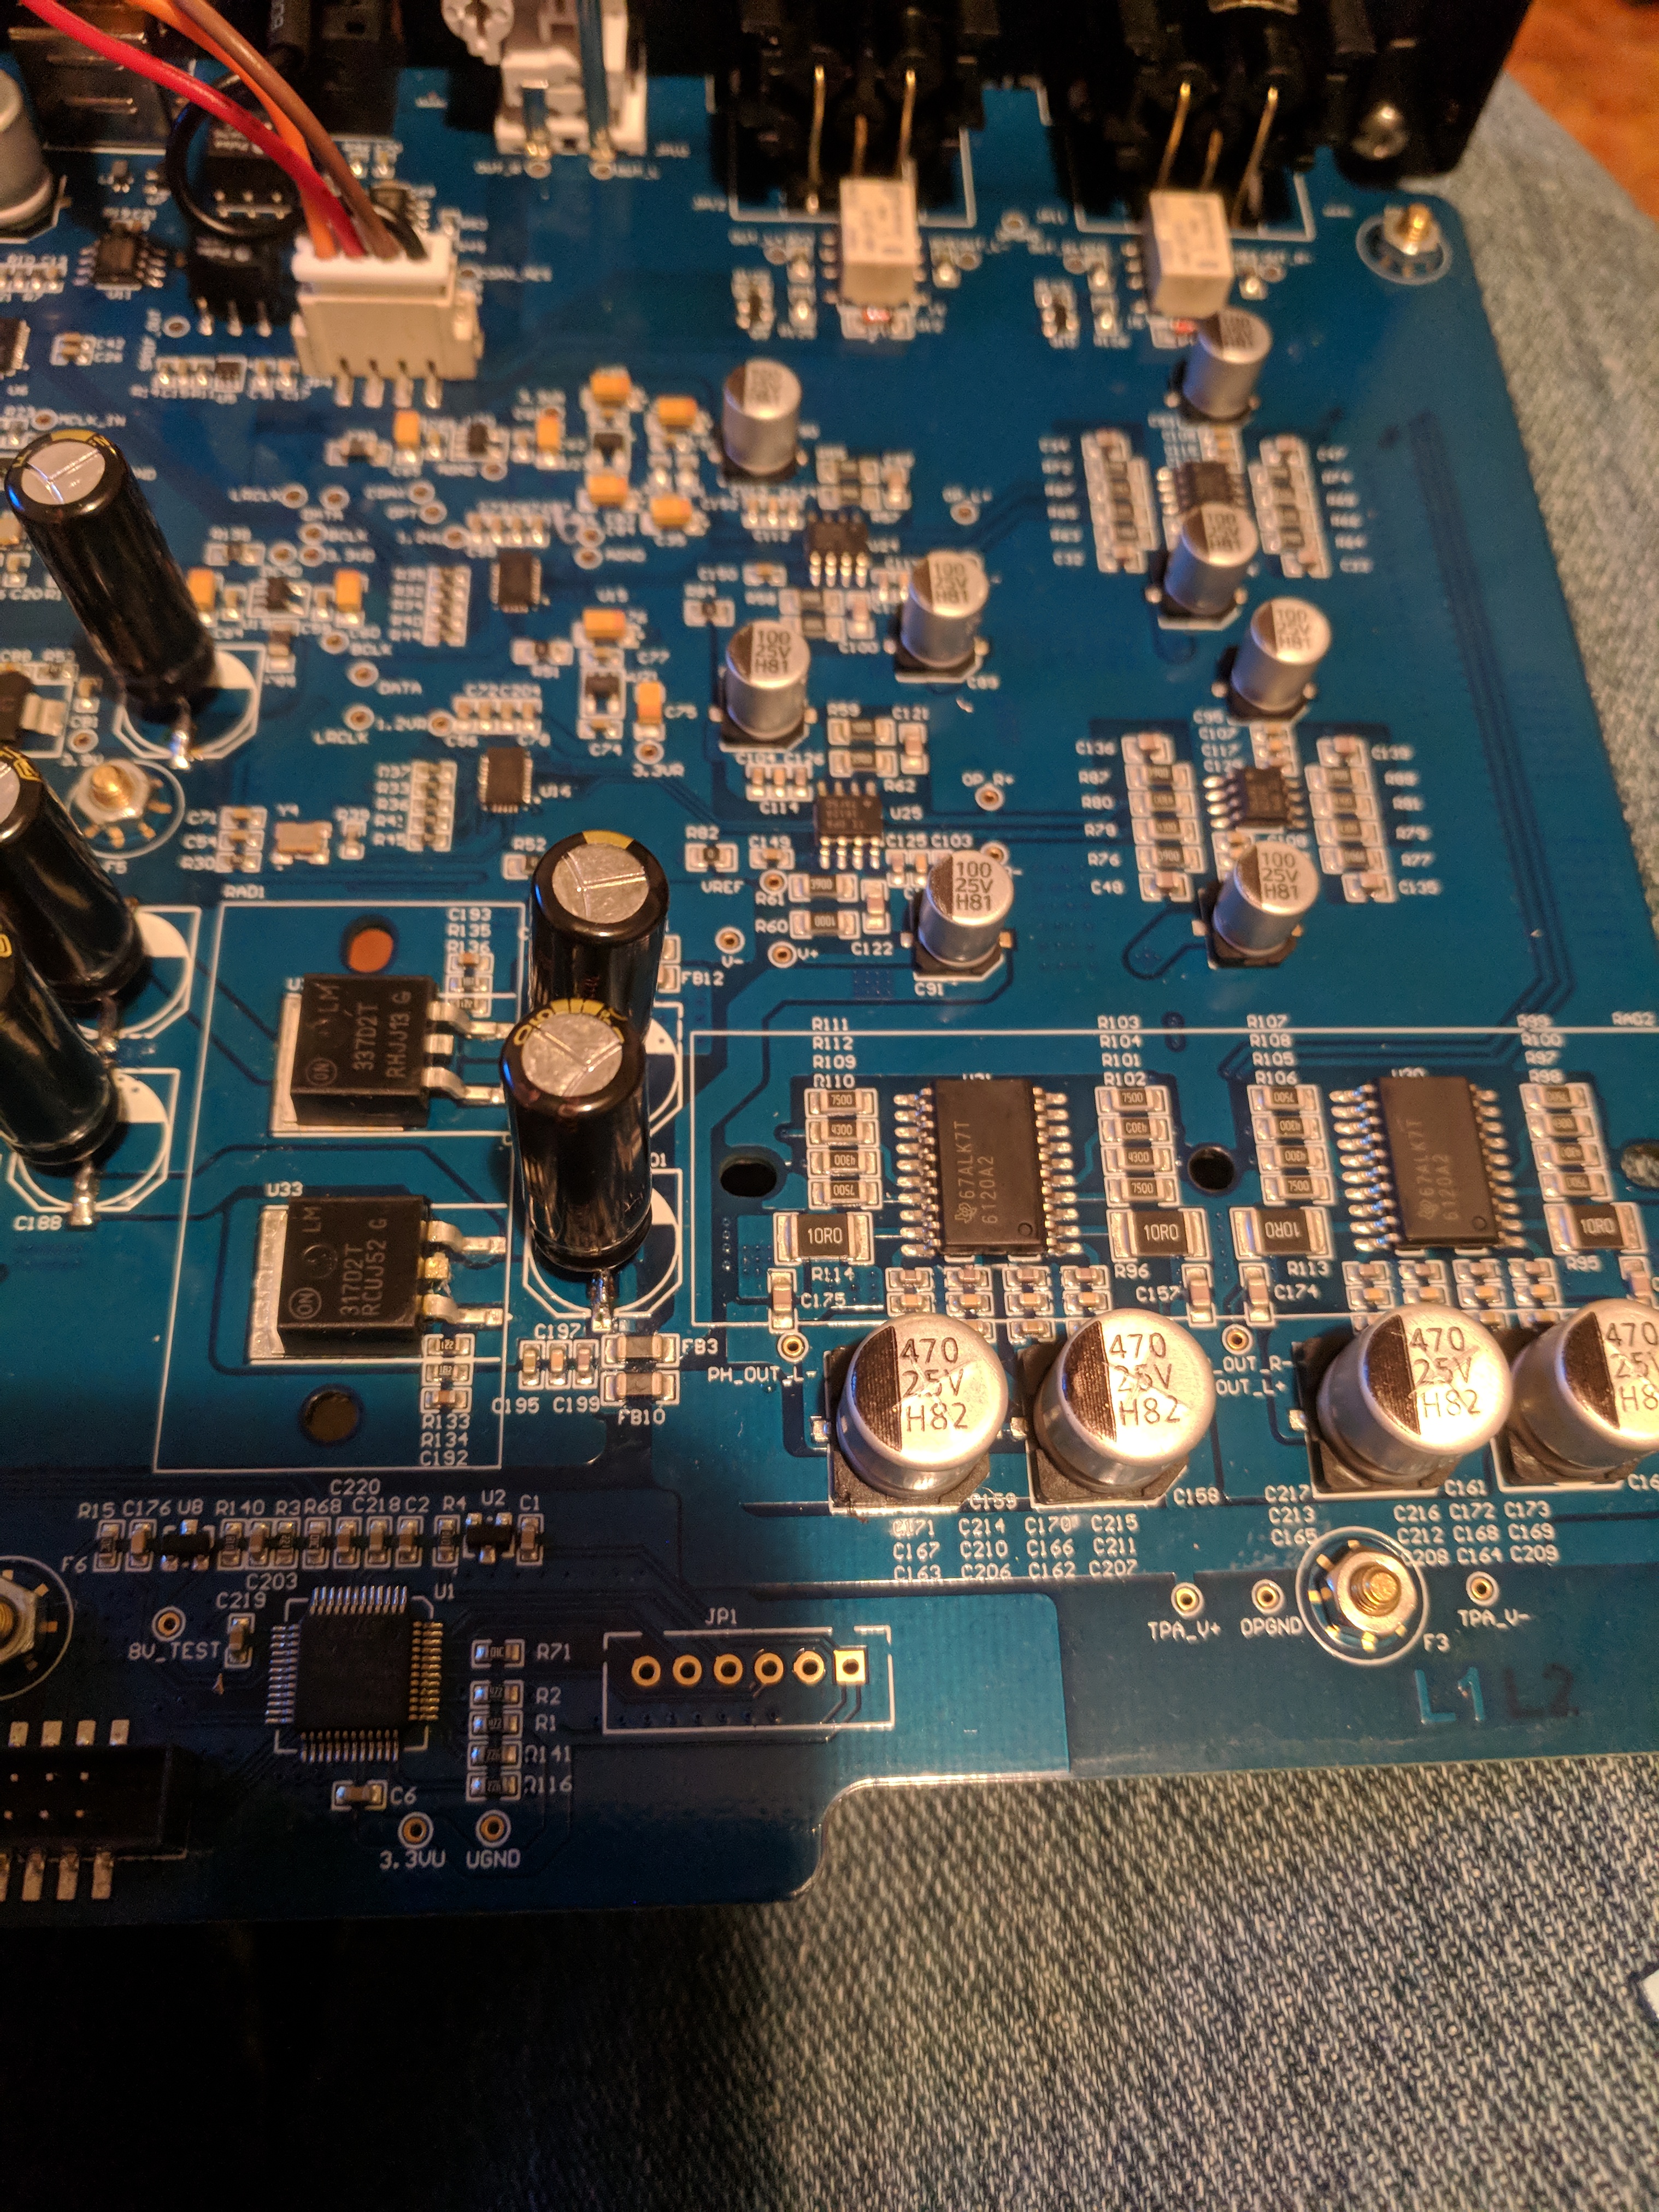
The heat sinks were so loose...the Philips head screws were not tight and the heat sinks were movable and made very poor contact.
There was no sign of any thermal paste or pad on either the 2 ICs or the 2 transistors.
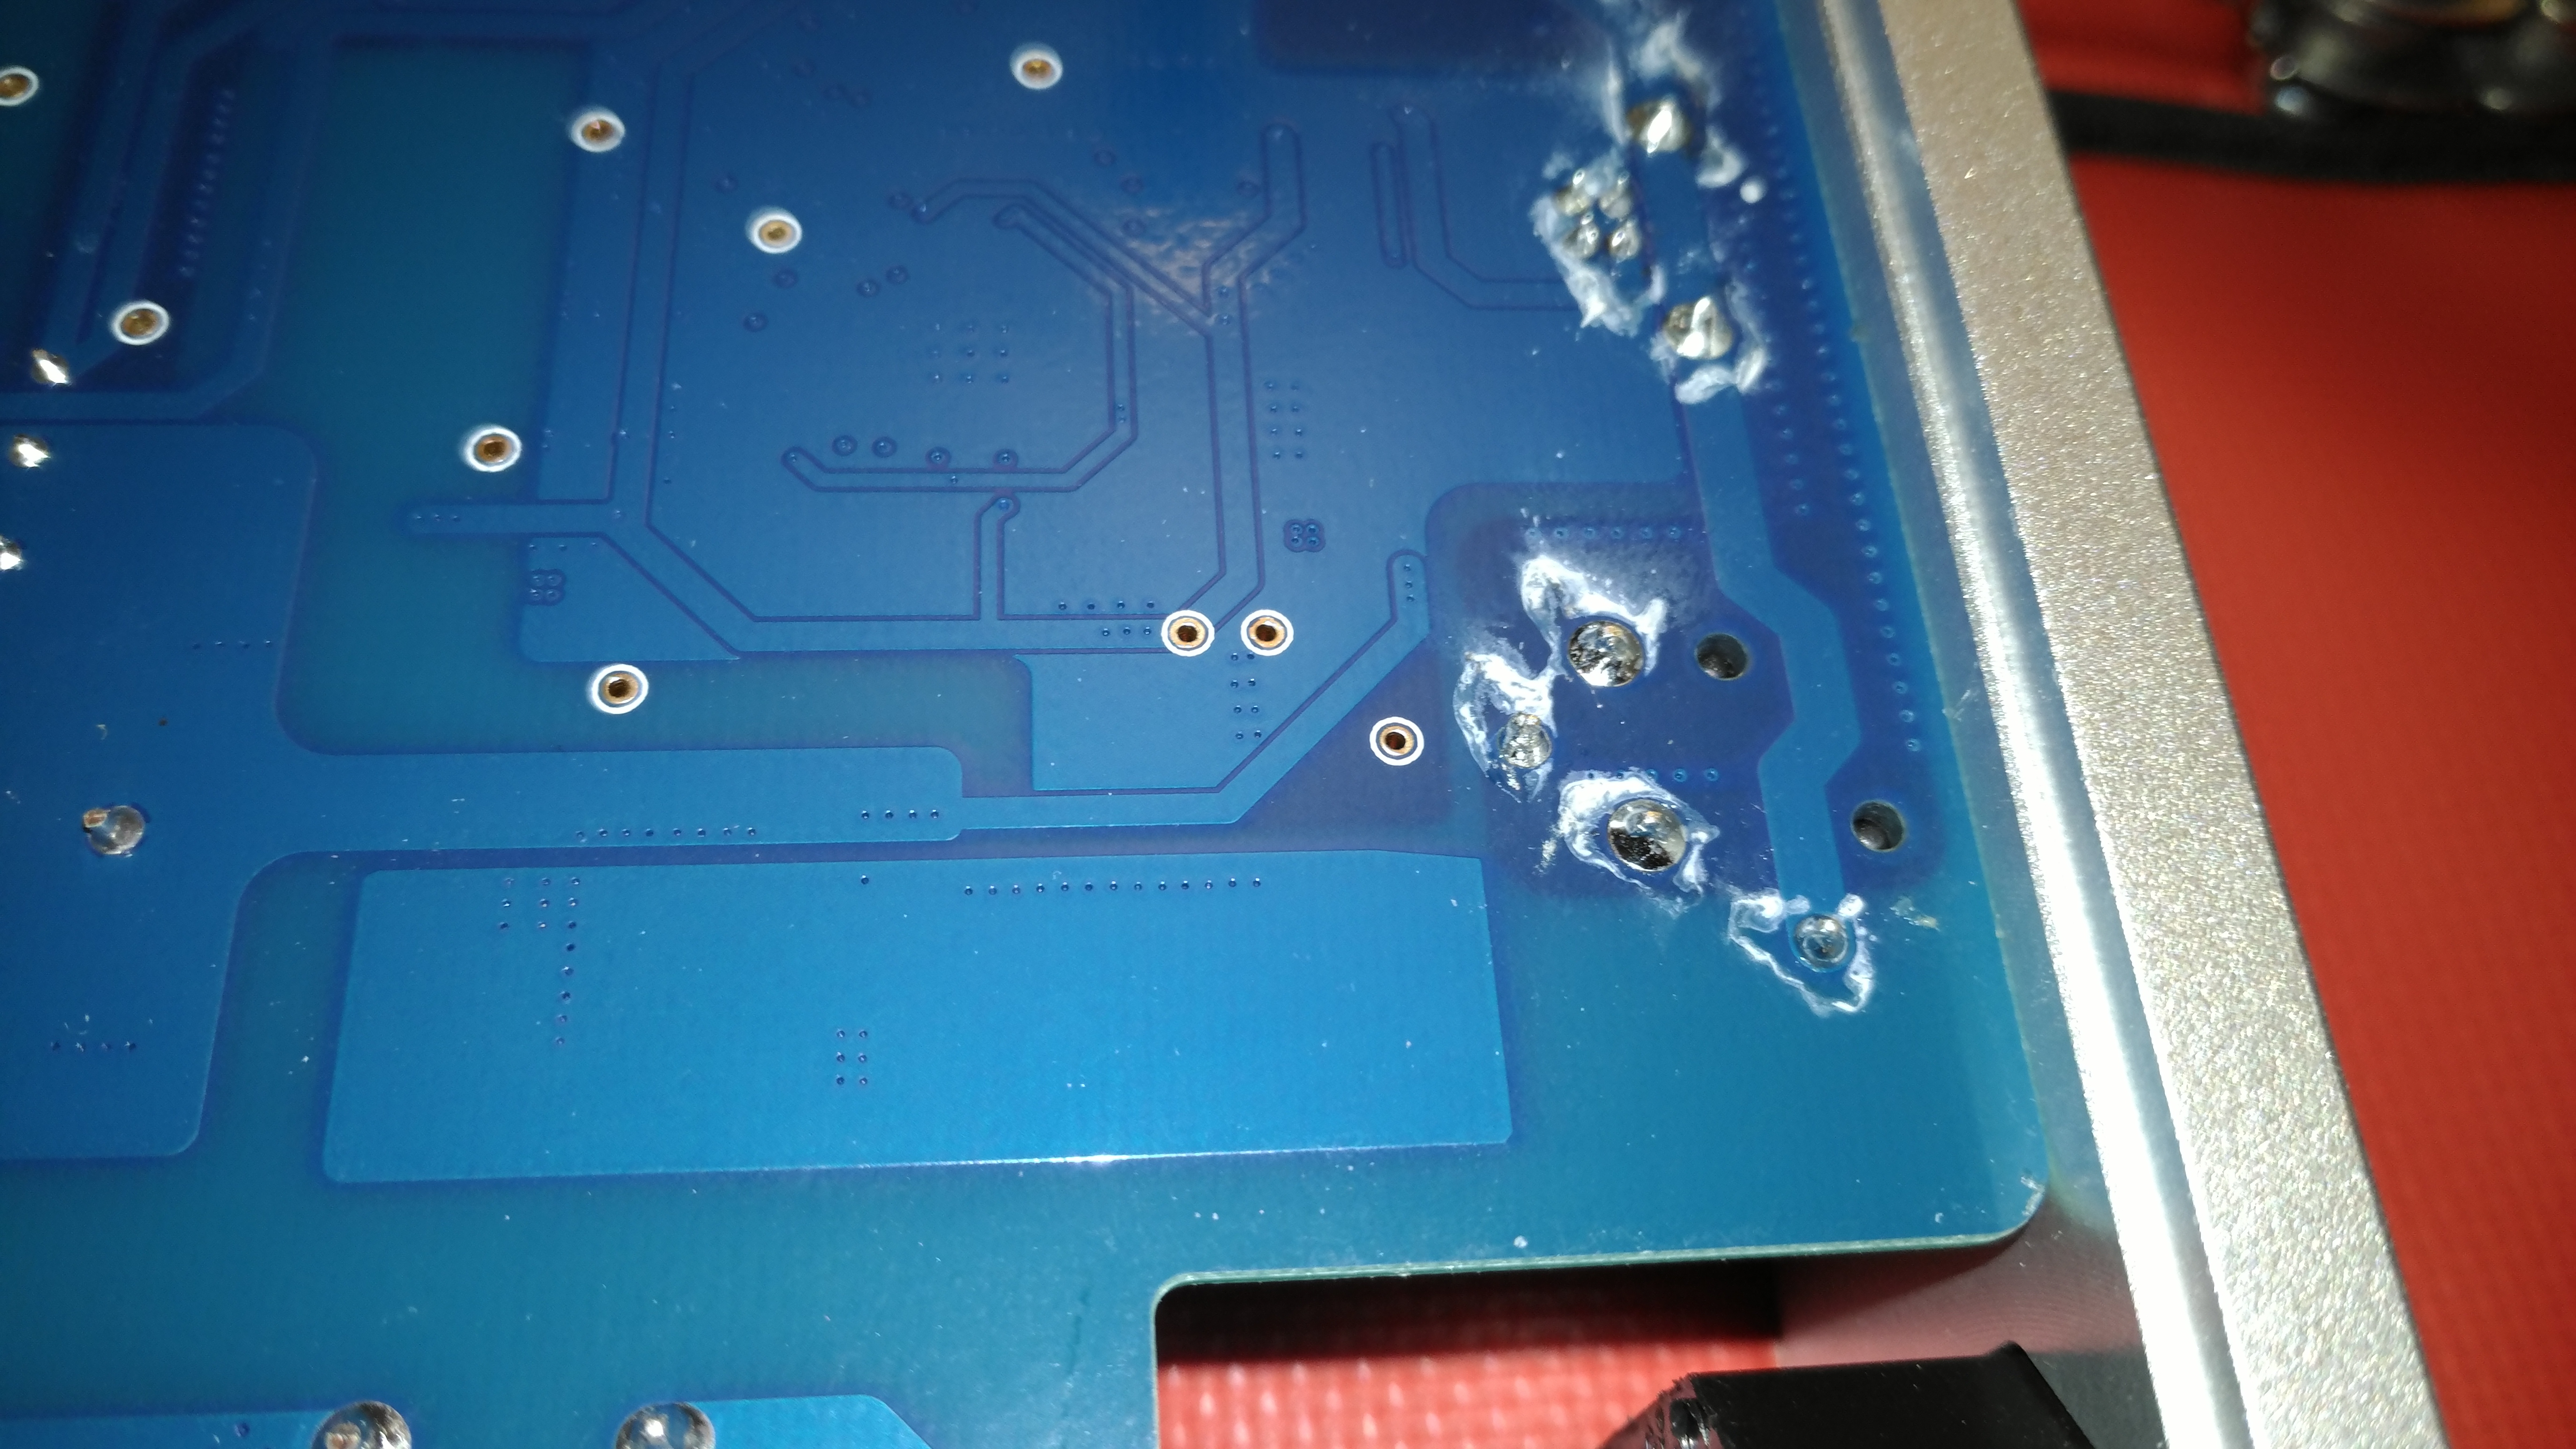
I applied the thermal paste in an extremely thin layer. I photographed the job before making the paste thickness and amount uniform and ultra-thin, as I always fear the possibility that with the heat generated in an energized unit, this paste will flow a bit. Be super careful if using a paste to avoid using too much, and certainly don't get any on the component pins. I took this photo before making it uniform so you could see the paste on the chips.
I carefully replaced the heat-sinks without sliding them around.
The chassis side screws were difficult to re-align on the bottom and sides. Upon removing them, I discovered that the rear panel was ever so slightly warped, so I wondered whether getting the holes to line up on job completion would be a challenge. It was a challenge, and these side screws in particular, were easily prone to cross-threading, so be careful.
After reassembly, everything worked well.
It took me an hour overall. A few minutes to apply the paste and screw down the heat sinks, and about 45-minutes struggling with the chassis holes not lining up because they just couldn't have been laser-aligned upon manufacture.
If some of these units suffered from thermal runaway and died, I am not at all surprised given the behavior of the person who screwed the heat-sinks down. This degree of looseness simply could not be blamed on shipping vibration.
Don't rush through the job. Try replacing different screws if at first things don't line up. Your build quality and alignment may be better than mine. And be careful with the tiny screws on the floor of the unit. They may seem like they are tight, but then get a flashlight and look at each standoff to make sure they not only partially tightened, and that the PB board is not "tenting" as partial screw purchase can cause. You do NOT want to stress the PC board tracings.
Enjoy!


![DSC_1474[1].jpg](https://cdn.head-fi.org/a/10067797.jpg)


![DSC_0128[1].jpg](https://cdn.head-fi.org/a/10028433.jpg)