the Pimeta-V2 thread
Mar 4, 2013 at 11:58 AM Post #543 of 651
No, tent, both C4 caps are oriented the same direction on the PCB: the negative thru-holes are toward the back end of the board, where the power input pads are, and the positive thru-holes are toward the volume control pads.

The C4+ and C4- labels are just the names of the part. You aren't supposed to read anything more into their names than that, such as part orientation. I didn't see a potential for confusion since the top-side footprints are intended for box caps, which are film, hence non-polarized.

If you look on the bottom side of the board, where the SMT footprints are, you find + signs since those footprints are intended for SMT tantalums.

Now, there's still one mystery remaining, which is that the IG to V+ measurement looks correct, yet your misinterpretation of the labeling suggests that the C4+ cap is the one you installed backwards. I would guess that the solution to the riddle is that you're thinking the stripe on a tantalum marks the negative lead, as on an electrolytic cap. On a tantalum, it's the positive lead that's marked with a stripe. On some tants, at least, you should also see a very small + sign near that lead.
 
Mar 4, 2013 at 6:11 PM Post #544 of 651
IT WORKED!
The C4- and C4+ writings I was referencing at were the ones on the top side not on the bottom side (that where as well reversed.. :wink:
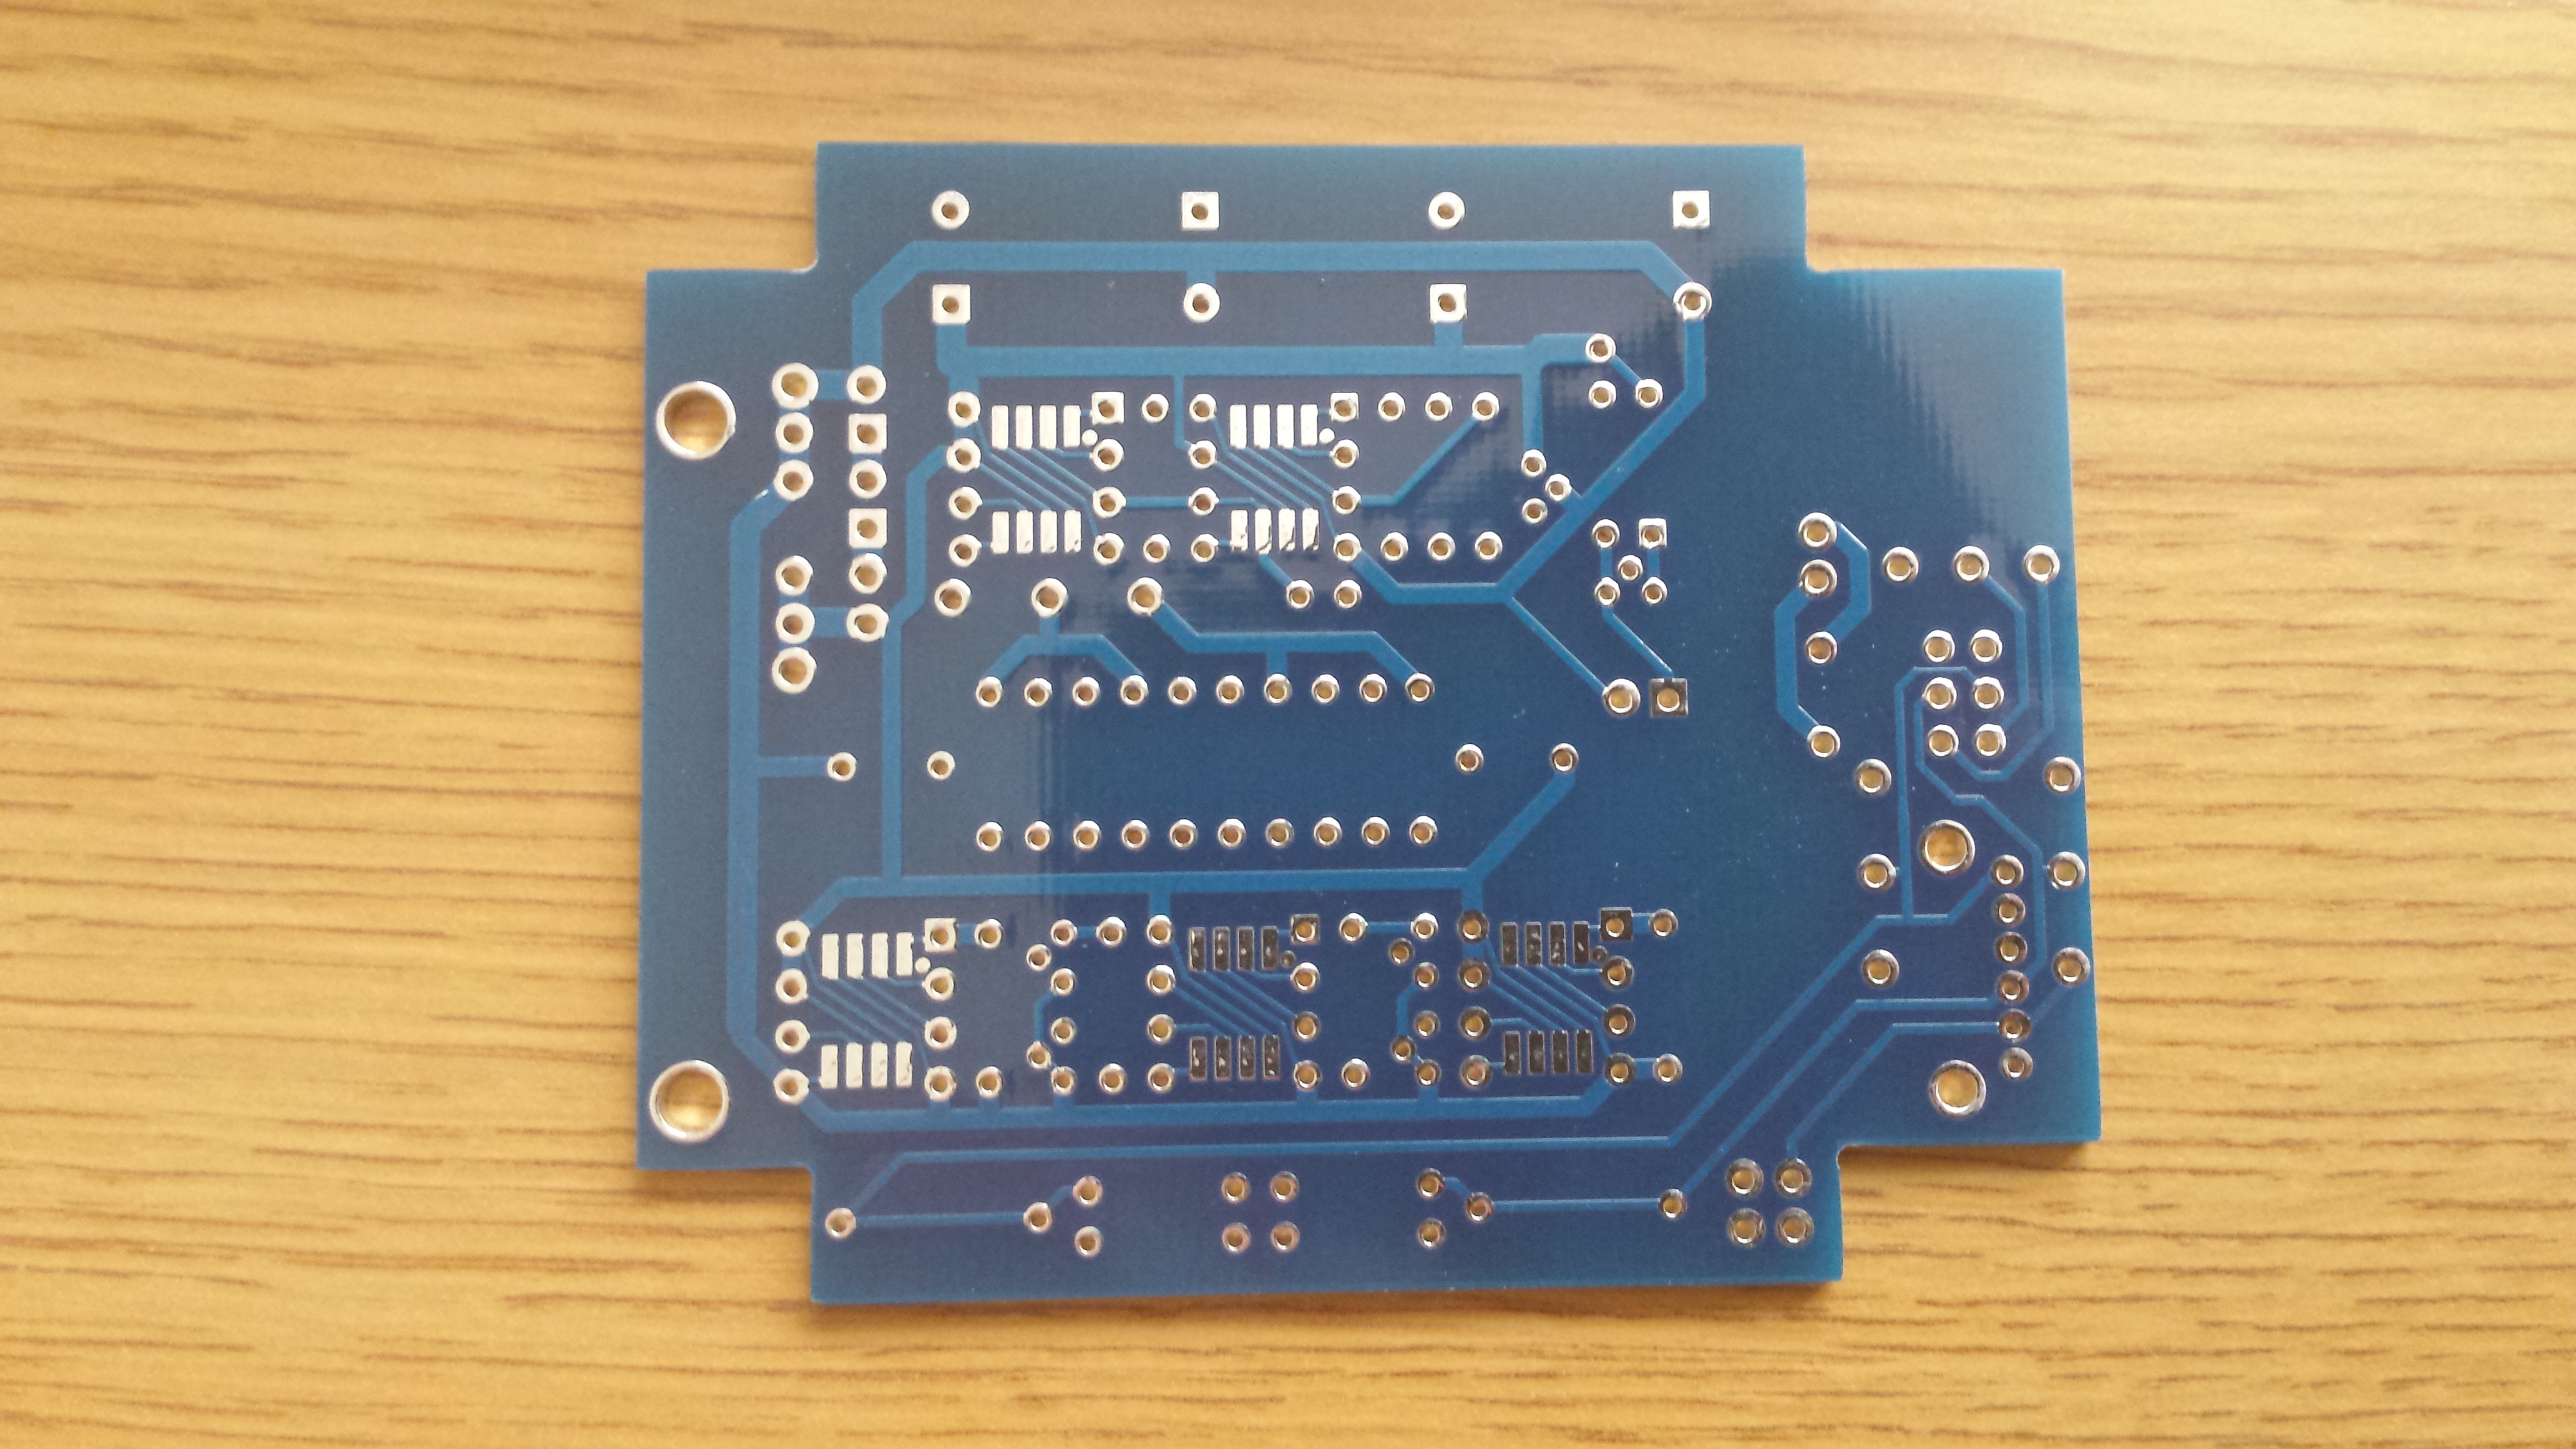
) but at the end I also used the opportunity to get rid ot those tants and am using now instead some good and huge richmond 4.7uF MKTs unpolarized. But definitely you were right: I should have noticed that in the bottom side there were those "real" + signs indicating polarity.. =)
But now the voltages are finally perfect and balanced: Great!
On a side note the bass boost: this is really too much for my headphones.. bass sounds really overdriven at the point it is unbearable.. if I would have, say, half of the db kick, should I change the 0.1 cap or the value of R4?
A part from that the sound of the device is really astonishing (with bb off).. no big difference to be noticed instead in switching class A on or off, to be honest.. maybe in some rapid passages where bass and trebles alternate themselves.. not sure it is an illusion anyway..
I also started to change some opamp in the sockets.. not sure if I prefer the bb 2132 or the lm 4562.. will still try others too and let you know..
Thanks a lot for the great and successfull hunt for the bug.. as always human error/misinterpretation showed up again.. :wink:
 
tent:wq
 
 
Mar 4, 2013 at 8:38 PM Post #545 of 651
Quote:
if I would have, say, half of the db kick, should I change the 0.1 cap or the value of R4?

 
I assume you have a PPA style bass boost?
 
If so, then you'd want to change the value of its "R7". (Not the "real" R7 on the PIMETA v2 board.) This affects the amount of boost. (As opposed to its associated cap, which the PPA calls C7, which affects the filter's corner frequency.)
 
0.5 dB is just 1.06x your gain without bass boost. So with the stock 4.7K R4, the bass boost "R7" should be 330 ohms or so, ideally. The PPA bass boost calculator says you get more boost than that. I don't know if it's the equations that are misbehaving because the dB boost is so low or if the circuit just can't achieve such low boost values.
 
Also note that 0.1 uF is probably way, way too low for the cap. Again, use the calculator. I think R4 = 4.7k, R7 = 470, C7 = 2.2 uF should give a nice mild bass bump.
 
Mar 5, 2013 at 3:36 AM Post #546 of 651
actually I was using the "pimeta" style called "unity" boost.. just putting tha cap across r4 and a switch as well to set it off..
R4 is indeed 4.7k and the cap is 0.1uF from some suggested sentence.. maybe that's the reason about this "huge" bass boost?
 
tent:wq

PS: by the way the LM4562 is a lot better sounding than BB2132 indeed.. but still testing some other opamps that seem to be great like LME49860 which seems to me even better.. but this seems always kind of difficult to judge or stay objective imho..
 
Mar 5, 2013 at 4:39 AM Post #547 of 651
In that case, pretty much everything I wrote goes out the window.
 
Unfortunately, what you ask isn't readily within the grasp of the unity boost circuit. Unity boost means the un-boosted gain is 1x, and you're asking for a bass boost of only 0.5 dB. This means you have to calculate R4 to give 1.06x gain, which means it has to be 60 ohms if R3 is 1K! Not only is this an ugly duckling in its own right, it then means the parallel bass boost cap has to be ~8uF in order to keep the corner frequency where you have it now, ~330 Hz. If you want to lower the fc, as would make sense to reduce the BB's effect, the cap has to be even bigger. You'll find that if you go shopping for such big film caps, they're not terribly practical, and if they're small enough to fit your box, they're probably not very good for audio.
 
I'd suggest giving up on your 0.5 dB boost wish, set R3=R4 for 2x bass boost (6 dB), and just adjust the fc to taste by changing the cap value.
 
To keep your current fc=330 Hz with R4=1K, you need a cap value of 0.47uF. Doubling that cap value to 1 uF pushes the fc down by half, to around 160 Hz, more of a true bass region.
 
Such caps are still a bit on the big side, so you might want to set R3=R4=10K instead. That shouldn't hurt the noise floor too badly, and it lets you drop the cap values by 10x.
 
There's a middle ground between these approaches, of course. Let's say you end up with R3=10K and fc=150 Hz and decide the boost start point is fine, but the boost level still a bit too high. So, to cut that in half to ~3 dB boost, you'd use R4 = 3.9K and a ~0.22 uF cap.
 
Bottom line, play with the circuit, and play with the equations. Wolfram Alpha makes the math easy.
 
Apr 3, 2013 at 11:36 PM Post #548 of 651
Given that one only powers this device with pure DC (i.e batts. only), anyone know the usable lifetime of the electrolytic caps used? The rated lifespan of electros is not that spectacular (a few K hrs). You may have noted some of the better computer motherboards touting use of "Japanese solid caps". These are also electros but not as "leaky"...so longer lasting? 
 
Refs:
http://electronics.stackexchange.com/questions/12636/how-do-i-compute-the-lifetime-of-an-electrolytic-capacitor
http://www.hardwaresecrets.com/article/How-to-Identify-Japanese-Electrolytic-Capacitors/595/2
 
Apr 4, 2013 at 8:59 AM Post #549 of 651
I'm not really sure what you're asking. You appear to have done your homework, and are wanting...what? An acknowledgement that you have, or a refutation that you've done it correctly, or...?
 
It is true that cap life doubles for each 10℃ step away from the temperature rating for your device. Therefore, a 105℃ cap will last 4× longer than an 85℃ cap, all else being equal. Further, reducing idle current and increasing ventilation may be worthwhile. But a bigger improvement in lifetime than either may simply be to turn the amp off when you're not using it; the PIMETA v2 design supports this by not having a warmup period or a nasty turn-on thump.
 
It should also be pointed out that in a circuit like the PIMETA v2, rail caps don't hit some magic point and then die, poof. What's going to happen is that at some point, the caps will drop beneath their rated performance limits, but will continue to work. Effective capacitance will drop, but DIYers being DIYers, you've probably put more capacitance in place than you really had to have, so you've bought yourself that much more effective lifetime.
 
It is also true that not all electrolytic caps are created equal. I don't think it's true that only Japanese caps are worth using, any more than it is true that only Japanese TVs are worth buying. More important is doing that homework, finding out if you can trust the specs in the datasheet, then finding a datasheet that gives you the assurances you want.
 
May 14, 2013 at 1:58 AM Post #550 of 651

 
I originally had a 2 cell, 800mAh LiFePO4 pack earmarked for this build but decided against waiting the 3 months for a MCP73X23EV-LFP module so went ahead with a 9 volt NiMH battery instead.
Worked out pretty nice if I get to say so myself.
biggrin.gif

 
Link without the accoutrements:
 
http://i23.photobucket.com/albums/b393/X86inside/Pimeta%202/Again/P1000738_zps80f62f67.jpg
 
May 14, 2013 at 4:45 AM Post #551 of 651
Solid build.
 
I'm not sure I've seen anyone use Phoenix Contact connectors in a PIMETA v2 before. Nice to know they fit.
 
Jul 21, 2014 at 9:58 PM Post #552 of 651
Can I remove the Class A Biasing from the Pimeta V2 schematic?

I would like to remove Q2, Q3R, Q3L and the RBias resistor?

Is there a problem If a Remove the Class A Biasing from Pimeta V2?

Scehamtic:

http://tangentsoft.net/audio/pimeta2/misc/sch-2.01.pdf

Regards.
Alfredo Mendiola Loyola
Lima, Peru
 
Jul 22, 2014 at 8:56 AM Post #554 of 651
I have designed a Pimeta V1 mod for desktop use.

I don't use a virtual ground.

Does Pimeta work with real ground instead of Virtual Ground?

How can I attach a picture on this forum?

I'm using a 7812 and 7912 regulator to get +/-12v with real ground.

Here is the schematic link:

https://www.dropbox.com/s/o6s2gh3v2qu3yzc/PimetaDesktop.png

Regards.
Alfredo Mendiola Loyola
Lima, Peru
 
Jul 22, 2014 at 9:23 AM Post #555 of 651
Does Pimeta work with real ground instead of Virtual Ground?

 
Yes.
 
How can I attach a picture on this forum?

 
In the "Reply" composition area, the toolbar above the message box has a button for this.
 
Here is the schematic link:

 
Thanks for posting it.  It looks like it should work.
 
You might want to give it a different name, though. Virtual ground is pretty essential to the "PIMETA" nature. Also, I've always thought of the PCB as an essential part of each project's identity. You will necessarily have to come up with a different design for this one, so you're getting into something that needs its own name.
 
You might want to create a new symbol for the BUF634, based on the traditional buffer symbol. My EAGLE videos will show you how. You can use the LMH6321 symbol in my PIMETA v2 schematic as a guide.
 

Users who are viewing this thread

Back
Top