Ok guys I managed to root this little device
")
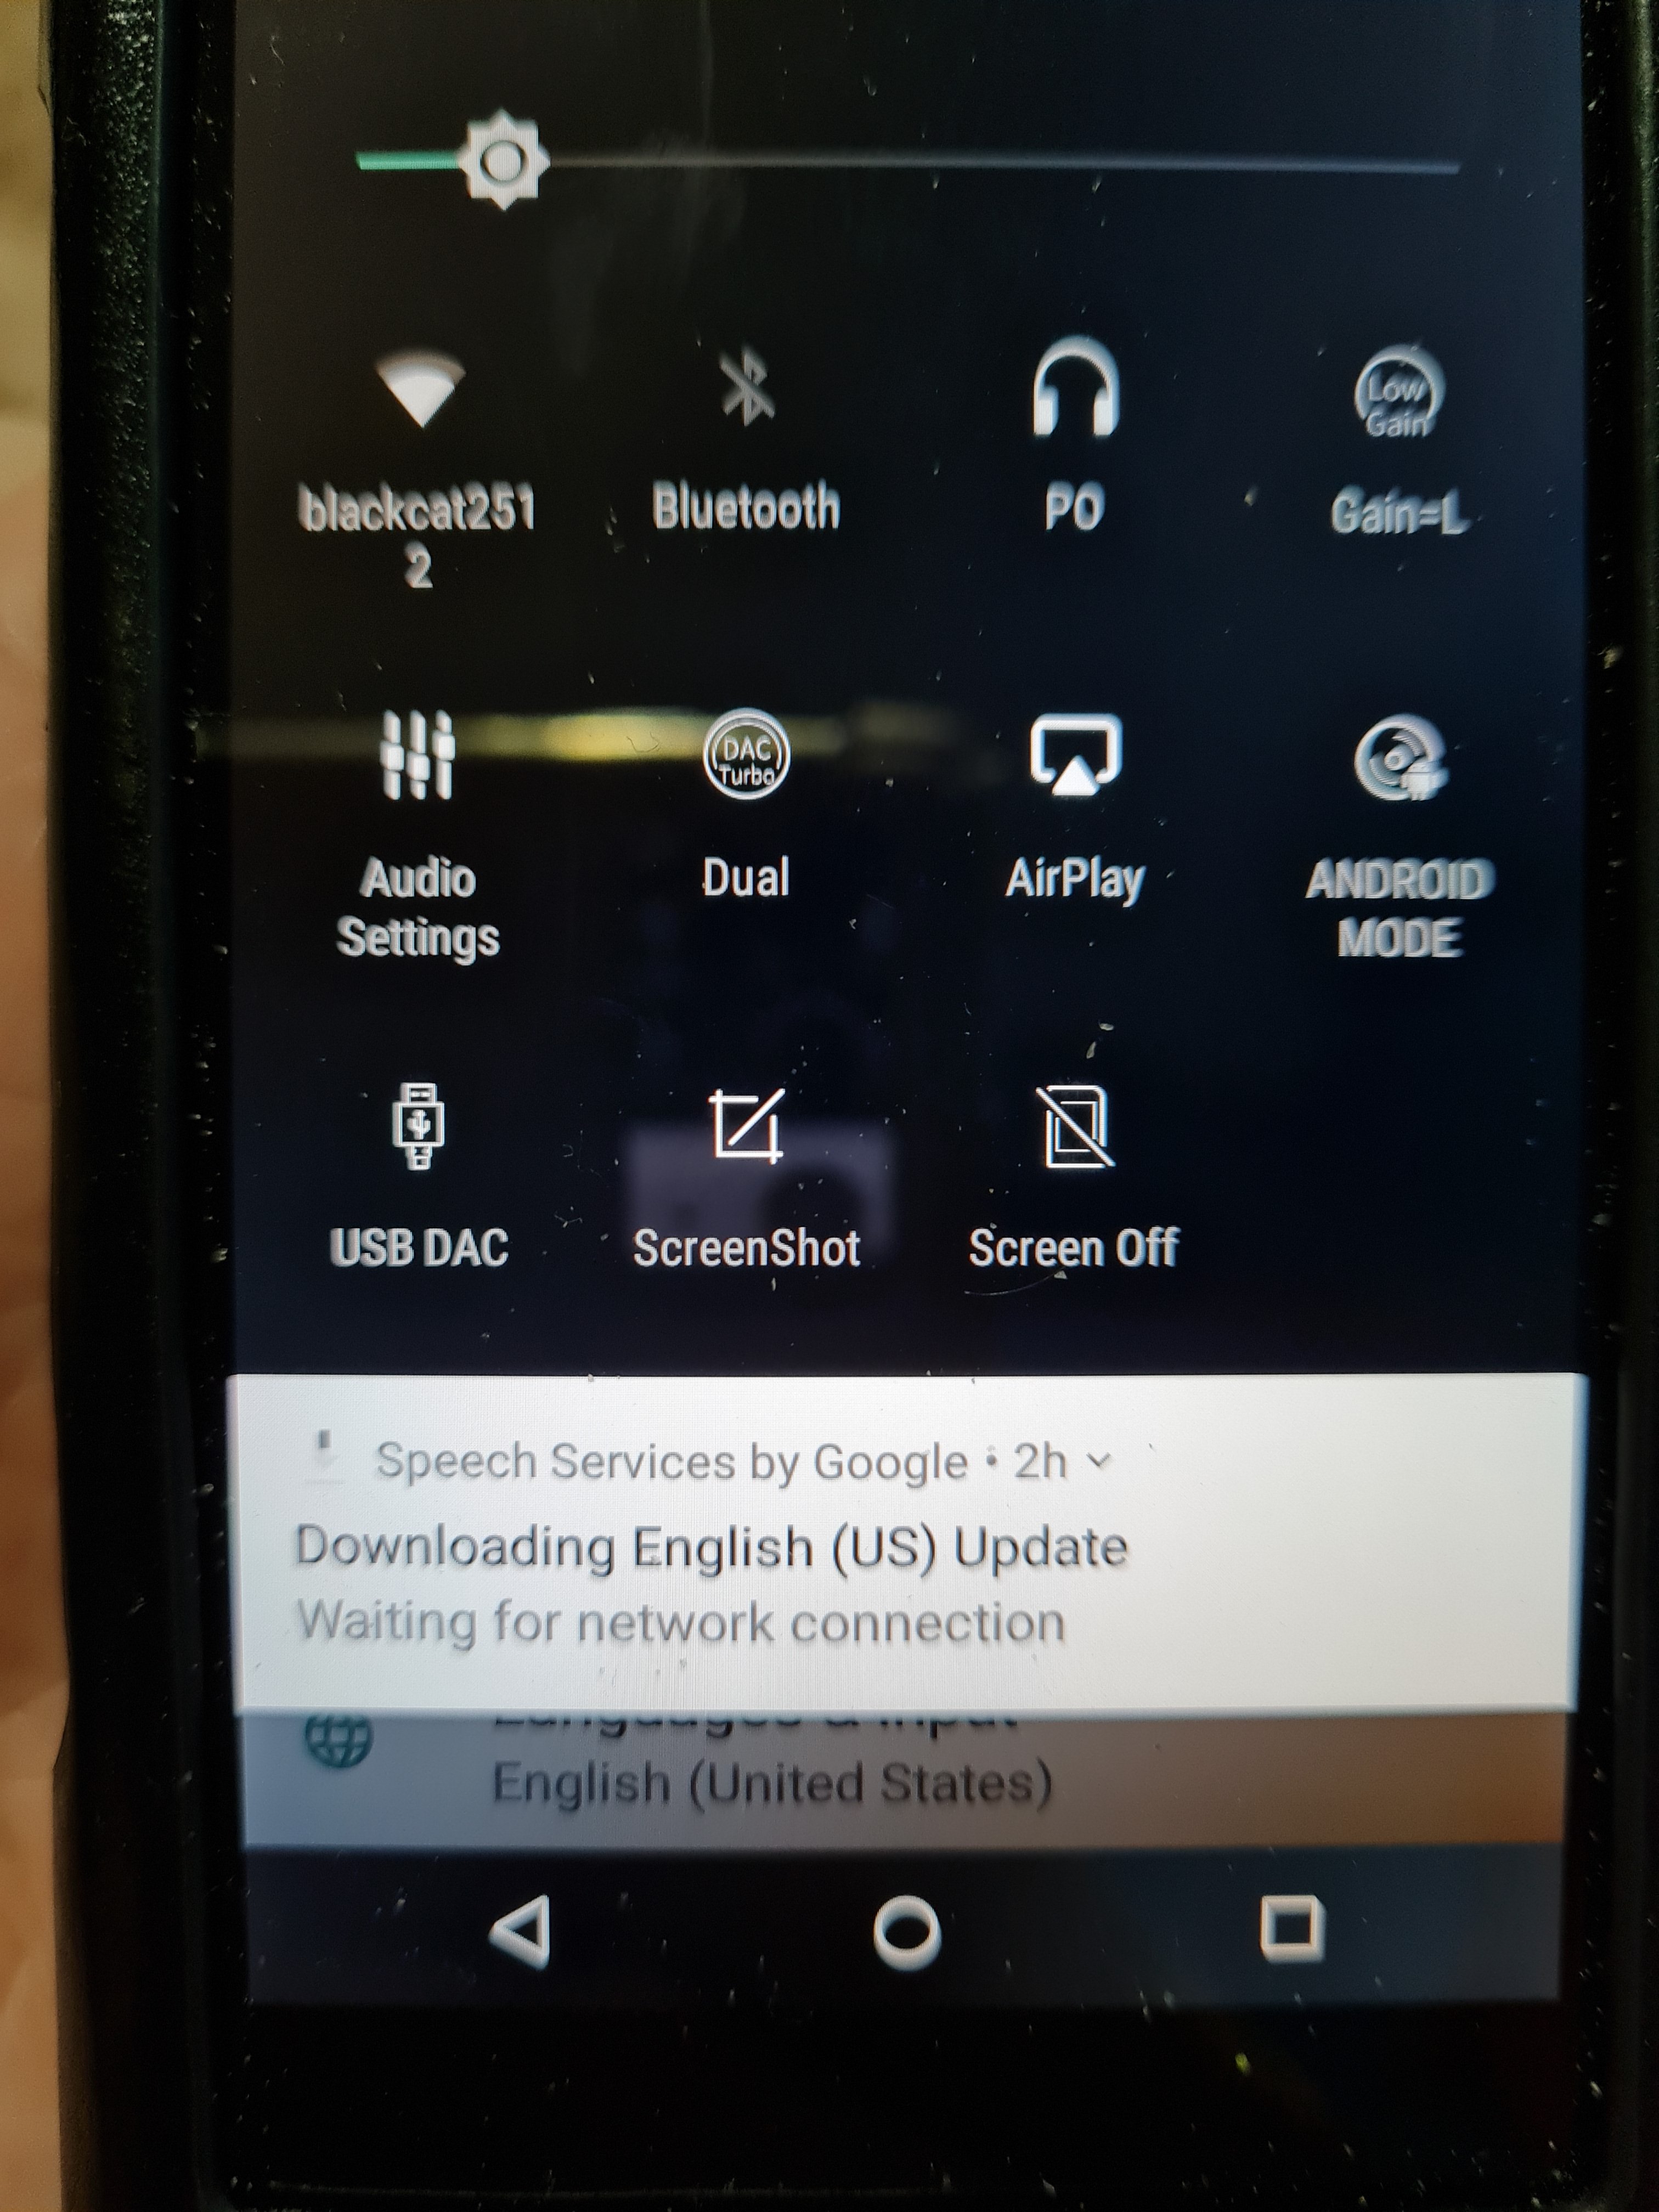
I didnt get Viper4Android FX to work
yet, the most promising version seems to be 2.7.1.0
SAFTY INFORMATION: Whatever you do, its on your own responsibility. Your warranty might be void and there is the risk of bricking your device!
So this is what I did:
- Extract the boot.img from M3X Firmware V1.62- Do not open, just copy.zip
- Copy the Magisk-v25.2.apk and boot.img to your Shanling M3X
- Install the Magisk-v25.2.apk
- In Magisk press "Install" in the upper right corner
- On "Method" select "Select and Patch a File" and choose your boot.img then press "Let's Go"
- When Magisk is done, you can close the App and transfer the patched boot.img to your PC.
- On your M3X, activate Developer Mode. Settings > About device > Tap multiple times on the Build number
- In Developer Options, activate USB debugging
- On your PC extract the platform-tools.zip and install EDL.py
- Plug the M3X into your computer with a good USB cable. You may be promted to allow USB debugging on the M3X - check "Always allow from this computer" and OK
- Open a Command/Terminal window and navigate to your platform-tools folder
- Use following command
the display of your M3X will now turn black
- In the Command/Terminal window navigate to your EDL.py installation
From now on you could brick your device, please advance only if you know what you are doing!
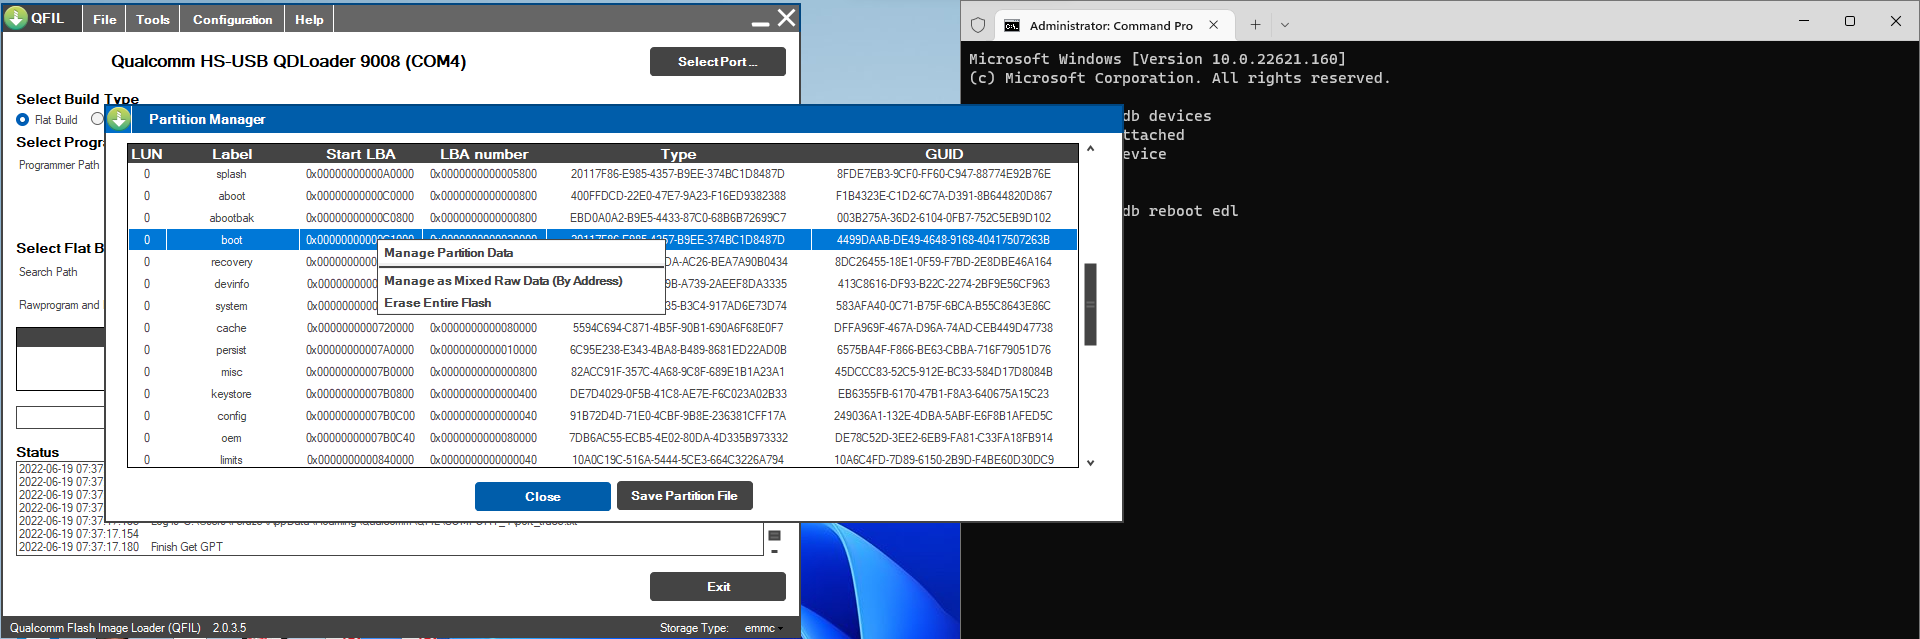
I would highly recommend to do a backup of everything with the commands mentioned on the EDL Github site
14. Use following command to dump your stock
boot.img
the stock boot.img will appear in your EDL folder, move to a safe space.
15. Now copy your
Magisk patched boot.img into the
EDL folder and run following command:
16. When EDL is done, you can disconnect your M3X. You might need to hold the powerbutton for 20-30 seconds until it leaves edl mode and starts booting.
17.
Congratulations! You rooted your M3X
Further information: Currently I'm trying to build a TWRP recovery but its not my main priority. I just want a usable Viper4Android systemwide EQ. I'm open for suggestions for improvement.
Have fun