Between last night and this morning, I finished wiring the tube heaters. Not trivial given the oddball tubes that are going in this amp. Thankfully, as I've thought about it, this project is going to get easier as I go, should be over the hump on extremely tedious tasks now
")
Here is the mains transformer wired. All of the wire is PTFE insulated silver-plated copper, all twisted with a hand drill. I ended up adding some voltage dropping resistors for the power tubes. I opted to solder them directly onto the transformer heater pins, only dissipating 0.25W a piece and are rated for 5W. One less thing to mount in a crowded amp and I can keep a better twist up to the heater pins without resistors in the way.

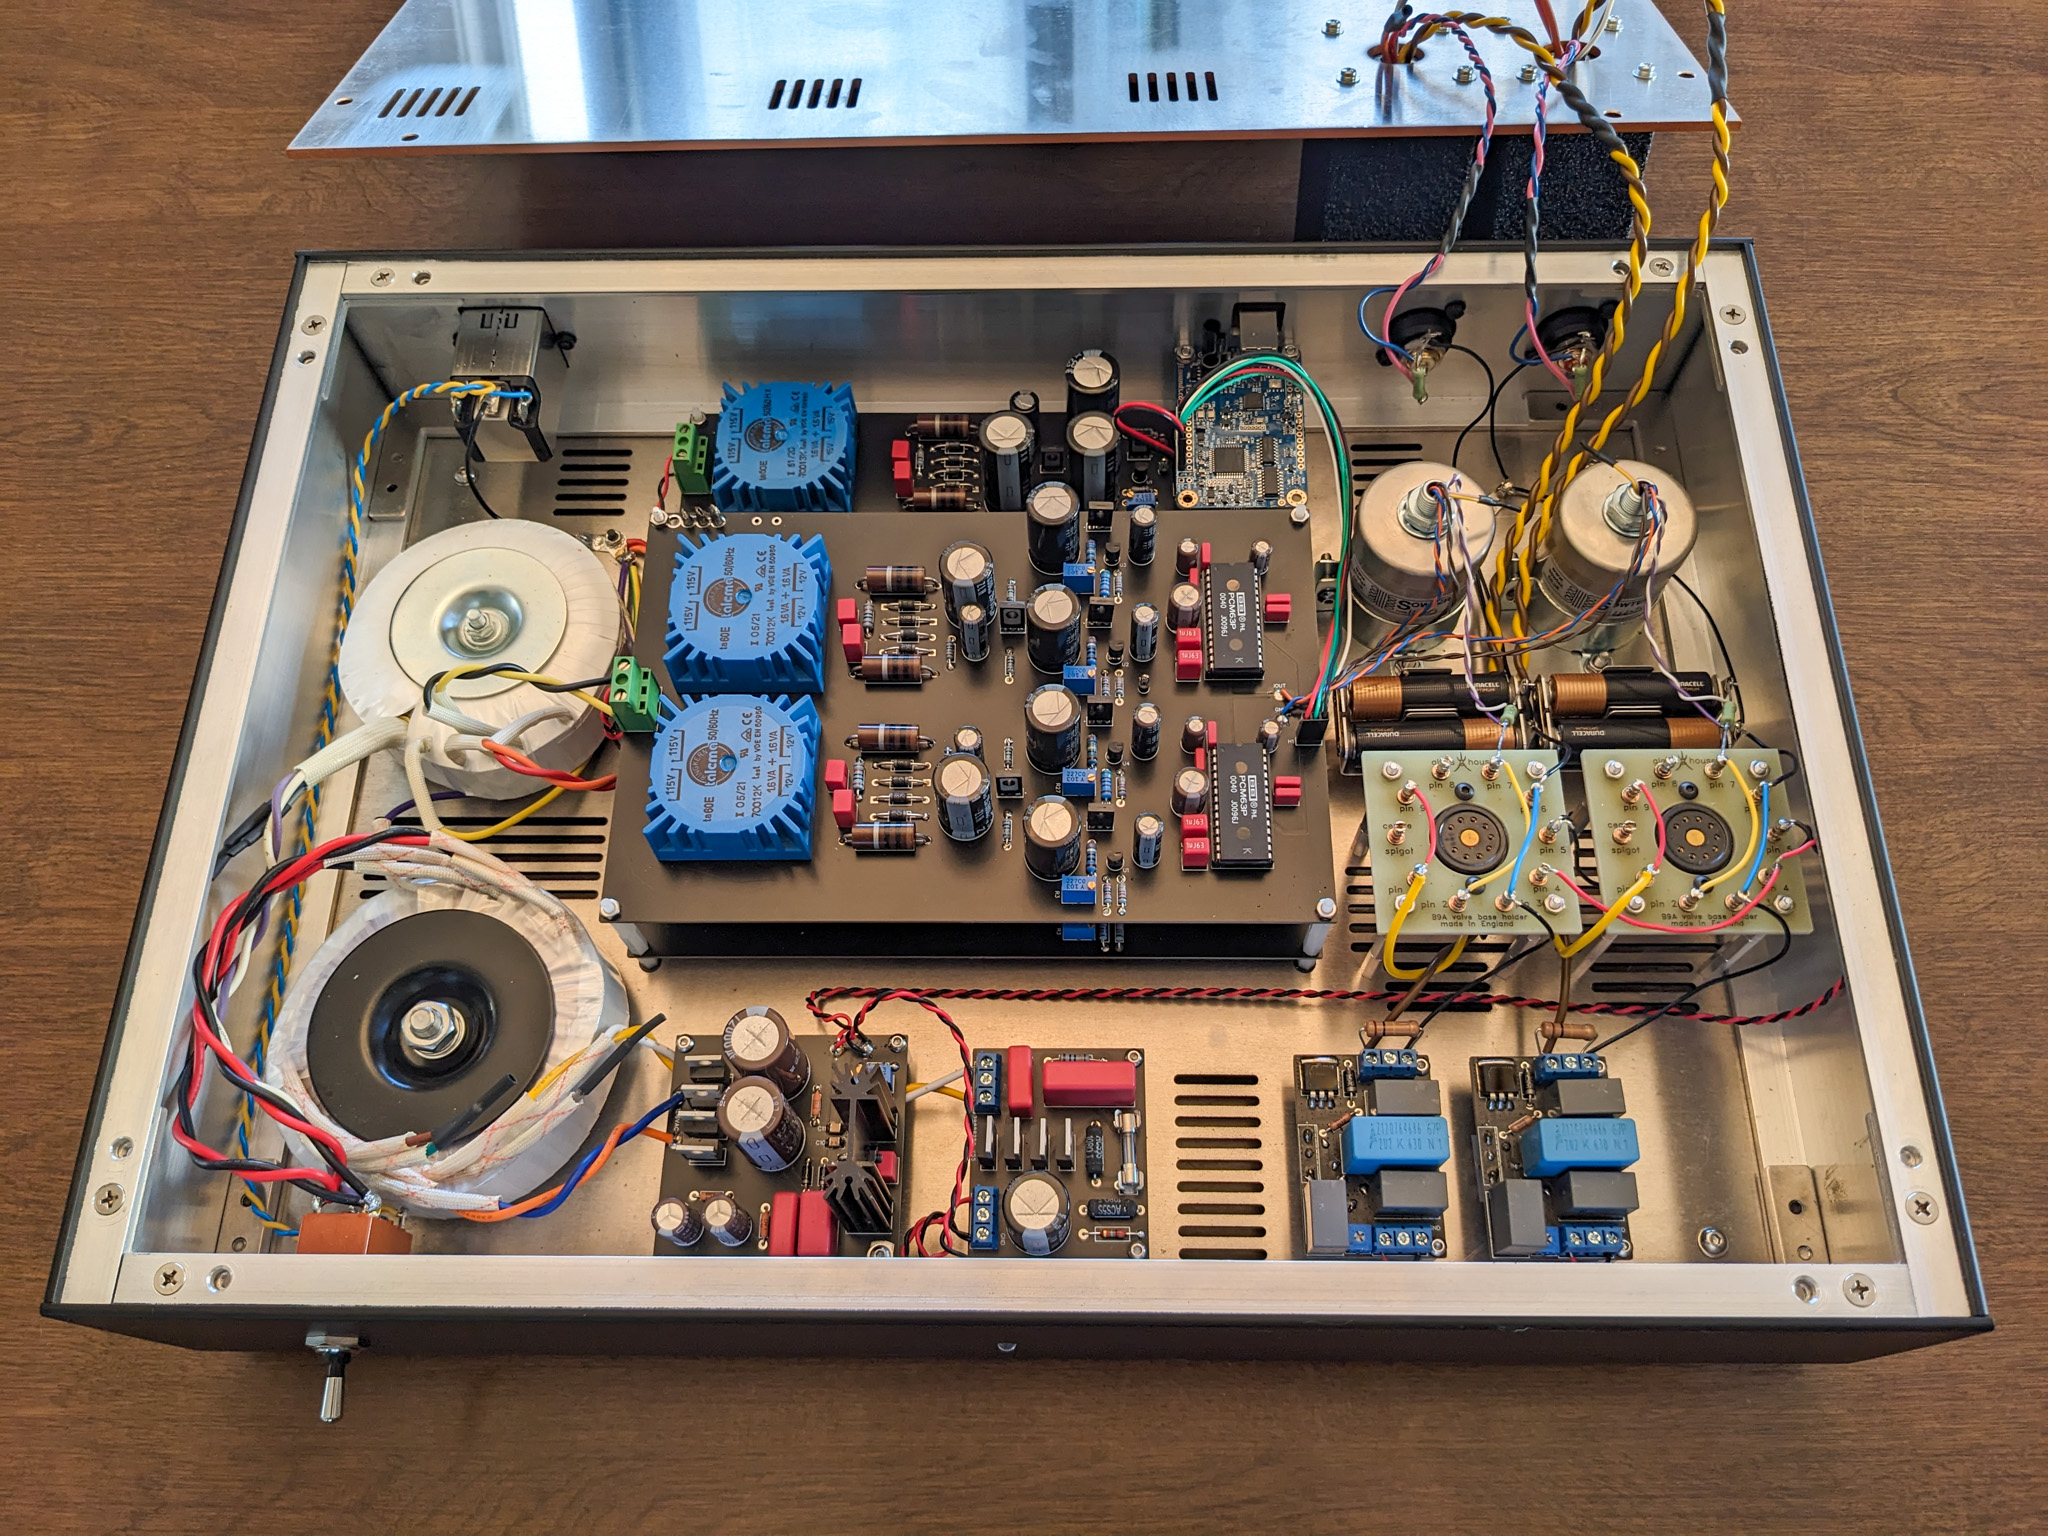
Here is a mess of mains and heater wires after mounting the transformer. Chokes were removed for more working room and to get the heater wiring into the corners of the amp.

Here is the result. For my layout, I had originally wanted to keep all of the AC wiring on one side of the amp, and the major signal wiring on the opposite side. I couldn't justify sending heater wiring across the middle of the amplifier for the right output tube, so it is on the signal wiring side. I am using shielded wire for the inputs, so shouldn't cause any hum issues. If it does, can always move it later, I may reconsider.

Here are some of the dropping resistors, the set on the left (yellow wiring) drops the 5.9V winding down to 5V for use of 5Z3 rectifiers. The set on the right (green wiring) drops the other 5.9V winding down to 4V for the driver tubes. Note that it is center-tapped with a pair of 100ohm resistors. I wasn't originally going to use any chassis-mount resistors, but decided I needed to dissipate some of heat into the chassis since it has essentially no airflow. Together they are dissipating about 5W, with thermal compound in between the resistors and the chassis wall.

And here is the rectifier socket. This combination socket from Yamamoto alows the use of 5V UX4-base rectifiers (for my purposes, 5Z3), as well as European 4V B4-base rectifiers (U18/20, FW4/500, 45-IU, etc.), which will be what I use primarily. A pair of 0.2ohm resistors drops the voltage down from 5V to 4V for the B4 filament pins.

I originally wasn't going to post any finished-product-looking photos of the amp until it was actually done, but what the heck, it looks pretty cool!
In these photos is a Marconi-Osram U18/20 rectifier, Marconi-Osram CV399 driver (military MH4), and Sylvania 6A5G output tubes.


And as promised, it can use 5V 5Z3 rectifiers as well. Here is a Fivre 5Z3.

That's all for now, we'll see if I have the energy to get started on the power supply today, that is the next step


-2.jpg")
-2.jpg")


 ).
).


