Kramer-mod... KSC75...
Nov 26, 2013 at 9:01 AM Post #481 of 542
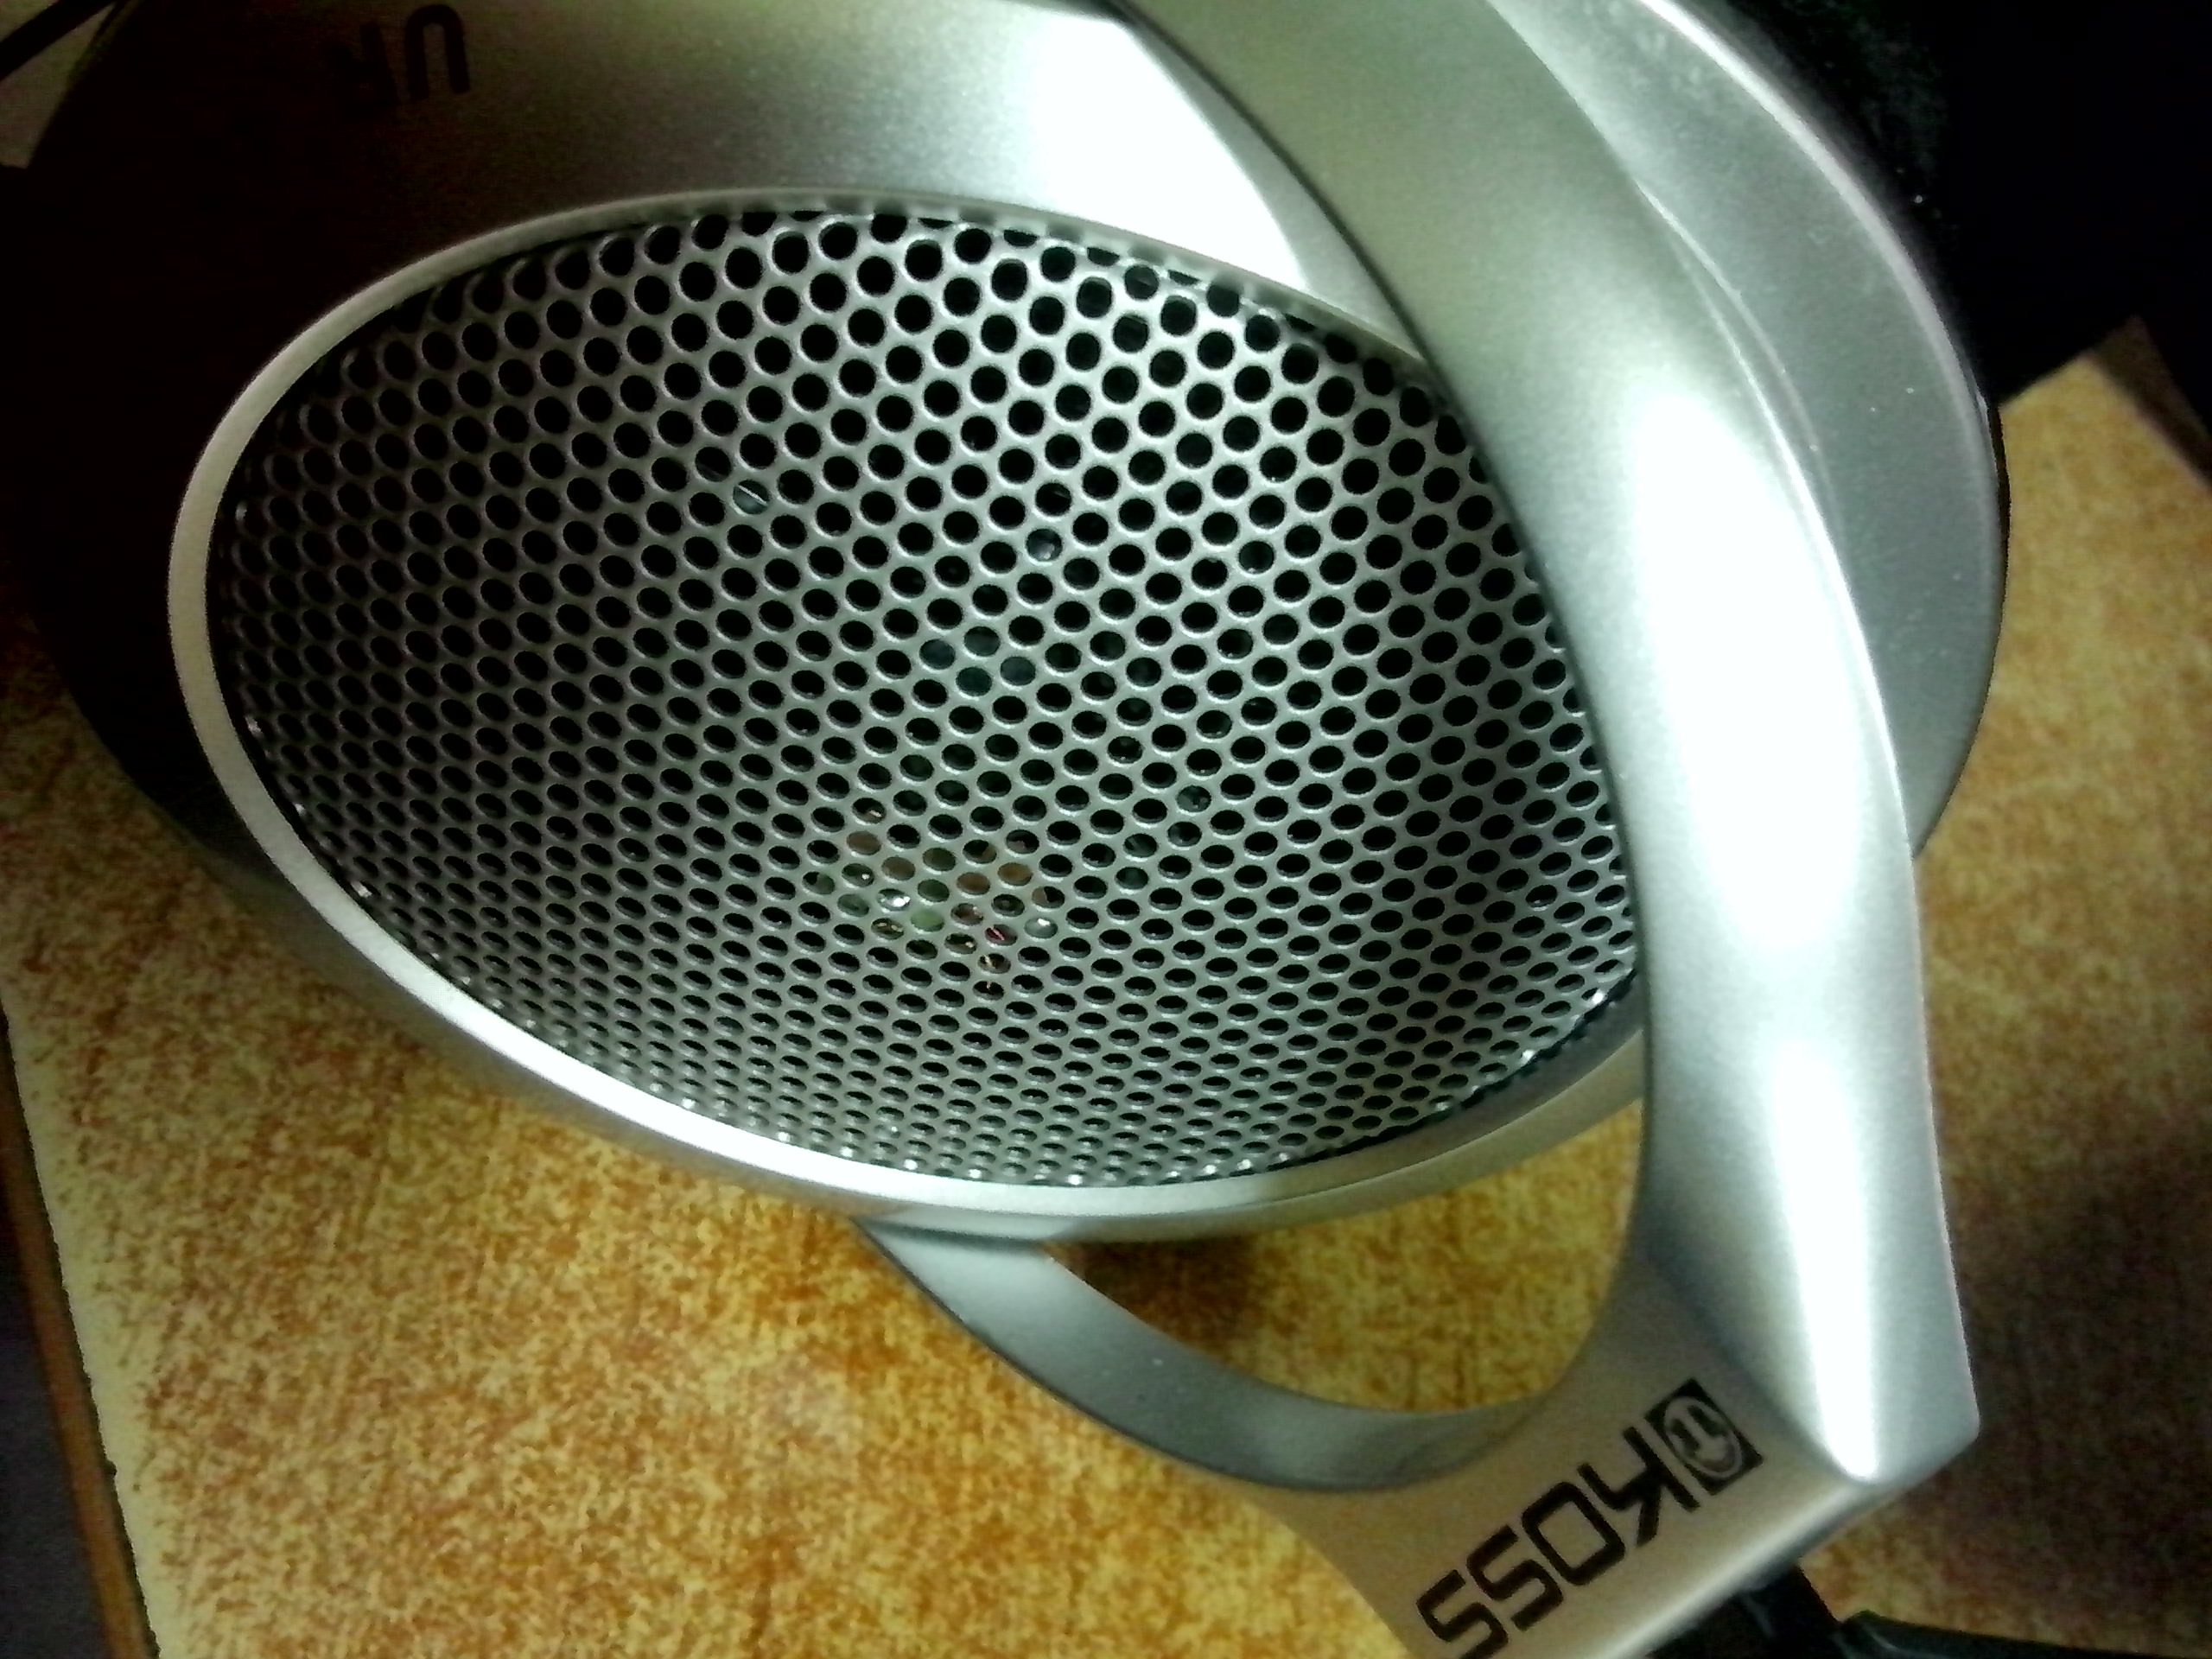
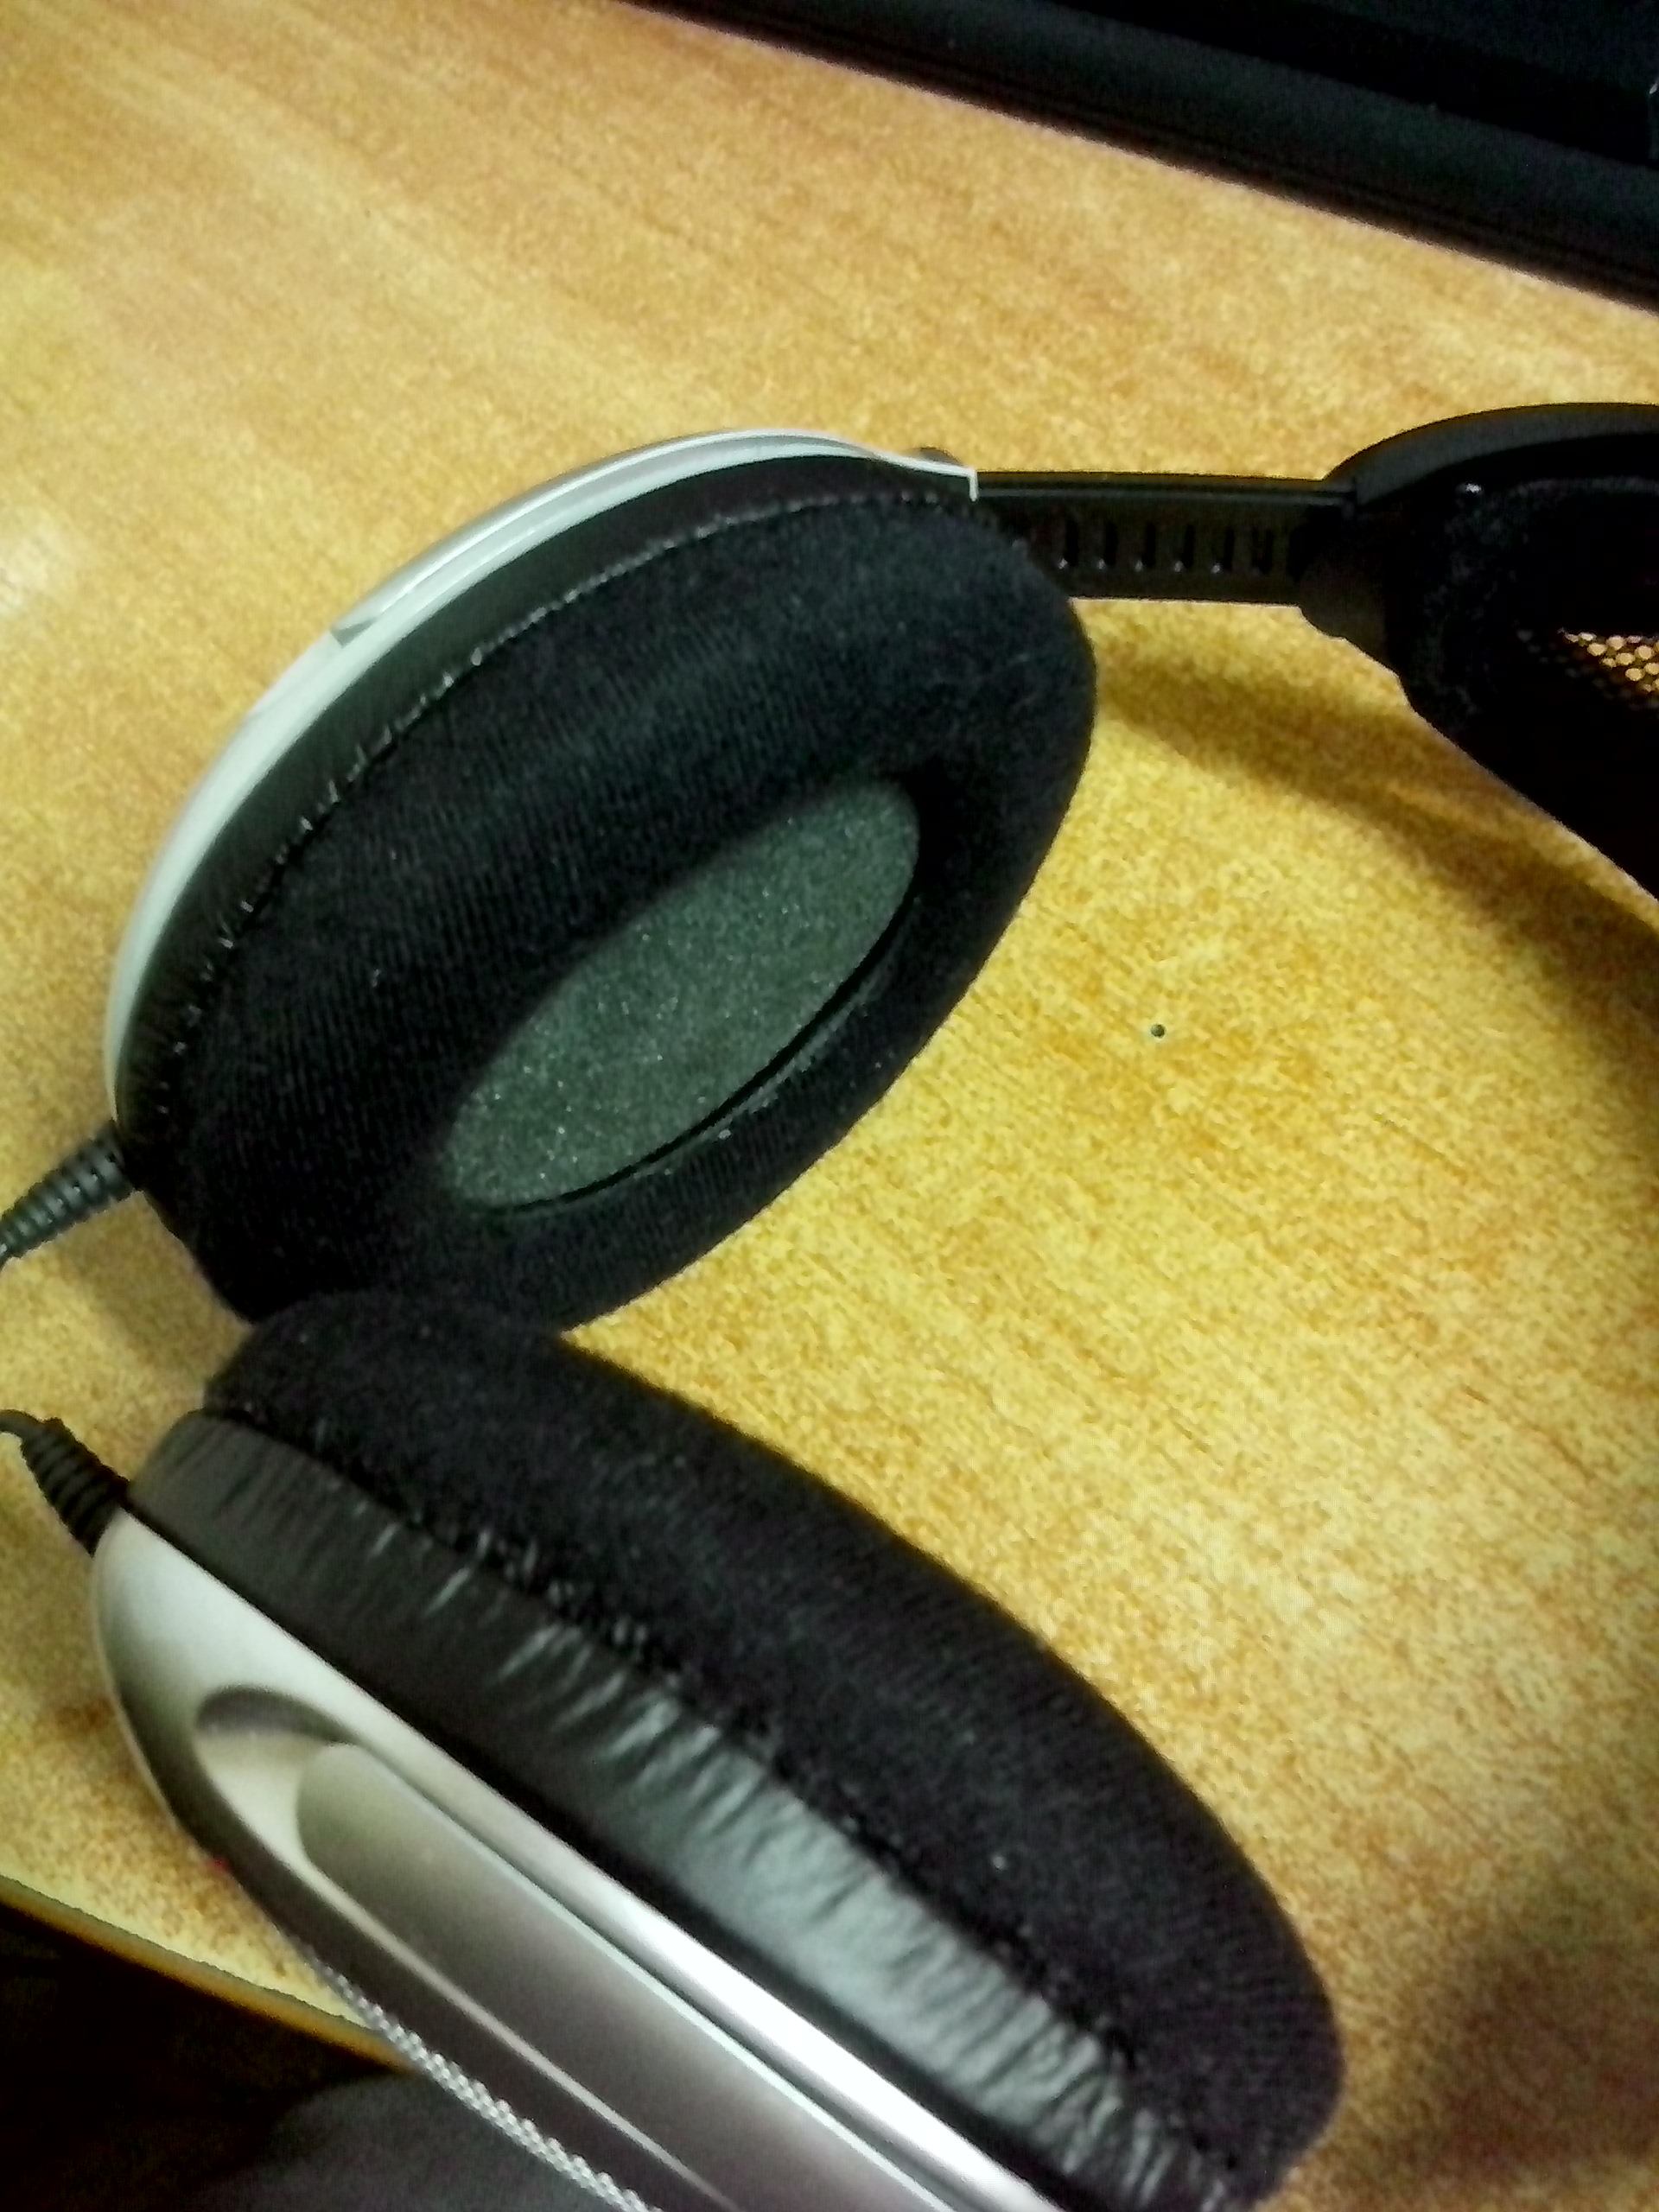
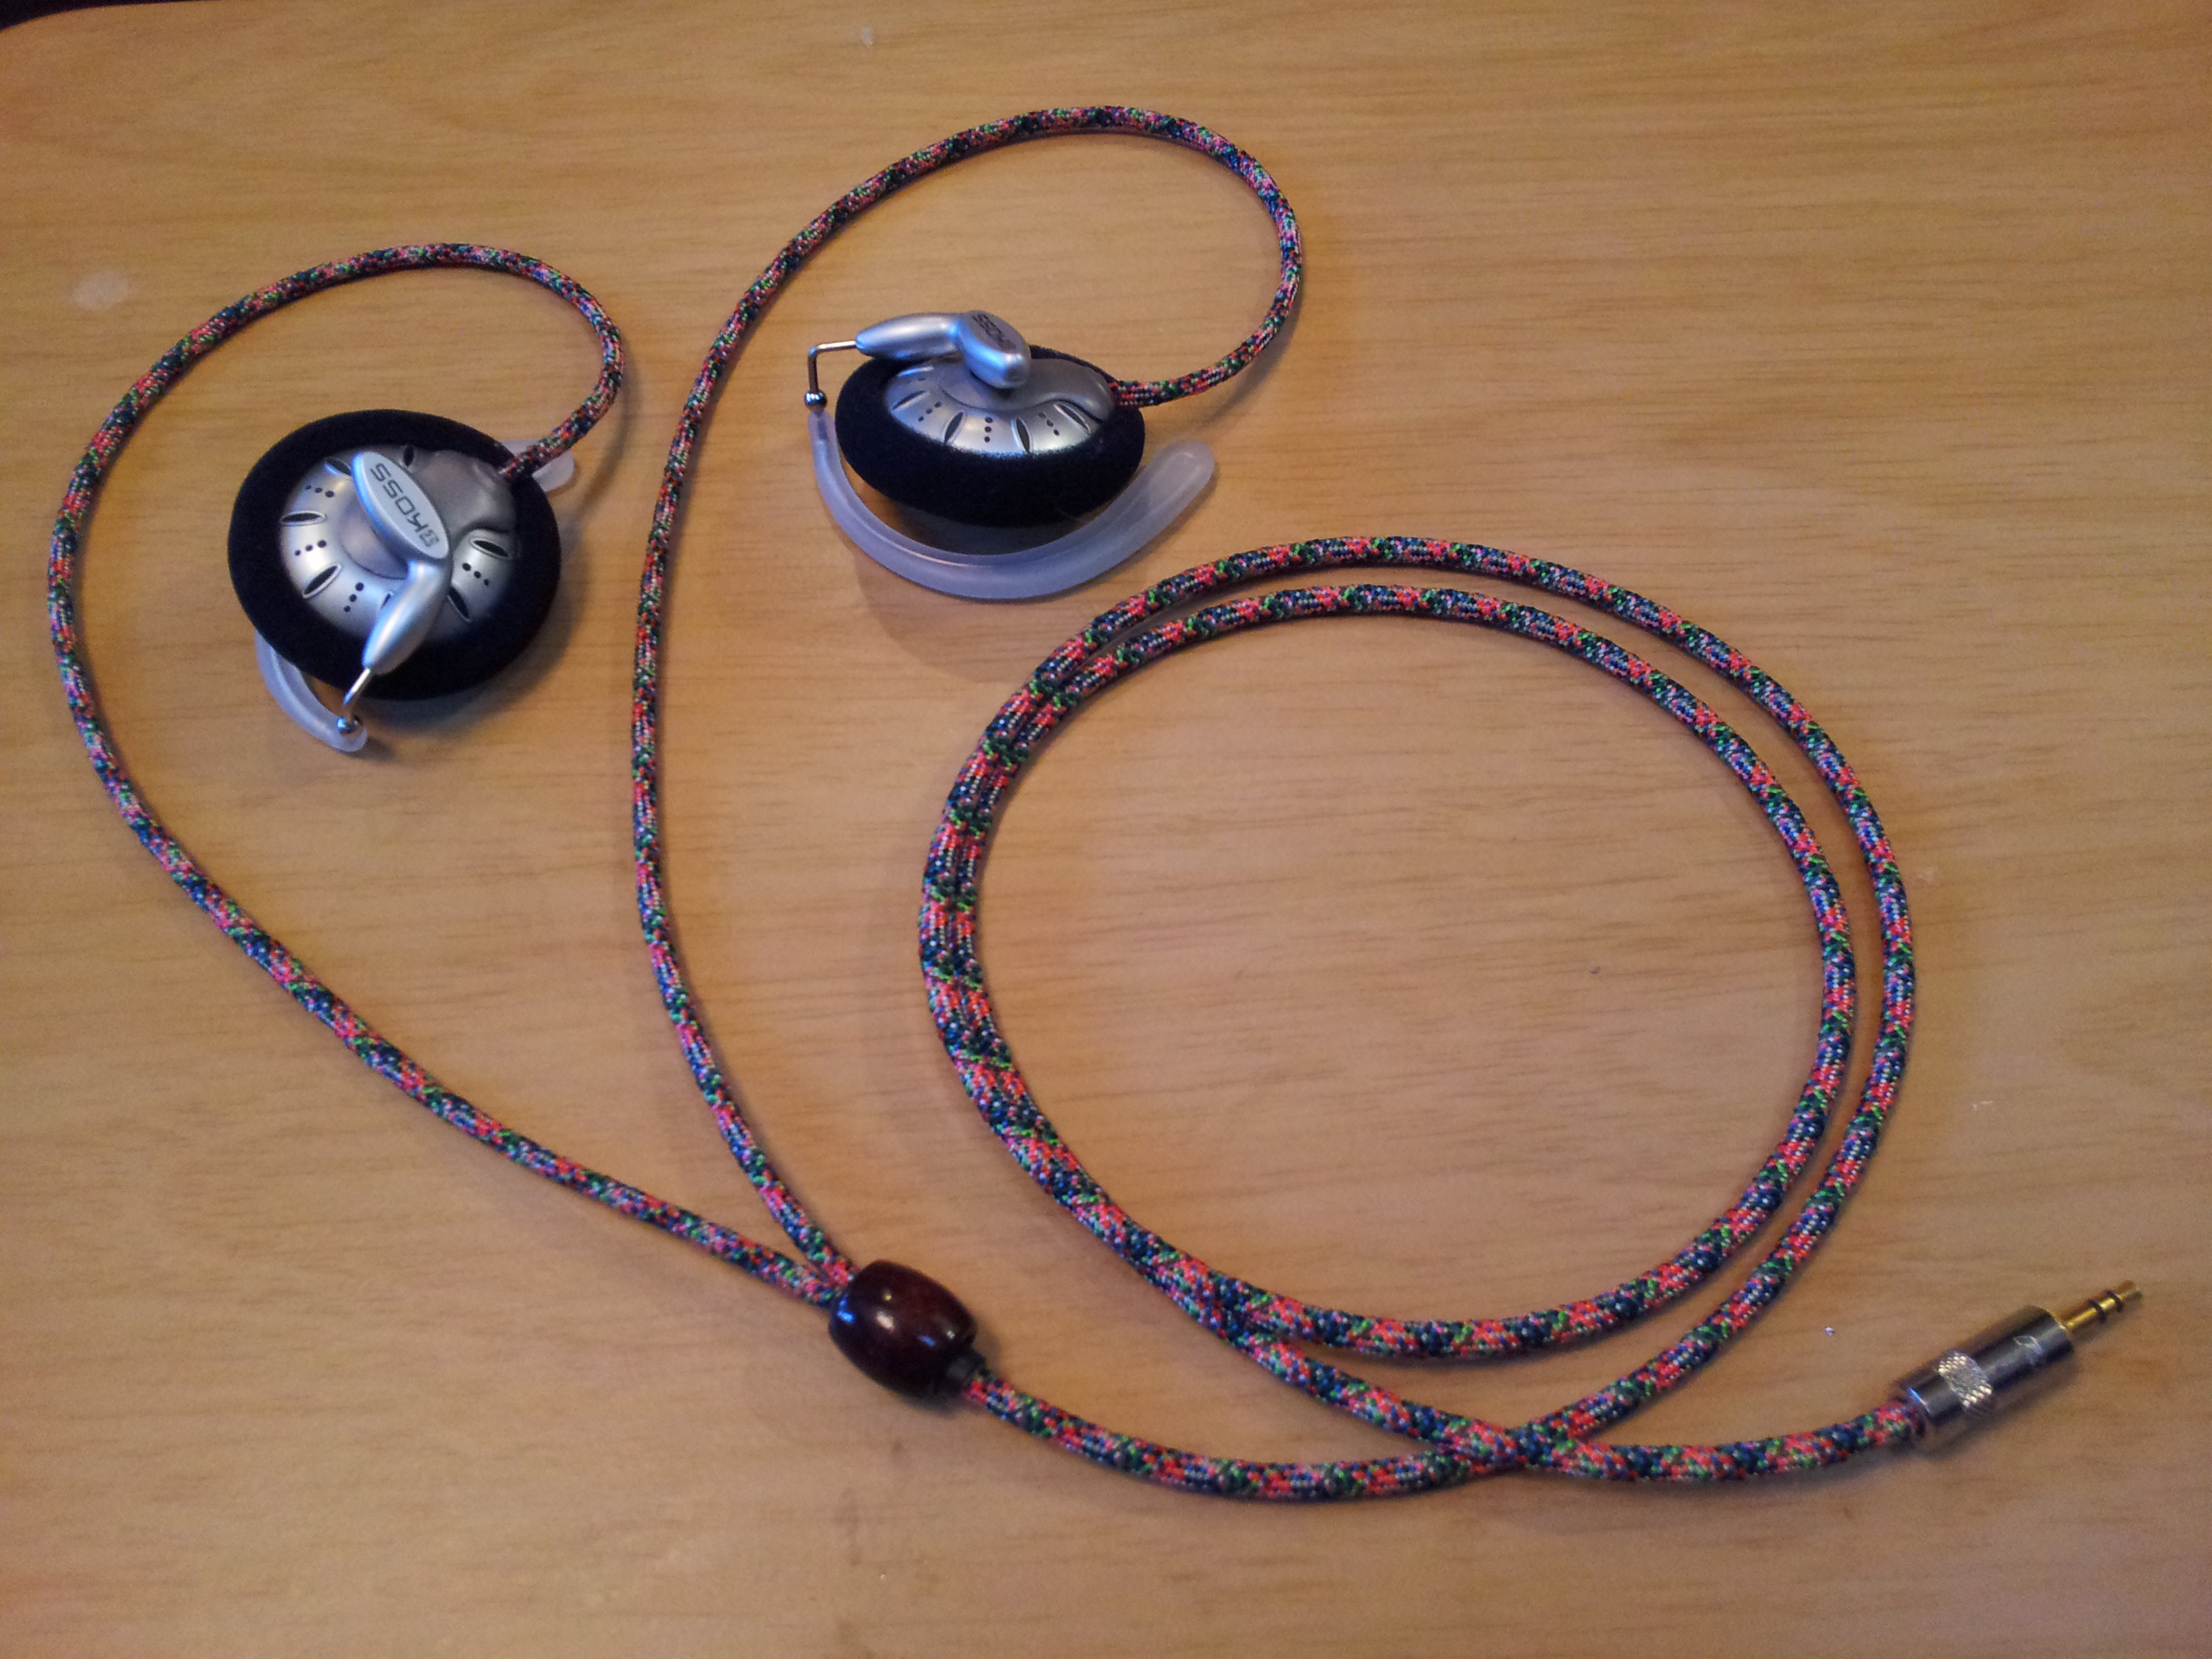
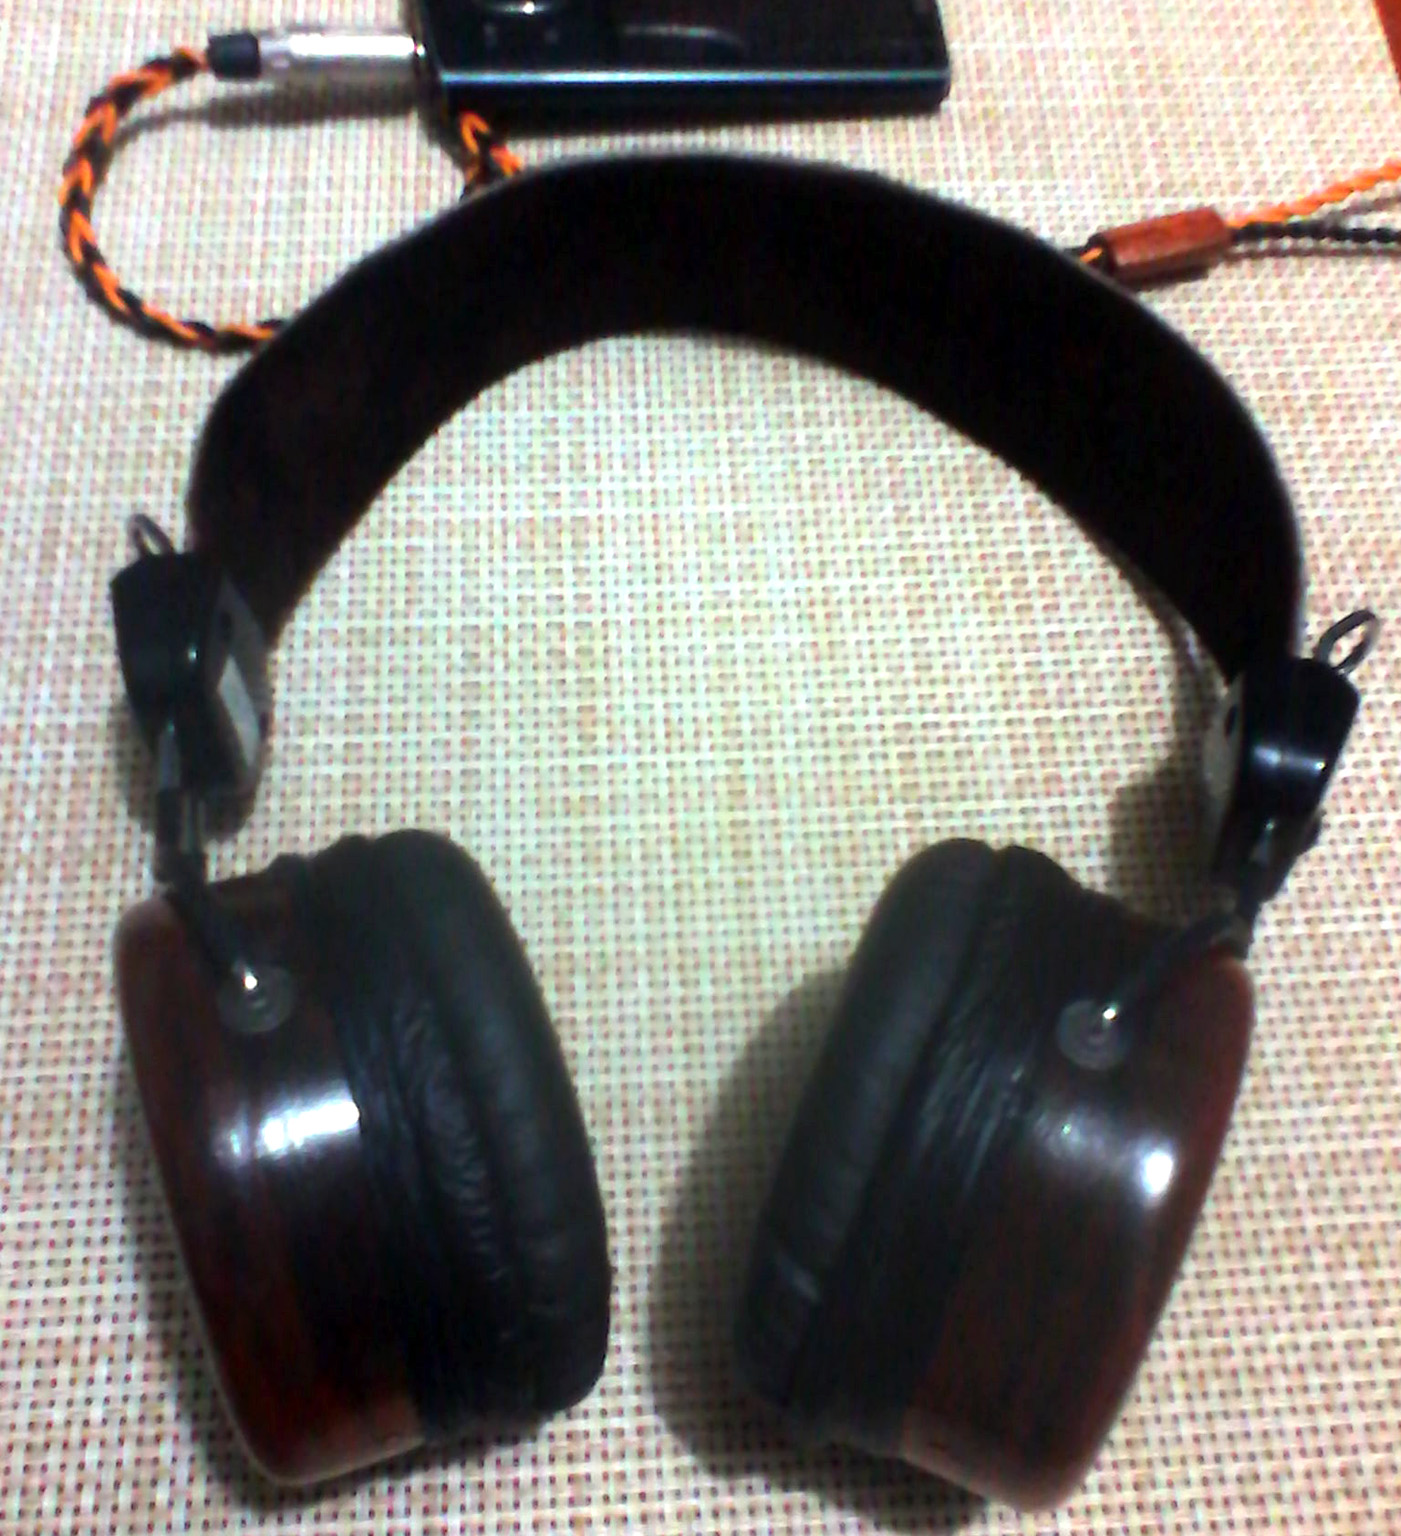
The original post has no more pictures, just got my KSC75 and was interested in modding them, but the mod without pictured guide is useless more or less...someone can provide them?
Thanks
 
Nov 26, 2013 at 9:29 AM Post #482 of 542
Nov 28, 2013 at 3:55 PM Post #483 of 542
Wondering where to get the parts needed? Meaning headband and pads
 
Dec 1, 2013 at 10:43 PM Post #484 of 542
Had a few pairs of ksc-75s lying around from the Office depot sale ($5). Decided it was finally time to show them a little love. 
 
Did the Kramer mod and a re-cable. Plan on replacing the pads and trying some other mods in the near future to try and rid myself of that chirping. 


Dec 17, 2013 at 8:51 AM Post #485 of 542
Don't know if anyone knows this but Charles Altmann of the infamous USD $2300 Altmann player recommends the Koss PortaPro with Kramer mods to pair with his player.
 
Here's the link to his site.
http://www.tera-player.com/
 
And his Kramer Mod pic.  17 holes!
http://www.tera-player.com/TERA_pics/koss_17_holes.jpg
 
Will give it a try when I get some time.  Anyone know what size drill bit I should use?
 
Dec 17, 2013 at 9:22 AM Post #486 of 542
  Don't know if anyone knows this but Charles Altmann of the infamous USD $2300 Altmann player recommends the Koss PortaPro with Kramer mods to pair with his player.
 
Here's the link to his site.
http://www.tera-player.com/
 
And his Kramer Mod pic.  17 holes!
http://www.tera-player.com/TERA_pics/koss_17_holes.jpg
 
Will give it a try when I get some time.  Anyone know what size drill bit I should use?

 
This post Here from the first page of the thread shows various holes by size.
 
Perhaps that could give you a good idea of what you want for yours. GL.
 
Be careful taking those driver covers off. They require more force than you anticipate and it's easy for it to hit and dent the driver if you're not very careful, even with proper tools.
 
Dec 17, 2013 at 9:43 AM Post #488 of 542
  Had a few pairs of ksc-75s lying around from the Office depot sale ($5). Decided it was finally time to show them a little love. 
 
Did the Kramer mod and a re-cable. Plan on replacing the pads and trying some other mods in the near future to try and rid myself of that chirping. 


Niiiccceeee!!!
Could you post a short description of how to recable? and where the cable is from?
 
Thanks
 
Dec 17, 2013 at 4:59 PM Post #489 of 542
  Niiiccceeee!!!
Could you post a short description of how to recable? and where the cable is from?
 
Thanks

 
I should have taken some detailed pictures for description but it was something I did on a whim while watch a movie and finishing some HW. 
 
The cable is Canare L-4E5C quad cable. I strip off the outer black PVC coating, slide off the copper shielding and put a small piece of tap on each end to keep the paper from unraveling and letting loose the cotton strands. Then I sleeve it in my paracord of choice, whatever flavor is tickling me that day. Occasionally I'll just braid the cables, especially for braids larger than 4. I rarely use techflex style sleeving, only for some interconnects. 


Instructions: Just the way I did it. There are endless ways you could do it to suit your style.
 
Dis-assembly:
Just remove the ear pads, clips (yellow arrow), and the piece of the cup that is covering the soldering points (Orange arrow). All come off easy  and don't require much force at all. For the little soldering point cover I just use a small screwdriver to start it and then take it off by hand. 
 
 
De-soldering: 
The soldering points are large. Just use your iron to slightly heat them and remove the cables attached. Make not of which one is ground and which is your left and right channel. I also recommend doing one side at a time or good labeling to not confuse which one you are working on. Though if you do make a mistake you can just switch the connection at the plug end to swap the channels; much easier than re-soldering the drivers, and safer. Anyway, I clean up the soldering points with some de-soldering wick or solder sucker. Try not to apply heat for too long, don't want to damage the drivers. 
 
New cable preparation: 
Do what I did, braid, or prepare your cable to be soldered. Make sure you measure the length of the Y-split to your preference. People generally like 13-16 inches. I like less, some like more. "Measure twice, cut once". Cut pieces of sleeving to match the length of the Y split cables ends and sleeve them as well (if you plan on sleeving everything). Some people prefer to leave the Y split cables bare because it seems easier. I just twist them together on each side and use the same paracord.
 
I bought some wood beads at Hobby Lobby for the Y split. I placed a piece of heatshrink on each of the Y split ends where they connect to the rest of the cable and another single piece there on the main cable and shrink them to gold the paracord in place. I then slide the bead up from the bottom onto the two pieces of heatshrink at the Y to make sure that it fits snug. I slide it back a little, apply a little crazy glue  around all sides evenly and slide it back up snugly. Make sure you don't apply too much that will come out and make a mess after. 
 
Soldering/Final touches:
At thing point you are ready to start soldering. Strip, clean and tin your wires. Check both ends with the multimeter and label as necessary to remember. Clean the soldering contacts on the driver. For all this "cleaning" I generally use 90% or greater isopropyl alcohol (rubbing alcohol) and either a small acid brush or lint-free anything, make due with what you have, it's not critical.
 
I apply a little solder to the soldering points on the driver in preparation so I can get a quicker joint without over applying heat. Use "helping hands", whatever tool you have, or an assistant to hold each wire solidly in place while you solder. Make sure to align the wires so they join in the middle and can come out together from the hole indicated by the green arrow
Go ahead and verify they are connected correctly with the multimeter.
 
Now prepare the connector plug for soldering. Make sure to put headshrink and the connector shell on the cable BEFORE you solder (if required). No matter how many times I make cables, I still occasionally get distracted and forget. Before you apply the final heatshrink to the plug, plug it and check that it's functioning properly. I also like to clean the soldered points. I remove any excess flux (with designated cleaner and/or light scraping with a razor) if there is any and again clean with alcohol. Allow it to dry. Button it up: Heatshrink or whatever final touches you like to add.
 
You're probably wonder what to do about the loose paracord on the driver side, right? I played with a lot of different options. They were all bad and didn't work that well. I find that sliding the paracord as close to the soldering points as you can and then just putting the cover back on is the best method (IMO). It holds it snugly, fits better than the other options, and is a lot less of a hassle. I've taken these out a lot and through various tugs, twists, and pulls the paracord still hasn't come out despite the lack of adhesive or other method to hold it in place. The one downside is that the cover sits about a millimeter off the shell at the entry point. It's not very noticeable, but it's there. Maybe you will find a better way. 
 
I'm sure there are things I've overlooked. I still have another pair that needs to be played with and I'll use that as an opportunity to provide detailed pictures/video that would be easier to follow than walls of text. 
 
If you need help with DIY cable building and have questions, I highly recommend you make your way over to THIS thread. Great group of members and 'members of the trade' to help answer just about any cable related question you could have. 
 
Dec 17, 2013 at 8:43 PM Post #490 of 542
  Don't know if anyone knows this but Charles Altmann of the infamous USD $2300 Altmann player recommends the Koss PortaPro with Kramer mods to pair with his player.
 
Here's the link to his site.
http://www.tera-player.com/
 
And his Kramer Mod pic.  17 holes!
http://www.tera-player.com/TERA_pics/koss_17_holes.jpg
 
Will give it a try when I get some time.  Anyone know what size drill bit I should use?

 
What are those holes in the actual drivers? They aren't there stock, are they?


Dec 21, 2013 at 7:25 PM Post #493 of 542
the left one is stock.  the right one is the kramer mod.  they are holes in the grill that holds the drivers.  the drivers are the blue parts below.


You've actually drilled and damaged the drivers though. Your pic from the KSC75 thread shows that more clearly:


There shouldn't be any holes in the drivers - those are wrecked. One also shows signs of damage from the grill being removed.
 
Dec 22, 2013 at 12:36 AM Post #495 of 542
You've actually drilled and damaged the drivers though. Your pic from the KSC75 thread shows that more clearly:

There shouldn't be any holes in the drivers - those are wrecked. One also shows signs of damage from the grill being removed.

 
I was commenting on those holes also. They for sure aren't on the ksc75 drivers. I'd have to look at my sportapro drivers, but I don't think they are there either.
 

Users who are viewing this thread

Back
Top