


Shawnb
1000+ Head-Fier
- Joined
- Dec 2, 2012
- Posts
- 1,208
- Likes
- 1,342
I installed the Fidelizer ROM via a Mac last night and wanted to share my experience in hopes of saving others some pain. I've also sent these suggested documentation updates to Keetakawee. First, I want to make clear that I am in no way complaining about Keetakawee or his support of his ROM. This is *not* a rant. I'm simply trying to share what I learned so that others might benefit.
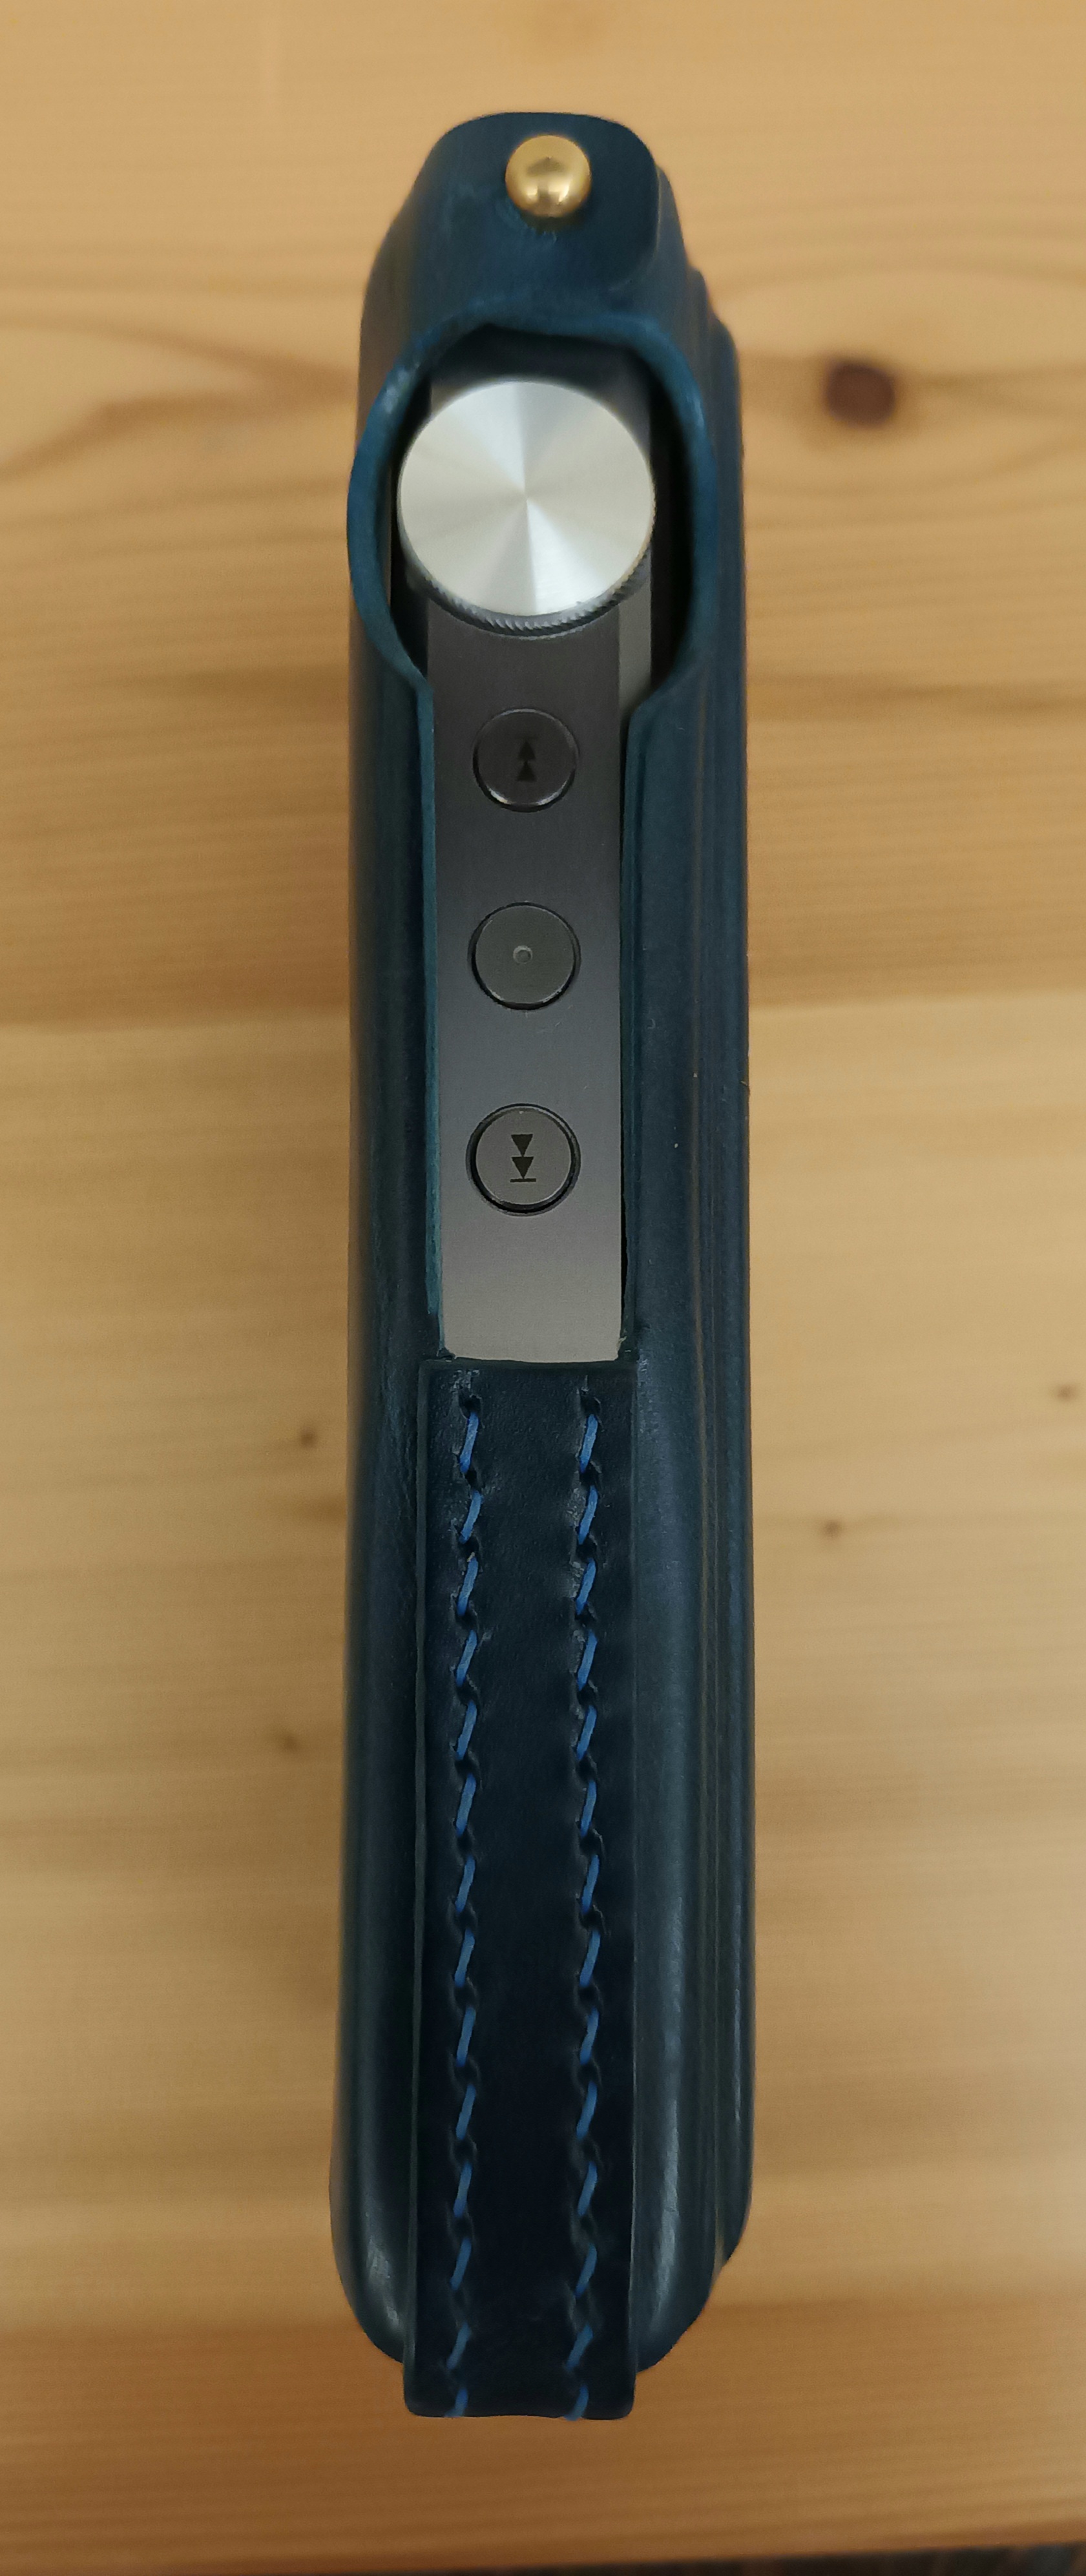
First, for those not familiar, the Windows-based instructions for flashing the ROM are here. There are also Mac instructions for flashing. The important thing to note is that steps 3-6 from the Windows instructions are not mentioned anywhere on the Mac instructions, and I was an idiot and just skipped straight to the Mac instructions. Installed rkflashtool through Homebrew was simple enough, and I had mixed luck with getting into "factory flash mode" with a USB-C cable, but a dongle that converts to USB-A, with the iBasso charging cable, worked much better. I happily flashed the boot and system partitions, rebooted, and was met with a lovely boot loop. Crap!
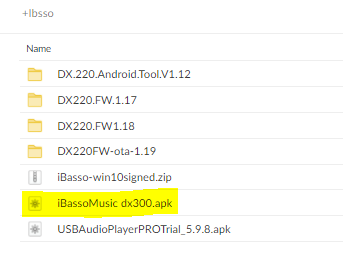
So now I have a non-functional device, and no obvious way to get back to stock ROM, since the OTA update needs to be installed from a running system. Or does it? There are Windows instructions for flashing via USB, so I figured it must be possible to do without a running Android system. After much trial and error, I figured out how to flash the OTA from SD card in Recovery mode. To prep the card, format it as xFAT. Download the newest OTA from iBasso's site, then extract the zip file. Inside that, you'll find another "zip" file (it's actually a jar) named DX220-ota-full-1.16.242.zip. Copy that to your SD card, then rename it update.zip. Eject the SD card safely from your Mac, but don't plug it into the DX220 just yet. Boot to recovery mode: power off the device, then without a USB cable plugged in, press and hold play/pause, then press power. Release play/pause when you see the first DX220 splash screen. Now, in the Recovery screen, you can use the volume wheel to scroll, and power to select. Insert your SD card and select Install update from SD card. In the next screen, select update.zip and wait for it to flash. You should now have a working, stock device. Huzzah!
So now, back to getting Fidelizer installed. First, I installed android-platform-tools on my Mac via Homebrew. Next, I enabled Developer Mode on the DX220 and turned on USB Debug mode (see the Windows instructions). I plugged in my USB cable (again through a dongle), and typed "adb devices" in a Terminal window. My Mac complained about ADB being from an untrusted developer, but that can be fixed in Preferences->General. Once adb actually ran, it listed the device and said it was unauthorized. However, a prompt now appeared on the DX220 asked if I trusted the computer. I said yes, and ran "adb devices" on my Mac again. This time it showed the device was ready. From here, I ran three ADB commands:
1. adb root
2. adb disable-verity
3. adb reboot
At this point, you should be ready to flash. Power down your DX220 again, go into factory flashing mode (hold play/pause, plug in USB, release). After confirming that rkflashtool can see your device, you may proceed with flashing the boot and system partitions according to the original instructions. When you boot up, you should now have a working DX220 with Fidelizer ROM installed. I did a factory reset at this point, just in case, but so far everything seems to be working as expected. Hope this helps someone else avoid a couple hours of Googling and piecing together clues on how to work with ADB and Recovery Mode on a Mac.
Figuring it out and getting right can be tricky the first few times. The device is basically unbrickable so no matter how wrong you get it, you can always recover from it.
I'm not sure how different it is with a Mac but with Windows I just use the AndroidTool and erase the the flash and then start over from the beginning.
")


