After a couple of shell revisions(3-4 max), I finally found the almost perfect one for my high impedance drivers.
First I tried these shells, which is my previous top choice, but
this model is a nice upgrade. Of course, there is some trick that needs to be done before we put a "driver in place".
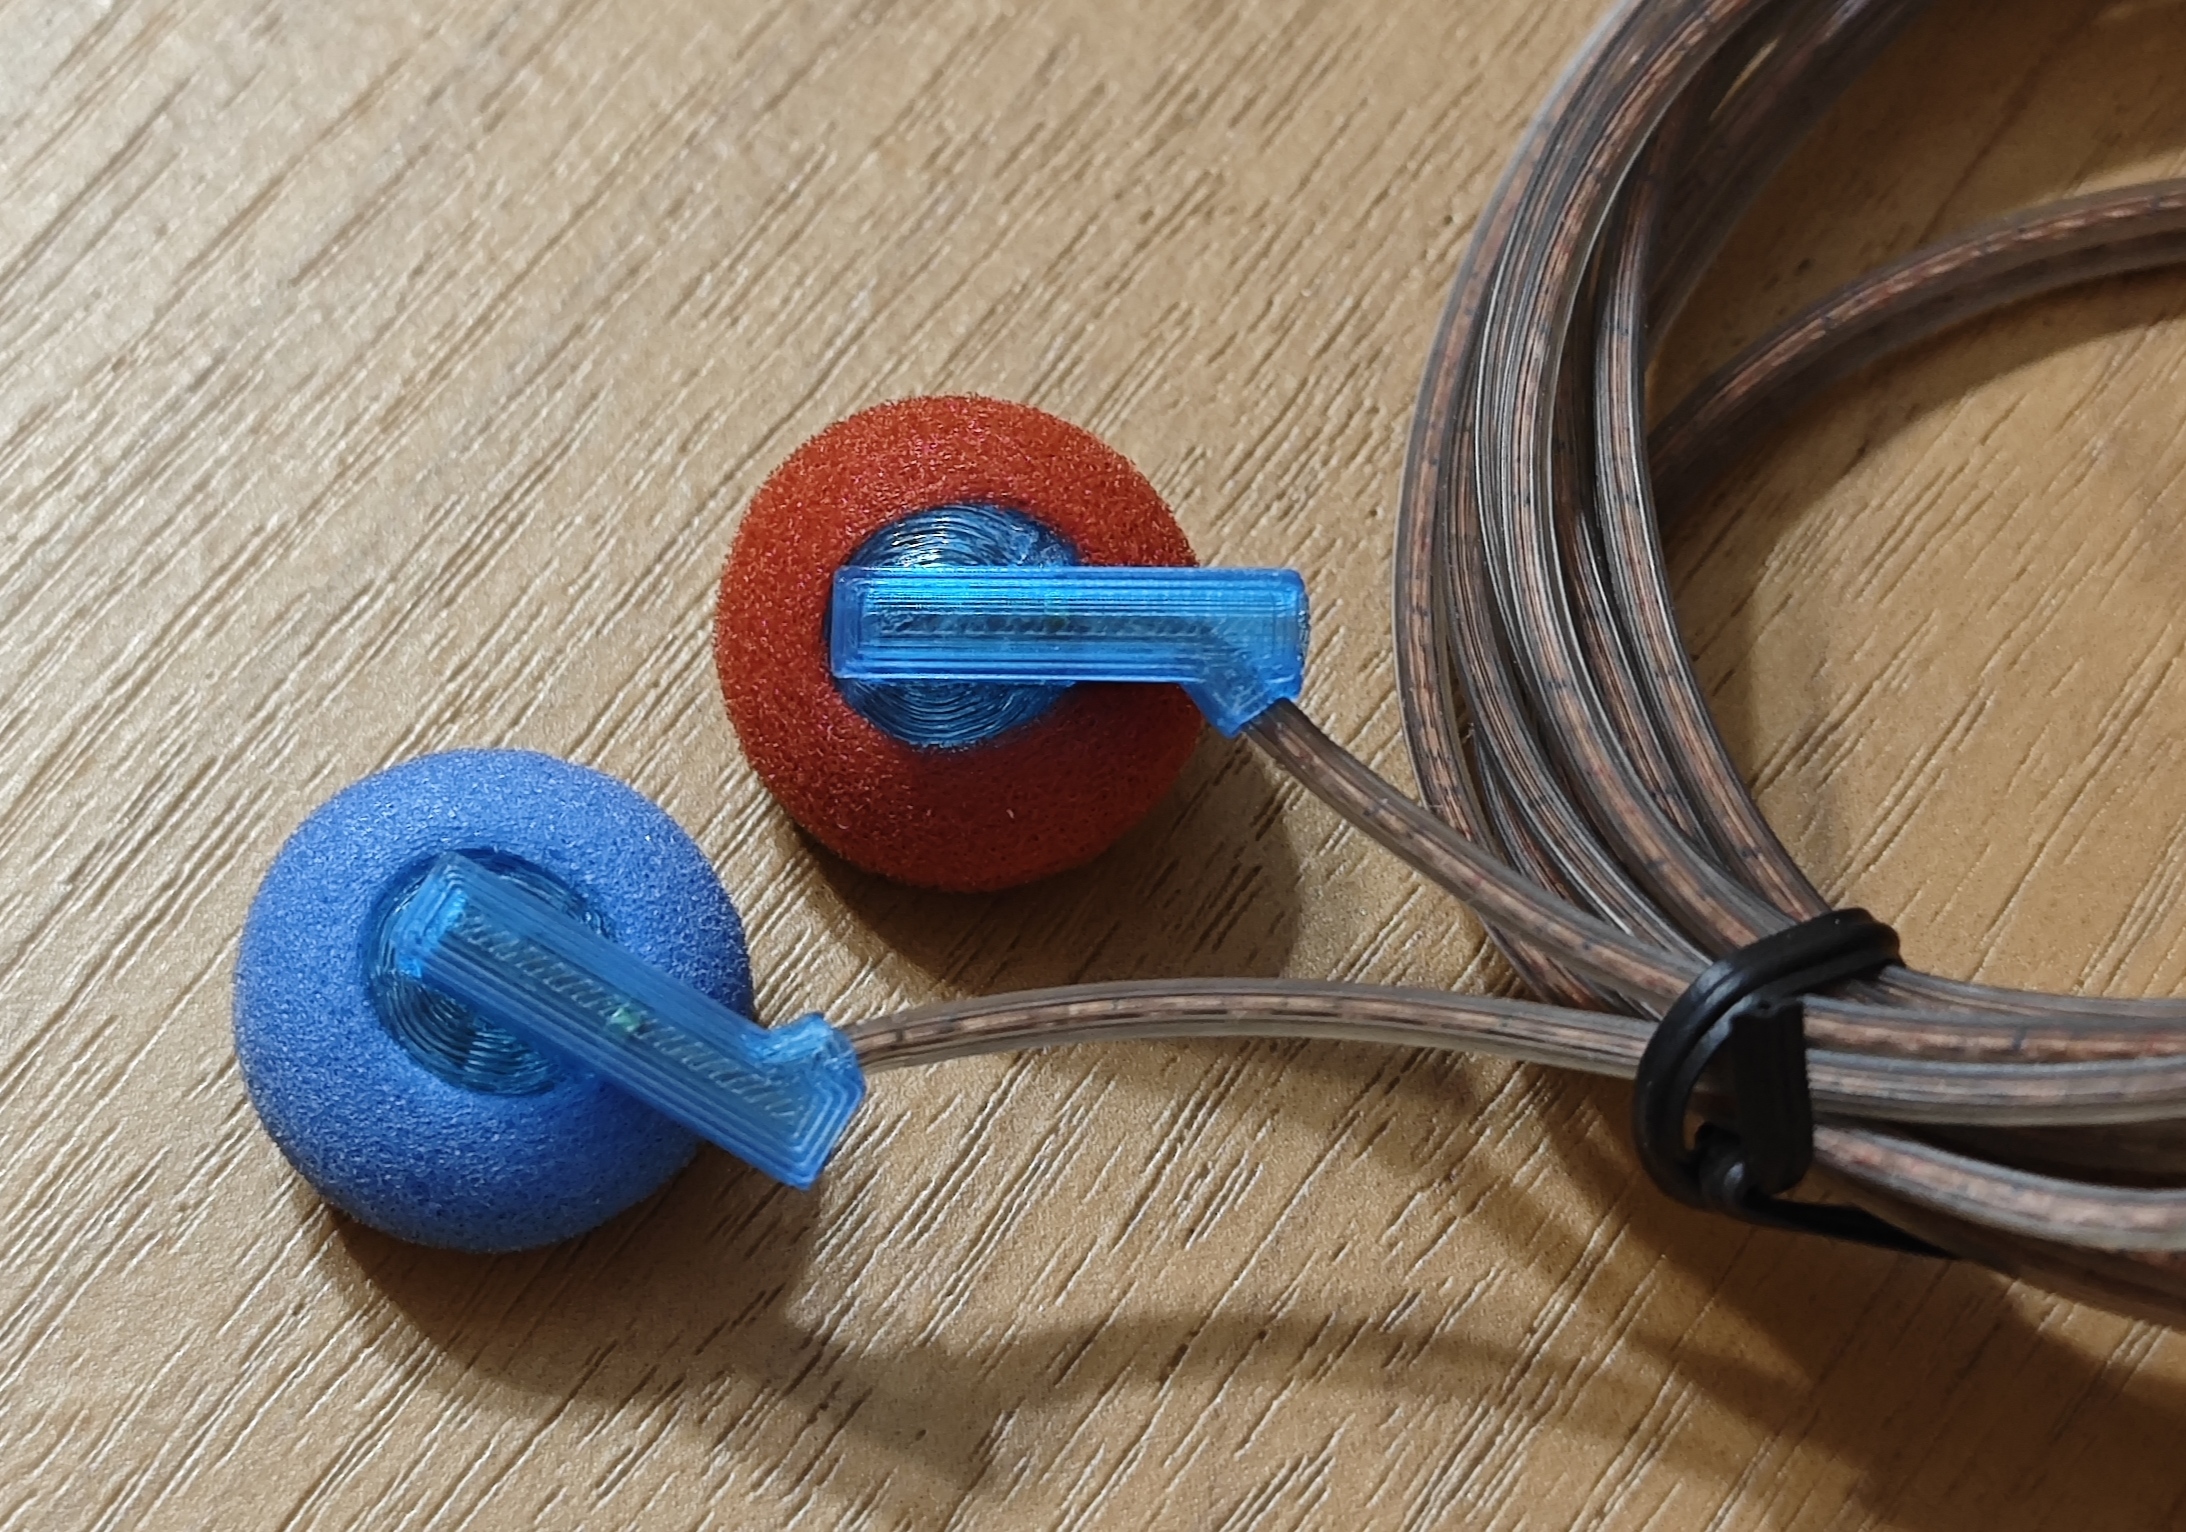
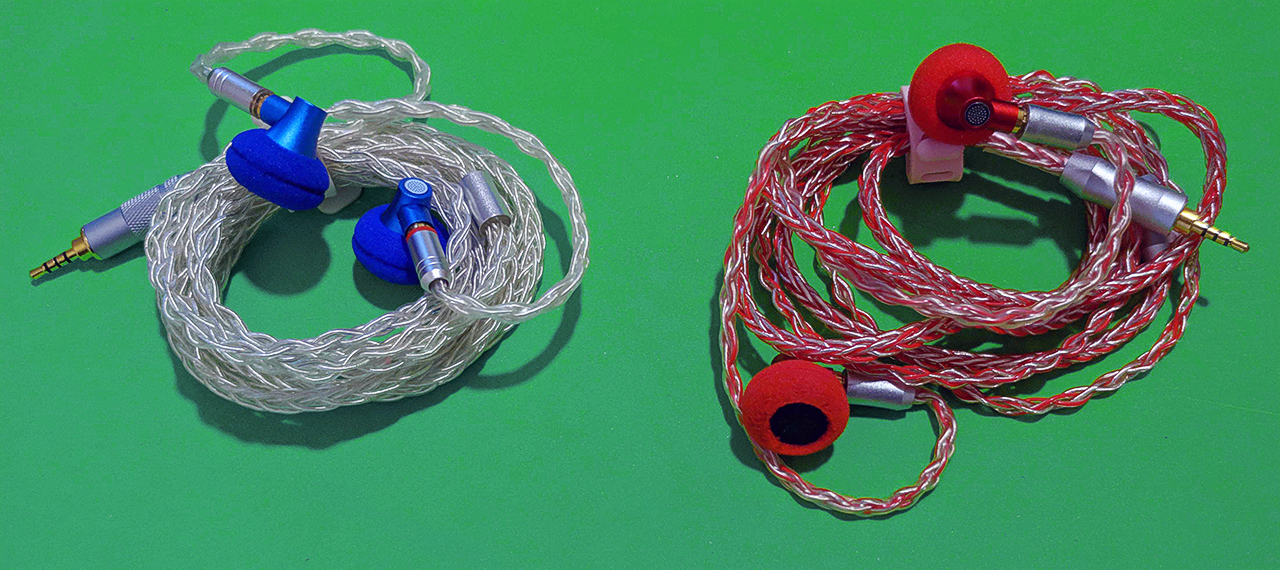
These are 15.4mm
DIY 600ohm beryllium-coated aka the "
Blue-bery" and
DIY 400ohm graphene-coated aka "
Hellboy"

With all earphones, the most important thing is the sound no doubt but for me personally "the look and feel" ie design and comfort are also essential things that affect the overall experience. The main characteristics of high impedance drivers are clear and balanced sound, also these require more power so the balanced cable can be useful in this case. Probably you already familiar with these two drivers so I'll skip the part "How these sounds". Let's experts do that.

Now the shells. My revisions of shells are mostly based on trying out plastic, wooden and metal ones with different inner cavity sizes.
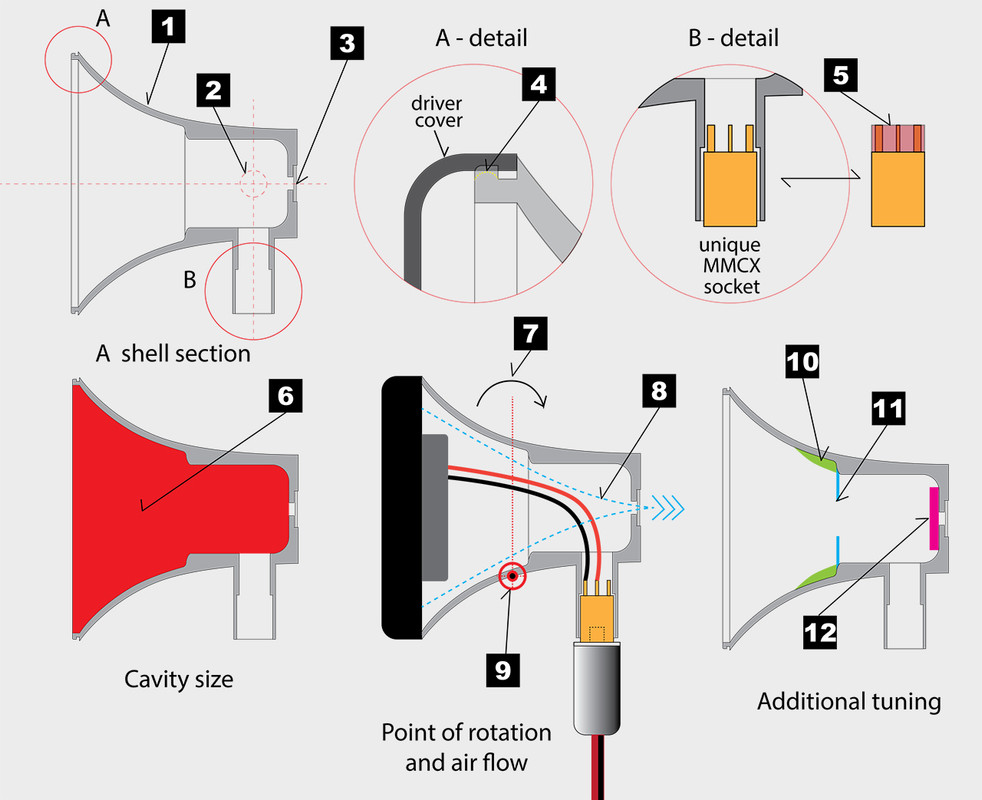
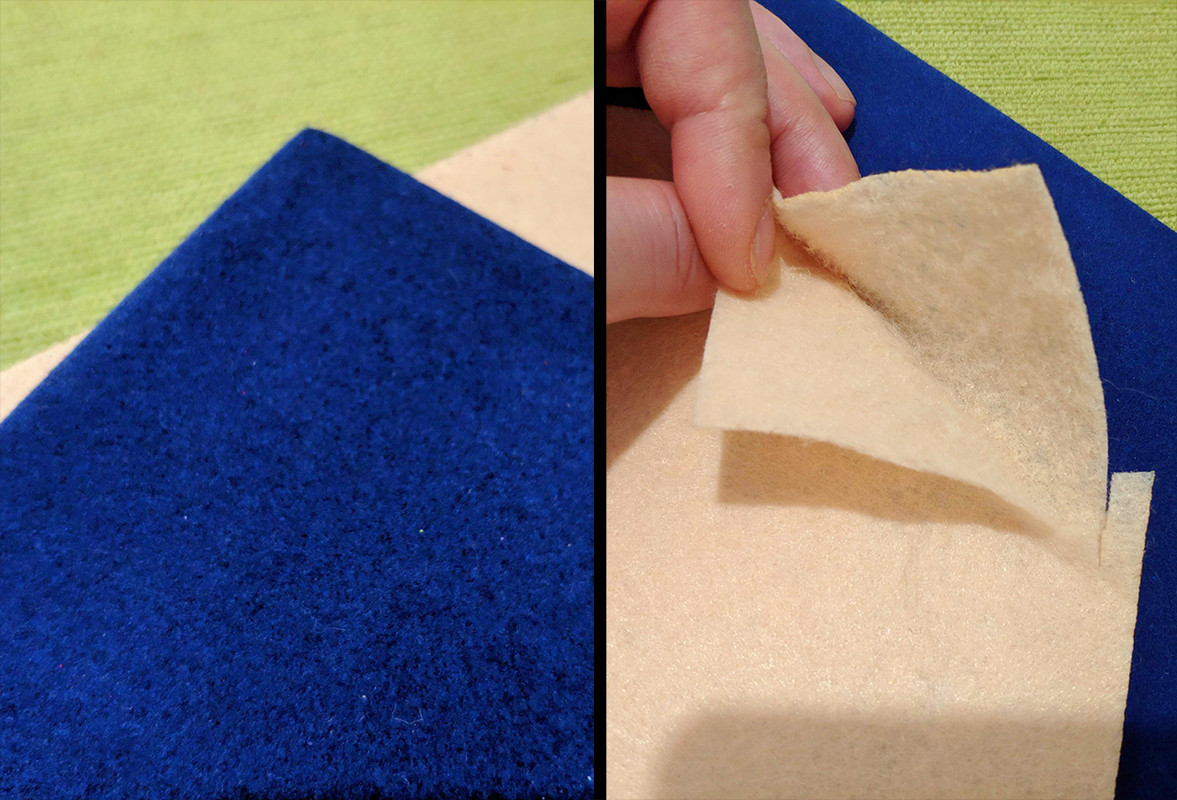
Metal shells are most durable with a low level of resonance. Any "open back" shells are not practical for outdoor use due to poor noise insulation and moisture condensation. Also, I try to avoid sponge filters inside the cavity as they fall apart over time. Foam and wool are the most suitable. The illustration below shows some things to look out when selecting a shell for DIY.
Blue text represent
PROS, red
CONS and black shared opinion or comment
1. "Concave arc" shape allows a very comfortable fit, especially if the driver diameter is large.
2. The angle between the shell and the neck of the shell is 90 degrees.
3. Back-side vent with mesh is present and allows proper air circulation and more spacious sound.
4. "A-detail" shows ''LIP" of shell which holds driver hover. The connection is so good that you cannot detach the driver after mounting it on the shell.
This is good only if you not plan to play with the tuning. To fix this I use a diamond file to remove extended lip (see the yellow dotted line).
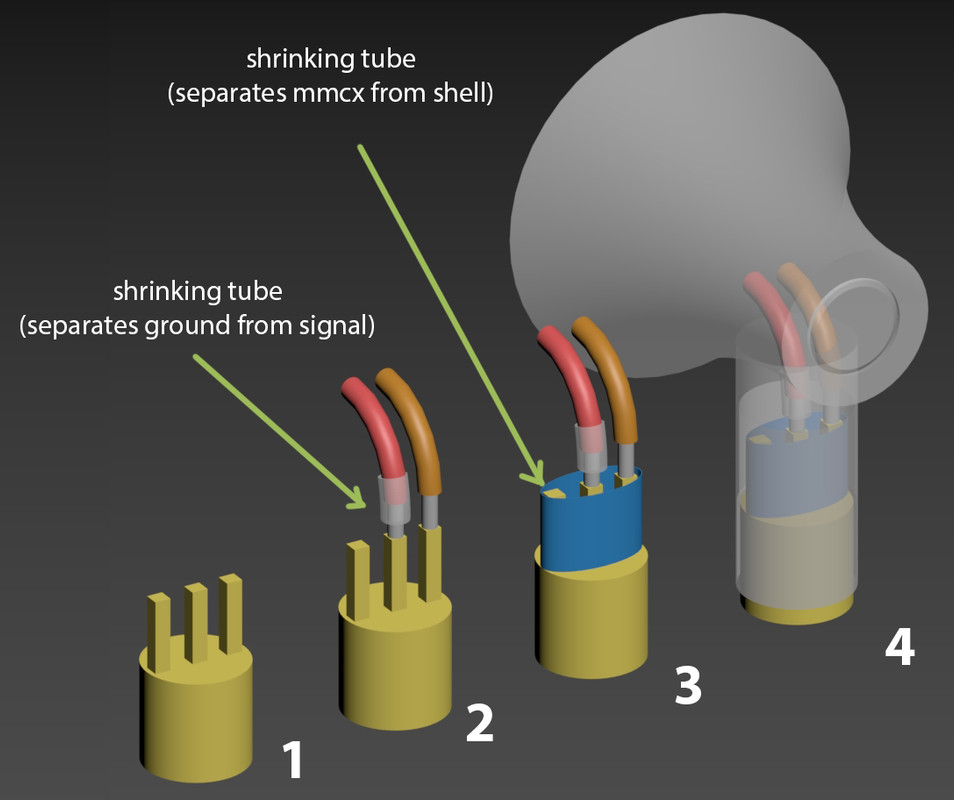
5. "B-detail": MMCX the connector that comes bundled with the shell has a very unusual shape. Since MMCX didn't have any threads for connection with the shell
there are two ways how to solve this problem: by using glue  or shrinking tube
. I used the 2nd option. First I tried to cover the whole connector but
then it could not pass due to an internal protrusion in the neck of the shell. By covering only the pins and press it hard inside the shell the connector will be stuck and stay still.
6. Through trying different shells with different sizes, I noticed that certain drivers did not respond well (sounds hallow) with the larger cavity size. Fortunately, these two drivers turned out great in the new shell which I call "semi-big" cavity size. These shells in terms of sound are quite reminiscent of open-back headphones which I like a lot.
7. Although these shells are lightweight, the multi-core cables, because of its weight, tends to rotate the shell and break up the seal. On the plus side, these earbuds can be worn over-ear or str8-up.
8. The shell "HORN" shape allows very good air-flow and very low sound reflection.
9. The rotation point is where the earbuds housing touches the earlobe ie ANTITRAGUS.
10. The last image shows one of 3 additional tuning options. To remove any protrusion that can cause unwanted sound reflection inside the shell,
we can use hot glue or blu-tack (green color). For this shell, this option is not applied.
11. By adding tuning cotton with different diameters of the center hole (where the cable passes to the driver) we can reduce airflow and achieve
the effect similar to smaller cavity shells. Again, it all depends on the type of driver itself. For mid-centric types, I like to use shells with larger cavity size
and for the types where the bass dominates, medium cavity size shells.
12. The 3rd option proved to be the best in this case. The frequency response curve is very similar for these two drivers. Graphene has a bit forward mids in comparison with beryllium and beryllium have better defined low end. I added a tin wool filter in front of the vent to reduce bass and bring back the cleaner mids.
This option is convenient because we can always remove the mesh from the vent and change the filter.
That's it.


") My main concern is additional shipping/tax costs and the lack of proper warranty. However not a long ago the Fiio BTR5 came out which is said to be better by reviews and I can buy it in a local official shop for about 125usd equivalent, with proper warranty and no additional costs. This is my main candidate now for buying but it's too much for me at the moment. I was also considering the shanling UP2 as a cheaper alternative, because I'm not sure I'll ever use the balanced option honestly, but all costs added it would be more like 90usd instead of 70 so it's not that good value anymore. And I often check the local second hand listings as well, maybe I'll find something nice around 60-80usd. Ususally there are a bunch of older Fiio/SMSL/Sabaj stuff there for really cheap (like E10K Oly2, SMSL IQ, Sabaj DA3 etc), though I'm not sure if they're still worth something after the release of BTR5. I was also considering a Topping NX1S amp, but that wouldn't upgrade my dac department which is also lacking (plus high output impedance for 32ohm buds), so I'd prefer an all in one solution at the moment.
My main concern is additional shipping/tax costs and the lack of proper warranty. However not a long ago the Fiio BTR5 came out which is said to be better by reviews and I can buy it in a local official shop for about 125usd equivalent, with proper warranty and no additional costs. This is my main candidate now for buying but it's too much for me at the moment. I was also considering the shanling UP2 as a cheaper alternative, because I'm not sure I'll ever use the balanced option honestly, but all costs added it would be more like 90usd instead of 70 so it's not that good value anymore. And I often check the local second hand listings as well, maybe I'll find something nice around 60-80usd. Ususally there are a bunch of older Fiio/SMSL/Sabaj stuff there for really cheap (like E10K Oly2, SMSL IQ, Sabaj DA3 etc), though I'm not sure if they're still worth something after the release of BTR5. I was also considering a Topping NX1S amp, but that wouldn't upgrade my dac department which is also lacking (plus high output impedance for 32ohm buds), so I'd prefer an all in one solution at the moment.

 . Anyway if you drill a larger hole just use foam filter and cover it from inside. Then with the needle punch another smaller hole through the foam and test the sound. If it's too small just enlarge it
 .
.

 . MX500 cover is a bit larger than a shell. But that's not the main problem.