DIY Custom IEMs : Part 2
Sep 17, 2012 at 12:08 PM Post #91 of 126
Yeah... I really want to finish it up but....
IA and EE deadlines coming up along with all the assessments.
(predicted grades will be given soon, I'll probably get something like 30.... Sigh~)


30 is not bad.
Officially you're not allowed to know your own predicted grade. It's meant for admissions of tertiary education only.

Though I don't see the harm in letting the students know.

Pretty annoying they did not tell students their IA and EE grades either.
 
Sep 22, 2012 at 7:47 AM Post #92 of 126
Quote:
One of these days I could see you go pro with this stuff, lol.

 
     One never knows, I essentially got started in the same manner, and the "art work" was such a challenge I focussed on the use of wood instead....   after about 5 years of making CIEMs as a hobby, Heir Audio was born.


Noble Audio Stay updated on Noble Audio at their sponsor profile on Head-Fi.
 
https://www.facebook.com/NobleAudio https://www.twitter.com/noblebywizard https://www.instagram.com/nobleaudio https://nobleaudio.com/en/ contact@nobleaudio.com
Sep 22, 2012 at 10:00 AM Post #94 of 126
@FullCircle
Haha, I probably won't go pro as I've been in the electronics field for over 8 years now and only just started this.
I plan on studying EE after I graduate high school.
 
What problems did you have with embedding an artwork?
did the resin hardener react with stuff like mine?
 
and could you give me some guidelines / advice in CIEM making? 
I'm kinda new to all this stuff....
 
EDIT:
You made a 20 Driver CIEM?? 
eek.gif

 
@bowei
Give me a break!
I still have 4 lab reports (2 chemistry, 2 physics),
a geography field investegation writeup,
math worksheets,
and my university personal statement to write!!
 
Sep 22, 2012 at 8:25 PM Post #97 of 126
Quote:
Back in the earlier days,  one of the big problems I had was that the printer ink over time smears due to UE exposure.
So you may have something that looks great and then 20 days latter, the image starts to look like a mess.

hmm.... Interesting. 
but is that ink or toner? 
 
btw, What was building your first pair of CIEMs like?
(i.e. how did you got the knowledge / resources needed?)
 
Apr 9, 2013 at 2:37 AM Post #98 of 126
Hi all. Long time lurker, first time poster. I've been reading a lot and took a little from here and a little from there. The following is what I came up with.....

rume8adu.jpg


Sorry, I forgot to take pics of my impressions untouched, but this is them after shaping. I also forgot to take pics of the next step which was to dip then in wax. Not just any wax, modeling wax, 100% bees modeling wax melted to a thin honey consistency. This helped to smooth everything out and also added a little fudge room for shaping post cast.

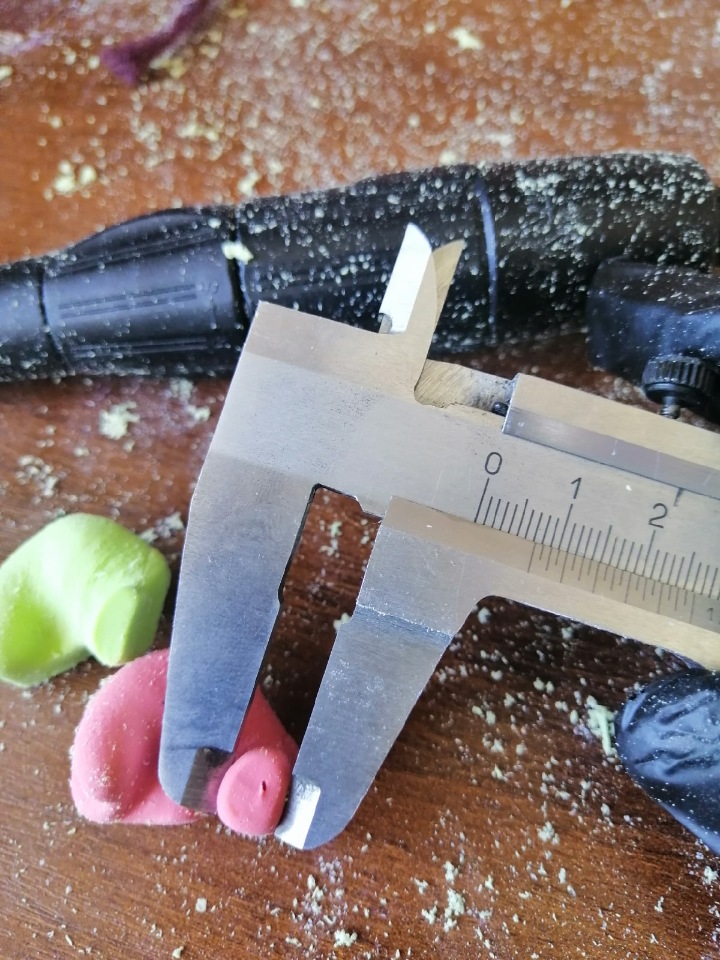
I made the investment from two part silicon putty. No pic of that either.....

7y2uze3y.jpg


This is my casting. Solid plug of acrylic. Back ground.... One of the ladies at work was talking about her acrylic nails so I started asking her questions about it, then started googling it. Acrylic powder mixed with a monomer creates a hard acrylic that can be milled, machined, filed and polished to a mirror shine. I found if you mix the powder and liquid monomer 1:1 by volume then pour it in a mold, 15 minutes later you have a great cast!

gusajudu.jpg


This is my casting after it was filed to final shape and buffed and polished. I use a dremel tool with a mill bit to hog out the shell and a tiny ball head milling bit to clean out some of the more delicate areas. This set is for me, but I have already completed a set for my son.

e6a5usyp.jpg


I used a piece of 1/4 in black acrylic cut to shape, rounded the edges and buffed and polished. I don't think they turned out to bad for my first attempt.

They have powders for coloring the acrylic powder, but I have not tried it yet. I figure a solid color will hide all the tooling marks you can see in these ones from hogging the shells out cause I bought clear. What do you guys think?
 
Apr 12, 2013 at 2:31 PM Post #101 of 126
@ b1o2r3i4s5 I don't know if you've noticed but your driver - GQ - is vented. Amount of air behind the driver will affect the sound. I assume that without faceplate they sound quite bassy. Just remember that bass will most probably decrease once you close back of your IEMs.
Anyways great project. Keep going!
 
Apr 23, 2013 at 10:57 PM Post #102 of 126
Quote:
@ b1o2r3i4s5 I don't know if you've noticed but your driver - GQ - is vented. Amount of air behind the driver will affect the sound. I assume that without faceplate they sound quite bassy. Just remember that bass will most probably decrease once you close back of your IEMs.
Anyways great project. Keep going!


Thanks! I've made plans to continue this project but school work takes priority right now.
I'd be using UV curing resins in my next attempt because it seems to be the only way to make a shell.
 
Jul 20, 2018 at 4:38 AM Post #104 of 126
Its an old post

@FullCircle @piotrus-g

I have a Knowles GV driver and a custom vented CI driver.

I tuned GV driver to sound like Brainwavz B400(used dampers) with a little more air(B400 is rolled of) but now what I want is to attach the CI driver so I can get a more low end extension. And I don't want it to sound bassy, just more extended on low end.

Where should I cross it through a crossover.
 
Aug 2, 2019 at 7:10 PM Post #105 of 126
Hello everyone, this is a fascinating thread! Some great ideas being discussed here!

I just want to let you all know that 64 Audio is looking to hire talent for our R&D Department to work on product design. If you, or someone you know, might be interested, please email me directly at: vitaliy@64audio.com

-Best of luck to everyone!!
-Vitaliy B.
 
64 Audio Stay updated on 64 Audio at their sponsor profile on Head-Fi.
 
https://www.facebook.com/64audio https://twitter.com/64audio https://instagram.com/64audio https://www.64audio.com/ info@64audio.com

Users who are viewing this thread

Back
Top