Yeah so I've definitely decided to do this to my own pair of AD 700's. I had bought them expecting silver and blue, but had received an ugly off-bronze and purple. It's strange because many of the PR images for these headphones are pictures of the former as opposed to the latter. Perhaps it's a regional thing? I have never actually seen any images taken by customers of ones that were actually silver and blue.
I'm not going to go black and silver though, a little too dark for me, I was considering white for the body and black for the honeycombs. Does anyone with a little more experience with DIY have any reccomendations? I would like rather a matte looking finish as opposed to the super shine finish that this one we see here has. Is there some sort of spray coating for that? For a matte finish but to still protect it?
Been online ALLLLL WEEK trying to research best headphones for gaming. I keep getting turned to AD700 with mic mod..... needless to say, yours is the best. I have already ordered 10 ft of the mogami cable, but am having a hard time figuring out the rest of the items you used. Not too sure exactly which items you went with from the kvconnections site, which mounting jack you got etc.
Is there ANY WAY I could talk you into giving me a rundown of materials used (and hopefully links?) and a quick walkthrough of how you did it? Having a hard time figuring it out just from the pictures.
Using a 4-pin cable is pretty clever. You can split it cheaply using one of these: http://www.dealextreme.com/p/gold-plated-3-5mm-female-to-dual-male-audio-split-adapter-32328
The skull didn't work out that I was planning... it was going to be much cooler... but the airbrush I was using, and my lack of talent didn't work out... lol... I ended up buying a new brush... but I forgot to buy the talent too... lol... The skull was masked by with tape, and everything else was sprayed freehand... but I didn't like how it was coming out, so I finished it like the pics above.
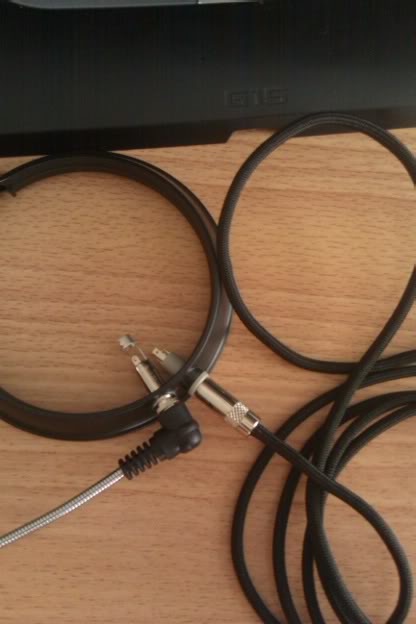
You see the gaming cable attached that I sent him... but this is the cable he purchased...
Sorry if this was asked before, but what stereo plug did you use in the original cable spot? I'm not adding a microphone jack, but i want to add a jack to make the cable removeable.
Thanks
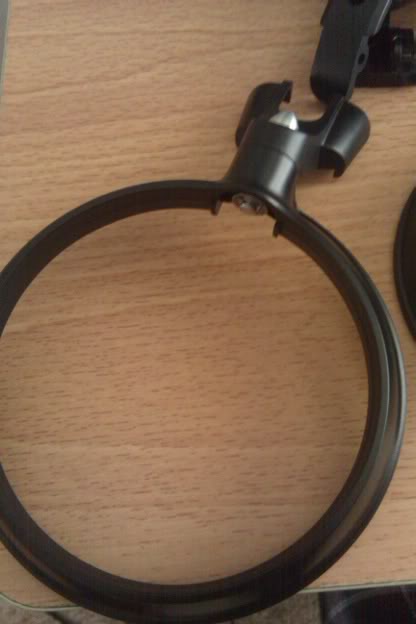
It was just a basic Neutrik female plug. I removed the outer metal casing so it was easier to hide in the headphone (and the exposed threads allowed for more "bite" to grip the custom molded plug base).
sorry for asking so many questions. I got the cable shortened, and the male plug on, but when my female connectors came in, I was looking at them. The two posts on the male plug are easy to tell apart, but the female plugs are really close, and have one flat top post, and one rounded. Do you know which post is left and which is right?
Unfortunately, not off the top of my head. There should be info on their website. Though, if you have a meter or a test light, you can plug a male to male 3.5mm cable into the female jack, and then connect the tip of the exposed 3.5mm cable to one of the connectors on the female jack, and you'll then know which side is female or not. That is how I've done it before. I never remember which side, and it's been awhile since I've built cables.
This site uses cookies to help personalise content, tailor your experience and to keep you logged in if you register.
By continuing to use this site, you are consenting to our use of cookies.


")