Audioengine A5+ Speaker Upgrades
Apr 1, 2013 at 7:42 PM Post #76 of 127
Was I a fool to buy lead-free solder??? It's the Cardas brand. Some opinions online have left me worried and considering buying the leaded stuff. My iron certainly gets hot enough to use it. Any experience with lead-free solder? Thanks again.
 
Apr 1, 2013 at 8:35 PM Post #77 of 127
OK, another question... is the 18 AWG wire I purchased (from navships, via your link) too big for shunting/bypass purposes??? It is stranded so if it's too big perhaps I could remove some strands?? Sounds like a pain...
 
Have you done any mods to the S8 sub? I use an S8 with the A5+'s so I'm curious.
 
Wouldn't be trying this mod if you hadn't made this thread so thanks again!
 
Apr 1, 2013 at 9:11 PM Post #78 of 127
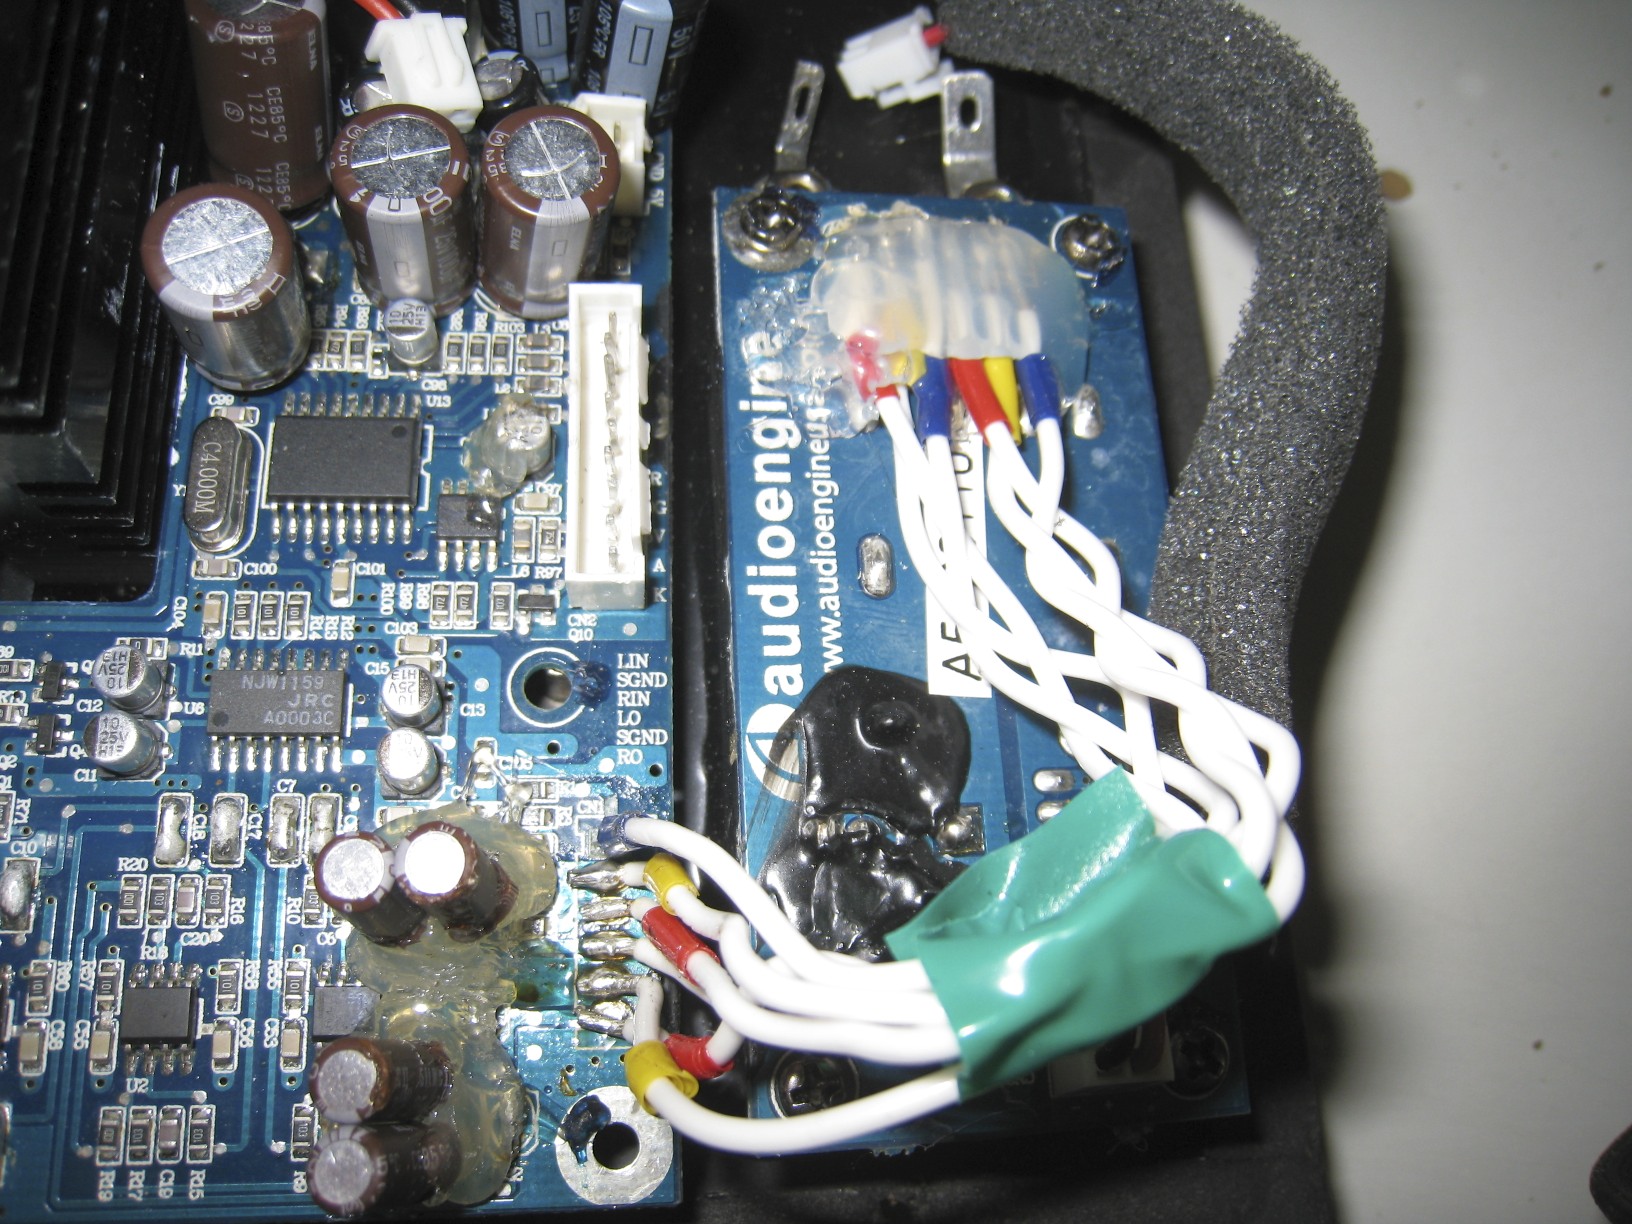
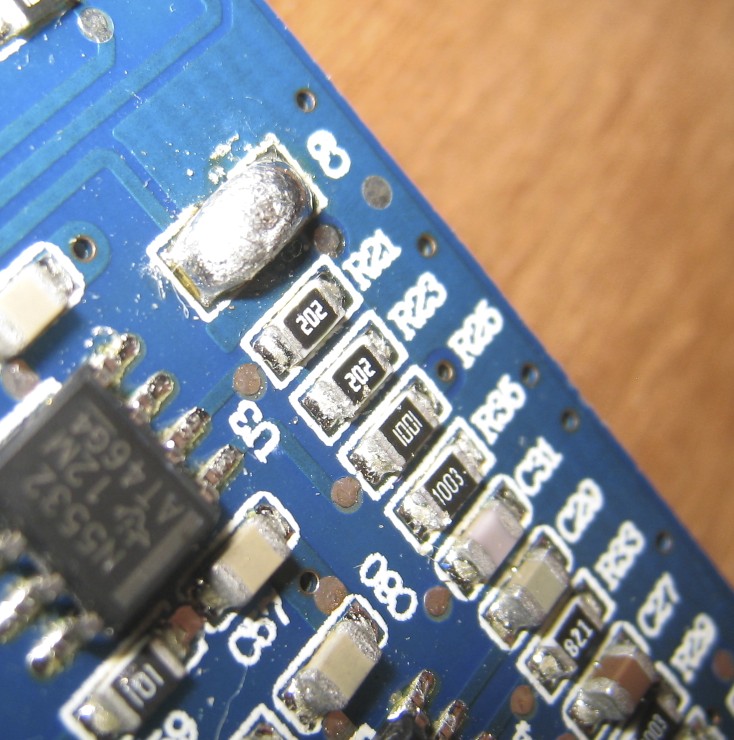
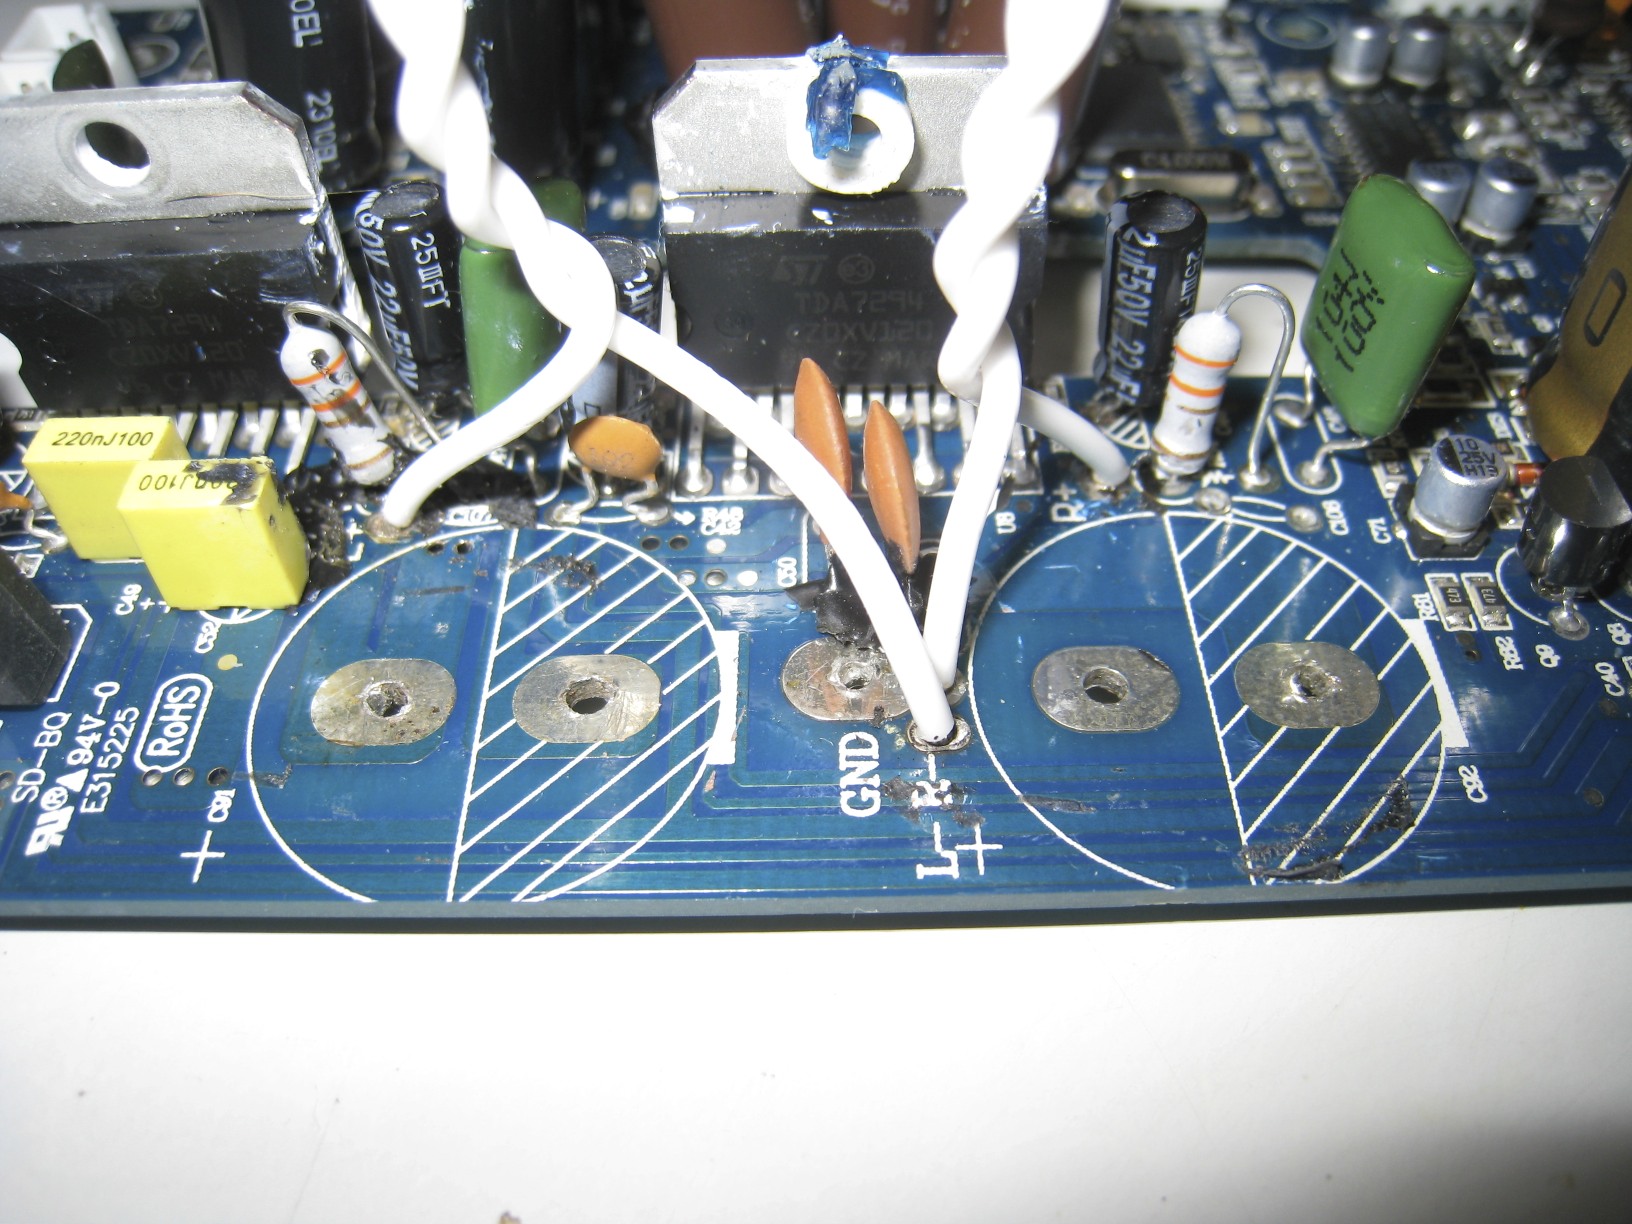
I use lead-free solder.
Less poisonous and the smell is a lot more bearable.
I used Kester 5% Silver Solder for my mod, anything should work though. (recommend 63/37)
 
For shunting/bypass, 18AWG should do, but if you think it's still too large, remove 3-6 strands, twist the leftover strands, and continue to the tinning process using solder & soldering iron.
What mainly matters with this mod, is for you to use a good soldering iron (sharp tip).
Something similar to the Weller or Hakko should work.
 
For the Subwoofer, i'm thinking about just replacing some capacitors for longevity.
After your A5+ mod though, you should know how to do this yourself with the S8.
You'll pick things up quick, trust me.
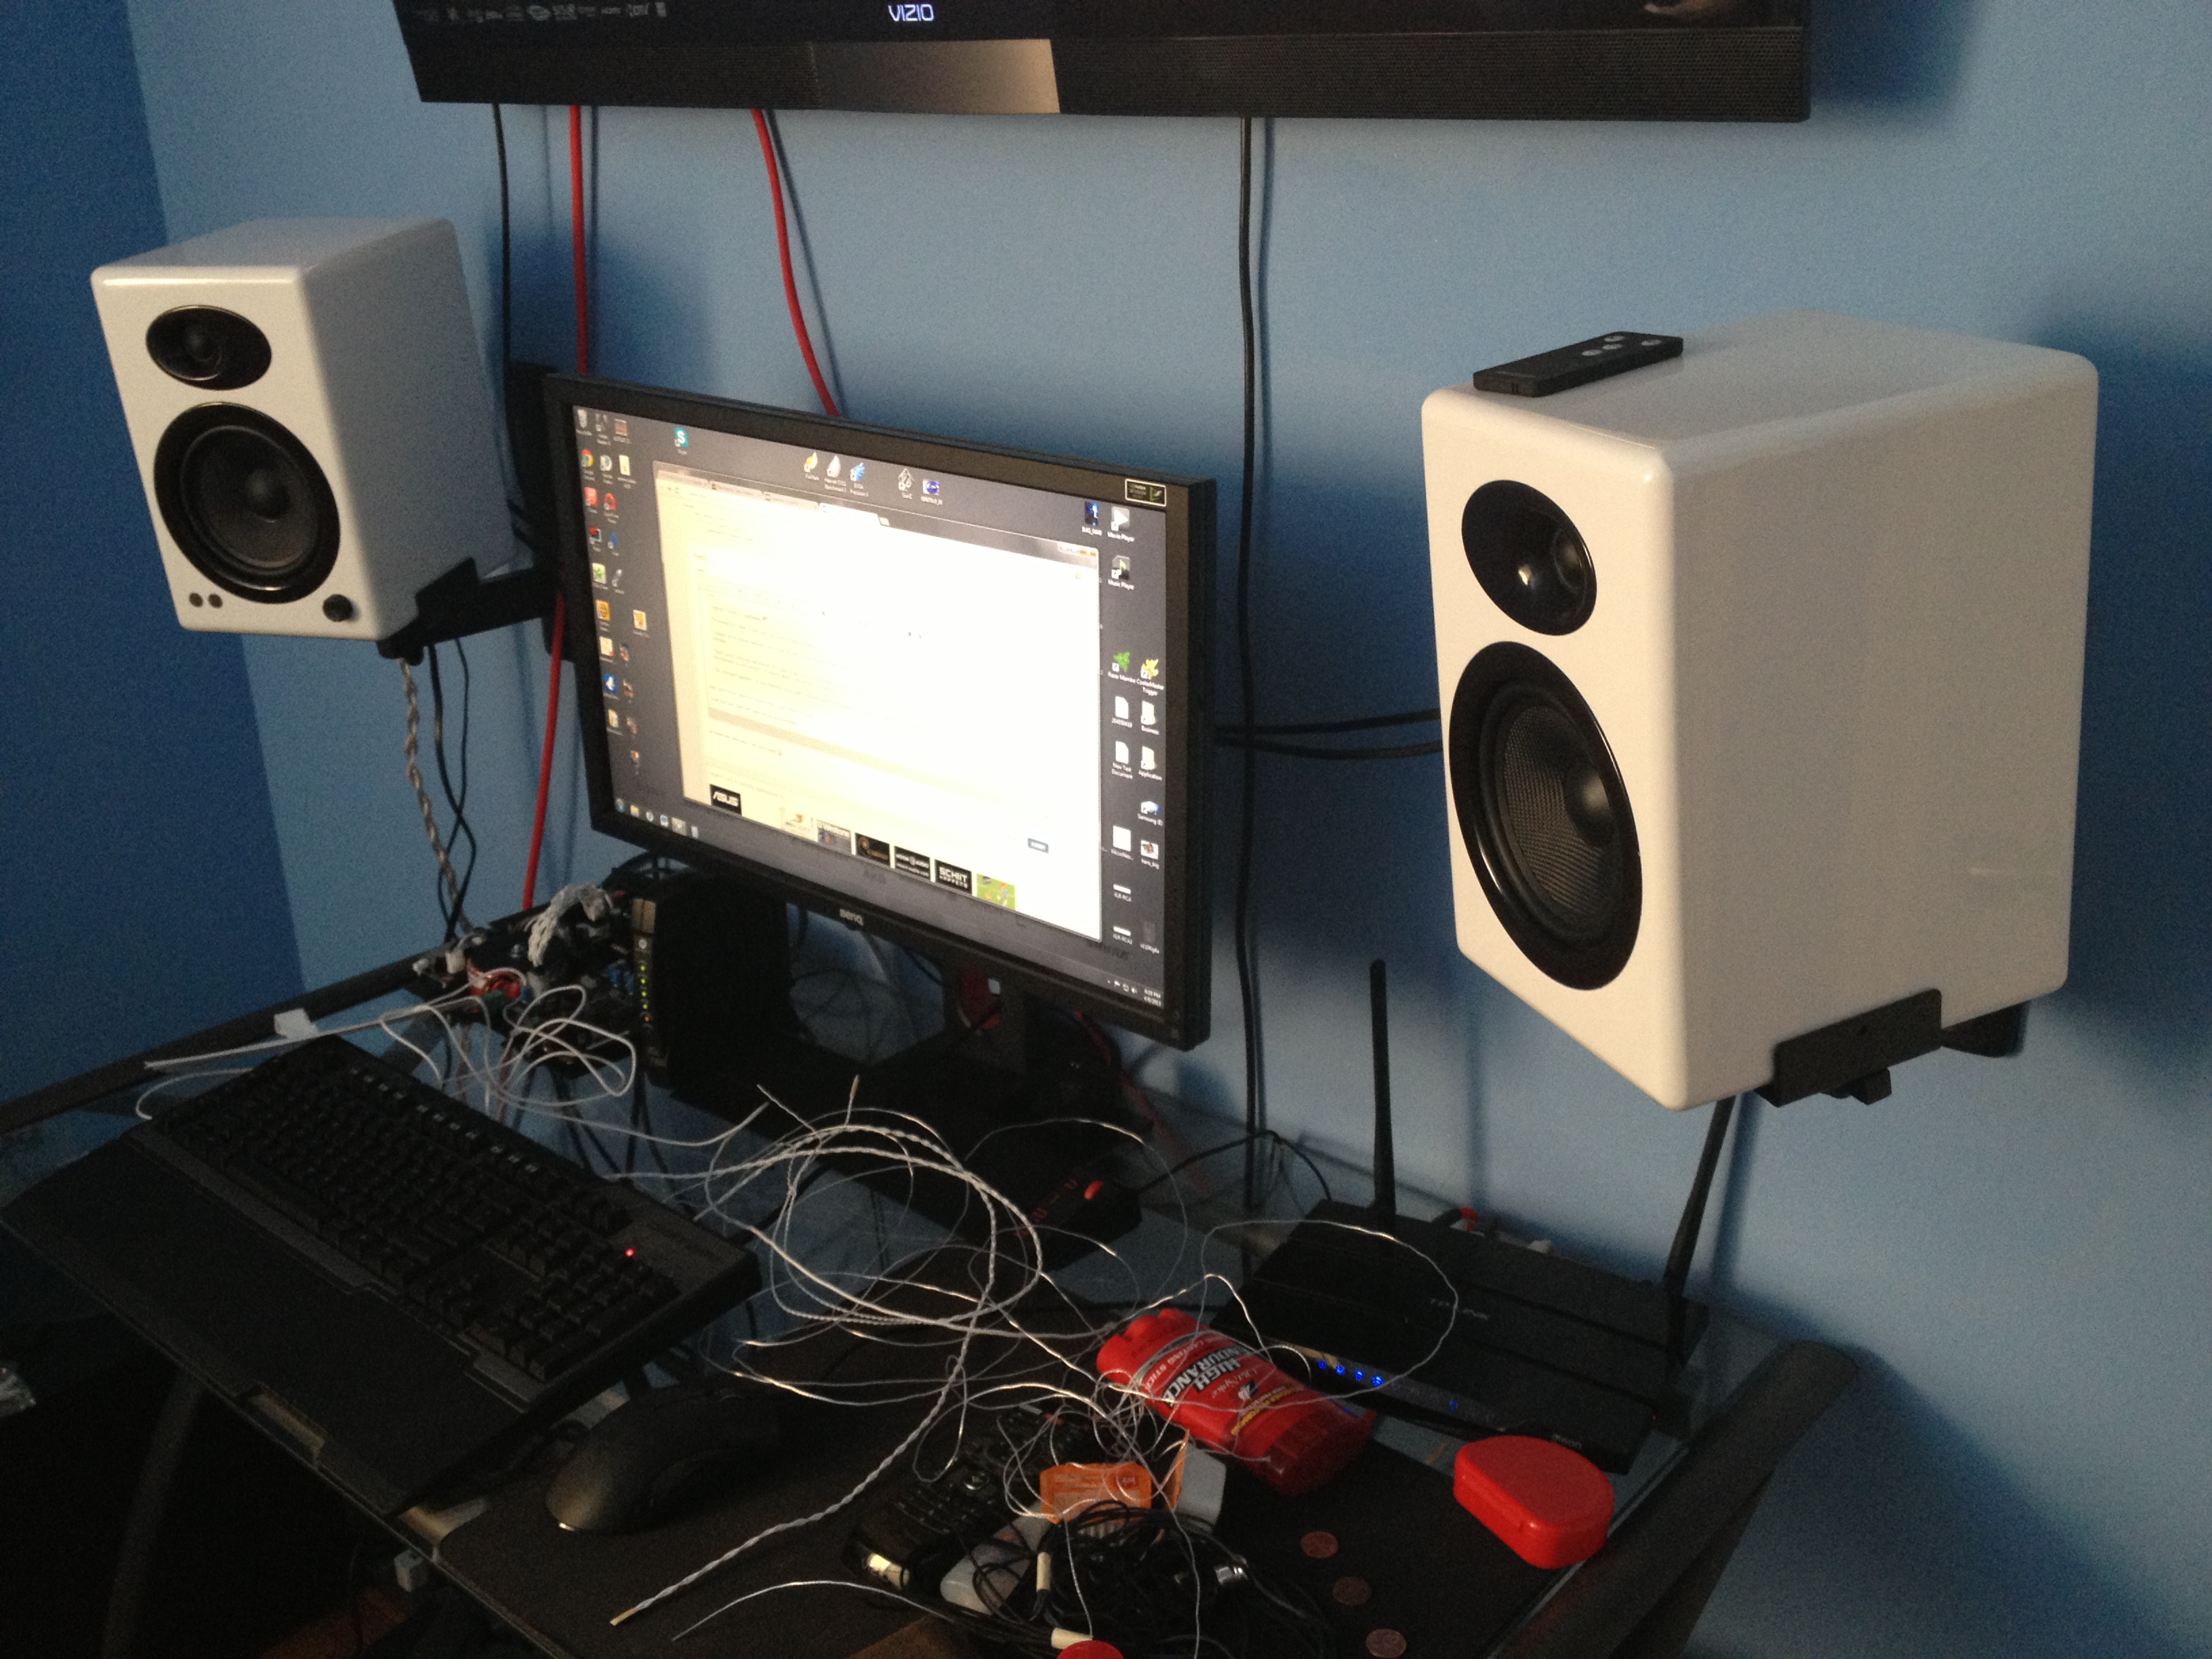
I don't bother on modding subwoofers, as it's way harder to hear the difference in sound compared to speakers, so doing so would just be a time consuming waste.
 
Wouldn't be trying this mod if you hadn't made this thread so thanks again!

No problem buddy!
You'll be sure to notice better sonics, especially for FLAC music files after your mods.
Make sure to dampen the speakers nicely, as that's one of the main phases to not color your sound (more neutral).
 
After you're almost done, i recommend using something like 100% silicone caulk to put the speaker ring & tweeter cup back in.
It's very flexible, and does a great job dampening the cup and ring. (won't crack over time, great stuff).
 
Feel free to ask questions when you're stuck.
 
Tim
 
Apr 1, 2013 at 9:34 PM Post #79 of 127
Great, very helpful. I felt better about the solder being lead-free, for environment reasons, but there are some scathing opinions online regarding it's workability. Amazing how the internet can compound paranoia to those who go looking for problems!
 
I use a Hakko and I bought a conical .05mm tip so I'm all set there. I've replaced plenty of caps (the shabby power supply caps in Samsung LCD TVs belonging to myself and friends kept me busy.) It's the shunting, etc., that's new to me. I don't expect any issues though. Yes I have plenty of foam and silicon caulk. The rowdy mid-bass in these speakers has always bugged me so I'm hoping this tames the issue a bit. 
 
Most of my music is lossless/FLAC so I'm curious to hear the results. OK, enough for now...
 
-Matt
 
Apr 1, 2013 at 10:53 PM Post #80 of 127
Actually, lead might be easier to work with and be better for joint stress.
 
There was an article regarding lead-free solder uses, in which the joints would degrade over time.
This was regarding somewhere in Europe where Lead Solder was banned, and i think it mainly involved technologies that were made to orbit earth, not entirely sure, but yeah, lead-free shouldn't have issues for audio electronics.
Perhaps more regarding electronics that are likely under more stress.
 
Hakko's are nice, you should use the 599B instead of wet sponge.
Helps prolong tip life, and seems to remove solder from the tip better for me.
Very happy to hear you have experience in soldering.
So this wouldn't be a blind application, which is great.
 
Ah! so you also experienced that annoying mid-bass.
Yes! The mod will fix your issue.
 
FLAC FTW.
 
Good luck!
 
Apr 3, 2013 at 3:21 AM Post #83 of 127
Which solder pads?
 
You mean the ones for the resistor or polymer capacitor?
Just follow the lead (the line of copper that connects to that area) and solder it to there instead, you might need to scratch the top part a bit to show the copper.
Or you can just solder it to where that lead line ends (usually at one side of a resistor).
 
A detailed picture would help, let me know if you are able to fix it, don't want you breaking your speaker haha.
 
To be real honest, i didn't use a desoldering wick.
For capacitors, i simply used a heat gun at the appropriate temperature underneath the the pcb (where soldering), once it's heated, you can remove the capacitor and put a new one in right away, simple stuff.
Or the soldering iron method where you un-solder each side and pull it slowly until it slides off, then do the same when installing the new one.
 
For the polymers, it's really easy to have the pads rip.
Just make sure you add solder to each side of the pad (while the polymer is still there) before heating it up for removal.
This gives you more mass to touch with the soldering tip, to flow it for easy removal.
 
Tim
 
Apr 3, 2013 at 1:26 PM Post #84 of 127
Pads on the amp board for the electrolytic caps. Looks like everything is OK however. I'll keep checking terminations as I go. It's the solder removal that's proving to be a pain in the rear. The wick method is clumsy. I'm just over-thinking it, trying to do more than is needed for everything to function. Plus, I needed to get some sleep!! Thanks for the help. 
 
Apr 4, 2013 at 12:13 AM Post #85 of 127
Here's a quick progress update/photo of the board thus far. Mostly done here so its on to the crossovers tomorrow. I'm a bit confused buy the hook-up wires- specifically, where does each wire from the board connect to?? I should have mapped it out or something. I thought the board indicate which wire goes where but I don't see anything of that nature. Maybe I'm missing something?? 

 
Apr 4, 2013 at 3:44 AM Post #86 of 127
Very good job, im thoroughly impressed.
 
Nice job shunting the old ceramic's.
You might want to do a bypass wire for the C21 & C22 area. (pre-out) or using polar Elna Silmic II 22uF works too.
Looks like you went with a higher end upgrade than me, and you managed to fit the 100uF near the heatsink, be careful with that one as space is tight.
 
Bipolar coupling caps are negative leg to negative leg or positive to positive right?
 
If you're taking about the wire that goes to the Crossover, near the large 4700uF caps, there should be labels of L-, R-, L+, and R+.
L- and R- is just ground, so you can even have it soldered to the same area, doesn't really matter.
The R- and R+ connects to the gold plated brass outpost, R+ to the Red, R- to the black (it then goes through the speaker wire and connectors to right speaker crossover).
The L- and L+ you solder to the crossover for the left side speaker, TW = Tweeter, W = Woofer, the positives and negative should be labeled on the crossover pcb.
 
 
When using a wire to connect the amp board to the crossover or crossover to woofer/tweeter, try and twist it, as this helps the wire act less of an antenna, which will help sound quality further.
make sure to use different color wires to know which is positive/negative, otherwise you can just use the same color wire but with a multimeter to check for continuity.
 
Tim
 
Apr 4, 2013 at 1:42 PM Post #87 of 127
Oh yes I see some markings on the there. I need to remove more of that nasty black epoxy. Any tips on removing it?? Using the iron is messy.
 
Yes, the coupling caps are both negative to negative. I'll use polar Elna's for C21 &C22. Then lots of hot glue. 
 
The cap near the heat sink leaves enough clearance, I checked and the board fits fine.
 
Doing the crossovers today, then I'll deal with the hookup wires.  
 
Apr 4, 2013 at 3:56 PM Post #88 of 127
Black Epoxy, i used a mini clamp to feel it off.
First i i would scratch one side up with a flathead screwdriver, then clamp it and peel it upward.
Yes, you can use the Elna's for C21 & C22 just to be sure, but it will be sonically better IMO with a bypass wire.
Shouldn't be that audible as it's going to a subwoofer anyway.
 
Lucky you had clearance, i don't know why, but when i was sourcing parts, i thought 2.5mm more was too significant so i didn't get the Elna's, haha.
 
Good luck doing the crossover, it's easier to do, but kills a lot of time.
When soldering the resistor on the bottom side of the pcb, lean it so it would have clearance when being pushed back into the speaker.
Mine was like 1mm away from hitting.
 
I wish i had put Elna Silmics & Silver Plated OCC instead of my regular Nichicon KZ & Silver Plated OFC wires.
Oh well! Too late now.
 
Tim
 
Apr 5, 2013 at 12:08 AM Post #89 of 127
Crossovers are done, started cutting the dampening foam pieces. Should be all done tomorrow! 
 
Regarding the hookup wires, everything you said makes sense as far as where each wire leads to... but I want to make sure I've done it right. Picture below. That center ground hole ("GND")... there doesn't need to be a wire or anything there??


Regarding C21 & C22... can I just shunt those like I did the old ceramics?? Or do I need to use a wire?? I don't think there is a difference but I want to check. Almost done and learning a ton as I go!!


Apr 5, 2013 at 1:57 AM Post #90 of 127
The GND does not have anything going to it except the L- and R- since they are connected underneath anyhow.
To tell you the truth, i wasn't even aware that there was a hole at the center of GND, probably because i didn't use a soldering wick 99% of the time.
 
I see you went with a 18AWG.
i had 16, but it didn't fit, so i went with 20 and knew there was room leftover to squeeze in 18AWG.
 
You should just shunt C21 & C22 like you did with the ceramics.
The only reason why i had a wire in my picture was because my solder pads ripped off, so i had to trace the lines to the next available solderable area.
 
Whatever you do, there are two things you need to be careful about.
The first is not losing the white washer where you screw in the amplifier chip to the heatsink.
The other is not accidentally touching the bipolar capacitors.
Once they lean a bit, the pad will surely rip off.
My C3, C4, C21, and C22 all ripped off, but i fixed it.
 
I wonder, are you going to replace the wires connecting your Input/Output board to the Amp Board?
If you are, i don't recommend replacing the 5V (2 wire) cable, it will do nothing to sound improvement, i did it by accident.
 
Everything looks good though, make sure to test before hot gluing all the capacitors down (partially for polars).
 
Tim
 

Users who are viewing this thread

Back
Top