


hallowedmessiah
New Head-Fier
- Joined
- Jun 21, 2012
- Posts
- 5
- Likes
- 0
Quote:
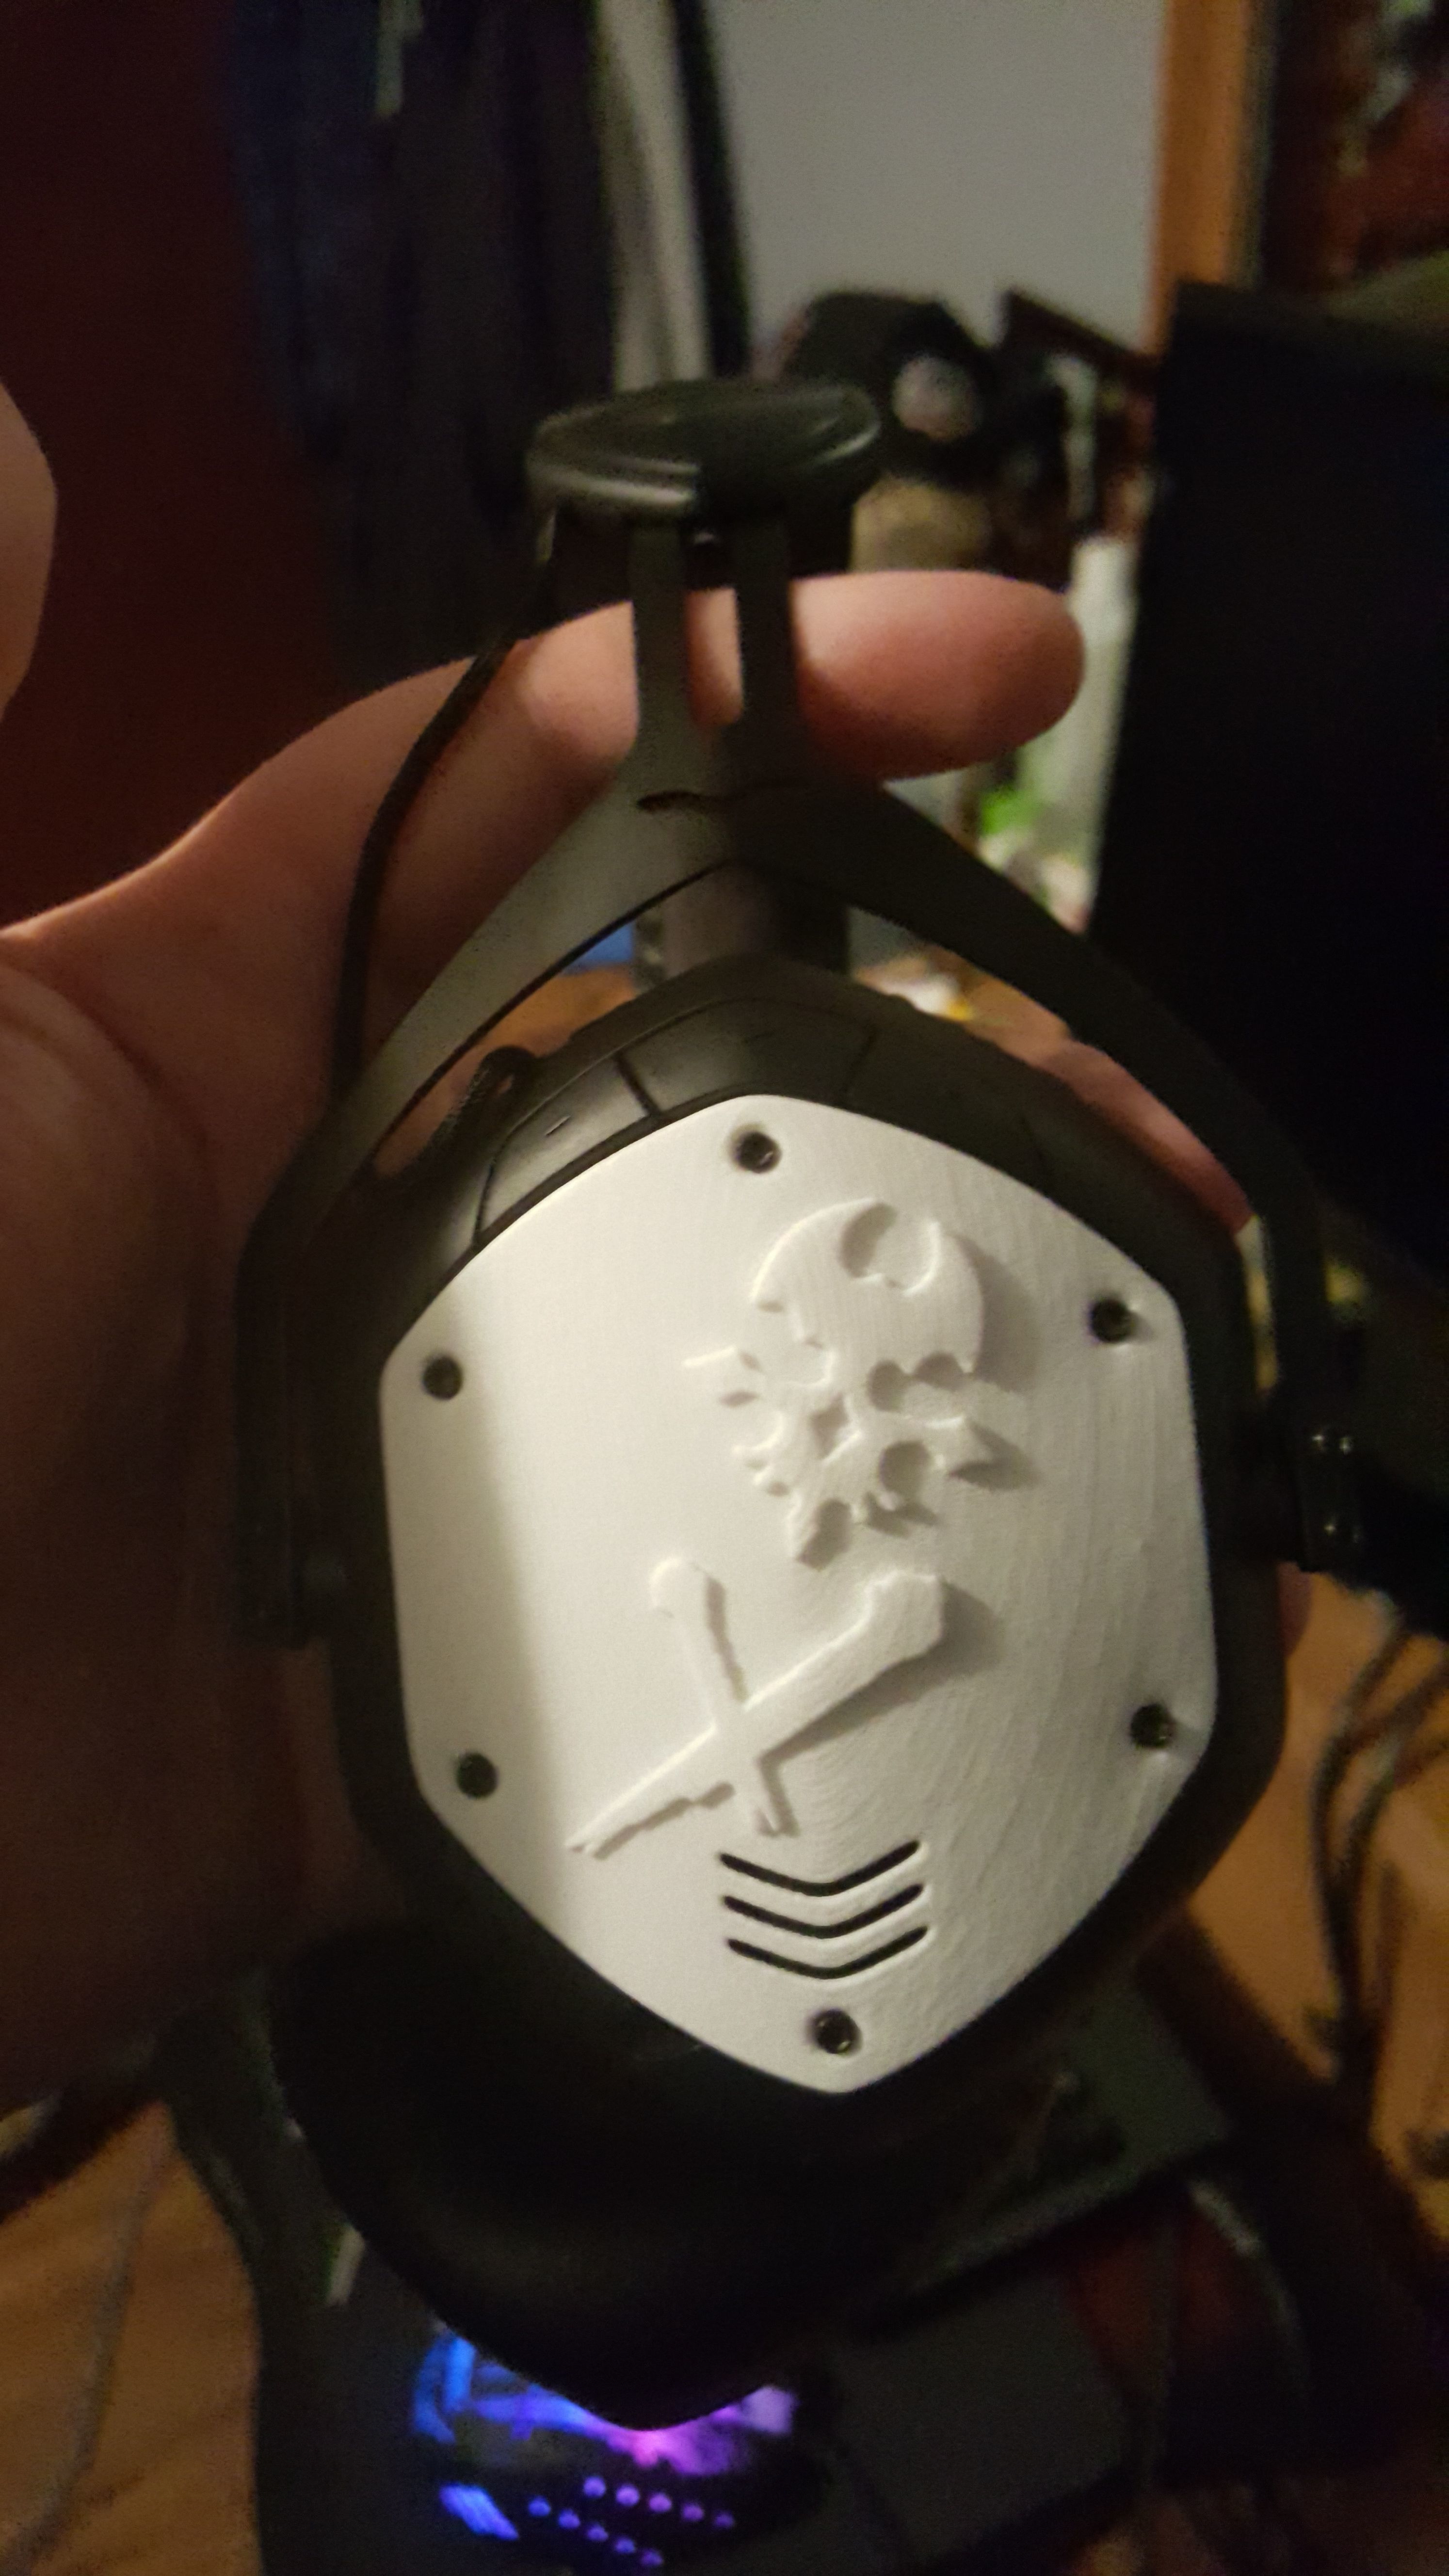
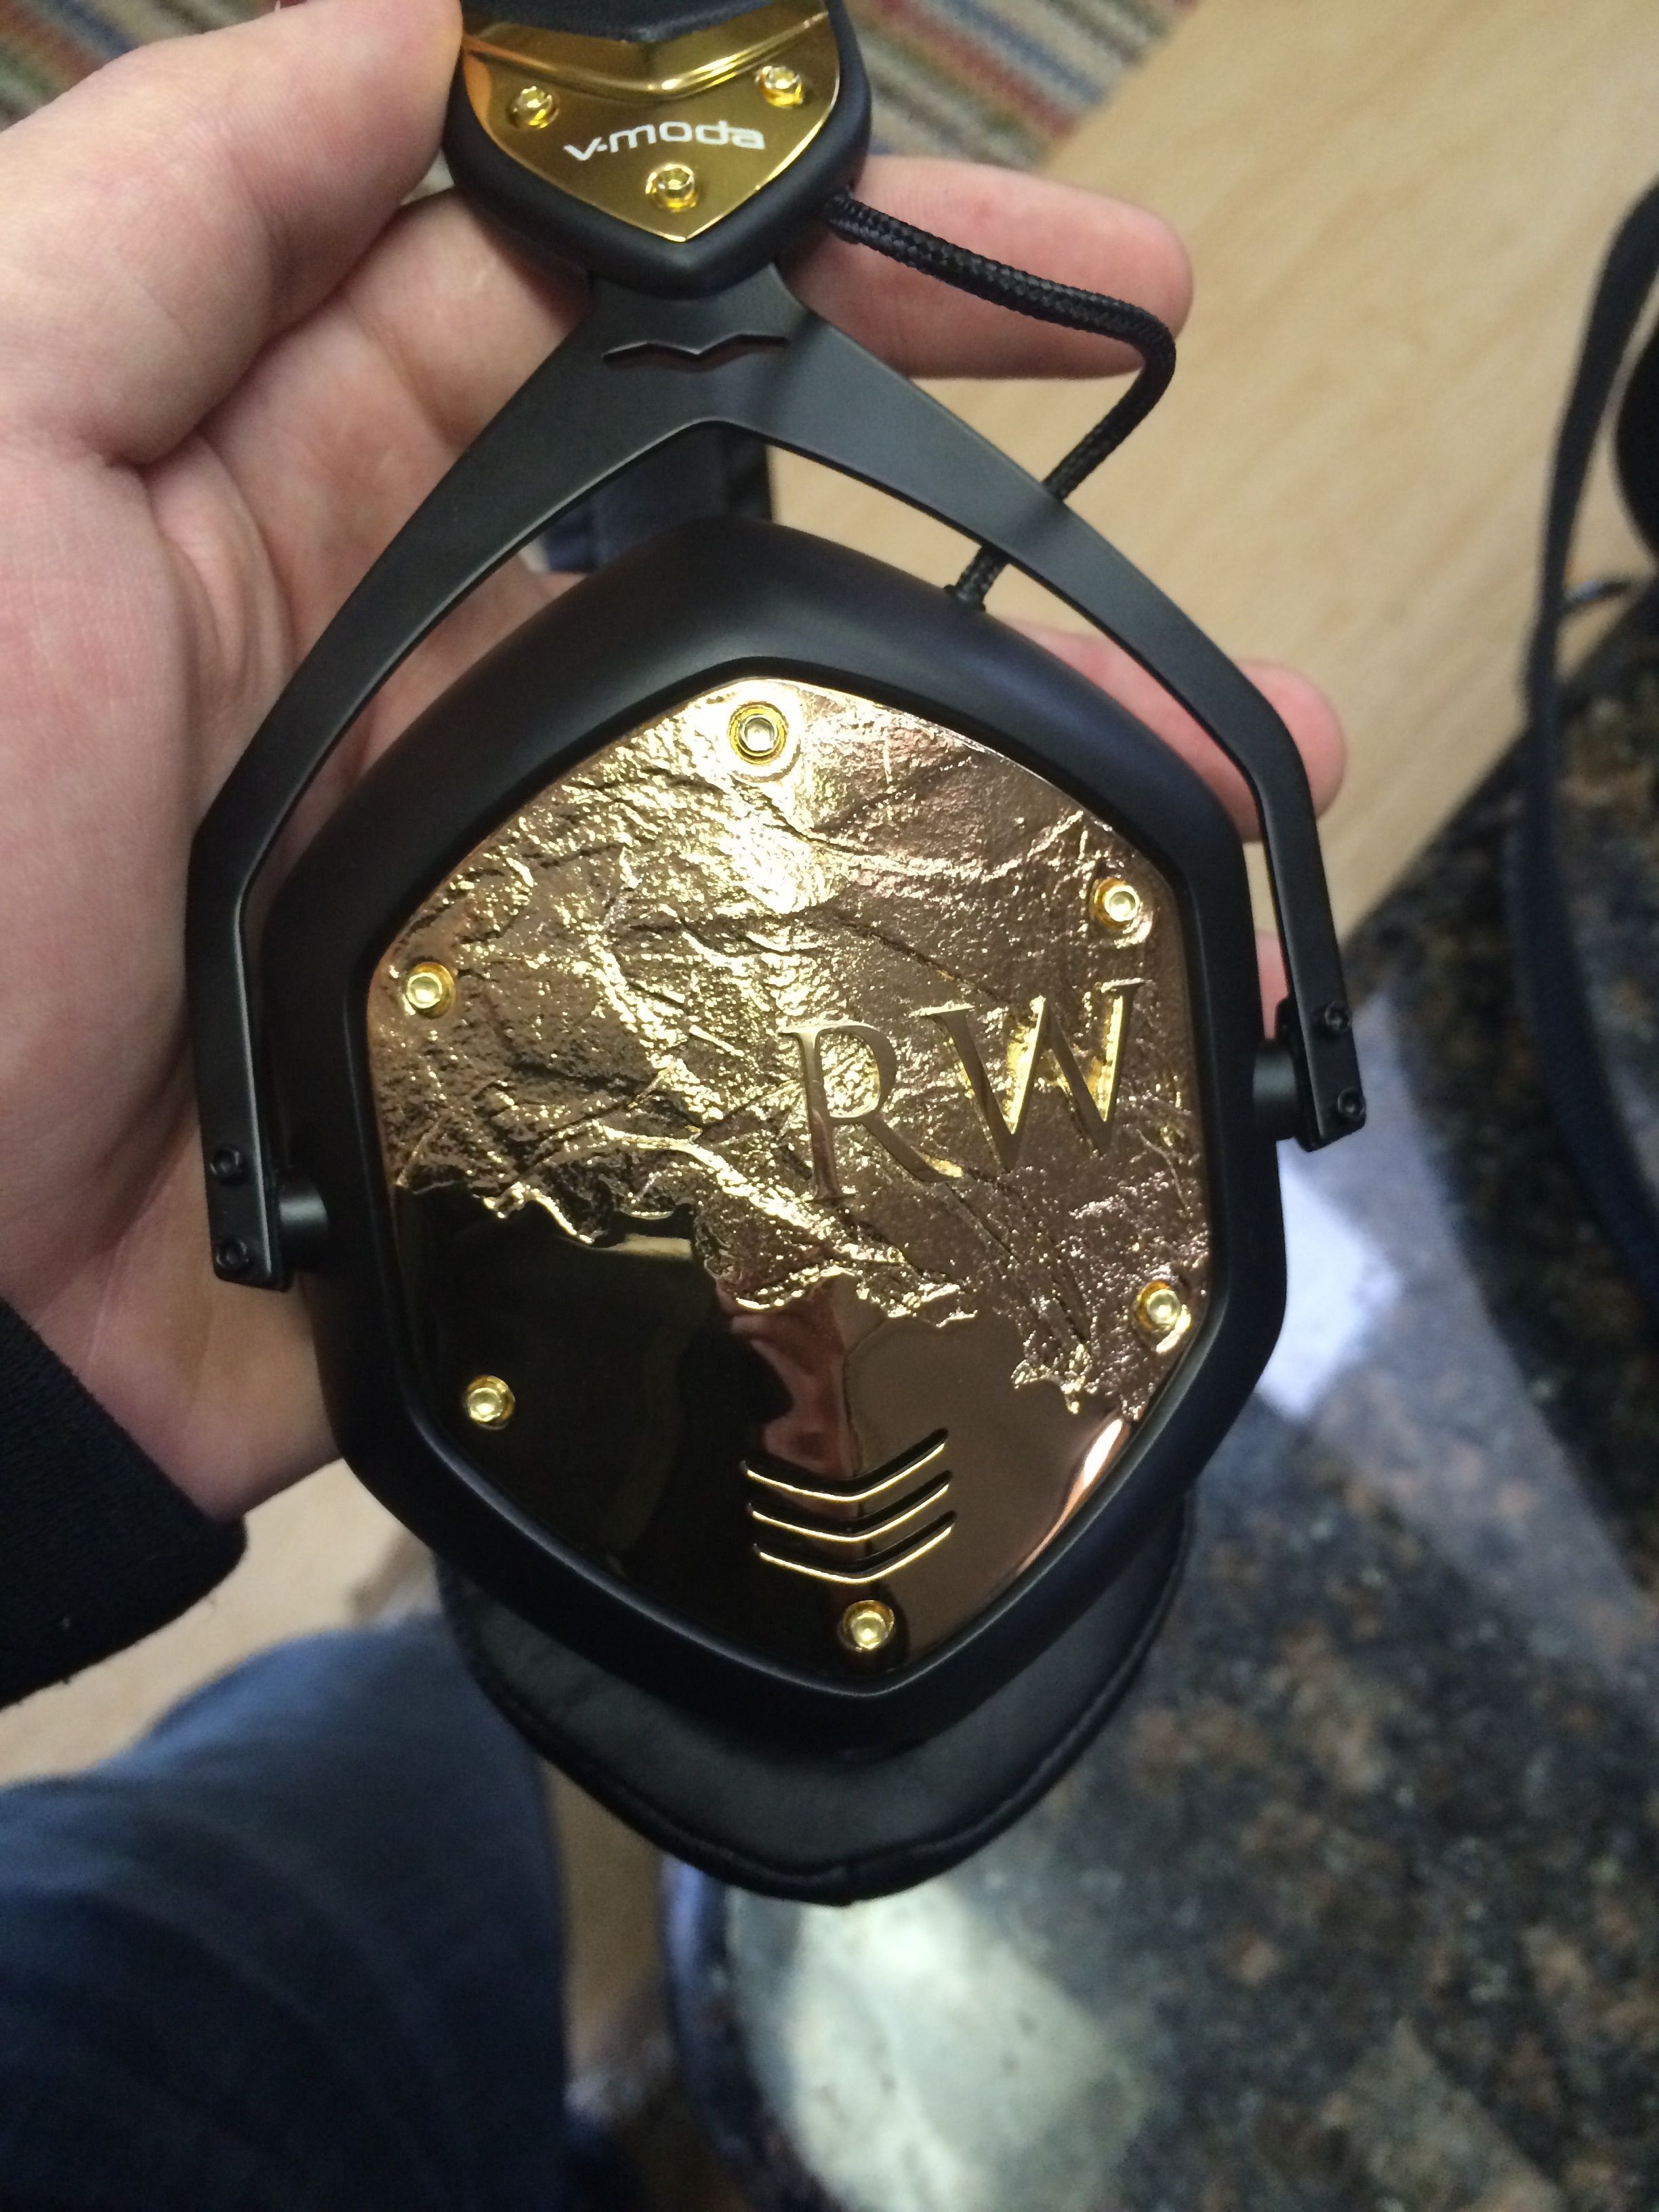
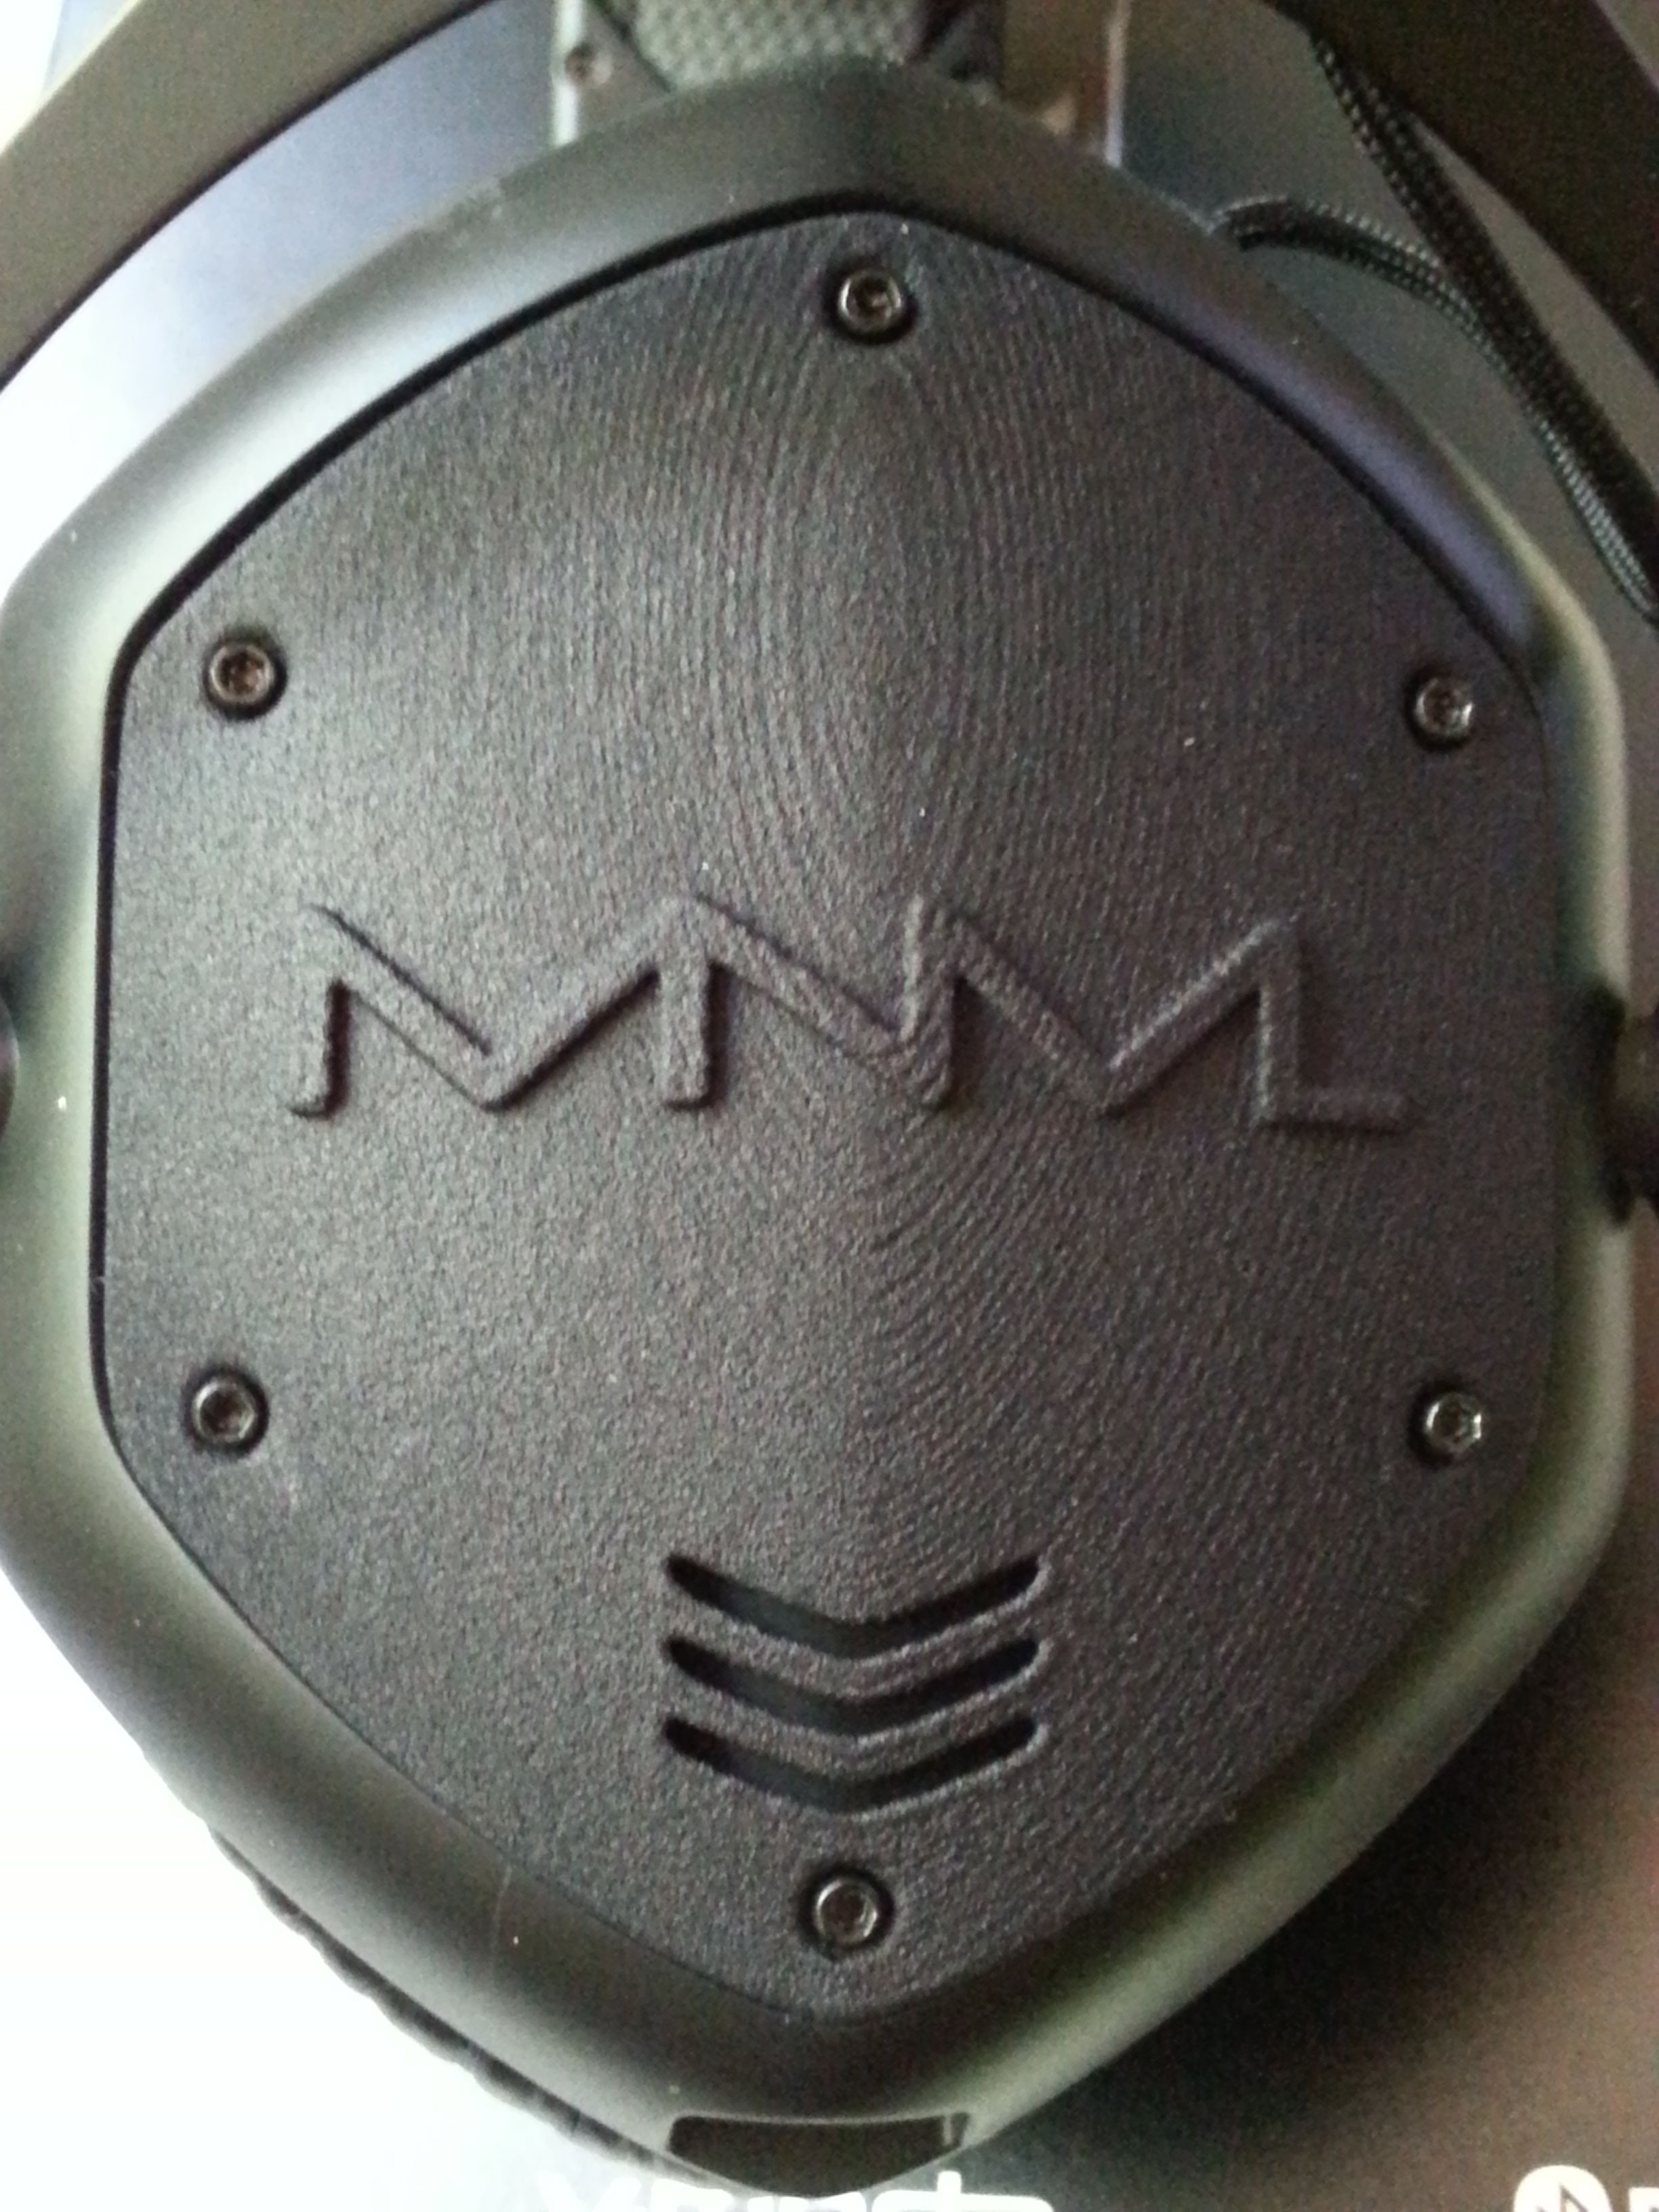
You get a matching set of those v-wings with the custom plates
Btw, how did you get the V-MODA logo on the sides to be in white? My LP2s have them in dark gray, almost matching the color of the headphones themselves. Thanks in advance.
You get a matching set of those v-wings with the custom plates


