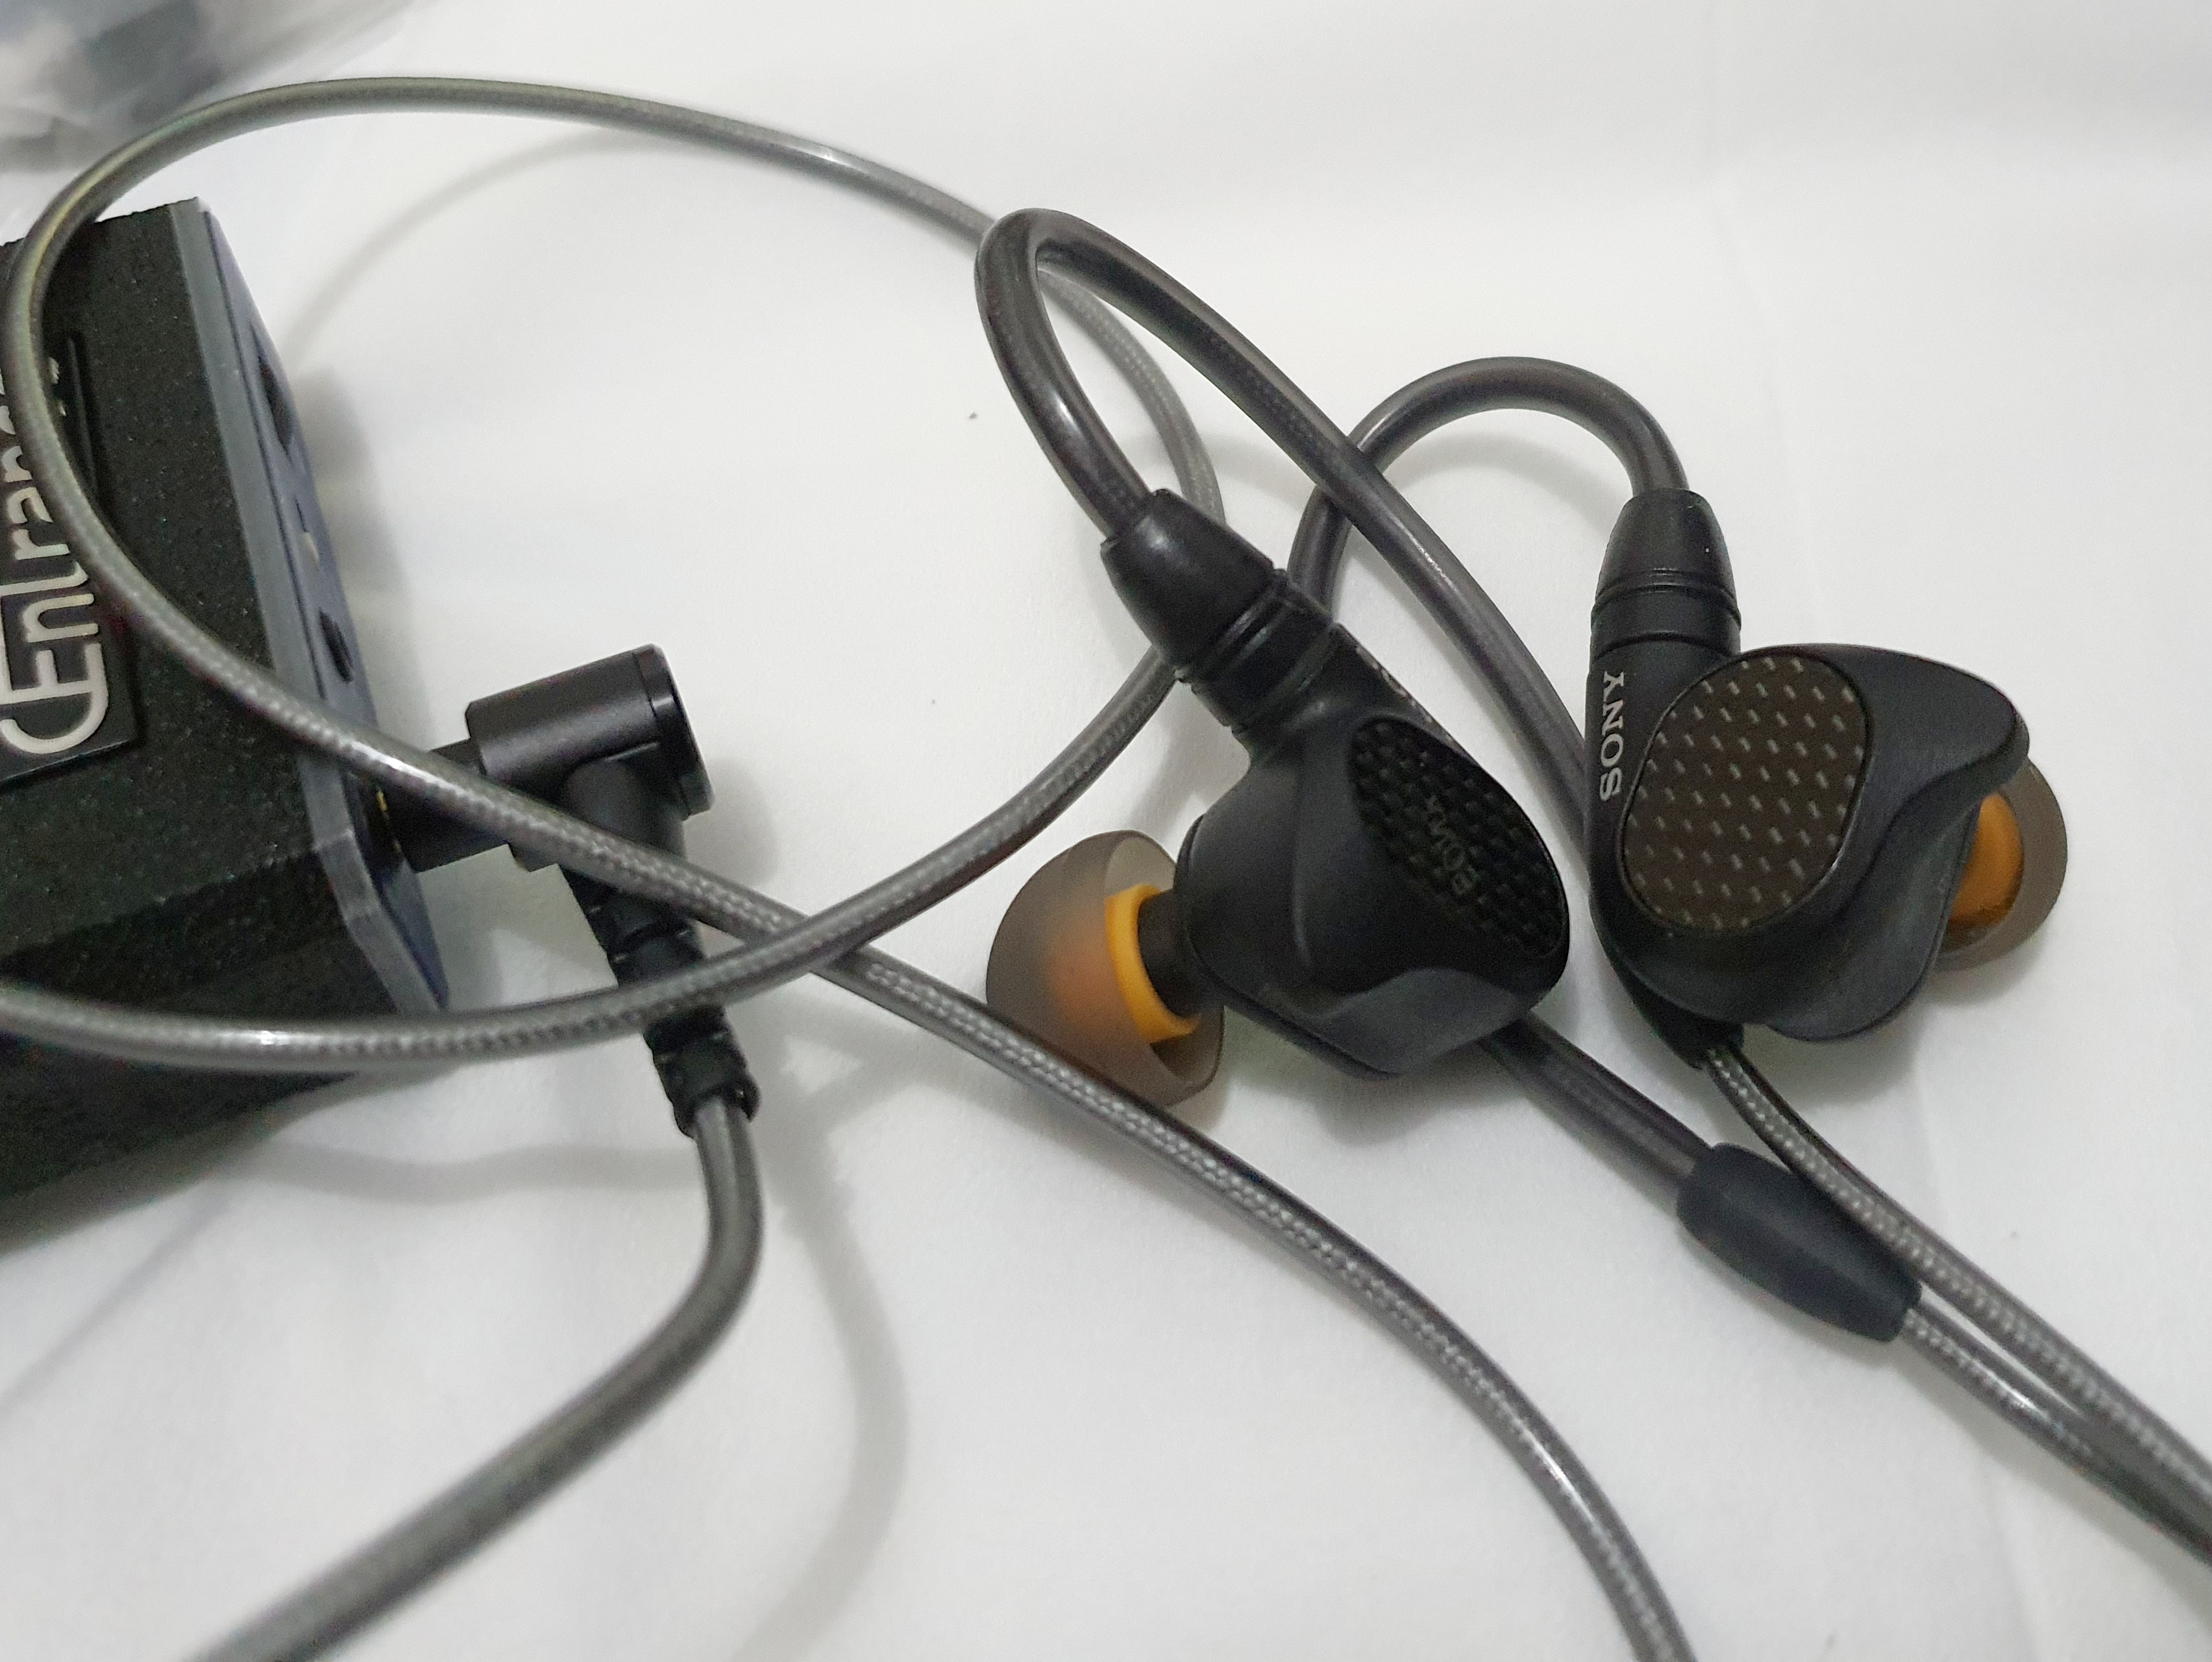
The M9 is pretty easy to swap out these acoustic resistors.
Disclosures: by modifying your M9, you are likely voiding your warranty, unless you can fit in the stock filters before you send it off for warranty purposes, like nothing have happened....better be saving those foams. Also, by modifying your units, you are risking permanently damaging your iems by dropping glues or debris toward your BA drivers or whatever accidents....only proceed when you are prepared. Otherwise, leave it alone. I can not be held responsible for your units outcome and decisions. Pictures are for illustration purposes only with clear plastic caps for nozzles
1/ you need to find foam that is according to your taste. The less density is the more clarity
2/ then the thickness of the foams. The thinner the foams, the more you can bring about your mid spectrums to surface
*the M9 has a very thick foam filter with great density*. Therefore, I do find that the M9 has a bit of mid spectrum attenuated, bass is boosted, and trebles from upper mid to low trebles are a muddy mess. The materials I chose is
2mm thickness. The density is pretty minimal
This foam can be found in some of those boxes that you bought items before, probably Chinese made iems, or cheap ears bud or whatever. I found these foams and stuff it in a closest before I toss out the boxes.....so I can not tell you exactly where to buy these
So the items you need would be: tweezers, foams of choices, the 3.5mm plastic cover caps on the plug from the M9 stock cables, a razor or utility knife blade,
gel form super glues. If you are OCD, you will want a cotton Q-tip and some strong acetones
1/ remove the stock foams by using tweezers, pull it out, the foams is sticking to the nozzles by one line of glues. Use the tweezers with good hand control to slightly scrape against the nozzles to separate the glues between foam and the nozzles *
cautions:
you need to turn the nozzles up side down, so that any lose debris will fall down with gravity instead of falling inward toward the drivers and the body housing*
Use Q-tips and dip in the acetones enough so it is slightly damped, clean the nozzles at the glues to remove old glues.
2/ preparing the new foams.
- use the foam sheets of choices. Mine was with minimal dense that you can see through easily and at 2mm thickness.
- use the plastic caps plugs from 3.5mm stock cables.
- wrap the foams around the cap tightly so you can trim it out with your utility knife blade or razor.
- carefully rotate the cut to cut out a cylindrical shapes. It is easier to cut it in circles without using forces. You need practices, but it is very straight forward.
3/ inserting the foams
- try fit the foams with tweezers, make sure that your foams will fit in without compressing it. The easier it fit, the better. The point is to gain as much clarity as possible, and the foams is used as a protection mechanism only
- when satisfied with the fitting, use a wood stick, or a tooth pick, dip into the gel-glues, and dap it onto the nozzles. You
don’t have to totally wet the nozzle, just a thin line, just a very thin film is good enough. Be careful, if you picked up too much glues, you don’t want to drop it into the drivers or the iems body. Remember,
you only need a very thin film of glues so that the foams is held into place
- then fit in the foam with the tweezers, do it swiftly as the dragging factors of the foam against the nozzles and frictions on the glues-film will cure it almost in second....depends on the glues used.
-let dry for about couple minutes. Then try pulling with tweezers on the foam to make sure that it is not fixed securely
Voila, you have upgraded your M9 signatures